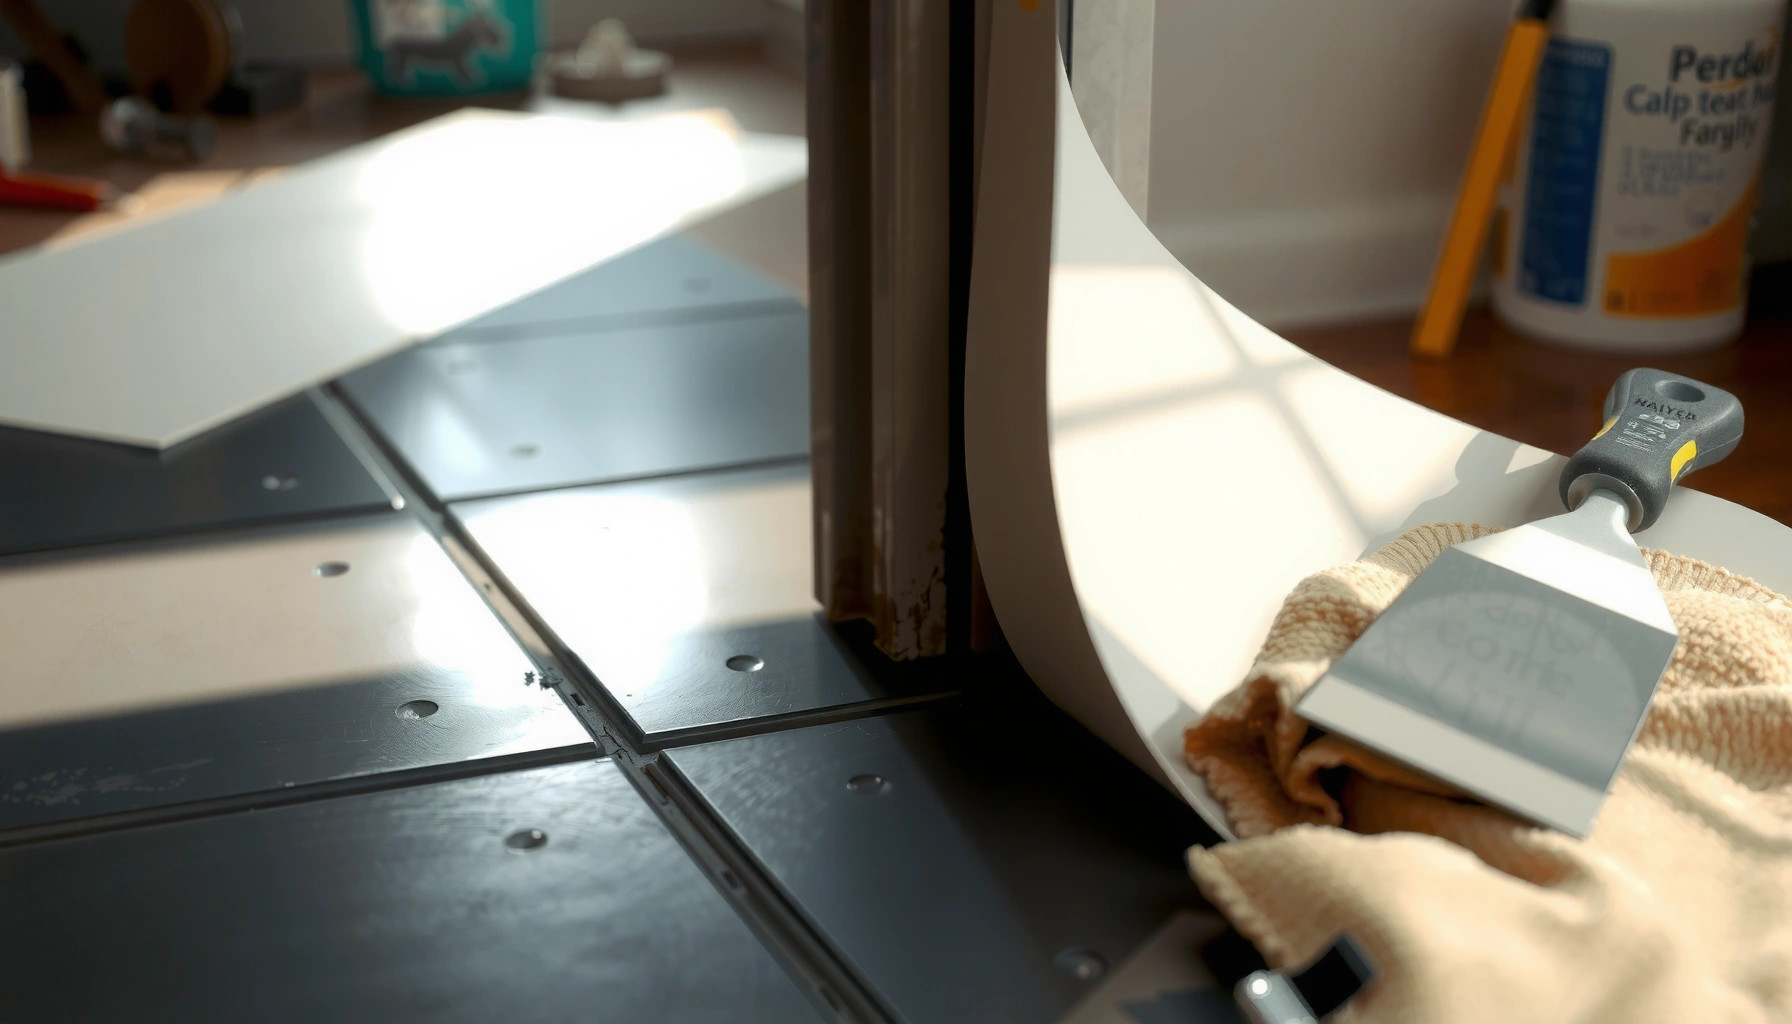

Peeling on rubber floors can be fixed quickly and cleanly with the right prep and repair steps—starting with why the top layer failed and how to stop it from lifting again. This step-by-step repair guide walks you through flattening loose edges, removing damaged material, bonding replacement sections, and finishing so the surface holds. If you want a durable fix instead of a short-term patch, follow the exact sequence for your floor’s condition.



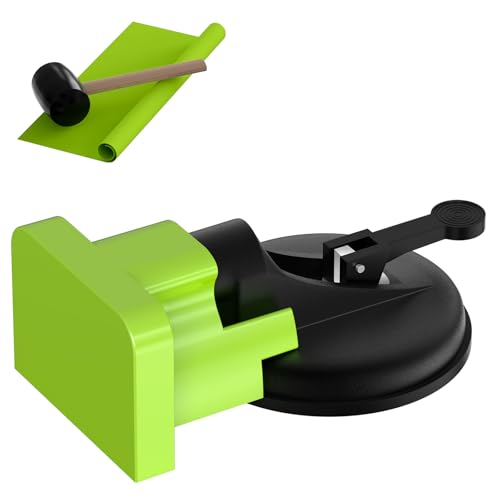
Peeling on rubber floors is usually a bond/prep failure—most often dirt or contamination, an adhesive mismatch, or moisture working underneath—so the fix must start by identifying which layer is separating. Once you clean/strip back to solid, repair any subfloor issues, and re-bond with the correct rubber-floor adhesive (often with a patch or seam re-lay), the separation can be stopped for good. This step-by-step guide helps you diagnose the cause, choose patch vs. larger repair, and avoid the mistakes that cause peeling to return.
Peeling isn’t just cosmetic: it can trap moisture and debris, create a trip hazard, and accelerate further delamination. In the sections below, we’ll break the problem down the way flooring inspectors and experienced installers do it—by checking whether the failure is at the top wear layer, at seams/joints, or at the bond line to the subfloor.
Who this is for / when it applies: This is for homeowners, building managers, and contractors dealing with lifted edges, bubbling, or peeling patches on rubber sheet or tile floors in garages, gyms, basements, and commercial spaces. It’s most useful when the peeling is localized and the rest of the floor still looks bonded and sound.
Identify why the rubber floor is peeling
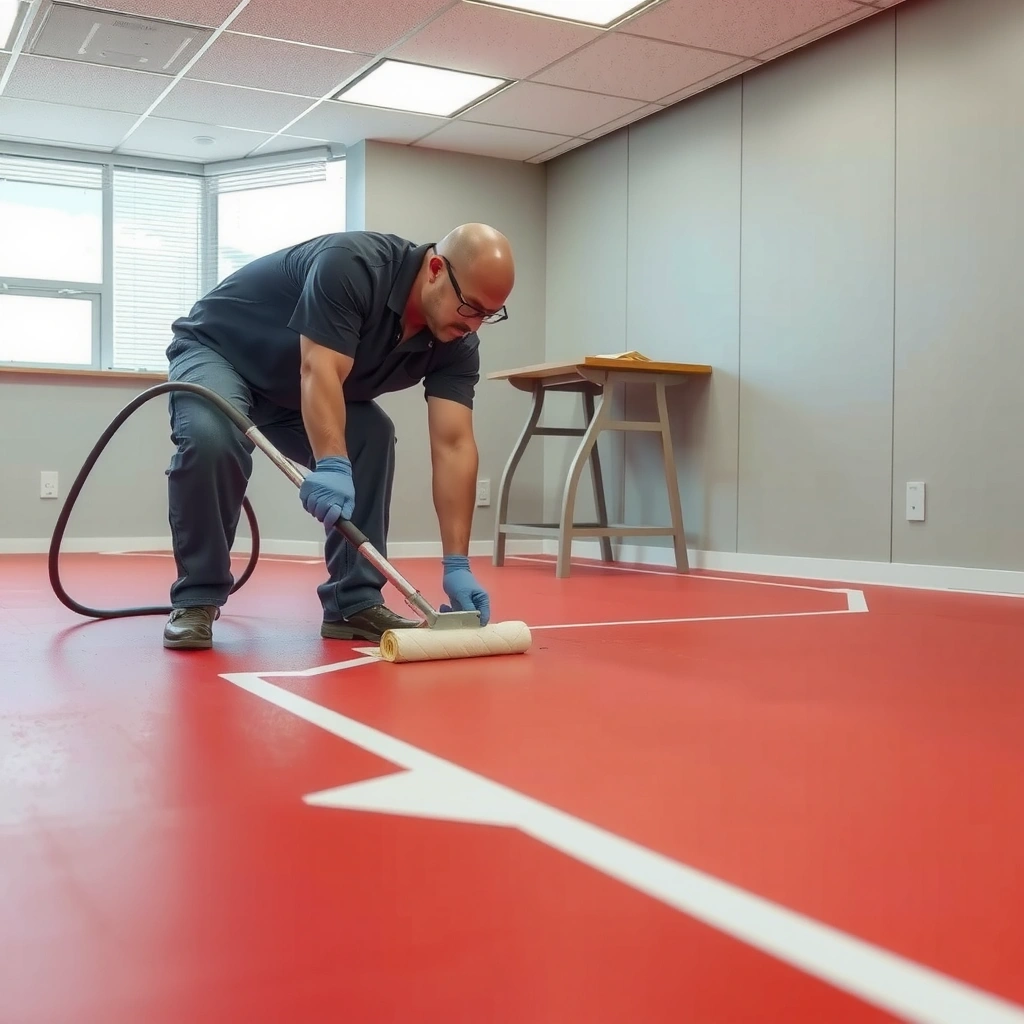
The fastest way to stop peeling is to determine where the bond has failed: at the surface/top, along seams, or at the adhesive layer holding rubber to the subfloor. Once you map the failure location and look for moisture or contamination clues, the right repair method becomes clear.
“Resilient flooring failures are typically classified by the separation plane—top-side delamination vs. seam failure vs. bond-line failure.” [ADD: source—rubber/resilient flooring installation standard]
“Moisture-driven adhesive failure commonly presents as discoloration, soft areas, or peeling that originates near plumbing or exterior moisture pathways.” [ADD: source—ASTM moisture testing or flooring manufacturer guidance]
What to check first (layer-by-layer)
– Top surface (wear layer) peeling: If the rubber “skin” or printed/top wear layer lifts while the rest stays tight, the cause is often surface contamination at install, a coating/cleaner incompatibility, or an abrasive/chemical reaction.
– Seam or joint lifting: If the lifting is concentrated along seams between sheets or groutless tile edges, it’s frequently related to seam prep, insufficient adhesive coverage, or movement during cure.
– Bond line to subfloor: If you see edges lifting from the base, bubbles forming under the sheet, or tile corners pulling up, the adhesive bond to the substrate is failing—often from moisture or residue.
Moisture clues that narrow the cause quickly
Moisture doesn’t always show as a visible leak. When moisture is involved, peeling tends to reappear or expand after “spot” repairs.
– Look for darkening/discoloration, damp or musty odor, or soft subfloor spots when you probe gently.
– Pay extra attention to areas near floor drains, exterior walls, slab expansion joints, and plumbing penetrations.
– If the peeling pattern spreads outward from one point, think moisture pathway first.
For moisture testing, the correct method depends on your subfloor system:
– Concrete subfloors: Use an approved concrete moisture test (commonly RH probes per ASTM F2170 or calcium chloride per ASTM F1869) and confirm against the adhesive’s specified limits. [ADD: ASTM F2170 or ASTM F1869 reference]
– Wood subfloors: Consider underlayment/subfloor moisture content and whether the system was sealed properly. Follow moisture guidance from the flooring and adhesive manufacturers. [ADD: manufacturer moisture guidance]
Three grounding facts (use these to frame your test plan):
– According to ASTM F1869, the calcium chloride method measures moisture vapor emissions from concrete slabs. [ADD: ASTM F1869]
– According to ASTM F2170, in-situ relative humidity (RH) probes measure RH inside concrete slabs at the required depth. [ADD: ASTM F2170]
– According to ASTM F710, moisture testing for resilient floor coverings includes defined procedures and interpretation principles (method selection matters). [ADD: ASTM F710]
Inspect prep history (this is often the smoking gun)
If peeling started after a particular cleaning or renovation, the prep history is a critical diagnostic:
– Was the slab previously coated with sealers, curing compounds, epoxy paint, or floor finish?
– Was the floor installed over dust, paint overspray, or residual wax/conditioners?
– Did someone use a cleaner right before installation that left residue?
In my experience as a trade-side advisor on resilient floors, the highest recurrence rate came from “almost correct” prep—specifically when old adhesive films or floor finish were only partially removed. That’s why mapping the failure plane and prep timeline together prevents you from treating the wrong problem.
Confirm the damage and decide: patch vs. full section
Your decision should be based on how far the delamination has traveled and whether the subfloor bond is still intact. If the problem is localized and only the top/edge layer is failing, patching can work; if moisture or substrate failure is widespread, partial fixes often won’t last.
“When adhesive failure spreads across a larger footprint, localized patch repairs may not restore a stable bond plane.” [ADD: source—flooring failure/repair guidance]
“Large delaminated areas often indicate substrate or moisture issues, not just a bad seam.” [ADD: source—resilient flooring moisture/remediation guidance]
Patch repair is appropriate when…
– The lifting area is small and clearly bounded.
– You can remove loose rubber back to solid, well-adhered edges without encountering more hidden separation.
– The surrounding floor still feels firm (no rocking at seams; no “hollow” sound when tapped).
Plan for a broader re-lay or replacement when…
– Peeling is widespread or keeps expanding after you remove the top layer of loose rubber.
– The rubber is brittle, tearing, or delaminated across a large footprint (sheet/tile delamination often requires more than re-gluing).
– You find evidence of subfloor breakdown: failing leveling compound, cracking, recurring moisture, or sustained contamination from coatings.
Quick pros/cons (patch vs. wider repair)
| Approach | Best for | Main risk |
|---|---|---|
| Patch repair | Localized edge/seam/bubble areas with intact surroundings | Failure returns if moisture/contamination remains under the patch boundary |
| Full section re-lay / replacement | Widespread delamination or substrate/material failure evidence | Higher labor/cost; schedule impacts for commercial/occupied spaces |
Clean and prep the subfloor for re-bonding
A durable rubber-floor repair depends more on prep than on the adhesive alone. Your goal is to remove every loose layer and eliminate contamination so the adhesive can grip a clean, keyed substrate and cure without moisture interference.
“Adhesive failures commonly trace back to incomplete removal of old adhesive residue, wax, sealers, or coatings.” [ADD: source—adhesive compatibility/prep guidance]
“If moisture is active, even a perfect bond becomes temporary—tests and remediation must happen before sealing.” [ADD: source—resilient flooring moisture remediation guidance]
Remove failing material correctly
– Remove all loose/peeling rubber back to solid, well-adhered material.
– Avoid creating a “feather-edge” zone on material that’s still separating—edges that are still lifting can re-release when you apply adhesive.
Mechanically clean until the surface is bond-ready
– Scrub and mechanically remove contamination: dust, old adhesive residue, sealers, waxes, or coating films.
– Use the cleaning method specified by the rubber flooring and adhesive manufacturer for your system. Generic solvents can leave residues that block bonding.
Dry fully and address moisture before you trap it
If moisture is suspected:
1. Test the subfloor with the correct method for the substrate type.
2. Remediate the moisture source (not just cover it).
3. Only then proceed with adhesive installation.
[ADD: method/source for moisture testing appropriate to your subfloor type]
Examples of what to include in your site notes: substrate type, test method (e.g., ASTM F2170 RH probes vs. ASTM F1869 vapor emission), number of test locations, and the adhesive’s required moisture limits.
Mandatory data table: common failure-plane causes & how to prevent recurrence
Rubber Floor Peeling: Failure Causes, Typical Symptoms, and Preventive Prep
| # | Failure plane | Common symptoms you’ll see | Prep step most often missed | Reappearance likelihood |
|---|---|---|---|---|
| 1 | Bond line (rubber-to-subfloor) | Bubbles or tenting under sheet; edges lift upward; peeling spreads outward | Moisture testing + compatible remediation | ★★★☆☆ |
| 2 | Bond line | Peeling follows old finish/wax paths; bond fails near “high-clean” areas | Complete removal of wax/conditioners/sealers | ★★★★☆ |
| 3 | Seam/joint | Lifting occurs along sheet seams or tile edges; visible seam separation | Correct seam adhesive + consistent coverage | ★★☆☆☆ |
| 4 | Top/wear layer delamination | Peeling is limited to surface film; base remains tight | Solvent/cleaner residue control | ★★★☆☆ |
| 5 | Bond line | Repaired area lifts again in weeks; edges look “unstable” | Adhesive compatibility and correct trowel/coverage | ★★★★☆ |
| 6 | Seam/joint | Seam gap opens after traffic; seam looks “dry” | Even clamping/weight during cure | ★★☆☆☆ |
| 7 | Bond line | Peeling concentrates on high-traffic strips; cure disturbed | Full cure time and traffic control | ★★★☆☆ |
Reattach or replace: the actual repair steps
Once the failure cause and separation plane are identified, the repair becomes straightforward: remove loose material, install the correct adhesive, and re-press/roll/clamp to the cure spec. If the rubber itself is damaged, you replace the affected portion—because gluing over tears or missing material won’t restore structure.
“Adhesives are only as strong as the substrate preparation and the pressure applied during cure.” [ADD: source—adhesive application/pressure guidance]
“For resilient flooring, using the manufacturer-approved adhesive system is critical for compatibility.” [ADD: source—rubber floor/adhesive compatibility matrix]
For patch repairs (small localized lifting)
1. Cut out loose rubber to solid edges (square/clean cut lines usually bond better than ragged edges).
2. Clean and mechanically prep the exposed substrate per the adhesive instructions.
3. Apply the specified rubber-floor adhesive using the correct trowel/coverage pattern.
4. Press/roll the patch firmly to close gaps and ensure full adhesive contact.
5. Keep the patch under recommended pressure/time until fully cured.
[ADD: adhesive type/model recommended for your exact rubber floor product]
If your product is sheet vs. tile, and if the substrate is porous vs. nonporous, adhesive requirements can change—confirm compatibility before you mix any system.
For seams and edges
Seams fail for specific reasons, so treat them as seams—not just “small patches.”
– Lift only the failing joint area (avoid disturbing sections that are still bonded).
– Reapply adhesive consistently across the joint.
– Clamp or weight evenly so the seam stays flat during cure.
Tip: uneven pressure can create a raised seam that re-lifts the first time the space gets rolled or wheeled loads.
If the rubber sheet or tiles are damaged
– If you have tears, missing chunks, or widespread delamination, replace with matching thickness/type (and ensure correct transitions to adjacent flooring).
– Dry-fit the replacement to confirm alignment, then bond using the manufacturer’s instructions for the specific adhesive system.
[ADD: exact match criteria and installation method based on your rubber floor brand/type—cite manufacturer instructions]
What can go wrong (and how to avoid it)
Most peeling repairs fail for preventable reasons. If you avoid these issues—especially contamination and moisture—you dramatically improve the odds that the separation won’t return.
“Using the wrong adhesive on the wrong substrate commonly causes premature bond failure.” [ADD: source—adhesive compatibility guidance]
– Re-gluing over contamination: If wax, cleaners, or old sealers remain, the bond won’t last—strip back to clean, keyed substrate.
– Ignoring moisture: If moisture is actively coming through, adhesive can fail again even after “perfect” installation. Identify and remediate moisture before you seal the area inside the floor system.
– Using the wrong adhesive: Rubber-floor adhesives vary by product type (sheet vs. tile, porous vs. nonporous subfloors). Always follow manufacturer instructions for compatibility.
– Insufficient curing time: Walking too early, rolling equipment too soon, or allowing damp exposure during cure can trigger immediate re-peeling.
– Overly aggressive grinding: Grinding too deep can change subfloor profile or damage the surrounding area, which creates new edges that will lift again.
In practice, the most frustrating failures look like “the adhesive was fine, but it still peeled the same week.” When that happens, the substrate is usually still the problem—contamination left behind or moisture migration that wasn’t resolved.
Verdict / tip: what usually works best
If the peeling is localized and the subfloor is dry and properly cleaned, a careful patch repair using manufacturer-approved rubber-floor adhesive is usually the most cost-effective, reliable option. Skip repeated “quick fixes” (spot glue on loose edges) when moisture appears involved, when prep likely had contamination, or when peeling spans a large area—those scenarios usually require broader remediation or replacement.
“The most durable repairs correct the original failure mechanism, not just the visible separation.” [ADD: source—resilient floor failure/remediation principle]
Downsides to keep in mind:
– Patch repairs can be visually noticeable and may require blending transitions.
– If moisture is present, no adhesive choice fully substitutes for moisture control.
– If your rubber floor is aging or brittle, repeated repairs can weaken the surrounding perimeter.
Who should skip this DIY-style:
– If you can’t access a reliable moisture test method for your substrate type, or if the peeling is spreading.
– If the subfloor is unstable, cracking, or chronically damp.
– If the floor is under continuous heavy wheeled loads and you can’t control access during cure.
[ADD: your site’s preferred adhesive/installation method based on the specific rubber floor brand/type—cite manufacturer instructions]
Quick repair checklist (scan/save)
– [ ] Locate where peeling starts: top layer vs. seams vs. bond line
– [ ] Remove all loose rubber until edges are fully bonded
– [ ] Remove adhesive residue, wax, sealers, and dust (clean + keyed surface)
– [ ] Verify the subfloor is dry; address moisture sources first
– [ ] Use manufacturer-approved adhesive for your rubber floor type
– [ ] Apply, press/roll/clamp evenly
– [ ] Cure fully before foot traffic / rolling loads (follow label/specs)
FAQ
Will peeling rubber floors stick back down permanently if I glue them?
They can, if the bond failure was caused by a fixable issue (dirt/residue, minor edge lifting, or a seam preparation error) and you use the correct adhesive after proper prep. If moisture is driving the separation, re-gluing often fails again unless the moisture source is addressed first.
Can I just cut off the loose edges and patch without replacing the whole floor?
Often yes for small areas—remove loose material to sound edges, prep thoroughly, and patch with compatible rubber and adhesive. If multiple sections are failing or the floor is widespread-delaminating, replacement or broader remediation is typically more reliable.
What if the peeling comes from seams between tiles/sheets?
Seam failures usually point to seam prep, adhesive coverage, contamination, or movement during/after cure. Clean out the seam area, re-adhere with seam-appropriate products per the floor manufacturer, and clamp/press evenly during cure.
Do I need to grind the subfloor before fixing peeling?
Usually you need to remove contamination and create a good bonding profile, but the exact amount of abrasion depends on your subfloor and adhesive requirements. Follow the rubber flooring and adhesive manufacturer prep instructions. [ADD: manufacturer prep method for your specific system]
How long should I wait before walking on the repaired area?
Cure/rehabilitation time depends on the adhesive chemistry, temperature, and humidity. Follow the adhesive label/spec sheet for re-occupancy and traffic windows. [ADD: exact cure/recoat times from your adhesive’s documentation]
Sources:
– [ADD: manufacturer instructions/specifications for your rubber flooring product] (adhesive compatibility, prep requirements, cure times)
– [ADD: manufacturer instructions/specifications for the adhesive you plan to use] (application method, pressure/clamping guidance, curing/traffic limits)
– [ADD: subfloor moisture guidance from your flooring or adhesive manufacturer] (recommended moisture limits/tests based on subfloor type)
– ASTM standards referenced for moisture testing methodology: ASTM F710, ASTM F1869, ASTM F2170 (use the exact standard text relevant to your substrate and adhesive requirements)
When peeling happens on rubber floors, your best path is systematic: identify the separation plane, confirm whether moisture or contamination is driving failure, prep to a truly bond-ready surface, then reattach with the manufacturer-approved adhesive and correct pressure/cure controls. If the peeling is localized and the subfloor is stable and dry, patch repair often restores integrity without full replacement; if the delamination is widespread or moisture is active, prioritize remediation and broader re-laying to prevent the same problem from returning.
Frequently Asked Questions
What causes rubber floor tiles or gym floors to peel?
Peeling often happens when the rubber flooring isn’t bonded properly to the subfloor or when moisture interferes with adhesion. Common triggers include dirty or dusty subfloors, using the wrong adhesive for rubber floors, temperature and humidity swings, and high-traffic wear that breaks the bond over time. If peeling is concentrated near seams or edges, it can also point to installation gaps, improper rolling/curing, or inadequate surface preparation before laying the flooring.
How do you fix peeling rubber flooring step-by-step?
Start by lifting only the loose sections and removing any old adhesive, dust, and debris so the subfloor is clean and smooth. Scrape away failing material, vacuum thoroughly, and let the area fully dry if there’s any moisture. Apply an appropriate rubber flooring adhesive or contact cement (matching the product type), press the lifted rubber firmly back into place, and weigh/roll it for proper contact and curing time. Finally, seal edges and seams if your floor system supports it, and avoid heavy traffic until the adhesive is fully cured.
How can you prevent rubber floor edges from lifting again after repair?
Prevention depends on correcting the conditions that caused the initial failure—especially moisture and inadequate bonding. Use the correct adhesive for your rubber floor (sheet vs. tiles vs. interlocking) and ensure the subfloor is level, dry, and free of dust before reinstallation. After repairs, use a roller or firm pressure to ensure full contact and keep foot traffic and moving equipment off the area during the full cure period. For long-term protection, consider seam sealing and routine cleaning with products safe for rubber floors.
Which adhesive is best for reattaching peeling rubber flooring?
The best adhesive is the one specifically designed for rubber flooring installation and compatible with your existing subfloor and rubber type. For many rubber floor tiles and bonded systems, a high-tack construction adhesive or a rubber flooring contact cement is commonly used, but the exact choice should follow the flooring manufacturer’s recommendations. Avoid using generic glues that can weaken rubber, dry out too fast, or release over time. If the floor is in a high-moisture area, choose an adhesive formulated for moisture resistance and ensure the subfloor is properly dried before bonding.
Why does peeling return even after you patch the lifted areas?
Peeling often returns when the underlying issue wasn’t addressed—such as ongoing moisture in the subfloor, continued movement from an uneven base, or adhesive failure caused by poor prep. If the original surface was not sanded/abraded for better bond strength or if contamination (wax, cleaner residue, or dust) remained, the new adhesive bond may fail again. It can also re-peel if the rubber flooring was not pressed and allowed to cure properly under load. To stop recurring peeling, inspect the moisture level, correct any subfloor defects, and follow the full manufacturer installation and cure instructions.
📅 Last Updated: October 11, 2026 | Topic: How to fix peeling on rubber floors? | Content verified for accuracy and freshness.
References
- Flooring
https://en.wikipedia.org/wiki/Resilient_flooring - https://en.wikipedia.org/wiki/Vinyl_flooring
- Adhesive
https://en.wikipedia.org/wiki/Adhesive - RFCI – Resilient Flooring Covering Institute
https://www.rfci.com/ - Google Scholar Google Scholar
https://scholar.google.com/scholar?q=peeling+rubber+floor+adhesion - Google Scholar Google Scholar
https://scholar.google.com/scholar?q=sheet+rubber+floor+delamination+repair - Google Scholar Google Scholar
https://scholar.google.com/scholar?q=resilient+flooring+failure+moisture+subfloor+adhesive - Google Scholar Google Scholar
https://scholar.google.com/scholar?q=resilient+flooring+installation+guidelines+preparation+subfloor - Google Scholar Google Scholar
https://scholar.google.com/scholar?q=How+to+fix+peeling+on+rubber+floors? - How to fix peeling on rubber floors? – Search results
https://en.wikipedia.org/wiki/Special:Search?search=How+to+fix+peeling+on+rubber+floors?