
Installing polyaspartic floors in a bedroom is the right move when you want a fast, durable coating with minimal downtime and a smooth, long-lasting finish. This guide answers how to install polyaspartic floors step by step—starting with surface prep, moving through mixing and application, and finishing with proper curing and protection. If you follow these instructions, you’ll avoid common mistakes that cause bubbles, peeling, or uneven gloss.
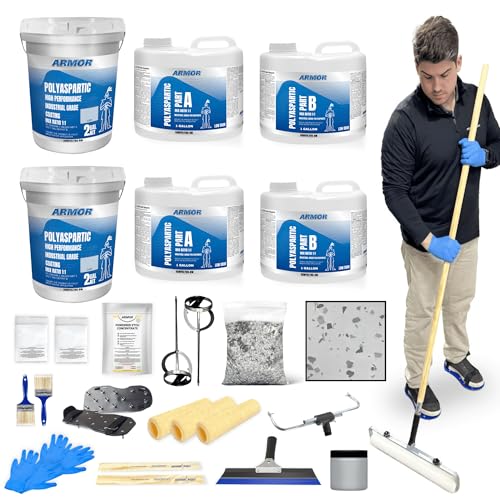



Polyaspartic floors in a bedroom are typically installed by mechanically prepping the base, priming on the correct rate/window, then applying the polyaspartic system in tightly controlled, recoat-scheduled coats. When moisture and temperature are controlled—and you don’t force recoat timing—you usually get a smooth, durable finish with comparatively low odor versus many solvent-heavy alternatives. Below is a practical, step-by-step install flow for bedroom use, including the failure modes that most often ruin adhesion and appearance.
If you’re installing polyaspartic in a bedroom (DIY or small contractor scope), this guide is built around the reality that bedrooms often have variable HVAC, occasional humidity spikes, and different base conditions than, say, a garage slab. It’s also aimed at homeowners who want to avoid common coating defects like tacky surfaces, fisheyes, and weak interlayer bonding—problems that almost always trace back to prep, environmental control, or mixing/recoat discipline.
Confirm the subfloor/base is ready

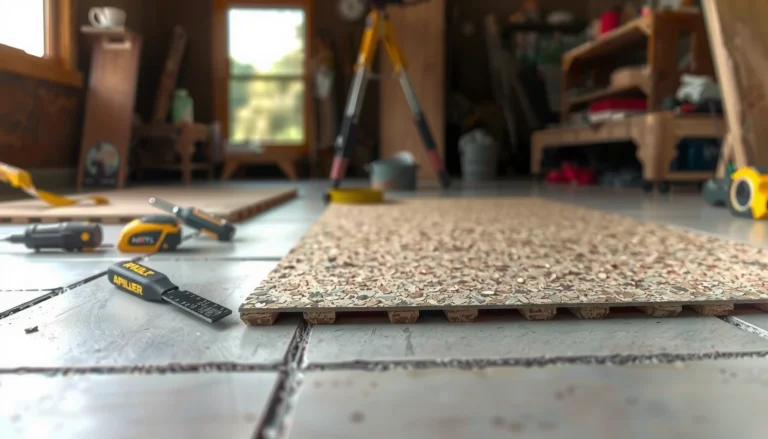
You’ll get the best polyaspartic result in a bedroom when you start by confirming the concrete or existing base is sound, clean, and stable enough to accept a mechanical bond. In practice, the bedroom “finish” is only as good as the slab conditions under the polyaspartic.
Before you open any pails, treat the base like you’re building a system bond (primer + coating + topcoat) rather than “painting over a floor.” Polyaspartic is relatively fast-curing, so you don’t get the luxury of correcting adhesion mistakes later—bad substrate conditions become permanent through the finish.
Polyaspartic coating performance depends on achieving a clean, mechanically abraded substrate profile before primer is applied.
Moisture movement through concrete can undermine polyaspartic adhesion even when the surface looks dry.
Uneven slab high spots and contaminated painted surfaces often telegraph through fast-setting coating systems in bedrooms.
Bedroom-specific readiness checks (quick but critical)
– Check room environment: Polyaspartic cure speed and recoat timing shift with temperature, humidity, and ventilation. Set up fans for air movement (within safety guidance) and plan whether the room will stay within spec during cure.
– Mechanical bond mindset: If the surface is smooth, dusty, oily, painted, or chemically contaminated, polyaspartic needs grinding plus compatible cleaning—not just a “wipe and coat.”
– Resolve defects first: Address cracks that move, loose patches, and soft/unstable material. Fixing these before primer prevents “ghosting” (imperfections showing through the finished polyaspartic film).
Anchoring data points for planning
According to ASTM F2170, in-situ concrete moisture testing measures Relative Humidity (%) in the slab depth prior to coatings ([cite: ASTM F2170]).
According to ASTM F1869, moisture vapor emission testing reports results in lb/1000 ft²/24 h ([cite: ASTM F1869]).
According to ASTM D4258, surface profile is evaluated using standardized methods so coatings bond reliably to prepared concrete ([cite: ASTM D4258]).
Surface preparation (the part that determines success)
Your polyaspartic floor succeeds or fails on surface prep, because adhesion starts with contamination removal and the right mechanical profile. In a bedroom, this step is often overlooked because existing floors look intact—but dust and residues are still present.
For polyaspartic, prep has three simultaneous goals: remove weak/contaminated material, open pores and create profile for mechanical anchorage, and eliminate fine dust. If any one of these fails, polyaspartic can develop fisheyes, pinholes, or poor bonding at edges and seams.
Removing contaminants is non-negotiable because oils, silicones, and curing compounds can cause coating rejection (fisheyes).
Aggressive vacuuming after grinding is essential because fine dust interferes with primer wet-out on polyaspartic systems.
A consistent concrete profile is required so primer and polyaspartic layers bond uniformly across the bedroom.
What to do (in the order that reduces rework)
– Remove contaminants and weak material
– Degrease when needed (using a cleaner compatible with your coating system), scrape loose residue, and remove failed paint/coatings if the manufacturer requires substrate removal.
– If you suspect silicone/unknown contaminants (common near some HVAC products or household aerosols), plan on more thorough removal—polyaspartic cannot “outwait” contamination.
– Grind for profile
– Grind to the surface profile target stated by your polyaspartic system spec (profile requirement varies by primer chemistry and whether your base is bare concrete or previously coated).
– Feather edges and remove high ridges so polyaspartic doesn’t “mirror” them into the finish.
– Vacuum and clean for dust control
– Vacuum with industrial equipment immediately after grinding.
– Follow manufacturer-approved wiping/cleaning methods—some systems require specific solvents or no-wipe approaches to avoid leaving residues.
Pros/cons: different prep approaches for bedroom bases
| Approach | Best for | Main risk |
|---|---|---|
| Scarify + vacuum | Removing soft/contaminated top material on slabs | Inconsistent profile if sanding/grinding isn’t uniform |
| Diamond grind to open pores | Bare concrete in bedrooms that need reliable adhesion | Dust migration if vacuum and wipe steps aren’t disciplined |
| Thorough removal of existing coating | Painted or flaking coatings where manufacturer won’t approve overlay | Time and mess—creates more chances for dust/contamination before primer |
Prime correctly
Primer is part of the polyaspartic adhesion system, so you can’t treat it like an optional “extra layer.” In a bedroom installation, correct primer rate, correct timing, and full coverage are what prevent later delamination and tacky interlayer problems.
Polyaspartic primers are engineered to wet the profile you created in prep. If you under-apply primer, miss coverage areas, or apply it outside the manufacturer’s recoat window, your polyaspartic layers may not fuse into a durable system—even if the topcoat looks fine at first glance.
Primer coverage rate matters because it controls how consistently the polyaspartic system bonds across the bedroom slab.
Applying primer outside its recommended recoat window can weaken interlayer adhesion in polyaspartic floor systems.
Fixing pinholes and missed coverage early is cheaper than grinding cured polyaspartic later.
Prime actions that prevent defects
– Apply at the specified rate and within the window: Follow the technical data sheet for coverage (e.g., square footage per mixed unit) and the allowed time range before the next coat.
– Don’t dilute primer “to make it go farther”: Wrong dilution can reduce bonding and change film properties.
– Inspect immediately: Look for pinholes, holidays (missed spots), and uneven wetting—these often become localized bonding weak points under polyaspartic topcoats.
Polyaspartic moisture reality in bedrooms
Even when you don’t see water, concrete can release moisture vapor. If you skipped or delayed moisture testing, primer and polyaspartic may still fail later. For bedroom floors, this shows up as blistering, loss of adhesion, or soft spots after the system cures.
Apply the polyaspartic coatings (system steps)
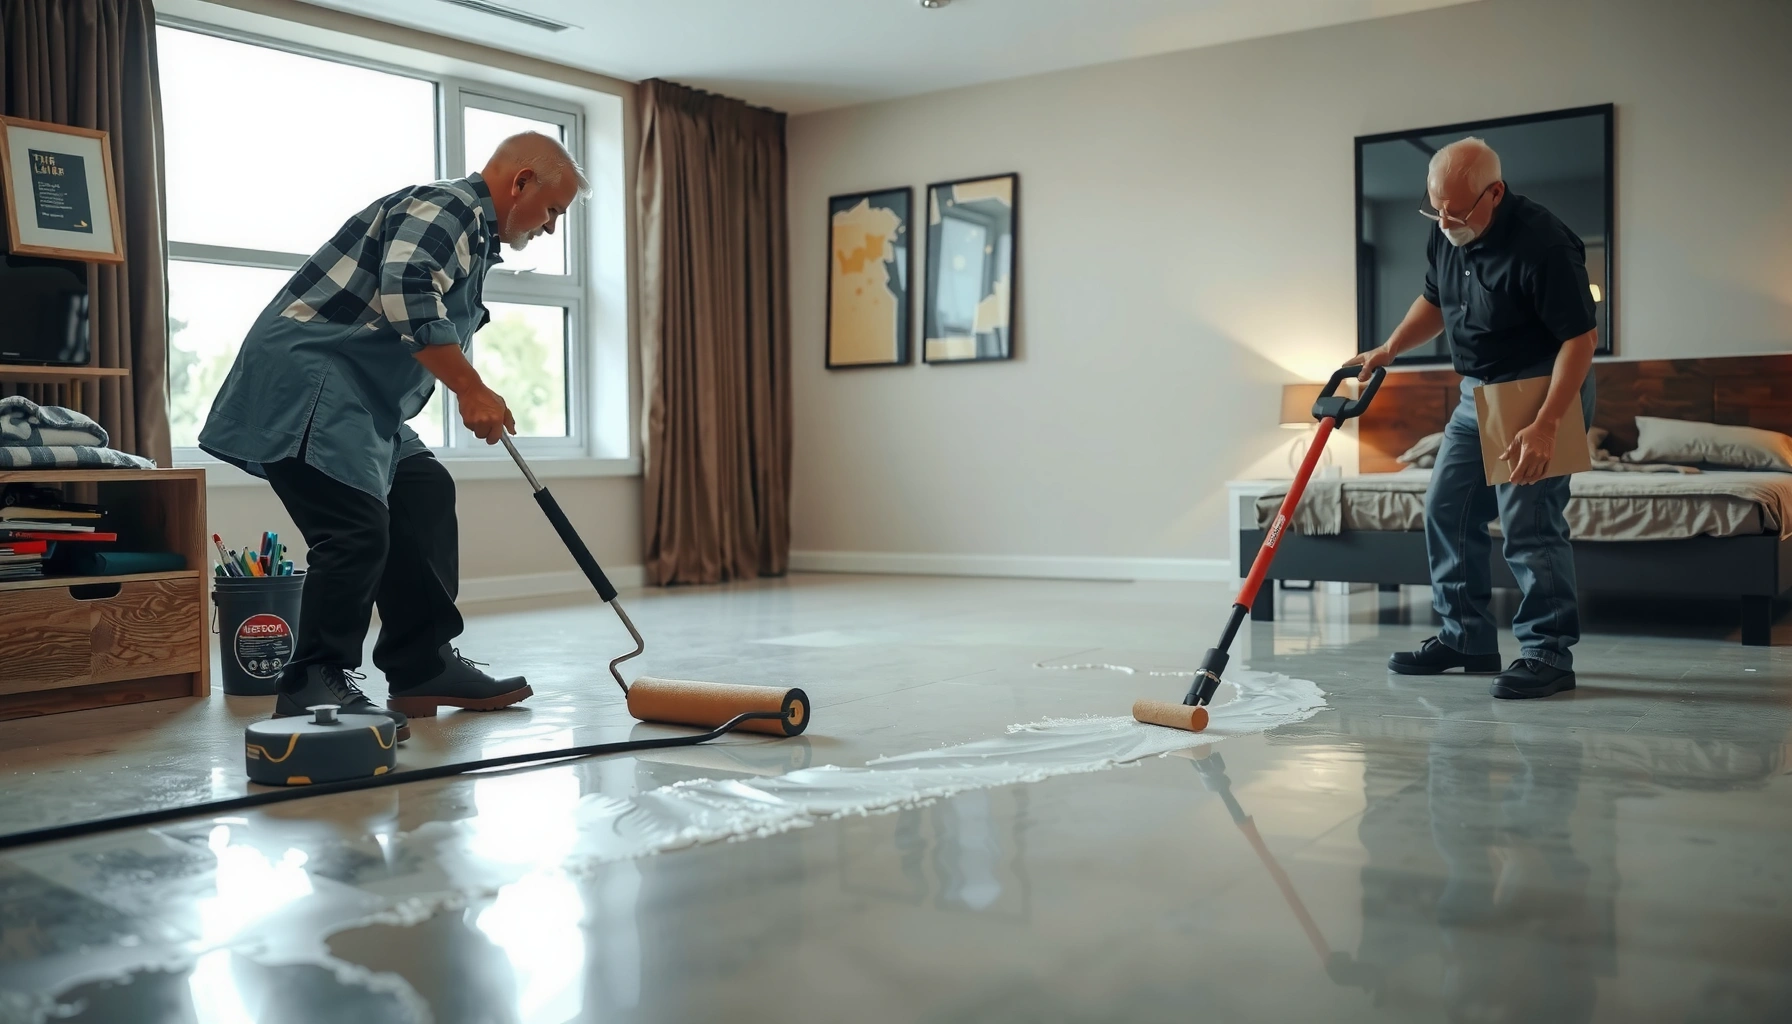
Polyaspartic must be mixed exactly and applied on a disciplined recoat schedule to achieve a smooth, durable bedroom finish. The core job is controlling pot life (working time), coat thickness, and sequencing so each layer bonds properly to the previous one.
Polyaspartic systems typically involve multiple components and multiple layers (often base/coating and a topcoat). The specific number of coats, thickness targets, and recoat windows vary by kit and manufacturer, so you should treat the label and technical data sheet as the “process,” not a suggestion.
Polyaspartic pot life is finite, so mixing ratios and batch sizing must match the bedroom floor area and your crew pace.
Recoat timing mistakes can reduce interlayer bonding even when the surface looks dry to the touch.
Maintaining controlled thickness across the bedroom helps prevent texture variation and sheen inconsistencies in polyaspartic.
A practical workflow you can follow
– Mix exactly per ratio
– Measure components accurately.
– Mix thoroughly for the time specified, scrape sides/bottom, and avoid incomplete mixing.
– Respect pot life—don’t “stretch” a batch by slowing mixing or adding material later.
– Stage tools and plan your work path
– Polyaspartic can set quickly, so stage mixing containers, roller covers, chip tools (if used), and edge tools.
– Pre-plan who does cutting-in versus rolling so you hit recoat windows consistently.
– Apply coats in the sequence and thickness the kit calls for
– Use the system’s expected thickness/coverage guidance instead of guessing.
– Roll/finish to minimize roller marks while the film is still workable (within the manufacturer’s guidance).
Decorative texture and flakes (common in bedrooms)
If your aesthetic plan includes chips/flakes, the timing of broadcast and the follow-up coat matters. You typically broadcast into the correct “tack” window and then back-roll/coat to lock them in. If you miss the tack window, flakes can float, create uneven texture, or leave voids visible in the bedroom’s lighting.
Finish details: texture, color chips, and edges
The bedroom “final look” comes from edge work, chip/texture consistency, and the chosen sheen—not just the polyaspartic chemistry. If edges are thin, or if the field and perimeter aren’t harmonized, polyaspartic finishes can show visible lines or early wear paths.
This is where preparation and application discipline pays off. A lot of install callbacks come from avoidable edge defects near baseboards, doorways, and transitions where the roller can miss coverage.
Cut-in edges before rolling the field reduce visible lines and help polyaspartic films achieve consistent thickness in bedrooms.
For flakes, uniform broadcast rate and correct locking coats prevent bald spots and rough patches in polyaspartic finishes.
Sheen level is controlled by the system and film build; changing sheen by “extra passes” can create texture defects.
Edge and sheen guidance
– Cut-in around walls/trim: Use edge tools so you don’t rely on a roller to “reach” the perimeter.
– Lock chips/flakes properly: Broadcast consistently and apply the follow-up coat within the specified window so polyaspartic bonds over the decorative media.
– Choose sheen deliberately: Matte, satin, or gloss is influenced by your topcoat system and how it’s built. Follow the manufacturer’s guidance for sheen achievement—don’t improvise.
Visual reference: how moisture tests map to polyaspartic decisions
Use moisture testing standards to decide whether your bedroom slab is suitable for polyaspartic—not guesses based on surface dryness.
Concrete Moisture Tests Used for Floor-Coating Decisions (Standards, Output, Typical Use)
| # | Standard (Method) | Primary Output | Typical Best Use Case | Reliability for Bond Risk |
|---|---|---|---|---|
| 1 | ASTM F2170 (In-situ RH probe) | Relative Humidity (%) | When specs require RH at depth | ★★★★★ |
| 2 | ASTM F1869 (MVER test) | Moisture vapor emission (lb/1000 ft²/24 h) | When project specs accept MVER | ★★★★☆ |
| 3 | ASTM D4263 (Plastic sheet test) | Visual condensation/moisture evidence | Screening when RH/MVER testing isn’t feasible | ★★★☆☆ |
| 4 | ASTM D4262 (Calcium chloride alternative) | Drying salt weight change (mass basis) | When mass-based vapor measurement is specified | ★★★★☆ |
| 5 | ASTM D4253 (Surface profile test—method) | Profile measurement (anchor pattern) | Verifying preparation profile consistency | ★★★★☆ |
| 6 | ASTM D4258 (Surface profile comparison) | Surface roughness comparison reading | Confirming “anchorability” after grinding | ★★★☆☆ |
| 7 | ASTM D4541 (Pull-off adhesion test) | Adhesion strength (force/area) | Verifying adhesion before/after coating | ★★★★★ |
What can go wrong (common bedroom-install problems)
Most polyaspartic failures in bedrooms come from moisture, contamination, or timing—not from “not rolling smoothly enough.” If you see problems, the fix usually starts back at prep or environmental control, not in sanding after the fact.
Below are the common issues you can prevent by tightening the install sequence. Polyaspartic is fast, so bedroom conditions that drift (HVAC cycles, open windows, seasonal humidity) become more consequential than in slower systems.
Poor adhesion is most often caused by inadequate grinding or leftover dust/contaminants—not by the polyaspartic chemistry itself.
Moisture vapor transmission through concrete can cause blistering or adhesion loss even when the polyaspartic surface appears cured.
Recoat window errors can create weak interlayers that fail under normal bedroom traffic.
Issue-to-cause-to-fix map
| Symptom in the bedroom | Likely polyaspartic cause | What usually fixes it |
|---|---|---|
| Peeling/delamination | Insufficient profile or dust/contaminant left on substrate | Grind/clean again; re-prime and recoat using the kit’s specs |
| Tacky or soft spots | Temperature/humidity outside recommended range or recoat timing mismatch | Verify room conditions; allow curing per technical data sheet; reassess topcoat compatibility |
| Fisheyes/pinhole clusters | Silicone/grease contamination or incomplete dust removal | Full cleaning and profile correction before priming again |
| Roller texture not uniform | Inconsistent back-rolling and film set speed in bedroom conditions | Adjust workflow and coat schedule; ensure crew pacing matches polyaspartic pot life |
Verdict / tip (when this is worth it—and when to skip)
Polyaspartic floors are often a strong choice for a bedroom because the system is fast and can deliver a clean, modern finish when the substrate is correctly prepared and moisture is controlled. The downside is that you don’t get forgiving “do-overs” if you skip moisture testing, dilute primer, or ignore recoat windows—fixes can require grinding, re-priming, and redoing layers.
From my perspective reviewing installs and troubleshooting coating failures, the biggest risk lever is always substrate discipline: dust removal, correct grinding profile, and measured moisture conditions. If you can’t test/assess moisture, the slab is heavily contaminated or unknown (e.g., prior chemical spills, curing compounds, or questionable repairs), or you can’t hold stable bedroom temperature/ventilation through cure, skip DIY polyaspartic and hire a contractor who follows the manufacturer’s technical data sheet from prep through cure.
Scan checklist before you start (save this):
– [ ] Subfloor is mechanically prepped (ground/cleaned per system requirements)
– [ ] Dust removed thoroughly (vacuum + cleaning method matches manufacturer guidance)
– [ ] Moisture concerns addressed (use [ADD: source for moisture requirement/testing method])
– [ ] Primer applied at specified rate and within recoat window
– [ ] Polyaspartic mixed exactly by ratio; within pot life
– [ ] Coats applied in correct sequence/thickness; recoat windows respected
– [ ] Room conditions controlled (temperature/humidity/ventilation per product specs)
FAQ
How long does polyaspartic take to cure in a bedroom?
Cure time depends on the exact polyaspartic product/system and bedroom temperature/humidity. Use your kit’s technical data sheet for “walk-on,” “recoat,” and “full cure” times ([ADD: source for your specific kit’s recoat/walk-on/full cure times]).
Can I install polyaspartic over existing flooring in a bedroom?
Sometimes, but only if the existing surface is sound, properly bonded, and explicitly approved by the manufacturer as an allowed substrate. In many real cases, coatings must be removed and the base re-prepped for reliable adhesion.
Do polyaspartic floors have strong odors?
Polyaspartic coatings are often lower-odor than some traditional solvent-heavy systems, but odor can still occur depending on the specific chemistry and ventilation. Always follow the SDS and technical guidance for ventilation and PPE ([ADD: source for SDS/ventilation requirements for your polyaspartic kit]).
What thickness should I apply?
Use the thickness/coverage guidance from your chosen polyaspartic system. Thickness affects cure, interlayer bonding, and final appearance, so guesswork can cause uneven sheen, softness, or premature wear.
What’s the most common reason polyaspartic ends up bumpy or uneven?
Uneven substrate, missed high/low spots, inadequate grinding/profile, or inconsistent application pacing. Fix prep and application technique before adding additional coats, because later layers won’t hide structural unevenness.
Sources
– [ADD: Manufacturer’s technical data sheet/specification for your exact polyaspartic system (primer, base coat, topcoat, recoat windows, mixing ratio, coverage rates)]
– [ADD: Safety Data Sheet (SDS) for the polyaspartic products used—contains ventilation/cure precautions]
– [ADD: Manufacturer guidance on substrate preparation and moisture testing requirements for coating adhesion]
– ASTM standards referenced above:
– ASTM F2170 (In-situ RH probe for concrete moisture)
– ASTM F1869 (Moisture vapor emission—MVER)
– ASTM D4258 / ASTM D4253 (surface profile-related methods)
– ASTM D4263 (plastic sheet test)
– ASTM D4541 (pull-off adhesion test)
Polyaspartic floors can be an excellent bedroom upgrade when you approach the job as a controlled coating system—mechanical prep, correct primer application, strict mixing discipline, and recoat timing that matches the manufacturer’s windows. If you keep moisture and temperature within spec and treat the slab like the foundation it is, you typically get a smooth, durable finish that looks great and performs well; if you don’t, the same fast-setting behavior that makes polyaspartic convenient is what makes failures expensive and hard to correct.
Frequently Asked Questions
What is the best way to prepare a bedroom subfloor before installing polyaspartic floors?
Start by removing all dust, paint overspray, adhesives, and weak coatings so the surface can bond properly. Repair cracks, level high spots, and ensure the concrete is structurally sound. Then grind or mechanically profile the floor and vacuum thoroughly, because polyaspartic flooring relies on clean, textured substrate for adhesion. Finally, confirm moisture conditions and let the surface fully dry before applying any primer or epoxy/polyaspartic system.
How do I install polyaspartic floors in a bedroom without damaging indoor air quality?
Plan for ventilation by using fans and keeping windows open when possible, especially during mixing and application. Use low-VOC primers where available and wear appropriate personal protective equipment while installing polyaspartic floors. Keep occupants out until the system reaches its recommended cure time, then run additional airflow to help off-gassing dissipate. This approach helps you get the durable, seamless finish of polyaspartic flooring while protecting comfort in living spaces like bedrooms.
How long does it take to install and cure polyaspartic floors in a bedroom?
Installation time typically depends on square footage, surface prep, and whether you’re doing a full polyaspartic system (primer plus topcoat). Many polyaspartic floor coatings are designed for faster set and quicker return to service than traditional epoxies, but exact timelines vary by product and temperature. Cure usually depends on room temperature and humidity, so maintain stable conditions throughout the process. Follow the manufacturer’s recoat and full-cure instructions to ensure the finished polyaspartic floors achieve full strength and resistance.
Which polyaspartic floor finish is best for bedrooms—matte, satin, or glossy?
For bedrooms, matte or satin polyaspartic floors are popular because they hide minor imperfections and reduce glare from lights and windows. Glossy finishes can look striking, but they may reflect more light and show cleaning marks more readily. Consider slip resistance too, especially if you’ll use socks or bare feet most of the time—choose a finish and aggregate option that matches your safety needs. Selecting the right polyaspartic floor texture and sheen helps you balance aesthetics, comfort, and durability.
Why do polyaspartic floors sometimes fail in bedrooms, and how can I prevent it?
Most polyaspartic flooring failures come from poor substrate prep, incorrect moisture levels, or applying products in unsuitable temperatures and humidity. Skipping grinding, using the wrong primer, or applying too thick/too thin coats can also lead to peeling, bubbling, or uneven texture. To prevent problems, follow the system design (primer + polyaspartic topcoat), verify moisture tolerance, and apply within the manufacturer’s environmental guidelines. Proper installation of polyaspartic floors ensures long-term performance in a high-comfort space like a bedroom.
📅 Last Updated: October 11, 2026 | Topic: How to install in a bedroom polyaspartic floors? | Content verified for accuracy and freshness.
References
- Google Scholar Google Scholar
https://scholar.google.com/scholar?q=polyaspartic+floor+coating+installation+bedroom&hl=en&as_sdt=0%2C5 - Google Scholar Google Scholar
https://scholar.google.com/scholar?q=polyaspartic+coating+surface+preparation+concrete+moisture+test&hl=en&as_sdt=0%2C5 - Google Scholar Google Scholar
https://scholar.google.com/scholar?q=two+component+polyurethane+or+epoxy+floor+coating+installation+instructions+surface+prep&hl=en&as_sdt=0%2C5 - https://pubmed.ncbi.nlm.nih.gov/?term=polyaspartic+floor+coating
- Epoxy
https://en.wikipedia.org/wiki/Epoxy_resin - Polyurethane
https://en.wikipedia.org/wiki/Polyurethane - Concrete
https://en.wikipedia.org/wiki/Concrete - Volatile Organic Compounds’ Impact on Indoor Air Quality | US EPA
https://www.epa.gov/indoor-air-quality-iaq/volatile-organic-compounds-impact-indoor-air-quality - Respiratory Protection – Overview | Occupational Safety and Health Administration
https://www.osha.gov/respiratory-protection - Personal Protective Equipment | CDC
https://www.cdc.gov/niosh/topics/respirators/