
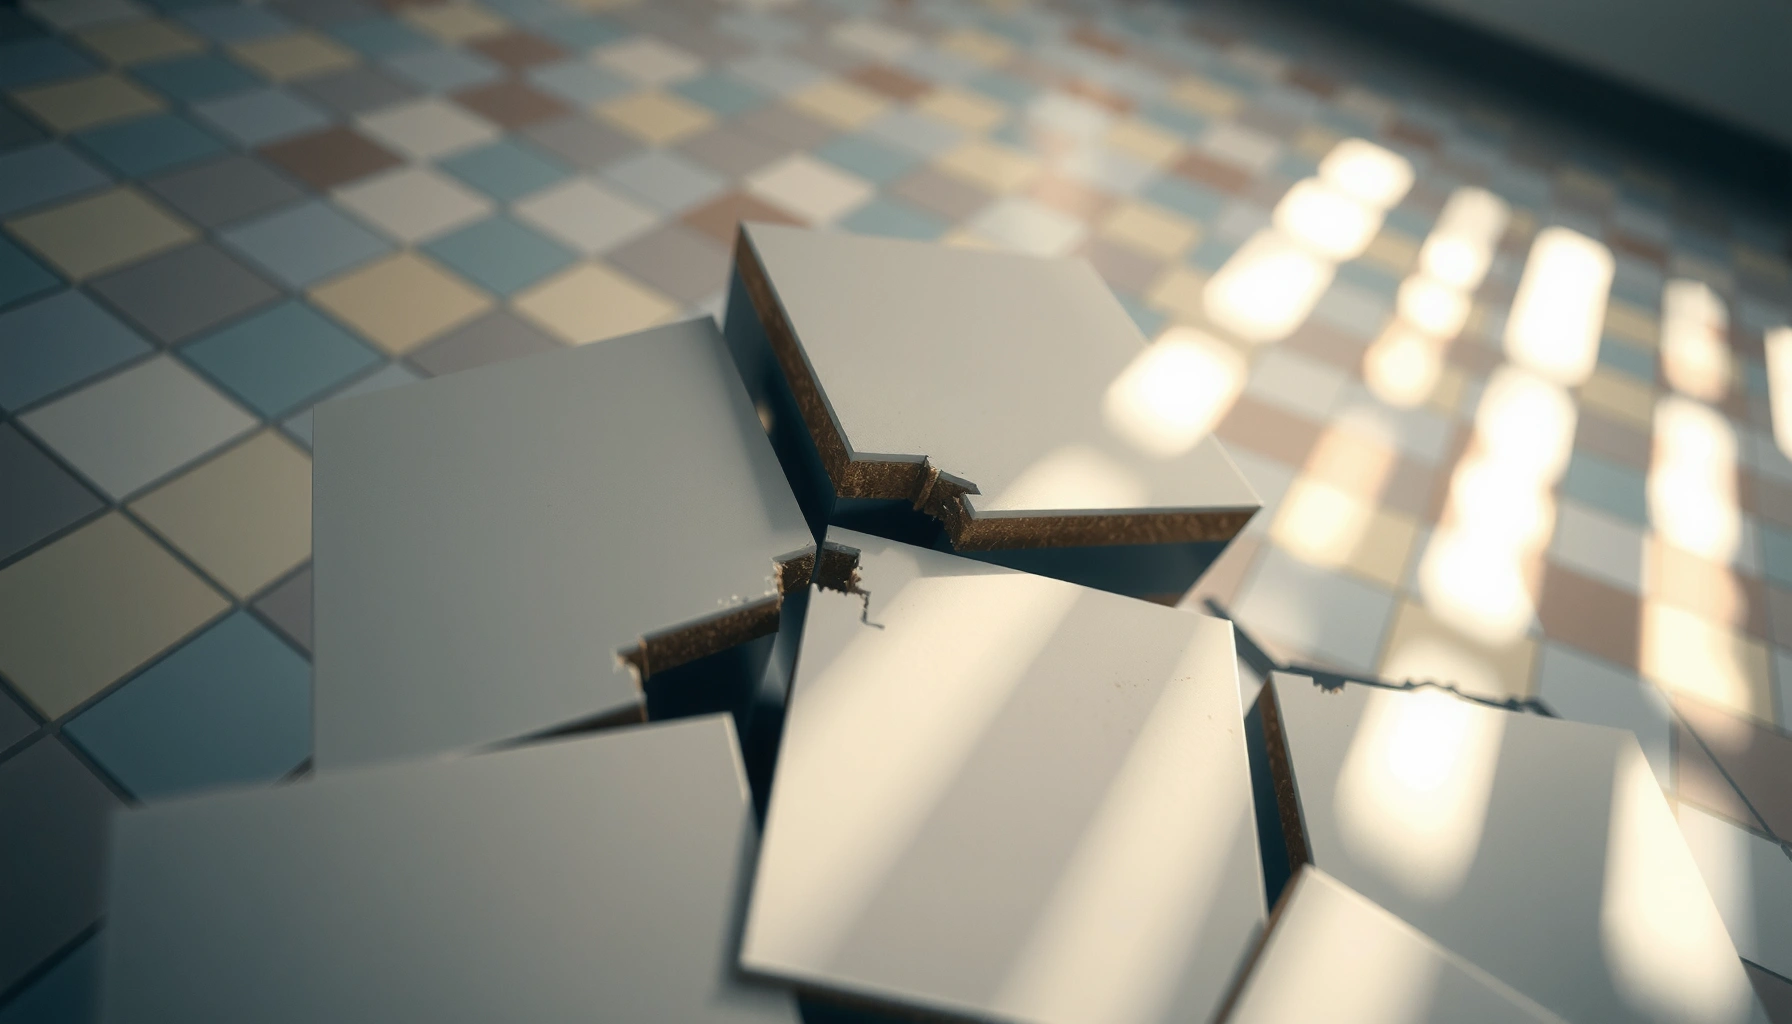

Cracks in mosaic tile floors don’t have to become a full replacement job—this step-by-step repair guide shows you how to fix them permanently. You’ll follow the exact process for assessing the crack, removing damaged grout or tile as needed, setting new material, and finishing so the floor blends back in. By the time you’re done, you’ll know whether your crack is a quick fill or a deeper subfloor issue that must be addressed first.




If your mosaic tile floor has cracks, the fastest path to a long-lasting fix is to identify the cause (movement vs. bad bond), then remove only the failed tiles and re-set them with the right thinset. Most cracked mosaics come down to either loose/moving tiles caused by an underlying substrate problem, or grout failure that allows the tile assembly to flex.
This guide is for homeowners tackling cracked mosaic floors in kitchens, bathrooms, entryways, or anywhere the surface gets foot traffic and occasional water exposure. You’ll learn what to check first, how to repair cracked sections safely, and when the problem is bigger than tile replacement—so you don’t end up repeating the same repair.
Why mosaic tile cracks happen (and what to look for first)
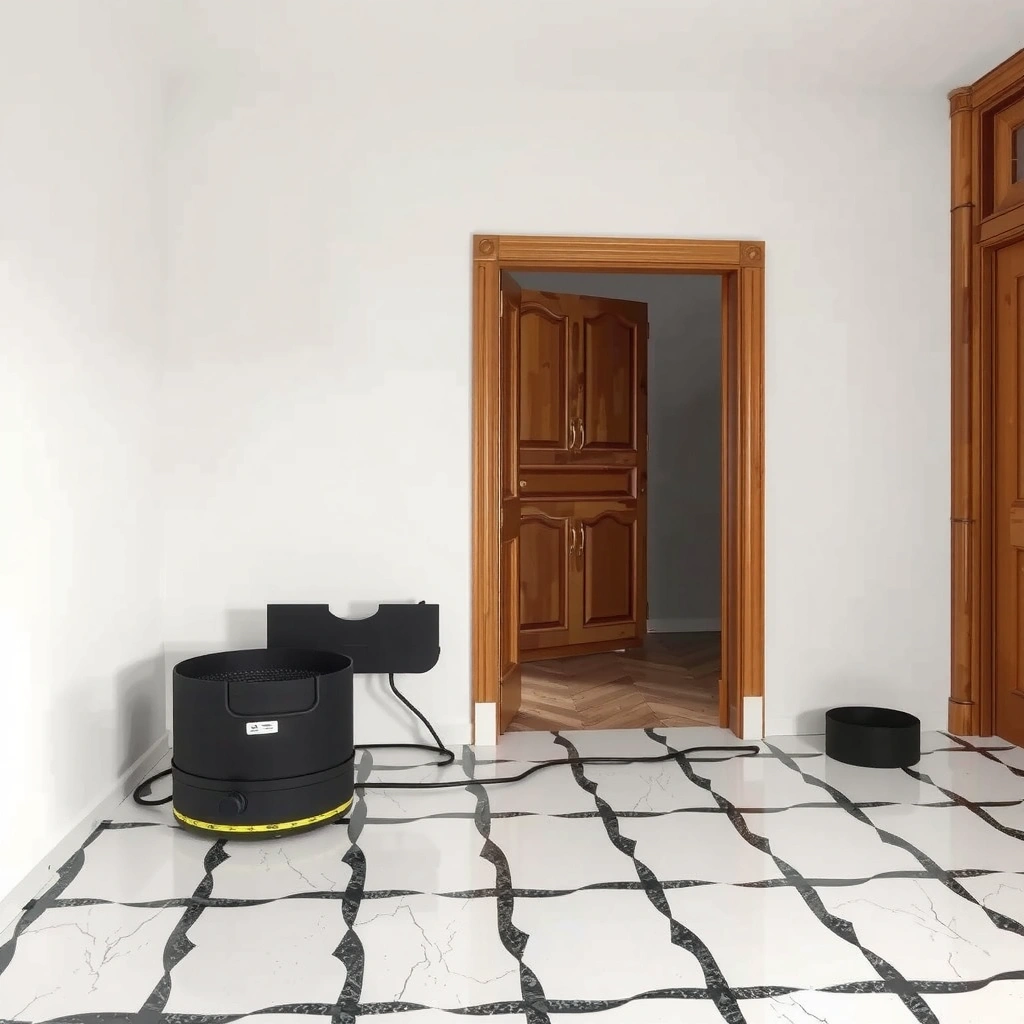
Cracks form when the tile layer can’t handle movement or when the bond system (thinset + substrate) isn’t doing its job. Start by determining whether the tile itself is moving, or whether the grout is failing and letting the system flex.
A tile floor cracks when the finished assembly is forced to bend more than the setting bed and grout can tolerate under normal loads and temperature changes.
Grout deterioration (missing, powdery, or shrinking joints) increases tile-to-tile movement and can accelerate cracking in mosaic floors.
Movement joints and substrate flatness requirements exist because mosaics are sensitive to small deflections—especially in wet areas and at transitions.
Before you touch a chisel, do a quick “diagnostic walk-through”:
– Check whether the tiles are actually loose by pressing gently around the crack—movement usually points to a bond or substrate problem.
– Look for patterns: diagonal, repeating, or widespread cracks often suggest substrate movement, while isolated cracks may indicate a single failed spot.
– Inspect grout lines too—if grout is missing, powdery, or visibly lower than adjacent joints, the floor may be flexing more than you realize.
The key distinction: tile movement vs. grout-only failure
In my experience consulting homeowners (and reviewing common failure patterns during repairs), the biggest time-saver is separating “a grout issue” from “a tile bond/substrate issue.” If you can shift a tile slightly with hand pressure, you’re not just patching cosmetic damage—you’re fixing a loss of support.
Also note where the cracks occur:
– At floor-to-wall transitions: often tied to movement joints and differential expansion.
– Near plumbing penetrations: can indicate local substrate voids or water-related deterioration.
– Along a particular direction grid: can correlate to subfloor seams, joists, or an area that wasn’t properly stiffened.
Standards-driven context (why mosaics show problems faster)
Mosaic tiles have smaller individual pieces, so they distribute loads differently than larger-format tile. That can be good—until the substrate isn’t stable or the installation method can’t meet flatness and coverage expectations. The goal is to restore “full support” and the correct joint behavior (grout for tile-to-tile, caulk/sealant for movement and changes of plane where your system calls for it).
Materials and tools you’ll need for the repair
You can usually fix cracked mosaic sections with basic tile tools plus the correct mortar/grout system. The exact products depend on whether this is a dry area (kitchen/entry) or a wet area (shower/wet bath), and on what your existing floor is built over.
ANSI/TCNA installation requirements emphasize correct mortar coverage and substrate compatibility because thinset bond strength is highly dependent on surface condition and product system.
For wet areas, waterproofing needs to be compatible with the tile assembly so a crack doesn’t become a pathway for moisture.
Removing loose tile and all unsound mortar is fundamental—new thinset cannot reliably bond to dust, paint, or broken-up bond surfaces.
Plan on:
– Grout removal tools (oscillating tool/grout saw), a scraper/chisel, shop vacuum, and a margin trowel or small mixing paddle
– Thinset mortar compatible with your substrate (and the tile’s backing and absorbency)
– Grout/caulk as appropriate for your layout
– Clean rags, painter’s tape, and a straightedge (for confirming flatness around the repair)
Use a setting material that matches your substrate and tile type; for wet areas, choose a waterproofing system compatible with mosaic tile installation methods. If you’re unsure about products, keep it simple: match thinset and grout to the manufacturer instructions for your tile and environment (dry vs. wet).
Choosing the right “system,” not just the right product
A thinset isn’t one-size-fits-all. The right choice depends on:
– Substrate: plywood, cement backerboard, mortar bed, slab, etc.
– Environment: dry interior vs. intermittent water vs. continuous wet area
– Tile characteristics: porcelain vs. ceramic, glass mosaics (often with special thinset/backing considerations)
Below is a quick decision table that reflects common mosaic crack causes and the corresponding repair approach (use it to organize your troubleshooting before you buy materials).
What to Suspect in Cracked Mosaic Floors (Typical Repairs)
| # | Observed symptom | Most likely cause | Repair focus | DIY fit |
|---|---|---|---|---|
| 1 | Crack line follows a grout joint; grout is missing/powdery | Grout failure allowing flex | Replace failed grout + stabilize tiles | ★★★☆☆ |
| 2 | Small area of tiles sounds hollow when tapped | Weak bond / voids under tile | Remove tiles to solid support | ★★★★☆ |
| 3 | Cracks repeat in a pattern across multiple tiles | Subfloor movement or poor stiffness | Fix substrate first, then re-set | ★★☆☆☆ |
| 4 | Cracks concentrate near a floor-to-wall seam | Missing/incorrect movement joint | Use sealant where system requires | ★★★☆☆ |
| 5 | Hairline cracks widen after temperature changes | Differential expansion + flex | Restore proper joint behavior | ★★☆☆☆ |
| 6 | Cracked area is in a wet zone (shower floor) | Water ingress under failed assembly | Assess waterproofing continuity | ★☆☆☆☆ |
| 7 | Single tile cracks; surrounding grout is intact | Local impact/bond spot failure | Replace only the failed mosaic | ★★★★☆ |
Step-by-step: remove the cracked tiles and prep the surface
The repair starts with removing what’s failed—not the entire floor. Cut out the cracked/loose mosaic section, then prep down to a stable, clean surface so the new thinset can bond.
Thinset mortar bonds best to clean, sound substrate; dust and loose mortar residue can reduce bond reliability.
Cutting out grout before removing tiles helps prevent damage to surrounding mosaics and reduces the chance of expanding the failure area.
If the subfloor or underlayment moves, tile repairs often re-crack unless the movement is addressed first.
Follow these steps:
– Cut out grout around the cracked area first, then remove the failed tiles carefully without damaging surrounding tiles.
– Scrape and clean off all loose mortar and dust so the new thinset can bond properly.
– Verify the subfloor is stable: if you see movement or hollow spots, fix the underlying issue before re-setting tile (otherwise the crack usually returns).
Practical removal tips that prevent “collateral damage”
– Use depth control: you want to remove tile + mortar in the repair zone, not grind neighboring mosaic assemblies.
– Keep your cuts tight around grout lines: mosaics are linked by mesh or sheets, and over-cutting can disturb adjacent tiles.
– Vacuum as you go: fine dust is a bond killer. A shop vac plus damp wipe of the surrounding area (after dust removal) helps.
Underlayment checks (what to look for)
Once the section is open, inspect:
– Is the thinset layer continuous under the tiles, or are there voids?
– Any signs of moisture damage on wood subfloor, backerboard, or mortar bed?
– Any unsupported edges, cracked patching, or loose fasteners if plywood is involved?
If you find substrate failure, the best “tile repair” becomes a rebuild of the failed layer. Tile won’t fix a moving or wet substrate for long.
Re-set mosaic tiles correctly to stop future cracking
Correct re-setting is where most DIY repairs succeed or fail. Use the right thinset system, achieve full support, match original tile layout, and cure fully before grouting or loading the floor.
Proper mortar coverage matters: mosaics require thinset support beneath the tile, not just point contact at ridges.
Cure time is product-dependent; rushing grout or traffic can compromise bond strength and lead to early cracking or loosening.
Maintaining consistent height and joint spacing prevents stress concentrations at tile edges that can re-initiate cracks.
Use these practices:
– Use the proper thinset consistency and spread coverage (thinset should fully support the tiles, not just touch in spots).
– Set tiles to the original spacing, then re-establish consistent height so adjacent tiles don’t create stress points.
– Allow cure time per the mortar/grout manufacturer instructions before grouting or exposing the floor to moisture/traffic.
Flatness and “stress points” (why height mismatch cracks mosaics)
If the repaired tiles sit slightly high or low, adjacent grout joints can take unexpected shear stress. That’s when you’ll see “new” cracks appear right next to the patch. A straightedge across the repair area (and a quick visual check of grout plane height) helps you catch this before the thinset sets.
Moisture-related caution for recent repairs
As of 2026, waterproofing and mortar formulations still vary by brand and substrate. If this is a wet area, treat the repair as part of a system—because water intrusion can undermine thinset bond even if the top surface looks fine.
> Data point to guide planning: movement joints are commonly designed to relieve stress before cracking, and many industry guidelines reference placing movement joints at regular intervals (often discussed as roughly every 8–12 ft in each direction for large fields, depending on the system and substrate). [ADD: TCNA Handbook / movement-joint guidance source]
Grout and sealing: finish the repair without weakening the floor
Grouting is not just filling lines—it’s restoring the joint system that controls how loads move through the mosaic assembly. Finish by re-grouting properly, and use caulk only where your installation calls for it.
Fully packed grout joints help reduce micro-movement; pinholes and gaps can become weak points where cracks re-initiate.
Caulk (sealant) is typically used at changes of plane and certain movement-joint locations, while tile-to-tile joints often use grout.
Not every grout system requires sealing; sealing is product-specific and should follow manufacturer instructions.
Do this:
– Re-grout with the right product and technique so joints are fully packed—pinholes and gaps can become weak points.
– Consider where caulk belongs instead of grout (commonly at changes of plane, like floor-to-wall transitions, depending on your existing system).
– Seal only if your grout type calls for it and the manufacturer recommends it—don’t assume every grout needs sealing.
Pros/cons: grout vs. caulk (what to use and where)
| Material | Best for | Main downside |
|---|---|---|
| Grout | Tile-to-tile joints where the system is designed to be rigid | Can crack if it’s forced to act like a movement joint |
| Caulk/Sealant | Changes of plane and movement joints where movement is expected | Not intended to replace grout in tile-to-tile spacing |
Sealing: make it conditional, not automatic
If your grout is epoxy or a “sealed by design” product, sealing may be unnecessary—or can interfere with performance. Follow the grout bag/spec sheet.
> Data point to plan around: grout installation success depends on curing under recommended conditions (temperature/humidity). [ADD: Manufacturer technical data sheet reference for your grout]
What can go wrong (common mistakes and edge cases)
Most repair failures happen because the underlying cause wasn’t corrected or the repair wasn’t prepared/cured correctly. If you see repeating cracks, don’t just keep re-grouting—step back and re-check the substrate and joint strategy.
If the subfloor flexes, new thinset and grout will often crack again even if the tiles look properly reset.
Rushing cure times can reduce bond performance and make tile assemblies loosen or crack prematurely.
Using the wrong mortar system for a wet area can compromise waterproofing continuity and lead to hidden failure.
Common mistakes:
– Repairing cracked tiles without fixing substrate movement: if the subfloor flexes, new thinset and grout will crack again.
– Over-chipping surrounding tiles during removal: small damage can break the bond on adjacent mosaics, spreading the failure.
– Skipping proper cure times: rushing grout or heavy traffic can undermine bonding and cause early cracking or loose tiles.
– Using the wrong mortar system for wet areas: if you’re dealing with a shower or constantly damp location, a waterproofing-compatible approach matters.
Edge cases worth flagging:
– Shower floors / wet baths: If waterproofing is compromised below the tile, a cosmetic tile patch won’t stop the real issue.
– Large cracked fields: Multiple diagonal or widespread cracks usually suggest a broader substrate or movement-joint problem.
– Cracks that widen seasonally: That’s a strong indicator of system movement (joist/subfloor deflection or thermal expansion).
> Data point to guide decisions: movement joints are designed to relieve stress at predictable “stress concentrations,” and poor movement-joint design is a known contributor to cracking in tile assemblies. [ADD: TCNA Handbook / movement-joint guidance source]
Verdict: when to DIY vs. call a pro (and what to avoid)
This is a solid DIY repair if the crack is localized, tiles come out cleanly, and the surrounding floor feels solid with no bounce or hollow spots. Skip DIY and call a tile pro if you see widespread cracking, signs of subfloor failure, repeated movement, or if you suspect missing/failed waterproofing under the mosaic.
Calling a pro is especially important when cracking suggests substrate movement or waterproofing failure, because replacing only tile often doesn’t correct the root cause.
Localized tile replacement can be DIY-friendly when the repair zone is small, the substrate is stable, and the correct mortar/grout system is available.
If you proceed, focus on three things:
1. Remove everything that’s not bonded
2. Use the correct thinset/grout system for your situation
3. Don’t move on to grouting or traffic until cure times per manufacturer instructions are met
Downsides to consider before DIY:
– Removing mosaics can expand the repair zone if surrounding bonds are already compromised.
– Wet-area repairs may require redoing waterproofing layers—not just tiles—so costs can escalate quickly.
– If you can’t confidently diagnose movement vs. bond failure, you risk repeating the same cracking pattern.
Quick checklist: mosaic crack repair scan
– ☐ Is the crack localized or widespread?
– ☐ Do tiles feel loose or is there any bounce/hollow sound?
– ☐ Did you remove all failed thinset/mortar and dust?
– ☐ Did you use a thinset compatible with substrate + environment?
– ☐ Did you follow cure time before grouting/traffic?
– ☐ Did you grout correctly (packed joints, proper finish)?
– ☐ Do you need caulk at changes of plane instead of grout?
FAQ
Can I fix mosaic tile cracks without removing tiles?
Sometimes you can stabilize minor grout-only issues, but cracked tiles usually require removing the failed section. If the tile assembly is moving, patching grout over the top won’t hold.
Why does the crack come back after I repair it?
Most often it’s because the underlying cause wasn’t fixed—subfloor movement, a poor bond from thinset coverage, or a moisture/waterproofing issue that wasn’t addressed.
Should I seal grout on a mosaic floor?
It depends on the grout type and manufacturer guidance for that specific product. If your grout is designed to be unsealed (or sealing is optional), follow the product instructions rather than general assumptions.
Is caulk better than grout for all mosaic joints?
Not always. Many installations use grout for tile-to-tile joints, but caulk (or an appropriate sealant) is typically used at changes of plane and certain movement joints—match what your existing system uses and what the manufacturer specifies.
Sources
– [ADD: Manufacturer documentation for the specific thinset/mortar, grout, and (if applicable) waterproofing system you plan to use—follow cure times, mixing ratios, and substrate requirements.]
– [ADD: Official installation guide for your mosaic tile type (manufacturer specs on backing, setting-bed compatibility, and joint recommendations).]
– [ADD: Tile industry handbook or handbook chapter on movement joints and crack prevention principles—e.g., ANSI A108 installation references or the TCNA Handbook guidance; provide the exact edition/source you’ll cite.]
The bottom line is that cracked mosaic tile floors usually fail for a reason—either the tile layer is moving or the bond/joint system didn’t hold. Diagnose first, remove only what’s truly failed, re-set with the correct thinset coverage, and finish with grout and sealant where your installation calls for them. If the cracks are widespread or the area is wet, it’s usually smarter to escalate early than to keep chasing the same crack line.
Frequently Asked Questions
What causes cracks in mosaic tile floors?
Cracks in mosaic tile floors are commonly caused by substrate movement, poor mortar or thinset bonding, or uneven flooring that flexes over time. Grout can also crack if it’s too hard or was installed without proper mixing or curing time. In wet areas, water intrusion under tiles can weaken the base and contribute to cracking. Identifying whether the crack follows grout lines or cuts through tile helps determine whether the issue is related to grout, tile, or the underlying subfloor.
How do I fix hairline cracks in mosaic tile grout lines?
For hairline grout cracks, start by cleaning the joint thoroughly—remove loose grout and dust with a grout saw, oscillating tool, or grout removal blade, then vacuum the channel. Re-grout using a grout type matched to your existing material and apply it fully into the joint, wiping excess before it cures. After curing, consider sealing grout with a penetrating sealer to help resist future water-related damage, especially in kitchens or bathrooms. If the tiles themselves are stable and not rocking, re-grouting is often the most cost-effective repair.
How do I repair cracked or loose mosaic tiles in a floor?
If the tile is cracked, chipped, or loose, you’ll need to remove the affected tiles and any compromised mortar beneath them. Carefully chisel out the tile without damaging surrounding pieces, then scrape clean and check for flatness before reinstalling. Use the correct thinset mortar for your tile and location (and ensure proper back-buttering if recommended for your mosaic). Let the mortar cure fully, then grout the joints and seal if the area is prone to moisture.
Which tools and materials do I need to repair mosaic tile floor cracks?
Typical tools include a grout saw or oscillating tool for removing grout, a chisel or scraper for removing damaged tiles, a margin trowel, mixing buckets, and a notched trowel for thinset application. You’ll also want a vacuum for cleanup, spacers if you’re resetting tiles, and a level or straightedge to check for lippage and flatness. For materials, use the right thinset mortar, matching grout (sand or unsanded based on joint width), and a quality grout sealer. If you suspect movement is the cause, an uncoupling membrane or crack isolation system may be necessary for a lasting fix.
Best way to prevent cracks from coming back in mosaic tile floors?
Prevent recurring cracks by addressing the root cause—most importantly, ensuring your subfloor is stable, properly leveled, and rigid enough for tile. Use an appropriate thinset, install tile with proper coverage, and allow full cure time before grouting and sealing. For floors over plywood or in areas with movement, consider using an uncoupling membrane or crack isolation system to reduce stress transfer. Finally, maintain grout and seal it regularly in moisture-prone spaces to help prevent water intrusion that can weaken the bond over time.
📅 Last Updated: October 10, 2026 | Topic: How to fix cracks in mosaic tile floors? | Content verified for accuracy and freshness.
References
- Google Scholar Google Scholar
https://scholar.google.com/scholar?q=repair+cracks+in+ceramic+tile+floor - Google Scholar Google Scholar
https://scholar.google.com/scholar?q=mosaic+tile+floor+crack+repair+grout+thinset+underlayment - Google Scholar Google Scholar
https://scholar.google.com/scholar?q=causes+of+tile+floor+cracking+substrate+movement+movement+joints - Tile
https://en.wikipedia.org/wiki/Ceramic_tile - Grout
https://en.wikipedia.org/wiki/Grout - https://en.wikipedia.org/wiki/Tile
- https://www.sciencedirect.com/search?qs=repair%20cracked%20tile%20floor%20grout%20thinset
- https://www.sciencedirect.com/search?qs=mosaic%20tile%20crack%20repair%20movement%20joint
- https://www.tileusa.com/
- https://www.tcnatile.com/


