
If your polyaspartic floors are peeling, the fastest, most reliable fix is to identify the cause first—moisture, poor surface prep, or incompatible coatings—and then remove the delaminating layer completely before re-priming and reapplying polyaspartic the right way. This step-by-step guide shows exactly what to check, how to prep the substrate for adhesion, and how to patch or recoat so the peeling stops and the finish bonds permanently. You’ll get a clear process you can follow whether the damage is localized or widespread.


If your polyaspartic floor is peeling, the fastest path to a lasting repair is to stop the failure’s cause first—usually moisture/contamination and poor surface prep—then remove all loose coating and recoat only after the slab is properly profiled and cleaned. In most peeling scenarios, patching over failing material only delays the next failure because the bond system can’t “bridge” unsound concrete or loose coatings.
Polyaspartic systems are popular for garages, warehouses, balconies, and other slab-on-grade areas because they cure quickly and provide chemical and wear resistance. When peeling (delamination) starts, it often spreads from edges, repaired zones, or contamination points like oil spots—so the right fix depends on the failure pattern. This guide walks you through a structured repair approach for homeowners, facility managers, and contractors who need to stop peeling from spreading and restore adhesion using an engineered system workflow rather than random touch-ups.
Step 1: Identify the peeling cause before you patch

The right first step is to determine why the polyaspartic is losing adhesion, because the repair method depends directly on the failure mechanism. If you skip this, you can remove the top layer and still recoat onto the same problem that caused the peeling.
Peeling patterns matter: edge-only delamination often points to perimeter prep, while widespread lifting usually indicates a systemic issue like moisture or contamination before installation.
Concrete adhesion failures are commonly driven by either insufficient surface profile (mechanical bond) or chemistry issues from contaminants (grease, oils, curing compounds, or dust).
Polyaspartic topcoats rely on compatibility with the primer/base coat; changing products outside a specified system can reduce bond even when the surface “looks clean.”
Start by mapping where the coating is peeling:
– Edges and perimeter first: Often caused by boundary prep issues (insufficient grinding at the perimeter), incomplete primer coverage, or moisture pathways along joints.
– Along cracks or control joints: The coating may be losing bond due to movement, surface irregularities, or moisture migration along the crack/joint.
– Isolated circles or blotches: Commonly correlate with contamination (oil/grease), localized moisture, or overspray/mist from an adjacent process.
– Broad, uniform peeling: Frequently indicates a slab moisture problem or widespread surface prep failure.
Next, look for “bond inhibitors.” Contamination cues include:
– Dusting/poor wetting: a surface that won’t wet evenly during primer application.
– Oil/grease rings or darkened concrete areas: these can block chemical adhesion.
– Glossy or patchy existing coatings where they shouldn’t be: this can suggest curing residue, polishers, or prior treatments that interfere with bond.
– Curing agent residue or release compounds: common on newly poured or resurfaced slabs.
Finally, assess substrate condition. Peeling often accelerates when the concrete is weak or compromised:
– Laitance (a weak, powdery surface layer)
– Hollow/void areas (where the slab has delaminated internally)
– Crumbly, soft concrete that can’t provide a stable mechanical bond surface
If you’re working on a slab-on-grade or exterior balcony, moisture should always be treated as a suspect until proven otherwise—because moisture migration can undermine adhesion even with excellent grinding.
Step 2: Remove every loose area (don’t “skim over” the failure)
The fix starts with complete removal of all unsound coating—because a skim coat over loose material creates a thin “bridge” that inevitably fails. Your goal is to reach fully bonded material (and, when needed, properly sound concrete), not to blend cosmetic edges.
Repair areas should be cut back to sound material because delamination can extend beyond what’s visible at the edges.
Dust is an adhesion killer: residual concrete powder and coating dust commonly cause patch failure after recoating.
Feather edges only when the system is designed for it; otherwise, sharp repair boundaries help prevent thin “weak film” transitions.
Here’s the practical removal workflow:
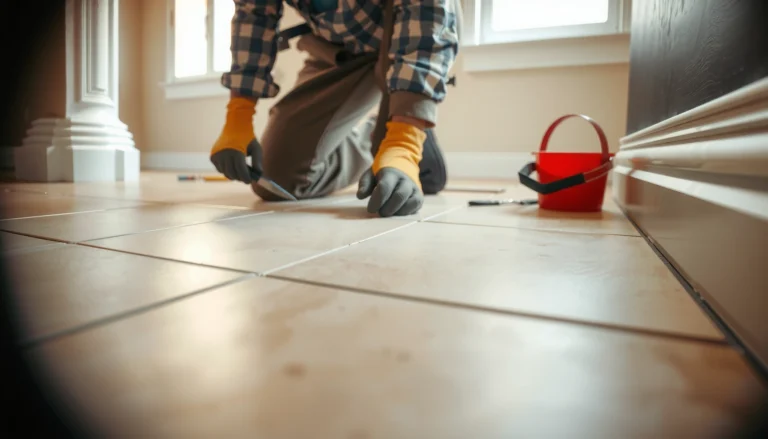
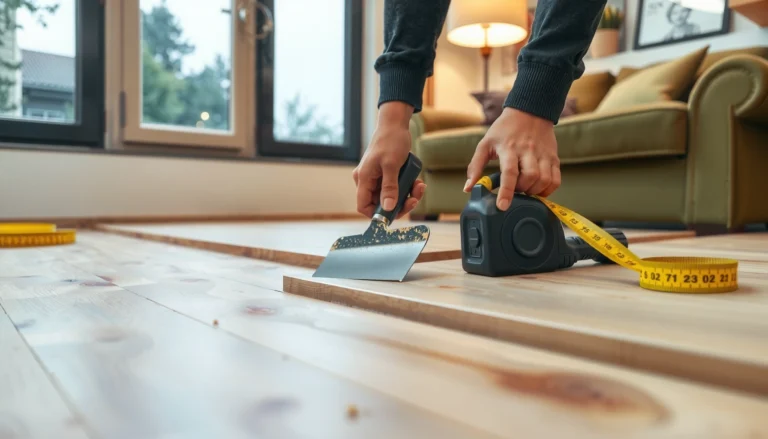
1. Chisel, grind, or scarify until you reach sound, tightly bonded coating or—if required by compatibility or adhesion failure—down to appropriate concrete.
2. Do not “skim over” blisters or lifting sections. Even if the coating looks intact from above, delamination happens under the surface.
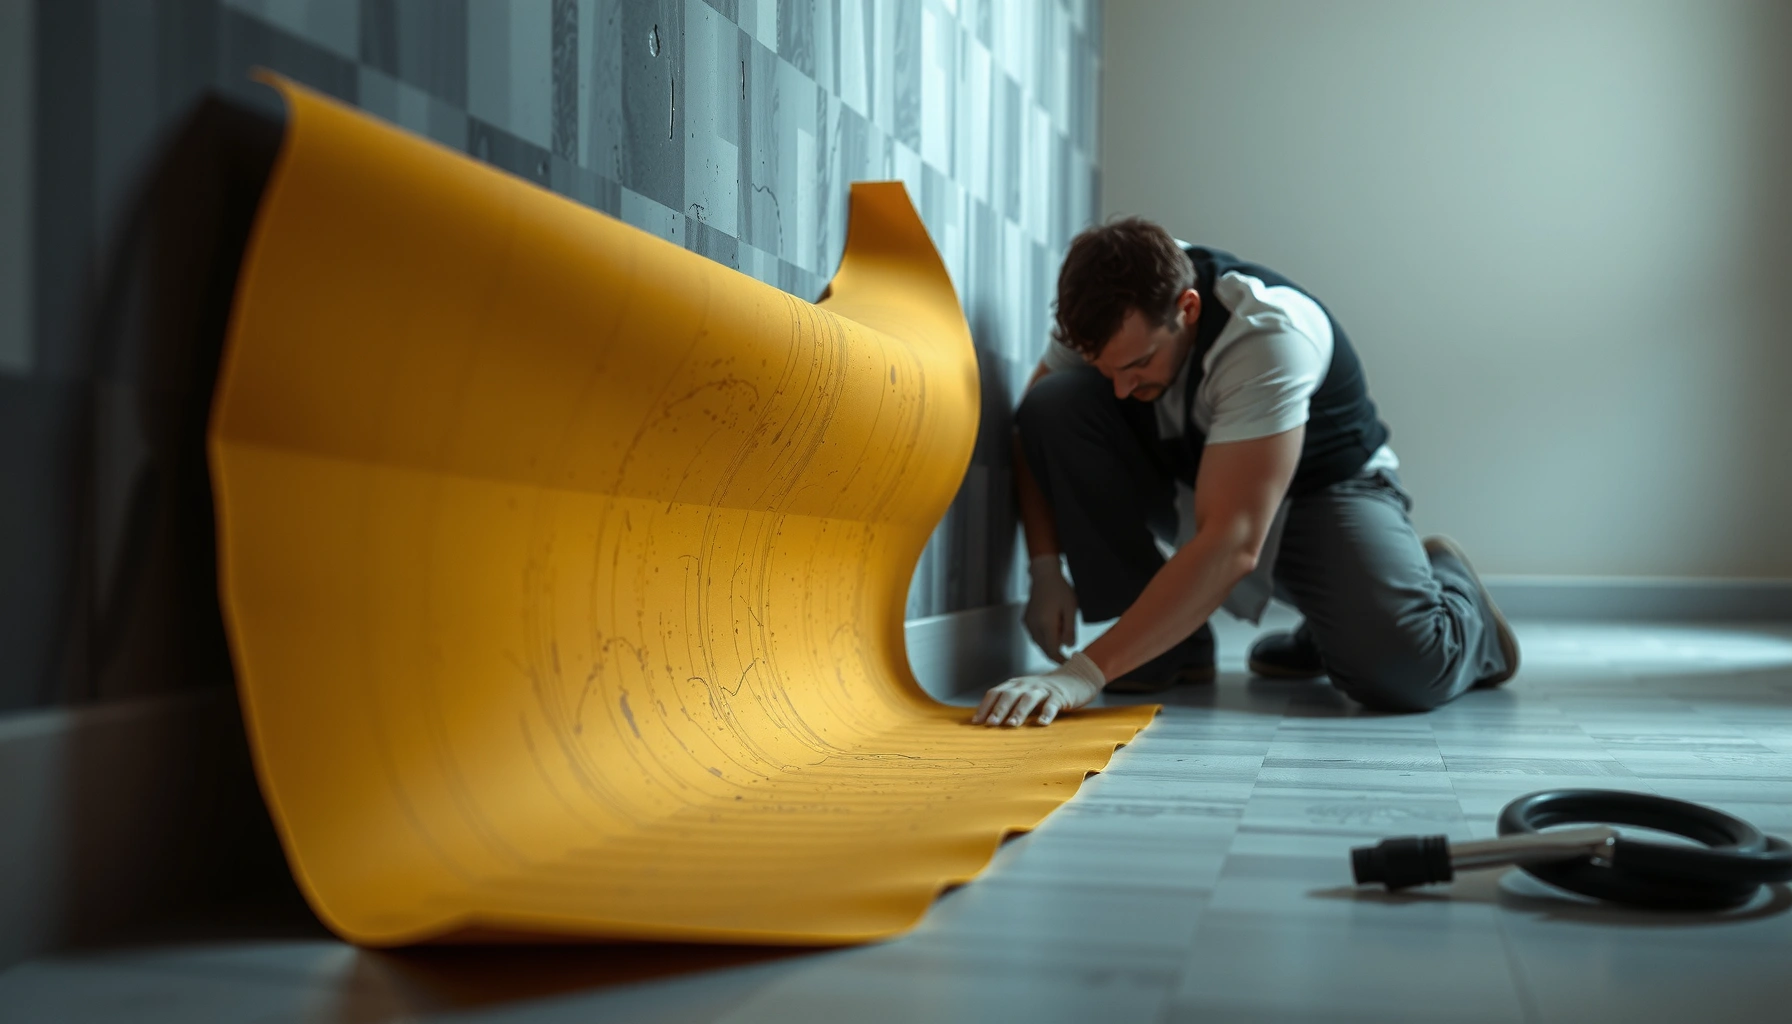
3. Control dust using industrial vacuuming and proper PPE. When you recoat, any remaining dust acts like a separator layer between primer/topcoat and the substrate.
A key field observation (and a common failure mode): people often remove the “obvious” peeled area but leave a ring of partially bonded material around it. That ring becomes the new peeling boundary—so plan the repair zone to eliminate that risk.
Concrete surface profile matters (why removal alone isn’t enough)
Removal sets the stage, but adhesion depends on profile. As a reference point, ICRI’s surface-preparation guidance uses CSP (Concrete Surface Profile) numbers to describe anchor geometry; many coating workflows aim for CSP 2–3 as a baseline for adequate mechanical bond. (ICRI Guideline No. 310.2)
Step 3: Get the surface ready for recoat—prep is the real fix
Once the loose coating is removed, your best “insurance” against repeat peeling is to match the concrete surface to what the coating system expects—profile, cleanliness, and (when relevant) moisture condition. If moisture or contamination is still present, recoating will often fail again soon, even if the application looks correct.
Most coating failures are preventable when surface profile and cleanliness meet the manufacturer’s specification for mechanical and chemical bond.
If the slab is wet (or showing high moisture vapor emission), recoating without addressing moisture can recreate delamination within months.
Environmental control (temperature, humidity, dew point) is part of preparation because it affects film formation and curing chemistry for polyaspartic systems.
Mechanically profile the concrete (mechanical bond)
Polyaspartic coatings require the substrate to provide a mechanical anchor profile. If the existing coating cannot be made compatible (for example, if remnants are unsound or contaminated), the correct move is **full removal** in the affected area—not a “light scuff.”Confirm cleanliness (chemical bond)
Before primer:
– Remove oils/grease and any residues that prevent wetting.
– Eliminate dust with industrial vacuuming and thorough cleaning.
– Check for curing compounds, sealers, or release agents left from prior concrete work.
Because polyaspartic systems are part of engineered builds, primer selection and surface prep are not interchangeable. A “clean-looking” slab can still be chemically incompatible if residues remain.
Address moisture (the decision that determines whether repair holds)
If moisture is driving delamination, recoating over that condition can be a repeat failure.
A common standard for slab moisture evaluation is ASTM F1869 (Calcium Chloride). According to ASTM F1869 test practice, the test is typically run for 60–72 hours with the dish exposed under controlled conditions (often around 100°F/37.8°C). (ASTM F1869)
If you haven’t tested, treat moisture as a “root cause” until proven otherwise—especially for exterior slabs, below-grade slabs, or recent pours.
> [ADD: recommended moisture test type per your system/specs — e.g., ASTM F2170 RH probes vs. ASTM F1869 calcium chloride, plus the acceptance criteria your manufacturer provides.]
Moisture diagnostics vs. surface prep: where teams get it wrong
Teams sometimes focus on grinding because it’s visible, but moisture and chemistry are often invisible. The best practice is to treat prep as three linked systems:
1) profile (mechanical bond), 2) cleanliness (chemical bond), and 3) moisture compatibility (substrate stability).
Step 4: Recoat with a system approach (not random patching)
After the substrate is profiled and cleaned (and moisture is addressed), recoat using the full, compatible system—primer/base coat, polyaspartic base/mid coat (if applicable), and the specified topcoat. Random product substitutions are a frequent reason repaired areas peel again.
Polyaspartic adhesion depends on the engineered system build; mismatched primers and topcoats can cause curing or bond problems even when application temperatures look acceptable.
Recoat windows matter: applying the next layer too early or too late can weaken intercoat adhesion and lead to delamination.
Film thickness affects performance: underbuilt repairs can peel because the coating doesn’t achieve the designed crosslink density and continuity.
Use the manufacturer’s compatibility rules
Match your coating system exactly:
– Same primer/base coat chemistry intended for that polyaspartic topcoat
– Correct preparation steps for that specific primer (some require specific anchor profiles; others tolerate different conditions)
– Correct handling of additives (accelerators/inhibitors) if your system uses them
Apply within specified conditions
Polyaspartic systems are sensitive to:
– Temperature
– Relative humidity
– Dew point
– Waiting/recoat windows
– Moisture in the air (especially outdoors or in humid climates)
Wrong environmental conditions can cause surface defects (like pinholes) and adhesion losses even when the surface was properly ground.
Keep thickness consistent with system design
Peeling often traces back to uneven build or thin repair edges, particularly when crews feather too aggressively or under-apply primer/topcoat in a repair zone. Follow the designed thickness strategy for the repaired area, not what “seems sufficient.”
Slab Moisture & Surface-Diagnostic Methods Used for Coating Adhesion Decisions
| # | Test method (standard) | Typical exposure time | Measures | Practical usefulness for polyaspartic |
|---|---|---|---|---|
| 1 | ASTM F1869 (Calcium Chloride) | 60–72 hours | Moisture vapor emission rate | ★★★★★ |
| 2 | ASTM F2170 (In-situ RH) | ~24–72 hours (per spec prep) | Relative humidity within slab | ★★★★☆ |
| 3 | ASTM F2420 (Internal RH—alternative) | Typically days (setup + equilibrate) | In-situ RH with probe system | ★★★☆☆ |
| 4 | ASTM D4263 (Plastic sheet method) | 24 hours | Condensation/vapor presence | ★★☆☆☆ |
| 5 | ICRI surface profile via CSP | Same day (visual + abrasive) | Concrete surface profile (CSP) | ★★★★☆ |
| 6 | ASTM D4541 (Pull-off adhesion) | Same day per test location | Adhesion strength (pull-off) | ★★★★☆ |
| 7 | Moisture meter screening (non-standards) | Minutes | Surface/near-surface conductivity | ★★☆☆☆ |
(Use this chart as a planning map; always follow your coating manufacturer’s required test method and acceptance criteria. Standards referenced are ASTM and ICRI.)
What can go wrong (and why peeling comes back)
The most common reason peeling returns is that the root cause (moisture, contamination, or incompatible materials) wasn’t fully corrected—only the visible symptom was covered. You can also “re-peel” a repaired zone if you don’t follow system specs for primer, thickness, and recoat timing.
If moisture remains high after prep, the coating can delaminate again regardless of how well the surface was ground.
Leaving partially bonded coating under a patch creates a hidden failure interface that becomes the next peeling boundary.
Skipping primer—or using the wrong primer chemistry—can reduce wetting and crosslink compatibility, weakening adhesion.
Quick comparison: common repair decisions vs. likely outcomes
| Repair choice | Pros | Typical failure risk |
|---|---|---|
| Spot-repair only the peeled area | Lower upfront labor | High if delamination extends beyond visible edges |
| Patch over lightly scuffed existing coating | Fast and less demolition | Very high if bond inhibitors or failing material remain |
| Use a matching manufacturer system build | Improves compatibility and curing behavior | Lower risk, but still depends on profile + moisture control |
| Correct moisture condition before recoating | Most durable fix when moisture is the cause | Upfront testing and time may be higher |
Edge cases where spot fixes may not hold
– Extensive delamination across the floor: costs often shift toward full removal/resurfacing.
– Structural movement/cracking: the slab keeps moving, so a coating build can repeatedly lose bond.
– Weak or scaling concrete: grinding won’t create a stable substrate indefinitely.
– Exterior freeze-thaw or standing water: moisture cycles can overwhelm a repair unless detailing and drainage are addressed.
From practical job-site troubleshooting patterns, the decision usually comes down to whether you can confidently remove to sound substrate and verify moisture compatibility for the specific system. If either is uncertain, you’re gambling against the next delamination event.
Verdict / tip: When to DIY vs. when to call a pro
DIY can work when the peeling is localized, you can remove to sound material, and you can correct contamination and/or surface prep errors with confidence. Call a pro (or at least bring one in for diagnostics) when moisture-driven failure is likely, the peeled area is widespread, or the concrete substrate is compromised.
DIY is most viable when you can fully remove loose coatings and you’re applying an approved system build with correct recoat windows and thickness.
A contractor’s value is verification: confirming slab moisture condition, surface profile readiness, and material compatibility before recoating.
If the slab is failing (crumbling/structural movement), coatings can’t “fix” the root problem—engineering or substrate repair is required.
A clear DIY “green light”
Consider DIY if:
– Peeling is limited to a small zone
– You can grind/remove to sound concrete and eliminate dust and residues
– You have (or can obtain) moisture information consistent with your system’s requirements
– You can apply within environmental limits during cure
A strong “skip DIY” warning
Avoid DIY—or bring in a specialist—if:
– You suspect slab moisture is driving the failure (common for exterior or slab-on-grade)
– Peeling spans a large portion of the floor
– There’s recurring cracking, settlement, or weak/crumbly concrete
– You can’t identify whether the wrong primer/topcoat combination was used originally
Honest downside
Even when a repair looks successful initially, a nearby root-cause problem can still be active. In those cases, the “next” peeling area may appear adjacent to your repaired zone.
Quick checklist: Fixing peeling on polyaspartic floors
– [ ] Map where peeling occurs (edges vs. random spots vs. widespread)
– [ ] Remove all loose coating to sound material
– [ ] Grind/profile the surface for proper mechanical bond
– [ ] Clean thoroughly (no oils/grease/dust/residues)
– [ ] Test/confirm moisture condition per system requirements ([ADD: moisture test method/source])
– [ ] Use the correct primer/topcoat from the same system (per manufacturer specs)
– [ ] Apply within stated temperature/humidity/dew point and recoat windows (per specs)
– [ ] Keep thickness consistent with the system design
FAQ
1) Can I fix peeling polyaspartic floors without removing the coating?
Usually no. If the coating is already peeling/delaminating, any patch over loose material is likely to fail again—most repair workflows require removing all unsound coating.
2) What’s the most common reason polyaspartic peels?
The most common causes are insufficient or incorrect surface prep and adhesion problems—often combined with contamination or slab moisture issues. The peeling pattern can help point to which one is most likely.
3) How do I know if moisture is the problem?
You’ll need slab testing aligned with your coating system’s documentation (for example, a moisture test method specified by the manufacturer). If you haven’t tested, treat moisture as a suspect, especially for slab-on-grade or exterior areas. [ADD: source for the recommended test method.]
4) Is it better to spot-repair or resurface the whole floor?
Spot repairs make sense when peeling is limited and you can fully remove and recoat the affected zones to system requirements. If peeling is widespread or the slab condition is questionable, whole-floor remediation may be more cost-effective.
5) Do I need a primer before recoating?
In most polyaspartic systems, a primer is part of the engineered coating build. Check your system’s instructions—skipping primer is a frequent pathway to re-peeling.
Sources
– [ADD: manufacturer installation/application guidelines for your specific polyaspartic system, including surface preparation, recoat windows, and environmental limits.]
– [ADD: manufacturer specification for primer/base coat compatibility for polyaspartic topcoats in the same system.]
– [ADD: official guidance on concrete moisture testing methods accepted for coatings—typically from coating or testing standards organizations.]
– ASTM F1869 (Calcium Chloride test practice) (ASTM)
– ICRI Guideline No. 310.2 (Concrete surface preparation—CSP concepts) (ICRI)
Peeling on polyaspartic floors is usually a “root-cause” problem, not a surface-only issue. When you map the failure pattern, remove every unsound area, prep for mechanical bond and cleanliness, verify moisture condition, and recoat as a complete compatible system, you give the repair the best chance to last through real traffic and weather. If moisture testing or substrate integrity is uncertain, that’s the point where bringing in a qualified installer can prevent repeated repairs and wasted labor.
Frequently Asked Questions
What causes polyaspartic floor peeling?
Peeling on polyaspartic floors is usually caused by poor surface preparation, such as dust, moisture, oil/contaminants, or weak substrate profile. It can also happen when the polyaspartic coating is applied outside recommended temperature/humidity ranges or without proper primer compatibility. If the system wasn’t properly mixed or cured, adhesion weakens and the coating can lift in sheets or flakes.
How do I fix peeling polyaspartic floors safely?
Start by removing all peeling areas back to sound, well-adhered coating, then grind/sand to create a clean, properly profiled surface. Clean thoroughly (vacuum, degrease if needed) and address any moisture issues or contamination before reinstalling coatings. After the surface is fully prepared and dry, apply the correct primer for your polyaspartic system and then recoat with polyaspartic flooring, following mixing ratios and cure times precisely.
How do I repair localized peeling or blistering spots on polyaspartic floors?
Remove the loose coating around the affected area using a grinder to feather the edges so the patch transitions smoothly. Inspect the substrate—if there’s contamination or moisture, fix that first or the new polyaspartic will peel again. Prime the prepared area, mix the polyaspartic according to the spec, and apply to the recommended thickness so the repair cures uniformly with the existing floor.
Which primer and topcoat should I use after grinding peeling polyaspartic?
Use a primer that is specifically approved by your polyaspartic flooring manufacturer for adhesion and compatibility with the existing substrate and coating. If you’re recoating over previously coated areas, ensure the surface is adequately abraded to promote mechanical bond, and then apply a primer where required by the manufacturer’s system. Finish with the correct polyaspartic topcoat (including UV-resistant and anti-slip additive if needed) to help prevent recurring peeling and surface degradation.
Why does polyaspartic peel even after spot repairs, and what’s the best prevention?
Recurring peeling typically means the underlying cause—moisture vapor, inadequate surface profile, contamination, or incorrect mixing—wasn’t corrected before recoating. Prevent this by testing moisture conditions (when applicable), grinding to a consistent profile, cleaning thoroughly, and strictly following temperature/humidity application guidelines. Use the full, manufacturer-approved coating system (primer + polyaspartic flooring base/top as specified) and avoid rushing cure times to ensure strong adhesion.
📅 Last Updated: October 11, 2026 | Topic: How to fix peeling on polyaspartic floors? | Content verified for accuracy and freshness.
References
- Google Scholar Google Scholar
https://scholar.google.com/scholar?q=polyaspartic+floor+coating+peeling+repair - Google Scholar Google Scholar
https://scholar.google.com/scholar?q=polyaspartic+coating+adhesion+failure+concrete+moisture - Google Scholar Google Scholar
https://scholar.google.com/scholar?q=epoxy+urethane+flooring+peeling+surface+preparation+repair - https://pubmed.ncbi.nlm.nih.gov/?term=epoxy+coating+adhesion+failure+concrete
- https://pubmed.ncbi.nlm.nih.gov/?term=polyurethane+coating+failure+concrete+moisture
- https://www.sciencedirect.com/search?qs=epoxy%20coating%20failure%20peeling%20concrete
- https://en.wikipedia.org/wiki/Paint_failure
- Adhesion
https://en.wikipedia.org/wiki/Adhesion - Epoxy
https://en.wikipedia.org/wiki/Epoxy - Concrete
https://en.wikipedia.org/wiki/Concrete