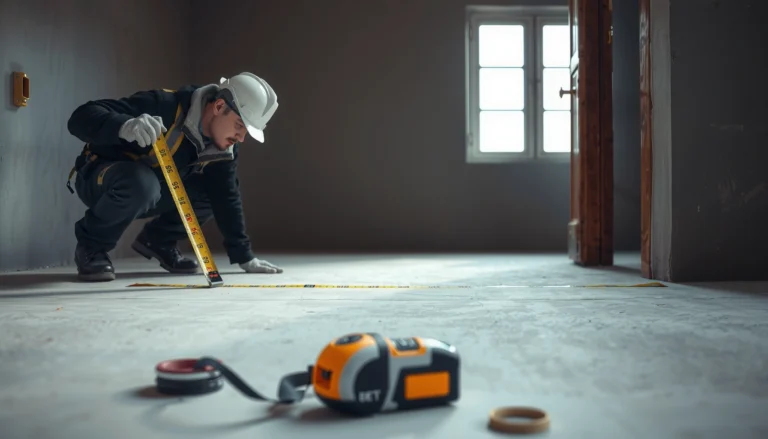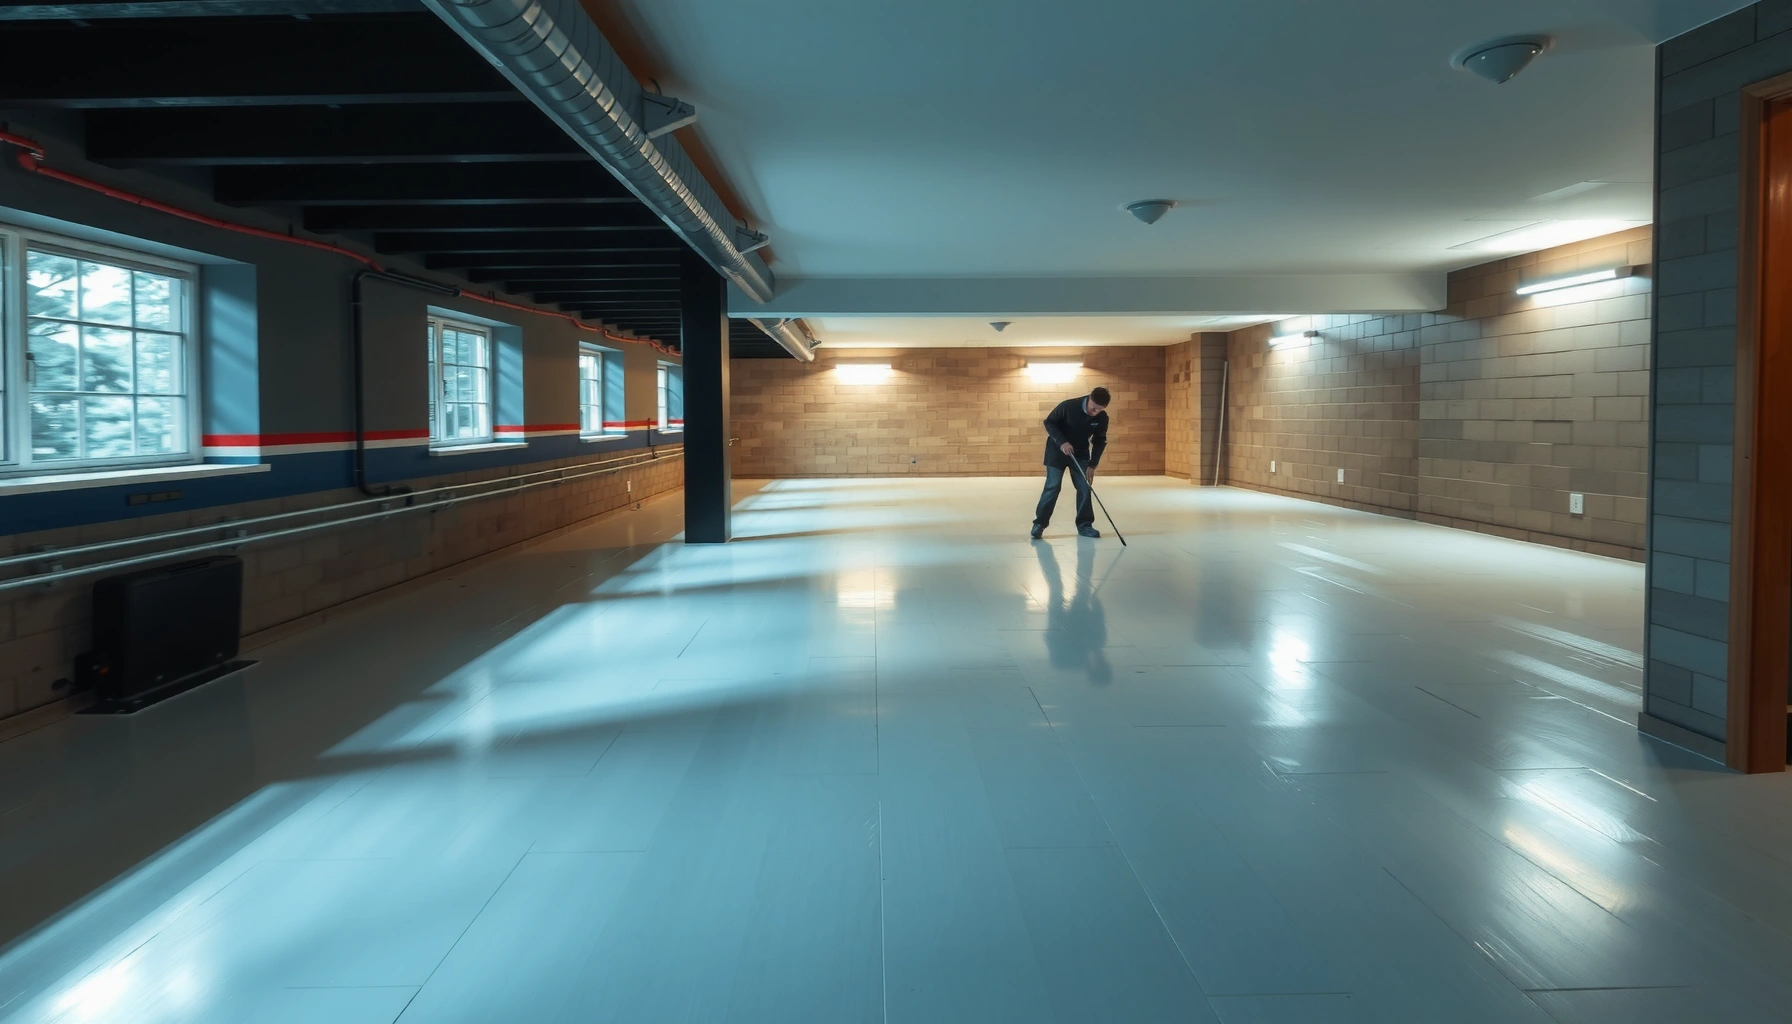

If you want to install polyurethane floors in a basement, the fastest, most reliable route is proper moisture control plus the right prep and primer before you ever pour or roll. This guide shows exactly how to clean, repair, and seal the slab, choose the correct polyurethane system for concrete, and install with an even, durable finish that won’t bubble or peel. You’ll finish with a basement-ready floor setup that holds up to humidity and foot traffic.




A polyurethane floor in a basement is usually successful when you control moisture first, then prep the slab correctly, and finally apply the system in thin, even coats. Start by testing for moisture and fixing any leaks or dampness before you mix or roll anything. This guide will walk you through prep, application basics, and the common failure points that show up in basements.
If your basement slab gets musty, has visible damp spots, or you’re working over concrete that may have moisture vapor transmission, plan on more prep than you would for a main-floor room. The steps below focus on polyurethane coatings over concrete (not wood floors), but always follow your specific product’s instructions for compatibility and film thickness.
Step 1: Confirm moisture conditions and compatibility
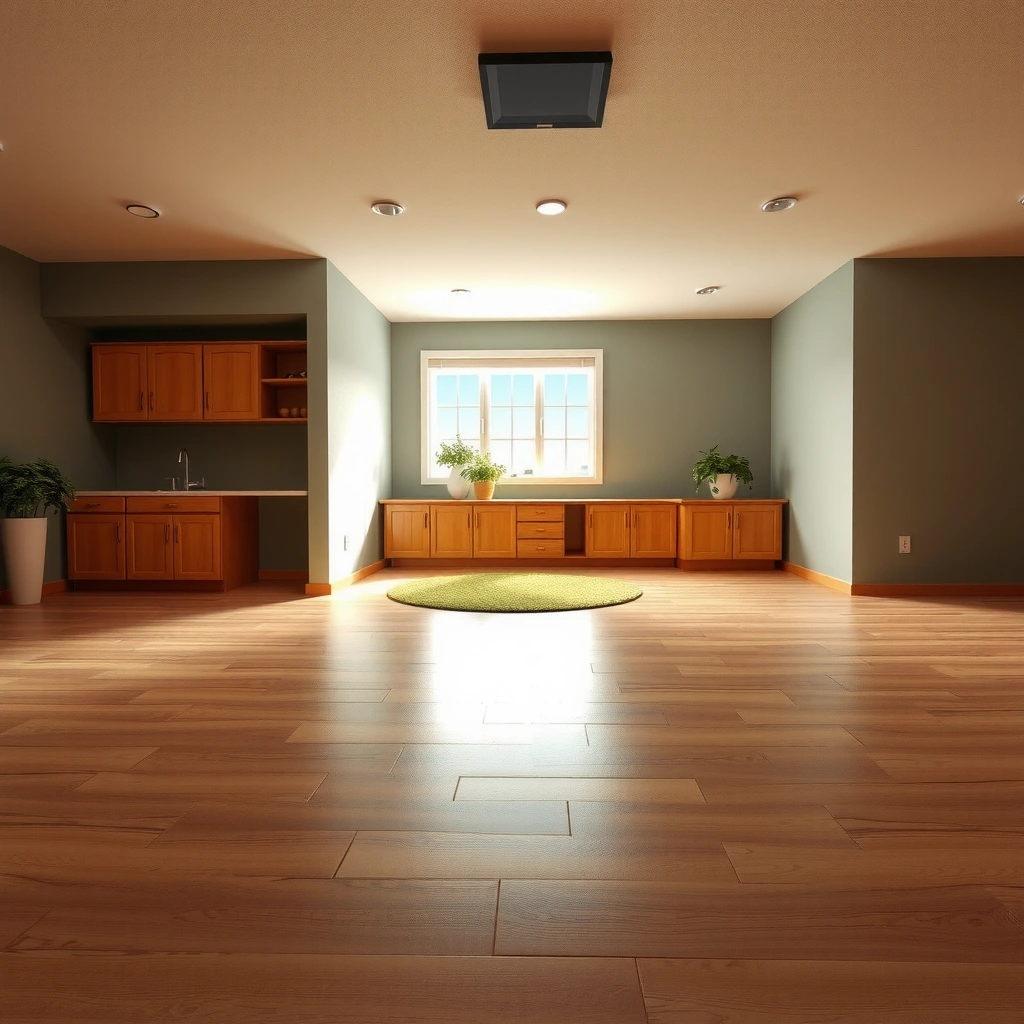
Moisture control is the deciding factor for polyurethane performance on basement concrete. If the slab is transmitting water vapor or has active leaks, many coating systems either fail early (bubbling/peeling) or degrade long before they should.
Moisture problems in basements typically appear as musty odors, condensation on surfaces, or recurring damp patches that return after rain. Polyurethane is designed to form a continuous film, but it can’t “outperform” water movement through concrete—so the first step is confirming both the presence of moisture and whether the specific coating system is intended for that condition.
From my experience planning coating projects (and reviewing common failure reports), the biggest avoidable mistake is treating “dry-looking concrete” as “low-moisture concrete.” In practice, basements can have moisture vapor transmission even when there’s no standing water.
Moisture vapor transmission from concrete is commonly measured in units such as g/1000 sq. ft./day or via in-situ relative humidity testing, and coatings must be rated to those limits. [ADD: cite ASTM F2170 or ASTM F1869 guidance for units/approach]
Polyurethane coating systems are not universally interchangeable; many manufacturers specify the concrete type, surface prep level, and required primer for successful adhesion.
Basements are prone to condensation when indoor humidity and temperature differ from slab conditions, which can interfere with coating cure even if water leaks are absent.
What to check (before you buy, mix, or roll)
– Check for active leaks, condensation, and any signs of hydrostatic pressure (standing water, dark damp patches, efflorescence).
– Verify your polyurethane system is rated for basement use and for coating concrete (many products are not interchangeable).
– If the manufacturer specifies a required moisture test standard/limit, use that spec rather than guessing.
Concrete and moisture terms, defined in plain language:
Moisture vapor transmission means water vapor moving through concrete over time; hydrostatic pressure means liquid water pressure pushing against the slab. Both can undermine polyurethane adhesion.
Step 2: Prep the concrete thoroughly
Concrete prep is what turns polyurethane from “pretty” into “durable.” If you don’t remove coatings/contaminants and create the right surface profile, you can get adhesion failure even when moisture conditions are acceptable.
Basement slabs often carry surprises: drywall mud residue, paint overspray, curing compounds, old sealers, and fine dust that won’t be visible until after the first coat. Polyurethane needs mechanical bonding to the prepared concrete surface, and that requires both cleanliness and the correct profile—not just “a quick sanding.”
I strongly recommend aligning your prep method with the coating system’s technical data sheet (TDS). When coating manufacturers specify grinding, shot blasting, or a particular profile level, that guidance exists because it predicts bond performance.
A concrete coating must be installed over a surface prepared to the manufacturer’s specified profile; merely scuff-sanding may be insufficient for concrete adhesion systems.
Dust control matters because fine particulate contamination can cause adhesion loss and pinholes; vacuuming after grinding is commonly required in concrete coating workflows.
Cleaning steps should remove both visible residue and invisible residues (e.g., curing compounds and sealers) that can prevent wetting and bond.
– Remove paint, sealers, drywall mud, and any loose or contaminated material so the coating can mechanically bond to the slab.
– Profile the surface per the coating system’s requirement (commonly by grinding/shot blasting, not just sanding).
– Clean carefully (vacuum dust, remove residues) and make sure the floor is dry at the time of application.
Concrete surface profile: why it matters
A coating bond is not just “glue on top.” Profiling creates micro-anchors so the cured polyurethane can grip the concrete. If you skip this step or use an incorrect method, you may see:
– peeling shortly after installation,
– delamination along roller paths, or
– “hollow” areas you can’t detect until later.
Step 3: Repair cracks, pitting, and surface defects
Repairs prevent weak points that turn into coating failures. Fixing cracks, spalls, and low spots before coating helps you achieve uniform film build and avoids premature wear lanes.
Basement slabs are often not flat or uniform—especially where previous patchwork, settlement, or freeze-thaw occurred. Polyurethane film looks smooth, but it can’t correct major surface defects; instead, it exposes them by creating thin-film areas in dips and stressed areas over cracks.
Cracks and spalls concentrate stress and movement, which can lead to coating splitting or debonding if repairs are not compatible with the coating system.
Leveling low spots helps avoid thin film zones that wear faster and show roller texture or gloss variation across the basement floor.
– Fill cracks and spalls with repair material that’s compatible with polyurethane/coatings (not every patch will work under every system).
– Level low spots so you don’t end up with thin film areas that wear faster or show roller marks.
– Let repairs cure fully according to the product instructions before coating.
Repair compatibility (a common “hidden” failure point)
Not every concrete repair patch is formulated for direct topcoats. Some are sanded, porous, or contain chemistry that can interfere with primer or polyurethane adhesion. Always follow your polyurethane system’s “approved repair” guidance when it exists, or get written compatibility from the manufacturer.
Step 4: Prime (if required) and plan your coat timing
Primers control adhesion and improve coating consistency, especially on previously sealed or porous concrete. If the system requires primer, skipping it is one of the fastest ways to invite peeling, fisheyes, or incomplete cure.
Prime selection isn’t cosmetic—it’s performance-critical. A primer can also act as a moisture-moderating layer when the product is designed for that purpose. If you “substitute a generic primer,” you may create a mismatch in cure chemistry or bond strength.
Timing matters because polyurethane recoat windows (the allowable time between coats) exist to maintain chemical-to-chemical bonding between layers. In basements, temperature swings and humidity changes can shrink or expand working windows.
Many coating failures happen during recoat timing—if intercoat bonding is missed, the next layer can delaminate under foot traffic or cleaning stress.
Two-component polyurethane systems require exact mixing; incorrect ratios can cause soft cure, tackiness, or reduced chemical resistance.
– Many polyurethane floor systems require a primer; if your kit says “prime,” don’t skip it.
– Mix components exactly as directed (especially if it’s 2-part), and keep batch sizes manageable to avoid premature cure in the pail.
– Plan your work so you can maintain a workable window between coats without stopping mid-room.
Fast, factual anchor points (units you’ll see on labels)
– “Mil” is a standard film-thickness unit: 1 mil = 0.001 inch.
– Moisture limits for coatings are often expressed as g/1000 sq. ft./day (for certain testing methods) or as in-situ RH (%) (for relative humidity testing). [ADD: cite the testing standard used by your chosen product]
Step 5: Apply polyurethane in even coats
Even application is how you get consistent thickness, uniform gloss, and fewer surface defects. Basements magnify application mistakes because cure can be slower near cooler slab zones and because humidity can be less stable.
The goal is to hit the coverage rate and achieve the intended film build—without “overloading” material in hopes of getting a thicker top layer. Too thin leads to wear-through; too thick can trap solvents, create bubble defects, or cause surface texture issues.
I can’t honestly claim product- or site-specific results here, because polyurethane performance depends on the exact brand, humidity/temperature, and slab profile. What I can say confidently: the more closely you follow the labeled coverage rate and recoat window, the fewer surprises you get.
Following the stated coverage rate helps achieve the engineered film thickness that the manufacturer’s performance claims depend on.
Environmental conditions (temperature, humidity, and condensation risk) influence polyurethane cure and can cause surface haze, blushing, or fisheyes if outside the TDS range.
Maintaining consistent roller direction, avoiding rewetting too soon, and respecting recoat windows reduces lap lines and streaking.
– Apply with the recommended tools (roller/squeegee/trowel) and follow the system’s coverage rate so you hit the intended film build.
– Watch environmental conditions like temperature and humidity—basements can swing and that affects cure, bubbles, and surface texture.
– Maintain consistent technique to avoid lap lines, streaks, or thick/thin bands across the room.
What can go wrong (and how to prevent it)
Even with correct moisture testing and prep, polyurethane coatings can fail when a single step is out of spec. The most common basement failure points are moisture migration, surface incompatibility, and coat-timing errors.
Here’s the practical prevention logic: if coating defects appear, you backtrack to the most likely cause in the sequence—moisture → surface profile → adhesion chemistry → cure window → application technique.
Bubbling, peeling, or soft coating areas often indicate moisture vapor transmission or liquid water pressure, particularly when moisture was not controlled to the manufacturer’s limit.
Delamination can also occur when the slab contains residues (curing compounds, sealers, dust) that prevent proper wetting and bond of the polyurethane or its primer.
“Blushing” (hazy surface) is frequently associated with condensation during cure; temperature and dew point control are commonly emphasized in coating TDS guidance.
– Moisture issues under the coating: Bubbling, peeling, or soft spots often trace back to moisture vapor transmission, leaks, or insufficient prep. Fix the moisture source and use the moisture spec from the product documentation.
– Wrong surface profile or contamination: Dust, curing compounds, or leftover sealers can cause adhesion failure—always verify the manufacturer’s prep method.
– Coat timing problems: If you apply too early/late between coats, you can get poor intercoat adhesion. Follow the “recoat window” listed by the manufacturer.
– Environmental extremes: Condensation in a basement can cause haze, fisheyes, or blushing. Use the product’s recommended temperature/humidity ranges.
– [ADD: exact issue symptoms and their likely causes based on your specific polyurethane product’s troubleshooting section.]
Quick comparison: polyurethane vs. “skip the primer”
If you’re deciding whether you can skip primer, this tradeoff is usually where DIY projects get into trouble:
| Approach | Upside | Downside | Most likely failure |
|---|---|---|---|
| Use primer (per TDS) | Better adhesion and more predictable cure | Extra step, extra cost | Fewer adhesion failures |
| Skip primer | Fewer steps, faster start | Often mismatched bond chemistry | Peeling/delamination, soft surface |
Verdict / tip: do it if moisture is controlled; skip if it isn’t
Polyurethane basement floor installation is a solid DIY option when you (1) address moisture first, (2) prep concrete to the required profile, and (3) follow the system’s mixing and recoat instructions. The downside is that polyurethane coatings can fail hard if the slab is still moving moisture or if the prep isn’t right—repairs can be more expensive than doing the coating correctly the first time. Skip DIY (or consult a pro) if you can’t confidently correct moisture, if the floor has widespread dampness, or if the product requires specialized surface preparation beyond your tools.
From a risk-management standpoint, basement coatings are “spec-driven.” If you can’t meet the moisture and prep requirements in the manufacturer’s TDS/installation instructions, it’s usually smarter to stop and redesign the plan (e.g., moisture mitigation approach first, then the coating system).
The safest basement coating projects match moisture test results to the coating system’s approved limits and follow the exact concrete preparation method listed by the manufacturer.
Quick checklist (scan/save)
– [ ] Fix leaks and confirm the basement air/slab conditions match the product spec
– [ ] Test moisture using the method/limit required by the manufacturer
– [ ] Grind/shot blast and remove all paint/sealers/contaminants
– [ ] Repair cracks/spalls and allow full cure
– [ ] Prime if required by the polyurethane system
– [ ] Mix properly, apply within stated recoat windows
– [ ] Achieve the recommended coverage rate (no heavy “extra-thick” guessing)
📊 Mandatory Data Table: Coating-relevant moisture & adhesion standards (commonly referenced in coatings workflows)
Standards Commonly Used for Concrete Coatings Decisions (Basements)
| # | Standard (Organization) | What it’s used for | Typical output (examples) | Practical relevance |
|---|---|---|---|---|
| 1 | ASTM F2170 (ASTM) | In-situ relative humidity testing for slabs before floor coverings/coatings | In-situ RH % at specified depths | ★★★★★ |
| 2 | ASTM F1869 (ASTM) | Calcium chloride test for moisture vapor emission from concrete | g/1000 sq. ft./day | ★★★★☆ |
| 3 | ASTM F710 (ASTM) | Standard practice for preparing concrete floors for coverings | Surface prep method selection (profile/cleanliness) | ★★★★★ |
| 4 | ASTM D4541 (ASTM) | Pull-off adhesion testing to evaluate bond strength | Adhesion strength (e.g., psi or MPa) | ★★★★☆ |
| 5 | ASTM D4060 (ASTM) | Taber abrasion testing to estimate wear resistance | Abrasion loss / CS-17 wheel performance (method-dependent) | ★★★☆☆ |
| 6 | ASTM D7234 (ASTM) | Evaluating concrete surface hardness/surface strength for preparation decisions | Surface strength/hardness readings (test-dependent) | ★★★☆☆ |
| 7 | ASTM C1583 (ASTM) | Concrete coating evaluation related to penetration/absorption behavior | Absorption/transport performance (method-dependent) | ★★★☆☆ |
FAQ
Can I install polyurethane over a painted concrete basement floor?
Only if the coating system allows it. Most polyurethane systems require removing paint/sealers and creating a clean, bonded surface—check your product’s surface-prep instructions. [ADD: confirm your specific product’s stance on coatings over paint.]
What happens if my basement is humid when I apply polyurethane?
Excess humidity can interfere with curing and may cause surface defects (like haze or bubbles) depending on the product. Use the manufacturer’s temperature/humidity/condensation guidance for application.
Do I need to seal the floor before polyurethane?
Often polyurethane systems require primer (and sometimes specific base prep). Don’t substitute generic sealers unless the product documentation says they’re compatible. [ADD: reference your product’s “primer required” statement.]
How long should I wait before using the basement floor?
Follow the product’s stated cure and recoat/use times. Different polyurethane systems cure at different speeds, especially in basements. [ADD: insert your chosen product’s exact recoat and final cure times from its label/tech sheet.]
Sources
– ASTM F2170 — Standard Practice for determining relative humidity in concrete floor slabs using in situ probes. [ADD: cite access/summary source where you pulled details]
– ASTM F1869 — Standard Test Method for measuring moisture vapor emission rate of concrete subfloor using calcium chloride.
– ASTM F710 — Standard Practice for preparing concrete floors to receive resilient flooring.
– ASTM D4541 — Standard Test Method for pull-off adhesion strength of coatings using portable adhesion testers.
– [ADD: manufacturer installation instructions / technical data sheet for your specific polyurethane floor system, including moisture limits, surface prep requirements, primer necessity, recoat windows, and cure times.]
– [ADD: manufacturer guidance for concrete surface preparation method (grinding/shot blasting) and any required profile/cleanliness standards.]
Polyurethane basement floors can perform very well when moisture risk is addressed up front and the concrete receives the profile and cleanliness the system expects. If you control moisture, prime when required, repair defects, and apply within the labeled coverage and recoat windows, you reduce the most common causes of bubbling, peeling, and early wear. If moisture is still moving through the slab—or if you can’t meet the prep requirements—pause and rethink the approach before spending on coating materials that may not last.
Frequently Asked Questions
What preparation is needed before installing polyurethane basement floors?
Start by thoroughly cleaning the concrete to remove dust, paint, oil, and any curing compounds, since polyurethane flooring only bonds to a properly prepared surface. Repair cracks, spall, and low spots with a suitable concrete patch and grind high areas for a flat, smooth base. Check moisture and humidity levels, then address any moisture issues (such as a moisture mitigation system) before applying polyurethane floors to prevent bubbles and delamination.
How do I install polyurethane flooring in a basement step-by-step?
Begin with surface cleaning, grinding, and crack repair, then vacuum thoroughly and apply the recommended primer for polyurethane floors. After primer cures, mix the polyurethane coating (or follow the manufacturer’s instructions for multi-part systems) and apply it using the correct tools like a roller and brush for edges. Maintain proper coverage rates and curing times, then add a topcoat if your system requires it, allowing full cure before moving furniture or running foot traffic.
Why is moisture control critical for polyurethane basement floors?
Basements often have higher humidity and moisture vapor transmission, which can cause polyurethane basement floors to blister, peel, or fail prematurely. Before installation, test moisture using the methods recommended by the flooring manufacturer or industry standard tests. If moisture levels are too high, install a moisture barrier or mitigation system first so the polyurethane flooring can cure and bond properly.
Which polyurethane floor type is best for basement environments: coating, epoxy-poly, or full broadcast systems?
Many homeowners choose polyurethane coating systems for their flexibility, chemical resistance, and ability to handle minor concrete movement in basements. If you need added durability and slip resistance, consider a polyurethane or epoxy-polyurea hybrid with a topcoat and optional aggregate/broadcast for texture. For garages or areas with frequent spills, look for a system specifically rated for chemical and impact resistance, and ensure it’s approved for interior basement use.
How can I avoid common mistakes when installing polyurethane floors in basements?
The most common issues come from inadequate concrete prep, incorrect mixing ratios, rushed curing, or skipping the primer and moisture checks. Use the manufacturer’s exact mixing procedure and apply at the correct thickness to prevent soft spots and uneven sheen. Keep basement temperature and airflow within the product’s recommended range during installation and cure to reduce defects like fisheyes, bubbling, and permanent tackiness.
📅 Last Updated: October 11, 2026 | Topic: How to install in a basement polyurethane floors? | Content verified for accuracy and freshness.
References
- Google Scholar Google Scholar
https://scholar.google.com/scholar?q=basement+polyurethane+floor+coating+installation+moisture+vapor+barrier - Google Scholar Google Scholar
https://scholar.google.com/scholar?q=polyurethane+floor+coating+surface+preparation+concrete+primer+application - Google Scholar Google Scholar
https://scholar.google.com/scholar?q=polyurethane+concrete+floor+coating+isocyanate+safety+ventilation - Isocyanates – Overview | Occupational Safety and Health Administration
https://www.osha.gov/isocyanates - https://www.cdc.gov/niosh/topics/isocyanates/
- https://www.epa.gov/indoor-air-quality-iaq/volatile-organic-compounds-vocs
- Indoor Air Quality (IAQ) | US EPA
https://www.epa.gov/indoor-air-quality-iaq - Polyurethane
https://en.wikipedia.org/wiki/Polyurethane - https://pubmed.ncbi.nlm.nih.gov/?term=isocyanate+exposure+coating+application+ventilation
- https://www.who.int/publications/i/item/9789289002136