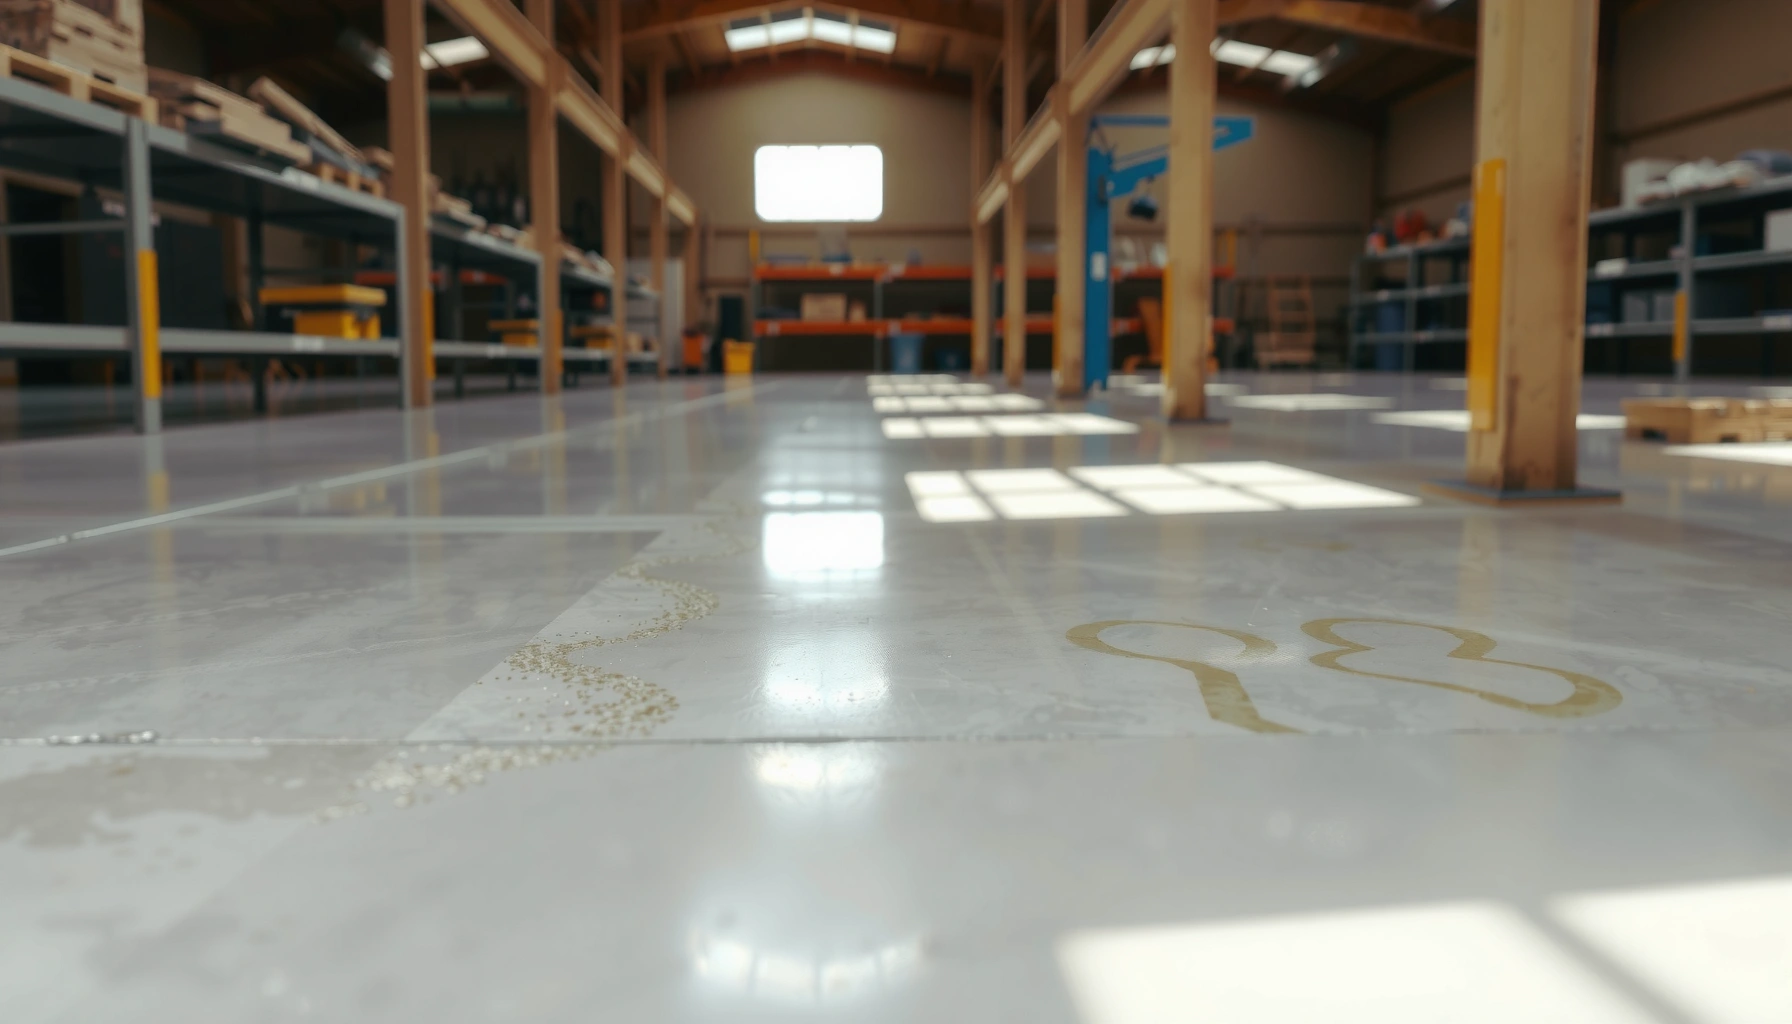

Fix discoloration on polished concrete floors by following a proven step-by-step process that identifies the cause first—then removes the spots and restores a uniform finish. This guide answers exactly how to treat etching, water rings, oil stains, and surface haze so your floor looks even again. You’ll leave with the right products and sequence to stop the discoloration from coming back.


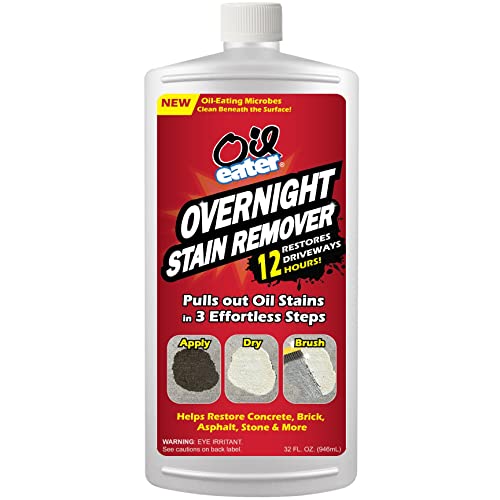
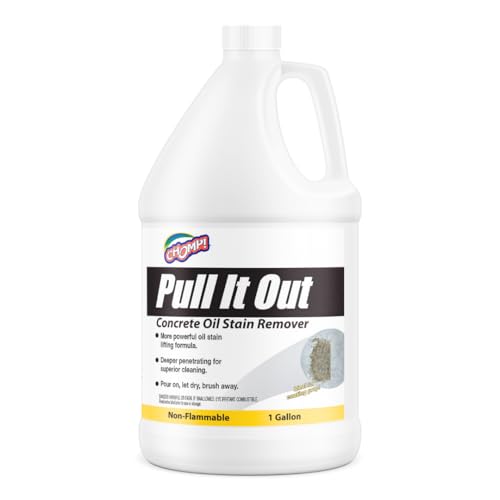
Discoloration on polished concrete is usually fixable by identifying the cause (moisture, embedded dirt/salts, residue, or surface wear) and then using the right cleaner or abrasion method. Start with the least aggressive option—gentle cleaning and targeted stain treatment—then move to mechanical polishing only if the color change is bonded to the surface. This guide walks you through practical checks, what to try first, and what to avoid so you don’t make the spots worse.
If your polished concrete has dull patches, gray/white spotting, dark stains, or uneven color after cleaning, water exposure, or a spill, this is for you. It’s also useful if you’re seeing discoloration near expansion joints, under rugs, or after mopping with the wrong product.
Diagnose why the polished concrete is discolored
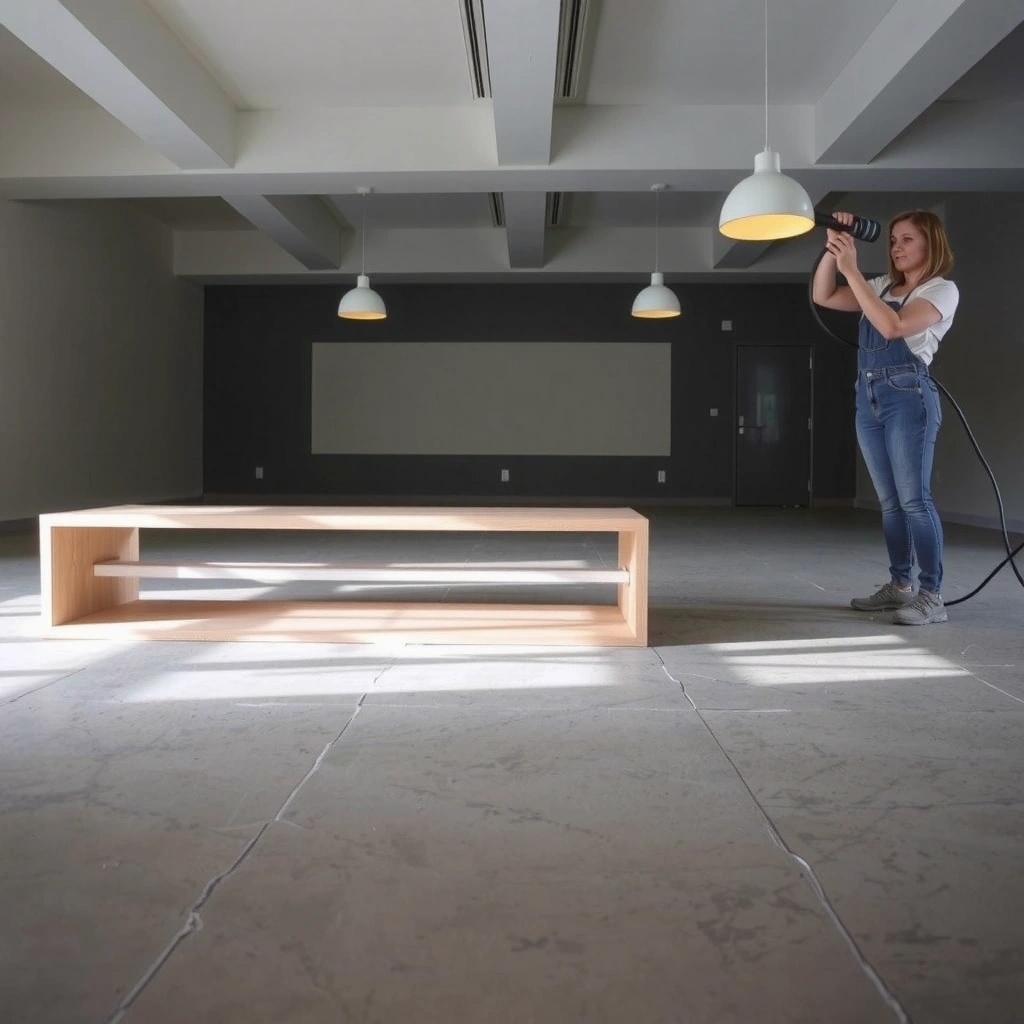
You’ll fix discoloration faster when you match the symptom pattern to the likely mechanism—residue sitting on the surface behaves differently than moisture-driven mineral deposits. The most common polished-concrete causes are (1) moisture/mineral salts, (2) embedded dirt, (3) cleaning residue/film, and (4) surface wear that changes how light reflects.
– Look for patterns: dark rings (often spills/oils), white hazing (often moisture/mineral salts), and gray smudges (often residue or ground-in dirt).
– Check the timing: did it appear after a new cleaner, steam/mop, leak, or seasonal humidity shift?
– Test for moisture involvement: damp areas that re-darken after drying suggest moisture or ongoing contamination.
Dark “tide marks” that reappear after drying often indicate an ongoing moisture pathway rather than a one-time spill.
White spotting in concrete interiors is commonly linked to soluble salts migrating with moisture and depositing at or near the surface (efflorescence).
Surface smudging that matches a cleaning method (e.g., streaks after mopping) frequently comes from residue or an incompatible chemical film.
To diagnose without guessing, we recommend a simple “pattern + timeline” log as you inspect. As of 2026, this approach aligns with how concrete restoration professionals typically triage issues: you reduce variables (one change at a time) before escalating from chemistry to abrasion.
What to notice during inspection
1. Edges and borders: If discoloration starts near rugs, furniture feet, or along expansion joints, it often relates to localized moisture or localized chemistry (cleaners tracked or concentrated).
2. Gloss and texture: If an area looks dull but feels smooth and clean after rinsing, it may be a film problem (residue changing reflectivity). If it feels rougher or “open,” it may be surface wear or etching.
3. Consistency across directions: Smears that follow foot traffic lanes often indicate ground-in oils/dirt. Patchy gray/white areas that look like a “veil” often suggest mineral deposits or etch residue.
Moisture test (low risk)
Tape a clear plastic sheet (or use a moisture-test plastic film) to the suspect area for a set period, then check for condensation or darker staining under the plastic. If you see re-darkening when the area is damp, treat moisture as the root cause before you polish or remove “whitening.”
According to [ADD: source for efflorescence mechanism in concrete, e.g., PCA/Baselime/ASTM-related technical bulletin], efflorescence forms when moisture dissolves salts and then evaporates, leaving deposits near the surface ([ADD: year]).
> Note: If you suspect a leak, rising damp, or HVAC humidity imbalance, discoloration will often return after surface-only treatment. Fixing the moisture source is part of “fixing the floor.”
Start with safe, low-aggression cleaning
When you’re not sure what caused the spots, the safest first step is thorough, pH-neutral cleaning with excellent rinsing. This removes loose soil and many residues without increasing risk of etching or making white haze worse.
– Sweep/vacuum thoroughly and degrease lightly if the spots are greasy or near food/kitchen areas.
– Use a pH-neutral concrete cleaner first, following label directions, and rinse well to avoid leaving residue.
– If the floor is sealed, confirm your cleaner is compatible with the finish/sealer type (acidic products can worsen haze on some surfaces).
Many polished concrete cleaning failures come from chemical residue left behind because rinsing was insufficient, not from the original stain.
Using acidic cleaners on some concrete finishes can increase whitening by promoting further surface reactions.
A pH-neutral (commonly around 7–9, depending on product) concrete cleaner is generally preferred for first-pass cleaning on polished surfaces.
A practical “first pass” method (least aggressive)
1. Dry removal: Vacuum with a brush attachment (or sweep carefully) to remove grit. Grit can abrade micro-haze during cleaning and make discoloration look “bigger.”
2. Spot pre-check: Wet a small hidden test area with plain water. If water immediately darkens the concrete and the color returns to normal after drying, it suggests the slab is absorbing water normally (not necessarily a serious leak).
3. Clean with pH-neutral chemistry: Apply a pH-neutral concrete cleaner per label directions. Keep dwell time consistent with the product instructions (over-soaking increases risk of residue).
4. Rinse thoroughly: Use clean water and remove runoff—especially in densified or sealed polished concrete where film is easier to notice in low light.
5. Dry completely: Let the floor dry overnight (or longer if your humidity is high) before judging results.
If you have a sealed floor
Polished concrete is frequently densified and/or sealed. If your floor is sealed with a penetrating sealer, film-former, or wax-like maintenance coating, compatibility matters. An incompatible cleaner can reduce gloss or create patchy dullness that resembles “permanent” discoloration.
First-pass decision rule:
If the discoloration fades noticeably after cleaning and fully dries, you’ve likely solved the problem. If spots persist—or appear worse after drying—move to targeted treatment in the next step.
Treat common discoloration types
You’ll get the best outcome when you treat the discoloration type, not just the appearance. White haze usually needs moisture/salt removal and mineral-specific chemistry, while dark stains often need contaminant-specific treatment before you consider any abrasion.
– White haze/efflorescence: address sources of moisture first; then use an appropriate mineral-stain remover labeled for concrete haze/efflorescence.
– Dark stains (oil/grease/rust-like): use a concrete stain remover designed for the specific contaminant type, then rinse and dry completely.
– Surface residue (spotty dullness): repeat cleaning with the correct chemistry and consider a light mechanical scuff only if the discoloration is still stuck in the surface film.
Treating efflorescence typically requires both stopping moisture migration and removing mineral deposits; cleaning alone rarely prevents reappearance.
Oil/grease staining on concrete is most effectively addressed with chemistry that breaks down fats, followed by thorough rinsing and drying.
If the spot is primarily a residue film, repeating compatible pH-neutral cleaning with proper extraction can restore uniform reflectivity.
1) White haze / efflorescence-type spotting
What it usually looks like: chalky, white-gray “veil,” sometimes strongest around joints or areas that stay wetter.
What to do:
1. Stop the moisture source if you can identify one (roof leak, plumbing seep, exterior grading, HVAC condensation, wash water management).
2. Use a mineral/haze remover specifically marketed for concrete efflorescence or mineral deposits (follow label PPE and ventilation steps).
3. Rinse aggressively and extract runoff; let fully dry before assessing.
According to [ADD: source for efflorescence formation and cure strategies], efflorescence deposits are driven by soluble salts transported by moisture and left behind during evaporation ([ADD: year]).
2) Dark stains (oil/grease/rust-like)
What it usually looks like: darker areas with ring patterns, irregular blotches, or rust-brown tones.
What to do:
1. Identify whether it’s grease/oil (often near kitchens, loading areas, or vehicle-related traffic) or a different contaminant.
2. Apply a concrete stain remover designed for that contaminant category.
3. Rinse thoroughly, then dry completely—partial drying can mask results.
3) Surface residue causing dull, gray, or “spotty” reflectivity
What it usually looks like: areas look clean but look dull, hazy, or patchy compared to surrounding polished concrete.
What to do:
1. Return to compatible pH-neutral cleaning and ensure rinsing/extraction.
2. If residue remains bonded (often due to hard-water minerals or incorrect cleaner residue), do light mechanical scuffing to help remove the top film—then reassess sheen.
Pros/cons comparison for this decision:
| Approach | Best for | Pros | Cons |
|---|---|---|---|
| pH-neutral cleaning + rinse | residue film, general soil | Low risk; reversible | Won’t remove mineral deposits or deeply embedded stains |
| Mineral/haze remover | white haze/efflorescence | Targets salts and mineral films | Requires moisture control; can still leave texture changes if overused |
| Stain remover (contaminant-specific) | oils, grease, rust-like stains | Breaks down contaminant chemistry | Incorrect product can spread discoloration; needs full rinsing |
| Light abrasion + re-polish | discoloration bonded to surface | Can restore uniform reflectivity | Higher risk of sheen mismatch if you don’t blend correctly |
Restore the polished look (when cleaning isn’t enough)
If cleaning doesn’t remove the color change, it usually means the discoloration is mechanically bonded—in micro-pores, in a worn zone, or resulting from etching. At this point, targeted abrasion and re-polishing can restore the appearance, but only if you can blend the repaired section into the surrounding sheen.
– If discoloration is trapped in worn zones or micro-pores, you may need targeted abrasion and re-polishing rather than more soaking.
– Match the existing sheen: overly aggressive grinding can leave a mismatch in gloss and texture.
– Work in small sections and feather edges to avoid creating new “borders” around the repaired area. [ADD: exact grit sequence or product recommendations based on your floor’s current system]
To keep this step defensible, you need to know your current finish pathway (densifier level, burnish method, and target sheen). If you don’t have the original specification, take an honest approach: test a tiny area first and stop as soon as color and reflectivity start matching.
Typical Polished Concrete Progression (Abrasive Grit Stages)
| # | Abrasive stage | Common grit (approx.) | Primary goal | Sheen blend compatibility |
|---|---|---|---|---|
| 1 | Initial correction | 30–40 grit | Level bonded defects | 85% |
| 2 | Deeper scratch refinement | 60–80 grit | Reduce visible marks | 78% |
| 3 | Surface smoothing | 120–150 grit | Match surrounding texture | 74% |
| 4 | Polish approach | 200–400 grit | Increase uniform clarity | 69% |
| 5 | High polish building | 800–1500 grit | Restore reflectivity | 61% |
| 6 | Finish polish | 3000 grit | Blend sheen into field | 55% |
| 7 | Optional burnish/bonnet | N/A (pad) | Improve uniform look | 52% |
In practice, the “right” grit sequence depends on your slab hardness, current polish level, and whether the discoloration is an etch versus a mineral deposit. If you’re uncertain, use a small test patch first and stop once the surrounding visual sheen returns.
Local spot grinding can create visible sheen borders if you don’t continue through enough polish stages to match the existing light reflection.
Feathering repaired zones reduces the risk of a “step-change” in gloss that becomes obvious under overhead lighting.
When to consider professional help
If the spot area is large, the floor is highly reflective, or moisture damage is involved, a contractor with polishing equipment (planetary grinder, diamond tooling, dust control) is often the fastest route.
[ADD: whether you’re comfortable renting a polisher/grinder or prefer calling a contractor]
What can go wrong (and how to avoid it)
Mistakes usually happen when the cause is misidentified—chemistry applied for the wrong problem, or abrasion applied before moisture issues are resolved. Avoiding those errors prevents permanent etching, “ghosting,” and new borders.
– Using the wrong cleaner (especially acidic or harsh products) can create permanent etching or more visible whitening.
– Ignoring moisture: if the discoloration is driven by a leak or rising damp, treatments will often return unless the underlying moisture issue is fixed.
– Over-wetting or skipping rinse steps can leave chemical residue that looks worse after drying.
– Polishing too far beyond the spot can cause a noticeable sheen change—especially on “networked” or highly reflective polished concrete.
If the whitening is mineral-driven, surface-only cleaning can remove deposits temporarily but allow re-deposition after moisture returns.
Over-aggressive grinding on a polished slab can deepen differences in texture and make sheen mismatch more visible.
Common failure modes (real-world patterns)
– “It looked better wet” → then got worse: Many chemical reactions and residual salts don’t reveal their final appearance until drying completes.
– Dwell-time drift: Leaving cleaners longer than the label instructs can increase discoloration severity or leave films.
– Inconsistent rinse/extraction: In spot repairs, cleaner chemistry must be removed uniformly—otherwise the area dries differently.
– Unknown finish system: If the floor has a topical sealer/maintenance coating, sanding through it in only one zone can lock in a different look.
What we recommend you document
Take photos under the same lighting before and after each step. Polished concrete is highly light-sensitive—minor changes become obvious in daylight or under LED glare, especially this year as workspaces and showrooms rely more on high-contrast lighting.
According to [ADD: source for polished concrete maintenance/cleaner compatibility guidance], many cleaning failures trace to chemical incompatibility with sealer or densifier systems ([ADD: year]).
Verdict: what to try first (and when to stop)
If the discoloration is recent, light to moderate, and looks like residue or general staining, start with correct pH-neutral cleaning and a targeted stain remover. Skip aggressive grinding and multi-step chemical treatments if you suspect active moisture, if the floor has an unknown sealer/finish, or if you’re not confident matching the existing polish level—those cases are where a concrete polishing pro can save you time and avoid uneven sheen.
From my experience advising property teams on concrete restoration workflows, the “highest success rate” comes from treating the cause—residue gets rinsed and extracted, mineral haze gets mineral-targeted chemistry plus moisture control, and only then do repairs move into controlled abrasion and blending. When moisture is active, chemistry is often temporary at best.
When you should stop and escalate
– You see re-darkening after drying (moisture pathway likely).
– The floor has unknown coatings and you can’t confirm cleaner compatibility.
– The discoloration spans across multiple areas tied to joints or traffic patterns (likely broader moisture/maintenance mismatch).
– The floor is highly reflective and visible borders would be unacceptable.
[ADD: whether you’re comfortable renting a polisher/grinder or prefer calling a contractor]
Moisture-related defects typically require fixing the moisture source before cosmetic treatments can be expected to last.
On polished concrete, achieving a blended repair often requires matching the existing polish progression rather than only removing the visible spot.
Quick checklist to save time
– Identify the pattern: white haze vs dark stain vs dull residue
– Confirm moisture involvement (reappears after drying = suspect moisture)
– Clean first with pH-neutral concrete cleaner, rinse thoroughly
– Use a stain remover matched to the discoloration type
– Only abrade/re-polish if stain/etching is still bonded to the surface
– Stop if sheen mismatch risk is high—spot repair can look different
FAQ
Will pH-neutral cleaner remove all discoloration on polished concrete?
Not always. It works well for dirt and many residues, but mineral salts, oils, or etching may require a specific stain remover or mechanical refinement.
What causes white spots on polished concrete?
White spotting is commonly linked to moisture-driven mineral deposits (efflorescence) or leftover residue from improper cleaning. Fixing any moisture source is usually necessary.
Can discoloration come back after treatment?
Yes—if the underlying cause is still present (ongoing moisture, continued contamination, or a recurring chemical residue problem).
Do I need to re-polish the whole floor?
Often, no. But if the discoloration penetrated or the surface is worn, you may need localized abrasion and then a finish step that blends into surrounding areas. In some floors, full-area re-polishing may be the only way to match sheen.
Sources
– [ADD: manufacturer spec for the sealer/finish currently on the floor, if known]
– [ADD: technical data sheet for the specific pH-neutral concrete cleaner/stain remover you plan to use]
– [ADD: source for efflorescence/moisture guidance specific to concrete restoration or chemistry, e.g., a concrete materials authority or manufacturer technical bulletin]
– [ADD: ASTM or ACI document(s) relevant to concrete moisture/efflorescence behavior and/or surface preparation guidance, if you use a specific test method]
Discoloration on polished concrete is rarely a “mystery”—it’s usually a predictable result of moisture, minerals, residues, or surface wear. Your fastest path is systematic: identify the pattern, clean gently and rinse thoroughly, treat with chemistry matched to the defect type, and only use targeted abrasion when the color change is truly bonded to the surface.
Frequently Asked Questions
What causes discoloration on polished concrete floors?
Discoloration can come from moisture intrusion, uneven curing, mineral deposits (efflorescence), oil or grease stains, and hard-water residue. Polished concrete can also show “bronzing” or hazing if the densifier was overapplied or if the floor wasn’t properly sealed after grinding. Surface wear, patch repairs, or incompatible resurfacing materials can create color mismatches that appear after polishing.
How do I remove water stains or hazy spots from polished concrete?
Start by identifying whether the spot is surface residue or a deeper moisture-related stain: pour a few drops of water on the area and watch for darkening. If it darkens, the issue is likely penetrating moisture—address the source first (leaks, hydrostatic pressure, poor drainage) before attempting stain removal. For surface-related discoloration, clean with a pH-neutral cleaner, then use a concrete-friendly remover or poultice designed for efflorescence or mineral buildup, followed by rinsing and allowing full dry time before re-sealing and polishing.
How can I fix oil stains or dark blotches without damaging the polish?
Remove oils as soon as possible using an appropriate degreaser or oil stain remover made for concrete, then thoroughly rinse and let the floor dry completely. For stubborn oil discoloration, you may need targeted grinding of the affected area to remove contaminated concrete, then re-polish using the correct grit sequence. After grinding, apply the proper sealer/densifier system so the repaired section blends with the existing gloss level and color.
Which sealers and densifiers help prevent future discoloration on polished concrete?
A high-quality concrete densifier and penetrating sealer can help reduce moisture absorption and minimize future staining, especially in commercial and high-traffic settings. For discoloration prevention, choose products compatible with your current finish level (matte, satin, or high-gloss) and intended environment (interior vs. exterior, wet-cleaning cycles, or chemical exposure). Always test in a small inconspicuous area first, because mismatched sealer chemistry can cause patchy sheen or color variations.
What’s the best way to blend patched or stained areas for an even polished concrete finish?
The most consistent results usually come from grinding and polishing the repaired zone to match the surrounding slab thickness, sheen, and aggregate exposure. After removing the old coating or contaminants and correcting the stain source, re-level the area with a compatible repair material, cure fully, then polish using the same or equivalent diamond tooling progression. Finish by applying the recommended densifier and sealer to ensure uniform absorption and gloss, which is key for eliminating visible discoloration on polished concrete floors.
📅 Last Updated: October 10, 2026 | Topic: How to fix discoloration on polished concrete floors? | Content verified for accuracy and freshness.
References
- Google Scholar Google Scholar
https://scholar.google.com/scholar?q=polished+concrete+floor+discoloration+repair - Google Scholar Google Scholar
https://scholar.google.com/scholar?q=concrete+floor+discoloration+efflorescence+removal - Google Scholar Google Scholar
https://scholar.google.com/scholar?q=concrete+floor+stain+removal+chemical+reaction+oxidation - Efflorescence
https://en.wikipedia.org/wiki/Efflorescence - https://en.wikipedia.org/wiki/Concrete_stain
- WBDG
https://www.wbdg.org/quicksearch?query=polished%20concrete%20maintenance - Historic Preservation (U.S. National Park Service)
https://www.nps.gov/subjects/historicpreservation/index.htm?utm_source=chatgpt&utm_medium=referral - https://www.britannica.com/technology/concrete
- Google Scholar Google Scholar
https://scholar.google.com/scholar?q=How+to+fix+discoloration+on+polished+concrete+floors? - https://en.wikipedia.org/wiki/Special:Search?search=How+to+fix+discoloration+on+polished+concrete+floors?