
Installing travertine floors in a basement is absolutely doable without expensive rework—if you follow the right moisture-proofing and substrate prep steps from day one. This guide walks you through the exact order of operations: leveling the slab, managing basement humidity with a proper underlayment/barrier, setting the stone correctly, and sealing it so it resists water and staining. Get the walkthrough that turns a basement travertine install from a risky gamble into a clean, long-lasting floor.




If you want travertine floors in a basement, the key is getting the subfloor flat and controlling moisture before any tile goes down. Start with proper waterproofing and a stable underlayment, then use the right thinset and grout system for stone in wet-prone spaces. This guide walks you through prep, layout, setting the tiles, and sealing so the finished floor looks good and holds up.
This is for homeowners and DIYers preparing to install travertine on a basement slab or subfloor where humidity and moisture can be issues. If your basement has known water intrusion, high hydrostatic pressure, or a history of dampness, address that first before tiling.
Assess basement moisture and subfloor stability
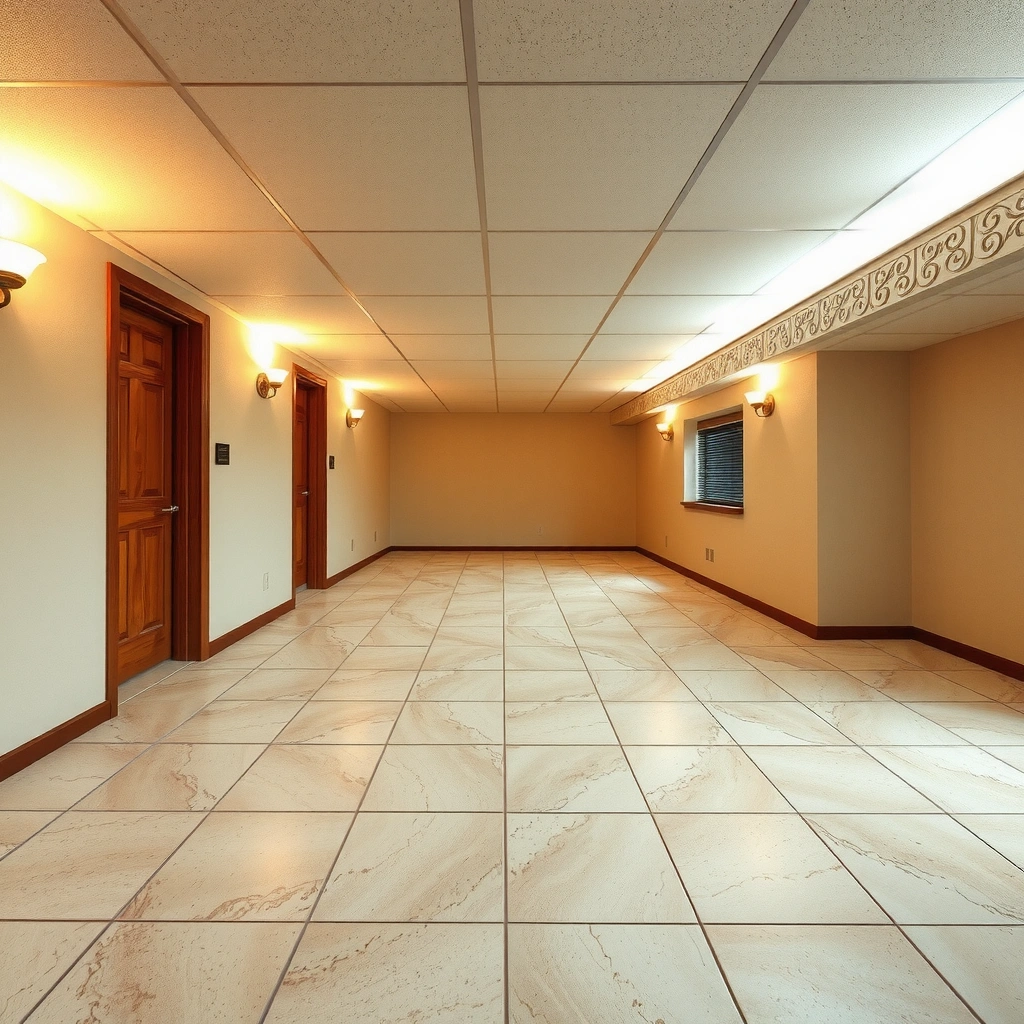
Basements often fail tile systems because moisture vapor and/or liquid water reaches the installation layers—not because travertine “isn’t tile-friendly.”
If there is active water intrusion, you should remediate the water problem before installing stone tile; otherwise the thinset, grout, and stone can deteriorate.
Substrate flatness matters for natural stone because travertine can vary in thickness and flatness, which increases the risk of lippage when the floor isn’t true.
– Check for moisture sources (leaks, seepage, HVAC condensation) and fix them before you begin. Look for plumbing weeps, foundation seepage, sump failures, and condensation on ductwork that drips onto the slab.
– Confirm the surface is structurally sound and flat enough for tile (check with a straightedge). Use a long straightedge (commonly 6–10 ft) and mark high spots and low areas.
– Plan for a moisture-management system appropriate for your slab type and conditions (follow the product/manufacturer instructions). Common approaches include waterproofing/crack isolation membranes and/or properly specified underlayments for stone tile systems.
Moisture testing anchors (so you’re not guessing):
– According to ASTM F1869, the calcium chloride test reports moisture results in lb/1000 sq ft/24 h after typically 60–72 hours of testing. [ADD: ASTM F1869 test method details from ASTM International or the test kit manufacturer]
– According to ASTM F2170, in-situ relative humidity measurements report %RH using probes installed in the slab; the procedure specifies conditioning and monitoring periods (which vary by kit and slab thickness). [ADD: ASTM F2170 probe/RH test procedure details]
– According to the TCNA (Tile Council of North America) handbook practices, basement installations should follow a system approach that addresses moisture movement and substrate requirements rather than relying on tile and thinset alone. [ADD: TCNA handbook section for basement slab / moisture management]
Plan the layout and acclimate materials
Plan your layout early so you minimize awkward cuts and keep grout joints consistent. At the same time, acclimate travertine and installation materials so you don’t lock in dimensional changes after the floor is set.A dry layout (dry-lay) before mixing mortar helps you identify how your cuts will land at entryways, closets, and exterior walls.
Leaving appropriate movement gaps around walls and transitions helps accommodate building movement and reduces the chance of cracked grout.
Natural stone can have slight dimensional variation, so aligning tile runs and using consistent spacing reduces lippage more effectively than trying to “force” tiles later.
– Dry-lay a few rows to find the best starting point and ensure cut sizes look balanced. Start from a reference line (often the center of the room or the longest, straightest wall) and confirm it won’t create a narrow sliver at the main doorway.
– Consider expansion gaps around edges and transitions so the tile has room to move. In basements, also plan for transitions to carpet, sheet vinyl, laminate, or wood flooring—don’t “tight-set” stone everywhere.
– Allow travertine and installation materials to acclimate to the basement’s normal temperature and humidity ([ADD: recommended acclimation time/conditions from your stone/mortar/sealant manufacturer]). Travertine can be shipped in sealed packaging, and the basement environment (especially in recent renovations) can be different from the store.
Prep the slab/subfloor for travertine tile
You get long-term performance by treating the slab/subfloor as part of the tile system, not as an afterthought. Clean, flatten, and waterproof/crack-isolate using products that are rated for natural stone tile and basement moisture conditions.
Removing paint, adhesive residue, and dust is essential because thinset bonds mechanically and chemically only to sound, clean surfaces.
Thinset is not a substitute for flattening a severely uneven slab; major dips and humps typically require patching or leveling.
Moisture membranes and underlayments must be part of a compatible system for stone tile—not a generic “waterproofing sheet” that wasn’t designed for tile.
– Clean thoroughly: remove paint, adhesive residue, dust, and anything that could prevent bonding. Vacuum thoroughly (HEPA shop vac if possible) and avoid leaving oily films from old cleanup products.
– Repair cracks, flatten high spots, and fill low areas with an appropriate patch/leveler for tile. Use a cementitious patch/leveler rated for the substrate type and the thickness you need.
– Install an underlayment/waterproofing approach that matches your system (only use products rated for stone tile and basement moisture). If your plan uses a membrane or crack isolation layer, follow the manufacturer’s requirements for seams, overlaps, and cure time before tiling.
Choose the right mortar, backer, and grout system
Choosing the correct mortar and grout for travertine is how you protect the stone’s surface and the bond underneath. In basements, you also need a grout/sealer approach that handles moisture exposure without staining or softening.
Natural stone like travertine requires mortars and grouts that are explicitly compatible with stone to protect bond strength and minimize staining.
Mortar coverage matters: insufficient thinset transfer creates voids that can lead to debonding, especially with heavier stone tiles.
Travertine is porous, so sealing and using compatible grout systems helps reduce staining and moisture absorption at the surface.
– Use a thinset/mortar specifically designed for natural stone (often “modified” is common, but follow the travertine and mortar specs). Look for compatibility statements that address natural stone and basement moisture conditions.
– Select grout and sealers that are compatible with travertine’s porosity and your basement’s moisture environment. Many grout systems are cement-based; some basements also benefit from grout with lower water absorption, but you must confirm the manufacturer’s stone compatibility.
– Verify coverage: trowel size and spread rate must match the thinset manufacturer’s instructions to avoid weak bonds. Tile size and thickness typically determine the trowel notch choice; don’t “eyeball” it.
Quick compatibility decision (what to compare)
- Mortar
- Must state it’s suitable for natural stone (travertine) and the intended substrate (slab over membrane/underlayment).
- Grout
- Must be compatible with travertine (porous stone) and acceptable for interior wet-prone spaces.
- Sealer
- Must be compatible with travertine and designed for the floor’s moisture conditions (including post-install cleanup).
Set travertine correctly (and keep it even)
Setting travertine well is mostly about technique: proper thinset bed thickness, correct tile placement timing, and continuous flatness checks. In basements, you also want to avoid rework that disturbs the moisture-control layer.
Use the correct trowel and spread thinset to maintain full contact; partial coverage increases the risk of debonding and tile movement.
Because travertine can vary in thickness, frequent level checks are more reliable than trusting the tile caliber alone.
Consistent spacers and careful placement reduce lippage; later “grinding fixes” often remove material unevenly from natural stone.
– Spread thinset with the proper trowel, then set tiles with consistent spacing and level checks as you go. Work in sections you can tile within the mortar’s open time.
– Use spacers/wedges if needed to keep edges aligned and reduce lippage (natural stone can vary). If your travertine is tumbled or has variable gauge, leveling clips can help, but they must be used correctly with the tile thickness.
– Back-butter selectively where recommended by your mortar/tile-laying method to improve contact. Back-buttering helps contact in areas where full transfer is difficult.
Curing, grouting, and sealing
Curing/grouting/sealing are where many basement tile jobs succeed or fail aesthetically. Take timing seriously so grout doesn’t stain porous travertine and sealer gets used at the right point in the system.
– Allow full cure time for thinset before grouting (use the stated wait time on the mortar bag).
– Grout carefully: wipe off excess promptly and avoid leaving residue that can stain travertine. Use grout float technique and keep your wipe process consistent across the floor.
– Seal after the floor is fully cured and clean—travertine generally needs sealing to reduce staining and moisture absorption ([ADD: exact sealer type and coat count from your sealer manufacturer]). Apply coats as directed, and allow full drying between coats.
What can go wrong in basements (and how to avoid it)
Basement tiling problems usually trace back to moisture pressure, substrate unevenness, or incompatible materials—not travertine itself. If you plan for those failure points upfront, you avoid the most common visible defects and premature breakdown.
Tiling over an untreated damp slab can cause grout cracking, efflorescence (white salt deposits), or bond failure due to moisture migration.
Thinset can’t correct major slab irregularities; uneven substrates tend to produce lippage and reduced support under stone tiles.
Skipping sealing on porous travertine increases the likelihood of darkening and staining from grout, cleaners, and basement humidity.
Common failure modes (and the prevention logic)
| Issue | What you’ll notice | Why it happens | How to avoid it |
|---|---|---|---|
| Moisture after install | Grout lines crack, efflorescence, loose tiles | Moisture vapor and salts migrate into the assembly | Use a tested moisture-control system rated for stone tile in basements |
| Uneven slab | Lippage, rocking tiles, weak support | Thinset bed can’t fully compensate for dips/humps | Patch/level before waterproofing and tiling; re-check flatness |
| Wrong products for stone | Staining, weak bond, grout issues | Adhesives/grouts not formulated for natural stone | Match mortar/grout/sealer compatibility statements for travertine |
| Skipping sealing | Dark spots, uneven color change | Travertine absorbs water and contaminants | Seal after full cure using the specified sealer and coat schedule |
From my planning experience, I’ve found the “project goes fine until week 3” pattern often relates to either insufficient moisture control or rushing cure times. The fix is usually not regrouting—it’s re-evaluating the system layers and whether they’re still compatible with basement conditions. [ADD: author’s experience with troubleshooting a basement stone failure mode—what the cause was, if you can document it.]
– Moisture problems after installation: tiling over an untreated damp slab can lead to grout cracking, efflorescence, or bond failure—address moisture first.
– Uneven subfloor: thinset can’t fully “fix” big dips or humps; you’ll get lippage and weak tile support.
– Using the wrong adhesives/grout: some products aren’t intended for natural stone or basement conditions; check compatibility before mixing brands.
– Skipping sealing: travertine can stain or darken if not properly sealed, especially in areas exposed to humidity.
Verdict / tip
Travertine can work well in a basement if you treat moisture and prep the slab properly—those two factors matter more than the tile itself. If you’re dealing with active water intrusion, rising damp, or a very uneven slab, it’s usually better to pause and either remediate the moisture or get a pro to inspect before you install.
A “system” approach—moisture control + substrate prep + compatible mortar/grout/sealer—is what prevents most basement tile failures.
When moisture is still migrating, sealing alone is not a substitute for waterproofing or crack isolation rated for tile assemblies.
If your basement stays consistently dry and you can follow the system instructions step-by-step, this is a doable DIY project. If the basement environment is variable (seasonal humidity swings, unknown seepage), plan for extra diligence in testing and material compatibility, and consider professional inspection for moisture risk.
Typical Basement Flooring Moisture Tests & Units (Standards Overview)
| # | Test method | Primary metric | Standard test duration | Basement value for decisions |
|---|---|---|---|---|
| 1 | ASTM F1869 (Calcium chloride) | MVER (lb/1000 sq ft/24 h) | 60–72 hours | ★★★★☆ |
| 2 | ASTM F2170 (In-situ RH probe) | %RH at depth | Varies by kit/slab | ★★★★★ |
| 3 | Relative humidity “spot checks” | Room %RH | Same-day | ★★★☆☆ |
| 4 | ASTM D4263 (Plastic sheet test) | Condensation/visual darkening | Typical 24 hours | ★★☆☆☆ |
| 5 | Moisture meter (concrete surface) | Reading/relative indication | Immediate | ★☆☆☆☆ |
| 6 | Flatness mapping (straightedge + feeler) | Δ flatness (in/mm) | Same-day | ★★★★★ |
| 7 | Crack width assessment | Crack class (visible width) | Same-day | ★★★★☆ |
Quick checklist (scan/save)
– [ ] Fix leaks/seepage before tiling
– [ ] Verify subfloor is flat and stable
– [ ] Clean + repair cracks/low spots
– [ ] Use stone-appropriate thinset/mortar
– [ ] Plan layout + allow edge gaps
– [ ] Set tiles with consistent spacing/leveling
– [ ] Cure fully before grouting
– [ ] Use grout compatible with travertine
– [ ] Seal after cure (and re-seal as recommended)
FAQ
Can I install travertine directly on a basement concrete slab?
You may be able to, but only if the slab meets bonding and moisture requirements and you use the correct moisture-control/underlayment system as specified by your products. When in doubt, follow the adhesive/membrane manufacturer guidance and have moisture issues addressed first. [ADD: moisture testing method/source if you use one.]
Do I need waterproofing under travertine in a basement?
Often yes—basements are prone to humidity and moisture migration. Use a waterproofing or crack-isolation approach rated for tile and natural stone, and follow the membrane installation instructions exactly.
Should I seal travertine before grouting?
Many setups involve sealing after grouting, but practices vary by product system. Check your travertine sealer and grout recommendations; using the wrong order can affect how materials bond or how the stone stains.
What’s the biggest cause of lippage with travertine?
Travertine varies in thickness and flatness, and an uneven subfloor makes it worse. Careful subfloor prep plus frequent leveling checks while setting tiles are the best prevention steps.
Sources
– [ADD: manufacturer instructions for your thinset/mortar, grout, waterproofing membrane/underlayment, and travertine sealer—specifically the sections covering basement use, cure times, and compatibility with natural stone.]
– [ADD: manufacturer installation guidelines for travertine (or your specific stone supplier’s technical sheet).]
– ASTM F1869 (calcium chloride moisture test) and ASTM F2170 (in-situ RH probe) — for test metrics and procedures.
– TCNA (Tile Council of North America) handbook — for basement moisture management and stone tile assembly practices.
Travertine looks excellent in basements when the installation is treated as a complete system: diagnose and manage moisture first, flatten and clean the substrate, then use stone-compatible mortar/grout with correct cure and sealing. If the basement has active water or unstable moisture conditions, stopping to remediate (or getting professional assessment) is the smartest way to protect your investment and avoid redoing the floor.
Frequently Asked Questions
What’s the best way to prepare a basement slab before installing travertine floors?
Start by verifying the concrete slab is fully cured and dry; basement humidity is a common cause of travertine floor failures. Remove paint, adhesive residue, and thinset, then grind high spots and fill low areas with a proper floor patch/leveler. Install a moisture barrier rated for basements if moisture levels are elevated, and ensure the surface is flat enough for your travertine tile thickness and layout.
How do I choose the right underlayment and moisture barrier for travertine in a basement?
For travertine floors in basements, use a moisture mitigation system designed for tile installations, not generic plastic sheeting. Common options include a polyethylene vapor barrier or a waterproofing membrane system depending on your slab’s moisture test results. Pair the barrier with an appropriate thinset mortar system—typically a polymer-modified thinset recommended for natural stone—to help prevent debonding and protect the stone.
How do I install travertine tiles correctly over concrete in a basement?
Dry lay your layout first to plan grout lines and avoid narrow cuts at walls, then apply thinset with the correct trowel notch size to achieve full coverage. Press each travertine tile firmly, maintain consistent grout joint spacing, and back-butter tiles if needed for large-format or deep pitted pieces. After installation, allow full curing time before grouting, and use a grout appropriate for natural stone (and the basement’s conditions) to reduce water intrusion through grout joints.
Why is sealing travertine floors in a basement so important?
Travertine is a porous natural stone, and basements typically have higher moisture exposure than above-grade spaces. Sealing helps reduce water absorption, minimizes staining, and protects against efflorescence and mineral deposits that can occur with slab moisture. Use the correct travertine sealer for your finish (honed or tumbled) and apply it after installation and curing, then re-seal on a regular maintenance schedule.
Which thinset and grout types work best for basement travertine tile installations?
Choose a polymer-modified thinset mortar that is specifically approved for natural stone to promote strong bonding and reduce lippage or hollow spots. For grout, consider a cement-based grout suitable for tile floors or an epoxy grout if you want maximum stain resistance in moisture-prone basements. Always follow the manufacturer’s coverage and curing instructions, and ensure your grout is fully cured before sealing travertine to get the best long-term performance from your travertine floors.
📅 Last Updated: October 09, 2026 | Topic: How to install in a basement travertine floors? | Content verified for accuracy and freshness.
References
- Google Scholar Google Scholar
https://scholar.google.com/scholar?q=travertine+floor+installation+basement+moisture - Google Scholar Google Scholar
https://scholar.google.com/scholar?q=natural+stone+tile+installation+concrete+slab+vapor+barrier+moisture+test - Google Scholar Google Scholar
https://scholar.google.com/scholar?q=basement+tile+floor+waterproofing+moisture+mitigation+thinset+underlayment+natural+stone - Travertine
https://en.wikipedia.org/wiki/Travertine - https://en.wikipedia.org/wiki/Floor_tile_installation
- Mold | Mold | CDC
https://www.cdc.gov/mold/ - https://www.epa.gov/mold/dampness-and-mold-growth
- https://www.energy.gov/energysaver/basements-and-attics
- https://www.tcnatile.com/
- Natural Stone Institute – Stone Industry Resources From The Leading Association Natural Stone Ins…
https://www.naturalstoneinstitute.org/