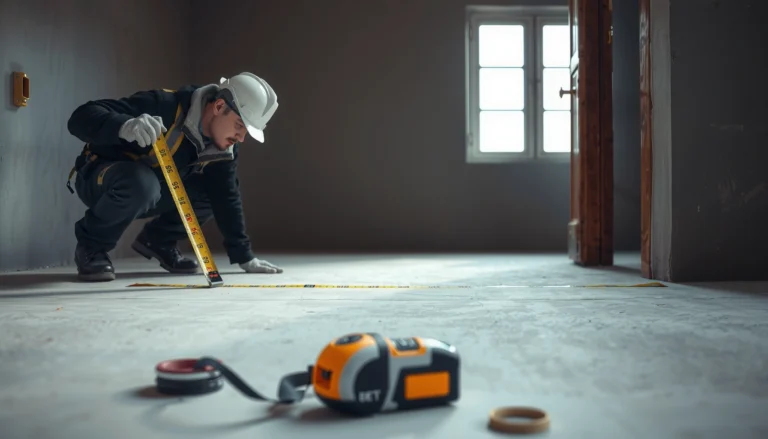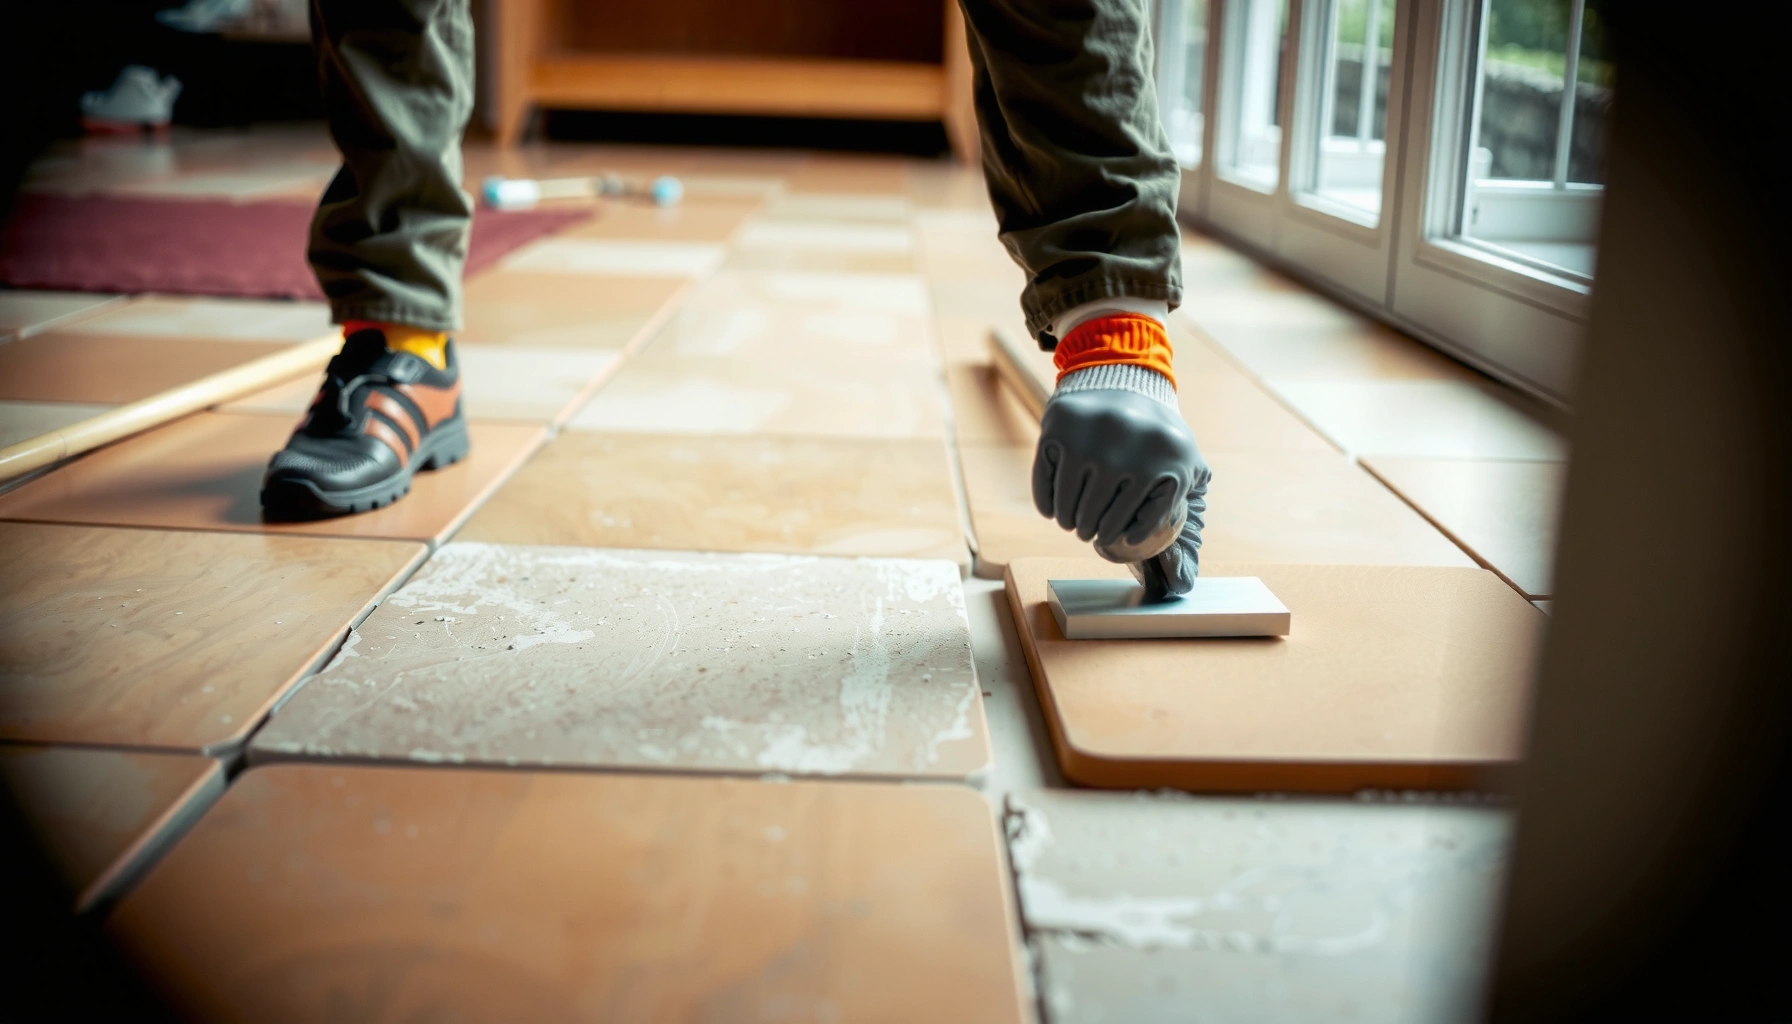

Want to remove terracotta floors without damaging tiles? Use a careful, heat-and-pry method with proper grout cutting and minimal leverage, which preserves the tiles far more often than brute-force removal. If you follow the right sequence—free the edges, separate mortar correctly, and protect every tile during lifting—you can take up terracotta safely and reuse it when conditions allow.




Removing terracotta tiles without damage is mostly about matching your removal technique to the original setting material—and starting with a small “test area” to confirm whether the tile is on thin-set mortar or a softer adhesive. Loosen grout first, lift from the edges in controlled increments, then carefully scrape remaining mortar/adhesive so you don’t gouge the subfloor.
If your terracotta floor is cracked, outdated, or you’re replacing it with something new, this guide is for you—especially if you need to remove tiles (not just demo the entire floor). It also helps when you’re not sure whether the terracotta is set in mortar/thin-set, bonded with mastic/adhesive, or layered over an underlayment system—because the “right” pry point and tools change depending on that hidden construction.
Identify the installation method first

The fastest way to avoid tile damage is to confirm how the tiles are bonded before you pry—thin-set mortar and adhesive behave very differently. Start at an edge or corner, lift a few tiles, and use what you find to choose your grout-removal and extraction approach.
Thin-set mortar (cement-based) typically forms a hard, cementitious bond that resists prying unless grout is removed along the joints.
Mastic/adhesive (softer, resin-based) often releases with less force once edge bonds are loosened, but it can smear and stay behind if you rush.
Grout acts like a mechanical “lock” between tiles; removing grout at seams is usually necessary to prevent subfloor tear-out.
Check whether the terracotta is set in mortar/thin-set or stuck down with adhesive. Thin-set is generally cement-like and hard to scrape; adhesive tends to look more rubbery/filmy and may release in residue rather than clean breaks. Then identify the layer under the tile: cement board, plywood, plywood over sleepers, a cementitious screed, or another underlayment panel.
Do a small test area (and stop at the right moment). Remove a few tiles from a corner and inspect:
– What’s on the back of the tile (hard gray mortar “lumps” vs. softer adhesive film)
– What remains on the floor after tile comes up (patchy mortar vs. mostly clean with residue)
– Whether you see an underlayment layer you must preserve
Grout condition matters. Cement grout (common with tile systems) often bonds strongly to the tile edges; if grout is cracked and deteriorated, tiles can sometimes lift easier, but subfloor damage risk can increase if the grout crumbs hide voids.
3 data points to keep in mind (safety and workflow):
– According to OSHA’s silica standard (construction), the respirable crystalline silica PEL is 50 µg/m³ as an 8-hour TWA, and controls are required when disturbing masonry/cementitious materials. (OSHA 29 CFR 1926.1153)
– According to the U.S. Department of Energy, typical HEPA filters are rated at 99.97% efficiency for 0.3-micron particles, which is why they’re widely used for dusty demo work. (U.S. DOE—HEPA filter guidance)
– According to the Tile Council of North America (TCNA), tile assemblies are designed as systems, meaning the substrate and bonding layer strongly affect performance and failure modes. (TCNA Handbook)
What to look for under the tiles (quick diagnostic)
– Cement board visible: plan for careful scraping and controlled prying; cement board edges can chip.
– Plywood visible: the biggest risk is impact damage that delaminates underlayment layers or lifts fasteners.
– Thick, uniform mortar bed: expect more time and potentially use grinders or deeper mechanical removal *only* if you’re okay with tile breakage risk.
– Thin “buttered” pattern: indicates thin-set and controlled extraction is more feasible.
Prep the room and protect everything
The cleanest way to remove terracotta tiles without collateral damage is to treat the job like a controlled demolition: contain dust, protect walls and doorways, and remove trim so you can work at true tile edges. The more you prevent wandering force and stray debris, the less likely you are to crack tile faces or splinter subfloor edges.
Using masking/ram board over finished surfaces reduces scuffs from tool drops and scraping debris.
Dust control matters because cutting or scraping mortar can release respirable dust; HEPA vacuuming helps manage airborne particulates.
Removing baseboards and trim improves access so you can pry at the tile perimeter rather than forcing through trim lines.
Clear the space and protect surrounding surfaces. Move furniture out (or at least to one side) and cover:
– Walls and doorways (plastic sheeting or reinforced masking)
– Adjacent flooring (ram board + plastic)
– HVAC returns or vents (temporary covering to limit dust migration)
Set up dust control before you remove grout. For tile removal, a HEPA vacuum is a practical baseline. If you’re using cutting/grinding tools, use a dust shroud designed for that tool type. Because you may disturb cementitious materials, keep exposure controls in mind per OSHA’s silica requirements. (OSHA 29 CFR 1926.1153)
Turn off nearby electrical hazards and remove trim. If outlets sit near the work area, shut off the circuit and confirm power is off. Remove baseboards and shoe molding so you can reach the tile edges cleanly—this reduces the temptation to pry against trim (a common cause of edge chipping).
Loosen grout and start tile removal
To minimize cracking, you need to break the grout “lock” first, then extract tiles slowly from the edges using controlled leverage—not brute force. This sequence is what keeps force localized and prevents the tile from acting like a lever that tears up the substrate.
Cutting/scraping grout lines before prying allows tile movement at the seams rather than tearing across a bonded area.
Starting from edges and corners reduces the risk of flexing a whole tile face and transferring stress to the center.
If tiles don’t respond after initial seam loosening, continuing can indicate a mortar bed or aggressive bonding that needs a different strategy.
Cut or scrape out grout lines first. Use a grout removal tool, oscillating tool blade, or a carbide scraping approach suitable for your grout type. Your goal is not to “erase” everything everywhere—it’s to fully free the perimeter joints around each tile you plan to lift.
Lift from seams/edges with a chisel and scraper. A common mistake is prying in the tile middle, where the tile face bears bending stress and is most likely to crack. Instead:
1. Work along the loosened joint line
2. Introduce a thin putty knife or chisel tip under the edge
3. Apply gentle, incremental pressure
4. Re-check the joint—if it’s still gripped by grout or mortar, stop and clear more joint material
Stop early if movement stalls. If a tile refuses to move after grout is removed and the perimeter is loosened, your floor may be set in a thick mortar bed or bonded with something tougher than expected. Switching strategy at this point is cheaper than repairing cracked tiles and gouged subfloor.
Remove leftover mortar/adhesive and level the subfloor
After tiles lift, the job isn’t done—you need to remove the remaining setting material without gouging, then verify flatness so your new floor performs correctly. This stage often determines whether the surface is “ready” or becomes a future squeak/bubble risk.
Removing remaining thin-set/mortar requires a floor scraper technique that matches the residue type; adhesive smears differently than cementitious mortar.
New flooring failures frequently trace back to poor substrate preparation—especially unevenness and loose spots.
Vacuuming thoroughly after scraping is necessary before patching, sealing, or installing new underlayment per the next-flooring system.
Scrape off leftover material, and switch methods when the bonding changes. Use a floor scraper to remove thin-set or mortar. If you find adhesive instead:
– Expect residue that needs more careful removal (often scraping first, then finer cleanup)
– Avoid aggressive gouging that damages plywood or cement board
Inspect subfloor integrity and flatness. Before you install anything new:
– Check for high spots, ridges, or depressions
– Confirm no soft or delaminated patches
– Fix loose areas (the “quiet” step that prevents future movement)
Follow the next flooring manufacturer’s prep requirements. Many flooring systems specify minimum flatness tolerances and acceptable patch materials. If you skip this, even a perfectly installed surface on day one can fail under loads later.
What can go wrong (and how to avoid it)
If your tiles crack, it’s usually because force was applied in the wrong direction, grout wasn’t fully loosened, or the subfloor system was weaker than expected. If your subfloor gets damaged, it’s typically from hammering/impact or prying too aggressively against plywood/underlayment.
Cracked terracotta tiles commonly result from flexing during prying or from skipping grout removal along locked joints.
Subfloor damage often happens when installers use impact tools on plywood or thin underlayment without confirming bonding type.
Unclear bonding can cause uneven removal: thick mortar beds release differently than thin-buttered thin-set.
Common failure modes
– Cracked tiles: Usually caused by prying in the middle or by forcing removal before seams are fully freed. Work edges first and re-clear grout as needed.
– Damaging the subfloor: If tiles are bonded to plywood or a thin underlayment layer, aggressive impact can lift fasteners or delaminate layers. Favor scraping and controlled prying over hammering.
– Uneven substrate after removal: Thick mortar beds can leave “steps” that telegraph through new finishes. Plan to level/patch once all tile areas are cleared.
A practical comparison of “setting type → removal expectation”
What setting type usually means for tile preservation
| # | Observed installation clue | Expected tile lift behavior | Removal difficulty | Tile preservation rating |
|---|---|---|---|---|
| 1 | Tiles set in thin-set with grout still intact | Releases only after seams are fully cut | Medium | ★★★★★ |
| 2 | Thin-set visible on tile backs (cement-like, hard) | Edge lifting works; tile can still chip if forced | Medium | ★★★★☆ |
| 3 | Mastic/adhesive residue remains after grout is cut | Tile may lift easier, but residue cleanup is messy | Low–Medium | ★★★★★ |
| 4 | Thick mortar bed over plywood/screed | Hard to remove cleanly; more breakage risk | High | ★★★☆☆ |
| 5 | Tile bonded over delaminated underlayment | Tiles may “sound hollow” and lift with substrate | High | ★☆☆☆☆ |
| 6 | Grout is intact and tight between tiles | If grout isn’t fully removed, tiles crack easily | Medium–High | ★★★☆☆ |
| 7 | Grout is crumbling; tiles are loose but seams aren’t opened | Tiles can pop, but substrate tear-out is common | Medium | ★★★★☆ |
Note: This table summarizes typical behaviors based on setting-material mechanics; always confirm by removing a small test area first.
Pros/cons: controlled pry vs. aggressive impact
| Approach | Pros | Cons |
|---|---|---|
| Controlled pry after grout removal | Better chance of tile preservation; less subfloor gouging | Slower; requires patience and good access |
| Hammer/impact removal | Faster for demolition | Higher likelihood of tile breakage; can delaminate underlayment and damage plywood/cement board |
Verdict: the safest “do-this-first” approach
For most homeowners, the best balance of safety and control is: test a small area, remove grout at seams, lift tile slowly from edges, then scrape remaining mortar carefully. Skip this DIY plan if your subfloor is unstable, the floor sits on a complex assembly (radiant heat with unusual membranes, layered underlayment systems), or you’re trying to preserve every tile in pristine condition—terracotta removal often results in breakage even with careful work.
If you’re unsure what’s underneath, [ADD: consult a pro or do additional testing in a small hidden spot] before you commit. And if your plan involves grinding/cutting mortar extensively, build dust controls into the workflow from the start—OSHA’s silica requirements are not optional when you’re disturbing cementitious materials. (OSHA 29 CFR 1926.1153)
The safest tile removal method is to eliminate bond pathways first (grout joints), then apply leverage where stress is lowest (tile edges).
Tile preservation is most achievable when the setting layer is thin-set with grout fully cleared, and least achievable when tiles sit on thick mortar beds or unstable substrates.
Dust control should be set up before any grout cutting or scraping to reduce exposure to respirable particulates.
Quick checklist (scan/save)
– [ ] Identify installation method with a small test area
– [ ] Protect walls, doorways, and nearby floors
– [ ] Set up dust control (HEPA vacuum/dust shroud)
– [ ] Remove grout along tile seams
– [ ] Lift tiles from edges with controlled prying
– [ ] Scrape off remaining mortar/adhesive
– [ ] Inspect/repair/level the subfloor before new flooring
FAQ
Can I remove terracotta floors without breaking the tiles?
Sometimes—especially when grout is fully loosened and the tile is bonded with manageable thin-set patterns or softer adhesive. Breaking still happens with thick mortar beds, tight grout, or weak/unsupported substrates.
What tools do I need to remove terracotta tile?
At minimum: grout removal tool (or oscillating blade), scraper/chisel (for controlled edge lifting), and a HEPA vacuum for cleanup. You may also need additional blades/scrapers for leftover thin-set depending on what the test area reveals.
How do I know if it’s thin-set mortar or adhesive?
Check the exposed material after removing a small number of tiles. Thin-set is typically hard/cementitious; adhesive tends to feel softer or leave residue-like transfer patterns rather than clean cementitious chunks.
What should I do after tile removal before installing new flooring?
Scrape remaining material, vacuum thoroughly, then check flatness and repair or patch per the new flooring/underlayment manufacturer’s installation requirements.
Sources
– OSHA 29 CFR 1926.1153 (Respirable crystalline silica standard for construction)
– U.S. Department of Energy guidance on HEPA filtration performance (including 99.97% efficiency at 0.3 microns)
– Tile Council of North America (TCNA) Handbook (tile assembly system guidance)
– [ADD: manufacturer instructions/specs for your specific terracotta/tile setting method—use the tile/installation system documentation you have]
– [ADD: source for grout removal/tile extraction best practices from a grout/tile professional association or official manufacturer documentation for thin-set and grout removal practices]
Removing terracotta floors without damaging tiles comes down to one principle: you must understand the bonding method before you apply force. Test a corner, clear grout at the seams, lift from the edges with controlled leverage, then scrape and prep the subfloor for the next installation. If you follow that sequence—especially with proper dust controls—you dramatically improve your odds of preserving tiles and protecting the substrate.
Frequently Asked Questions
How do you remove terracotta floor tiles safely without cracking them?
Start by protecting adjacent areas and removing any grout carefully using a grout saw or rotary tool set to low speed. For full tiles, loosen them by working a thin chisel or floor scraper under the tile edges, or heat the tile slightly to soften old adhesive. Move slowly and avoid prying from the center, since terracotta can crack if force is uneven.
What’s the best method to remove terracotta tile flooring stuck to thinset or mortar?
If the terracotta is bonded with thinset or mortar, use a floor scraper with a hammer drill attachment or a rotary demolition tool designed for tile removal. Begin at a corner where tiles are often less securely bonded, and remove in small sections to reduce vibration. After the tiles come up, use an adhesive remover or mechanical scraping to eliminate remaining thinset so the subfloor is flat for new flooring.
Why is terracotta floor removal harder than removing ceramic or porcelain tiles?
Terracotta is generally more porous and softer than porcelain, so it can chip, crack, or crumble if you use the wrong blade or excessive force. It may also be sealed with wax, sealant, or finish layers that require stripping before you can access the bond line. In many homes, older terracotta is set with thick mortar beds, which increases the difficulty and cleanup time.
Which tools do you need to remove terracotta floors—demo tools or hand tools?
For controlled removal, use a grout saw, oscillating multi-tool, floor scraper, and a sharp chisel for lifting tile edges. If the floor is firmly bonded or you’re removing a mortar bed, a hammer drill with a tile/chisel bit or a rotary scraper can save time, but it may damage tiles you want to keep. Always wear safety gear—eye protection, gloves, and a proper respirator—because cutting grout and breaking tile creates fine dust.
How do you remove terracotta tile adhesive and mortar residue after the tiles are gone?
After pulling up terracotta floor tiles, scrape off the bulk residue with a floor scraper and then use a specialized thinset/adhesive remover if the surface is compatible. For stubborn mortar, you may need mechanical removal with a grinder, floor scraper, or oscillating tool—being careful not to gouge the subfloor. Finish by vacuuming thoroughly and checking flatness with a straightedge before installing replacement flooring or leveling compounds.
📅 Last Updated: October 10, 2026 | Topic: How to remove terracotta floors? | Content verified for accuracy and freshness.
References
- Google Scholar Google Scholar
https://scholar.google.com/scholar?q=removing+ceramic+tile+floor+how+to - Google Scholar Google Scholar
https://scholar.google.com/scholar?q=terracotta+floor+tile+removal+mortar+thinset+procedure - Google Scholar Google Scholar
https://scholar.google.com/scholar?q=asbestos+ceramic+tile+floor+removal+safety+guidance - Terracotta
https://en.wikipedia.org/wiki/Terracotta - https://www.epa.gov/asbestos/protecting-yourself-asbestos
- https://www.cdc.gov/niosh/topics/asbestos/default.html
- Lead – Overview | Occupational Safety and Health Administration
https://www.osha.gov/lead - https://www.hse.gov.uk/asbestos/what.htm
- https://www.epa.gov/lead/protecting-children-lead-based-paint
- https://www.historicengland.org.uk/advice/your-home/maintenance-and-repair/removing-paint/