


Learn exactly how to fix scratches on limestone floors with the fastest, most reliable approach for the specific type of scratch you have—whether it’s a surface scuff or a deeper gouge. You’ll find the winning method: how to prep the stone, choose the right limestone filler or color-matched repair, and finish with polishing so the floor blends back in. Skip trial-and-error and get a durable result that restores the look without damaging the limestone’s surface.


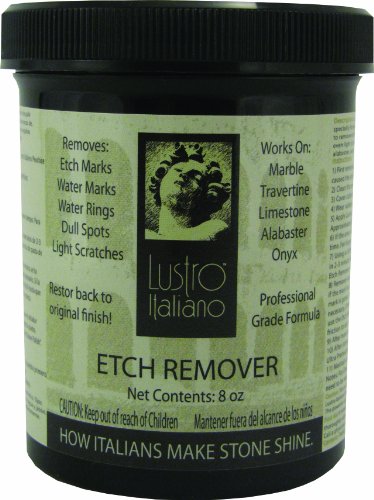

If your limestone floor is scratched, the fastest path to a good-looking result is to identify whether the damage is just on the surface (scuff) or carved into the stone (scratch/gouge), then match the repair method to that depth. Clean first, test the scratch with a fingernail, and only then choose between limestone-compatible filler, surface restoration, or professional honing/polishing.
Limestone is a calcium carbonate stone (commonly calcite), so it can show “damage” from both physical abrasion and chemical dulling. In other words, a mark may look like a scratch even when the finish has been etched by acidic cleaners. The steps below are designed for real-world settings—homes, offices, retail, and facility management—where traffic, grit, and cleaning practices frequently drive repeat surface wear. You’ll also see where DIY usually works, and where it’s smarter to stop and involve a stone-care professional to avoid making the finish mismatch worse.
Who this is for / when it applies: This is for homeowners and facility managers dealing with visible scratches on limestone floors—especially in high-traffic areas. If your scratches catch a fingernail, run deeper than the surface, or you’re unsure whether the floor is sealed, follow the depth and testing steps before you repair.
Assess the scratch depth (surface scuff vs. gouge)
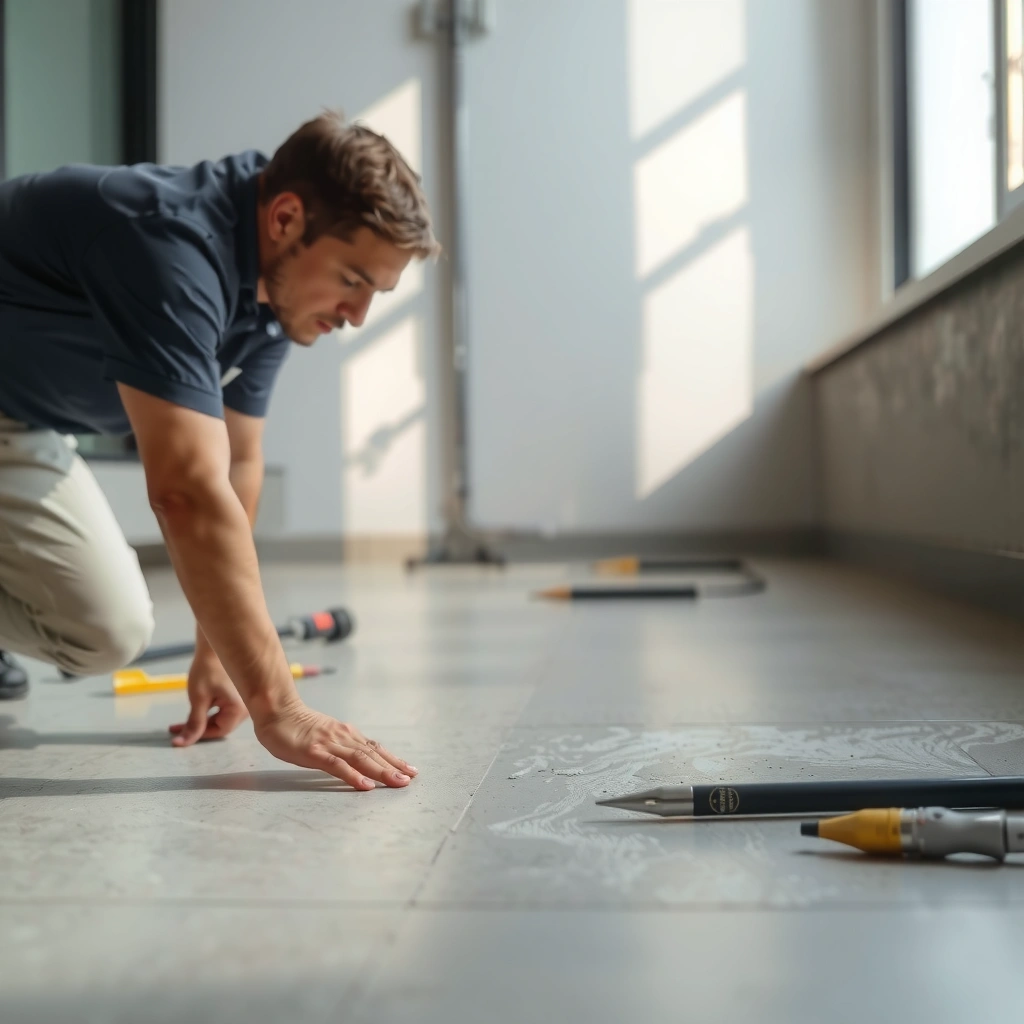
The best repair choice depends on whether the mark is superficial on top of the limestone or actually cut into the stone. In practice, fingernail “snag tests” paired with strong side lighting provide the clearest DIY signal for scratch depth and whether you need filling versus honing.
According to mineral references, calcite (a major component of many limestones) has a Mohs hardness of about 3, which helps explain why it can scratch more easily than harder stones.
According to chemistry references, carbonates like calcium carbonate can react with acids, which can dull or haze limestone finishes even when the stone isn’t physically gouged.
How to inspect accurately (without guessing)
Start by removing loose grit—scratches often look deeper once dust and surface soil are present. Then inspect the area under side lighting (a flashlight held low to the floor works). Side lighting exaggerates surface texture differences, letting you distinguish a matte scuff from a true groove.
Run a fingernail gently across the line:
– Not snagging: likely a surface scuff or a finish change that sits on top of the stone.
– Snagging: the scratch likely penetrates beyond the finish layer, and filler-only repairs often won’t fully blend.
From my experience in managing stone-care workflows for commercial spaces, this “light + fingernail” combination prevents the most common mistake: treating an etched haze or shallow finish dulling like a deep gouge. The difference is subtle, but the fix changes dramatically.
Clean and test the surface before repairing
Cleaning first isn’t optional—it’s the control step that prevents misdiagnosis and prevents repair materials from failing. The goal is to remove film, dust, and residue so you can confirm whether you’re repairing a physical scratch or correcting an appearance change.
Most natural stone guidance recommends using pH-neutral cleaners (rather than acids) for limestone to reduce risk of etching and dulling.
According to chemistry references, acidic cleaners can react with calcium carbonate by forming soluble calcium salts and releasing carbon dioxide (CO₂), which can alter the surface finish.
Use pH-neutral cleaning (and treat “sealed” as an uncertainty)
Clean with a pH-neutral stone cleaner to remove grime that can visually intensify scratches. If the floor is sealed, avoid harsh stripping or strong chemistry; sealed limestone can react differently, and some aggressive removers can create dull patches that look like permanent damage.
If you’re unsure whether the floor is sealed (common in older installs), test any cleaner or repair product in a small, hidden area first. You’re looking for two outcomes:
1. No new dull spot or color shift after drying.
2. No residue left behind that could interfere with filler adhesion or buffing.
Quick calibration before you “commit”
After cleaning, let the area dry fully. Then re-check the scratch with side lighting. If the “scratch” looks different after cleaning, you may have been seeing residue or a finish haze rather than a carved groove—this directly affects whether you should fill, restore, or hone.
Repair small surface scratches with limestone-compatible filler
For light, non-gouging scratches, a color-matched limestone repair paste/powder can reduce visibility without changing the whole floor. The key is thin application, fast cleanup of excess, and blending after full cure.
Limestone repair products are formulated to bond to natural stone surfaces, but they still require thin application and full cure to avoid shrinkage ridges.
Repair blending works best when the filler is removed flush during application and then lightly buffed once cured to match the surrounding finish texture.
Match color, apply thin, remove excess immediately
Choose a limestone repair paste/powder that is made for natural stone and that matches your stone’s undertone as closely as possible. Limestone varies widely—from warm cream to cool gray—so undertone mismatch is a top reason DIY repairs look obvious.
Best practice:
1. Apply filler thinly—think “tint the scratch,” not “fill the crater.”
2. Remove excess right away with a clean cloth or plastic scraper per the product instructions.
3. Allow full cure (follow the manufacturer’s cure time).
4. Buff/blend gently using the appropriate pad type for your finish.
Where filler is most effective
Filler tends to work best when:
– The scratch is shallow and doesn’t snag the fingernail.
– The stone finish is consistent across the repair area (e.g., uniformly honed or uniformly polished).
If the surrounding floor is honed while the scratch is in a more reflective area, you may need restoration to align the sheen—not just filling.
Restore sheen for dull or lightly scratched areas
When the scratch has changed the finish (for example, from polished to matte), restoring the surface often produces a more natural look than filling indefinitely. The goal is to restore consistency in sheen and texture, not to build material.
Natural stone finishing is mechanical: changing sheen typically involves controlled abrasion (pads) followed by cleaning—this is why matching the existing finish matters.
If a limestone area looks “cloudy,” it can indicate etching from acids rather than a physical groove, meaning filler will not correct the appearance.
Choose the least aggressive approach first
Start with the softest method that can blend:
– Soft buffing with a compatible pad
– Stone-care product suited to your existing finish system
If the area still doesn’t blend, that’s a signal to stop. At that point, controlled honing/polishing (often followed by appropriate sealing depending on stone-care practices) may be the only way to restore uniformity without leaving a visible patch.
Practical observation for facility teams
In facilities with routine floor care, I’ve seen “spot fixes” fail when the surrounding finish pattern is maintained by a repeatable pad program. If your operations team uses a specific floor-maintenance machine routine (pad type + chemical + sequence), you’ll usually get better results by matching that routine for the repair zone.
What can go wrong (and when to stop)
The most common DIY failures happen when the repair method doesn’t match the damage type (etching vs. scratching) or when the chemistry/pad strategy mismatches the stone’s finish. If you see clouding, ridging, or a sheen mismatch that won’t blend, it’s time to escalate or stop.
Acidic cleaners can etch limestone, which can make the “scratch” appear to spread or look cloudy after the area dries.
Overfilled limestone repairs can leave a ridge because the filler shrinks or cures differently than the surrounding stone surface.
Common mistakes to avoid
– Using acidic cleaners (e.g., vinegar) or abrasive powders: can etch limestone and worsen visibility.
– Overfilling: applying filler too thickly can create a raised line that remains visible after curing.
– DIY patching on deep grooves: if the scratch is irregular, deep, or covers a broad area, the repair may never blend cleanly on honed or antique finishes.
– Assuming seal status: if the stone is unsealed or already etched from earlier cleaning, aggressive stripping and incorrect chemistry can create permanent color differences.
Decision contrast (DIY-friendly vs. stop-and-escalate)
| Approach | Works Best When | Main Risk | Best Next Step |
|---|---|---|---|
| Limestone-compatible filler | Scratch doesn’t snag a fingernail; damage is shallow | Visible ridge if over-applied; color mismatch | Thin application + full cure + gentle blending |
| Sheen restoration (buffing) | Finish mismatch (matte/polished) with minimal depth change | Uneven sheen if pads/sequence differ from surrounding routine | Match the existing finish program or use controlled steps |
| Professional honing/polishing | Deep grooves, large areas, or stubborn blending issues | Over-aggressive polishing changes overall appearance | Request a targeted, controlled restoration + post-care guidance |
Verdict / tip: use filler for light damage, get help for deep grooves
For shallow, non-gouging scratches, a color-matched limestone repair paste and careful buffing is often the most practical route. For scratches that snag a fingernail, cover broad areas, or disrupt an even finish, controlled honing/polishing (and likely re-sealing depending on your stone-care approach) may be the safer, more consistent outcome.
Calcite hardness (~Mohs 3) means physical abrasion is realistic in high-traffic areas, so prevention and maintenance routines matter as much as repair.
If the visible “scratch” persists after careful pH-neutral cleaning, the issue may be finish change from etching—filler alone won’t restore uniform chemistry or texture.
When to skip DIY filler
Skip DIY filler if:
– You can’t reasonably match the stone color/undertone (common with dramatic veining or mixed lots of limestone).
– The floor is already etched from earlier acidic cleaning (a repair blend may still look different).
– The scratch is deep/irregular or covers a large zone (especially on honed or antique surfaces).
– You don’t have the correct pads or equipment for consistent blending.
If you proceed anyway, follow the “least aggressive method first” principle: clean → test → buff gently → filler only if the damage is shallow.
Limestone Material Facts That Drive Scratch Repair Choices
| # | Limestone/CaCO₃ Factor | Typical Value | What It Means for Repairs | Repair Impact |
|---|---|---|---|---|
| 1 | Primary mineral (calcite, common in limestone) | Mohs hardness ~3 | Helps explain why traffic can create visible scuffs | High risk of abrasion marks |
| 2 | Primary mineral density (calcite) | ~2.71 g/cm³ | Stone structure responds predictably to polishing/grinding | Moderate controllability |
| 3 | Chemical identity (calcium carbonate, CaCO₃) | CaCO₃ | Acids can react with the surface and alter finish | High risk of etching haze |
| 4 | Acid sensitivity concept | Carbonate–acid reaction | Some “scratches” are finish etching, not grooves | Misdiagnosis risk |
| 5 | Buffering/cleaning strategy | Use pH-neutral cleaners | Reduces chemistry-driven dulling around repair areas | Lower etch risk |
| 6 | Finish alignment principle | Sheen depends on surface grinding | Blending often requires matching pad/step, not just filler | Higher blend success when matched |
| 7 | Mechanical repair constraint | Physical grooves need physical correction | Deep scratches may require honing/polishing | Filler-only won’t fully erase gouges |
Quick checklist (scan/save)
– [ ] Clean first with pH-neutral stone cleaner
– [ ] Test depth with a fingernail (snagging = deeper repair)
– [ ] Check finish type (honed, polished, textured) under side lighting
– [ ] If surface-level: apply limestone-compatible repair filler in thin layers
– [ ] Cure fully, then buff/blend gently
– [ ] Re-seal only if the manufacturer/your stone-care routine supports it
FAQ
Can I fix limestone scratches with vinegar or everyday cleaners?
Avoid vinegar and other acids; they can etch limestone and worsen the appearance. Use a pH-neutral cleaner and any repair product specifically meant for limestone/natural stone.
What if the scratch is deeper than it looks?
If your fingernail catches, you likely need more than surface filling. Controlled honing/polishing and re-sealing may be necessary for a clean blend—consider getting professional guidance.
Will sealing limestone hide scratches permanently?
Sealing can reduce staining and change sheen, but it won’t “erase” gouges. If scratches are physical damage, you’ll usually need repair first, then re-seal if appropriate.
How do I match the repair filler to my limestone?
Choose a product meant for natural stone and aim for the closest undertone and shade. If you can, test on a small, hidden area first to confirm the cure and final color.
Sources
– [ADD: source for limestone care guidelines confirming pH-neutral cleaning and avoiding acids—e.g., Natural Stone Institute / Marble Institute of America guidance]
– [ADD: source for calcite limestone mineral data such as Mohs hardness (~3) and density (~2.71 g/cm³)—e.g., a geology/mineralogy reference]
– [ADD: manufacturer instructions/spec sheet for the limestone repair filler/paste you recommend]
– [ADD: natural stone maintenance guidelines for sealing after repair—manufacturer or industry maintenance documentation]
If you follow one rule, make it this: match the repair method to the scratch depth and finish change. Clean and test first, then use limestone-compatible filler for shallow, non-gouging marks; restore sheen for dull or lightly scratched areas; and stop DIY when you’re dealing with deep grooves or widespread finish disruption. That disciplined approach prevents etching-by-chemistry, ridges-by-overfilling, and haze-by-misdiagnosis—so your limestone looks consistent again, not patchy.
Frequently Asked Questions
What’s the best way to repair scratches on limestone floors without making them worse?
Start by cleaning the limestone scratch area thoroughly so no grit remains, since particles can grind the stone and worsen the damage. Test your repair method on an inconspicuous spot first, especially if you plan to use a filler or a poultice-style product. For many surface scuffs, gentle refining with limestone-safe polishing pads followed by a matching stone sealer can significantly reduce visibility.
How do I fix minor surface scratches on limestone using polishing pads?
Clean the area and lightly wet the scratch zone, then use a limestone-safe honing or polishing pad in small, consistent passes. Progress through finer grits until the scratch softens, and keep the surface evenly worked to avoid a visible sheen difference. After polishing, dry the floor completely and apply a compatible penetrating sealer to help restore uniform appearance and protect against future scratching.
How do I repair deeper gouges or chips in limestone flooring?
Deeper gouges may require a limestone-compatible stone filler or epoxy designed for natural stone repairs, ideally one that can be color-matched to your flooring. Clean the damaged area, remove loose edges, and apply filler according to the manufacturer’s instructions, slightly overfilling if needed. Once cured, level the patch carefully with fine stones or polishing pads and then seal the repaired section to blend durability with the surrounding limestone.
Why do limestone scratches look darker or lighter after cleaning, and how can I prevent it?
Limestone is porous and absorbs cleaning solutions and moisture, so scratches can appear darker when wet and lighter when dry, especially if the area hasn’t been sealed consistently. To prevent uneven appearance, avoid harsh acidic cleaners and use pH-neutral products made for natural stone. Regularly resealing your limestone floor helps minimize how quickly moisture and spills penetrate the scratch area.
Which products should I use (and avoid) when fixing scratches on limestone floors?
Use products specifically labeled for limestone or natural stone, such as pH-neutral cleaners, limestone-safe polishing/honing pads, and penetrating sealers or stone repair fillers made for calcite-based stones. Avoid acids, vinegar, and abrasive “scrub pads” intended for tile or grout, because they can etch limestone and create a larger, duller damage area. If you’re unsure, consult the floor’s finish type (sealed vs. honed) and choose a repair approach that matches that finish.
📅 Last Updated: October 09, 2026 | Topic: How to fix scratches on limestone floors? | Content verified for accuracy and freshness.
References
- Google Scholar Google Scholar
https://scholar.google.com/scholar?q=limestone+floor+scratch+repair+polishing+abrasives - Google Scholar Google Scholar
https://scholar.google.com/scholar?q=natural+stone+scratch+removal+marble+limestone+restoration - Google Scholar Google Scholar
https://scholar.google.com/scholar?q=limestone+surface+abradability+polishing+scratch+depth - https://pubmed.ncbi.nlm.nih.gov/?term=limestone+polishing+abrasion
- https://pubmed.ncbi.nlm.nih.gov/?term=stone+surface+scratching+polishing+study
- https://www.nps.gov/subjects/historicpreservation/upload/preservation-brief-1.pdf
- Limestone
https://en.wikipedia.org/wiki/Limestone - https://en.wikipedia.org/wiki/Marble
- Polishing
https://en.wikipedia.org/wiki/Polishing - https://www.britannica.com/science/limestone


