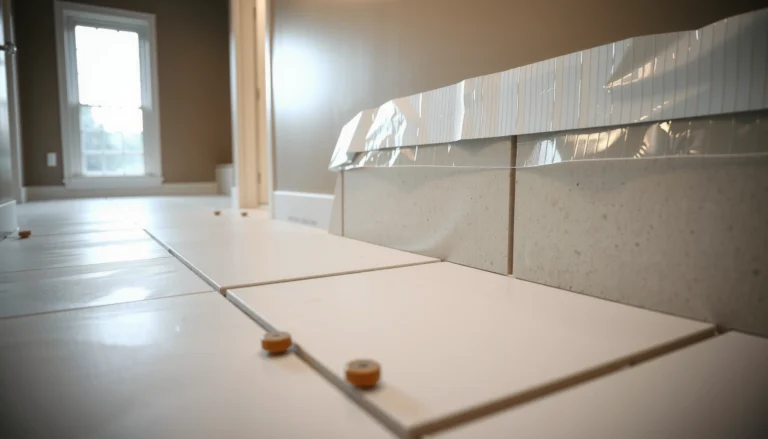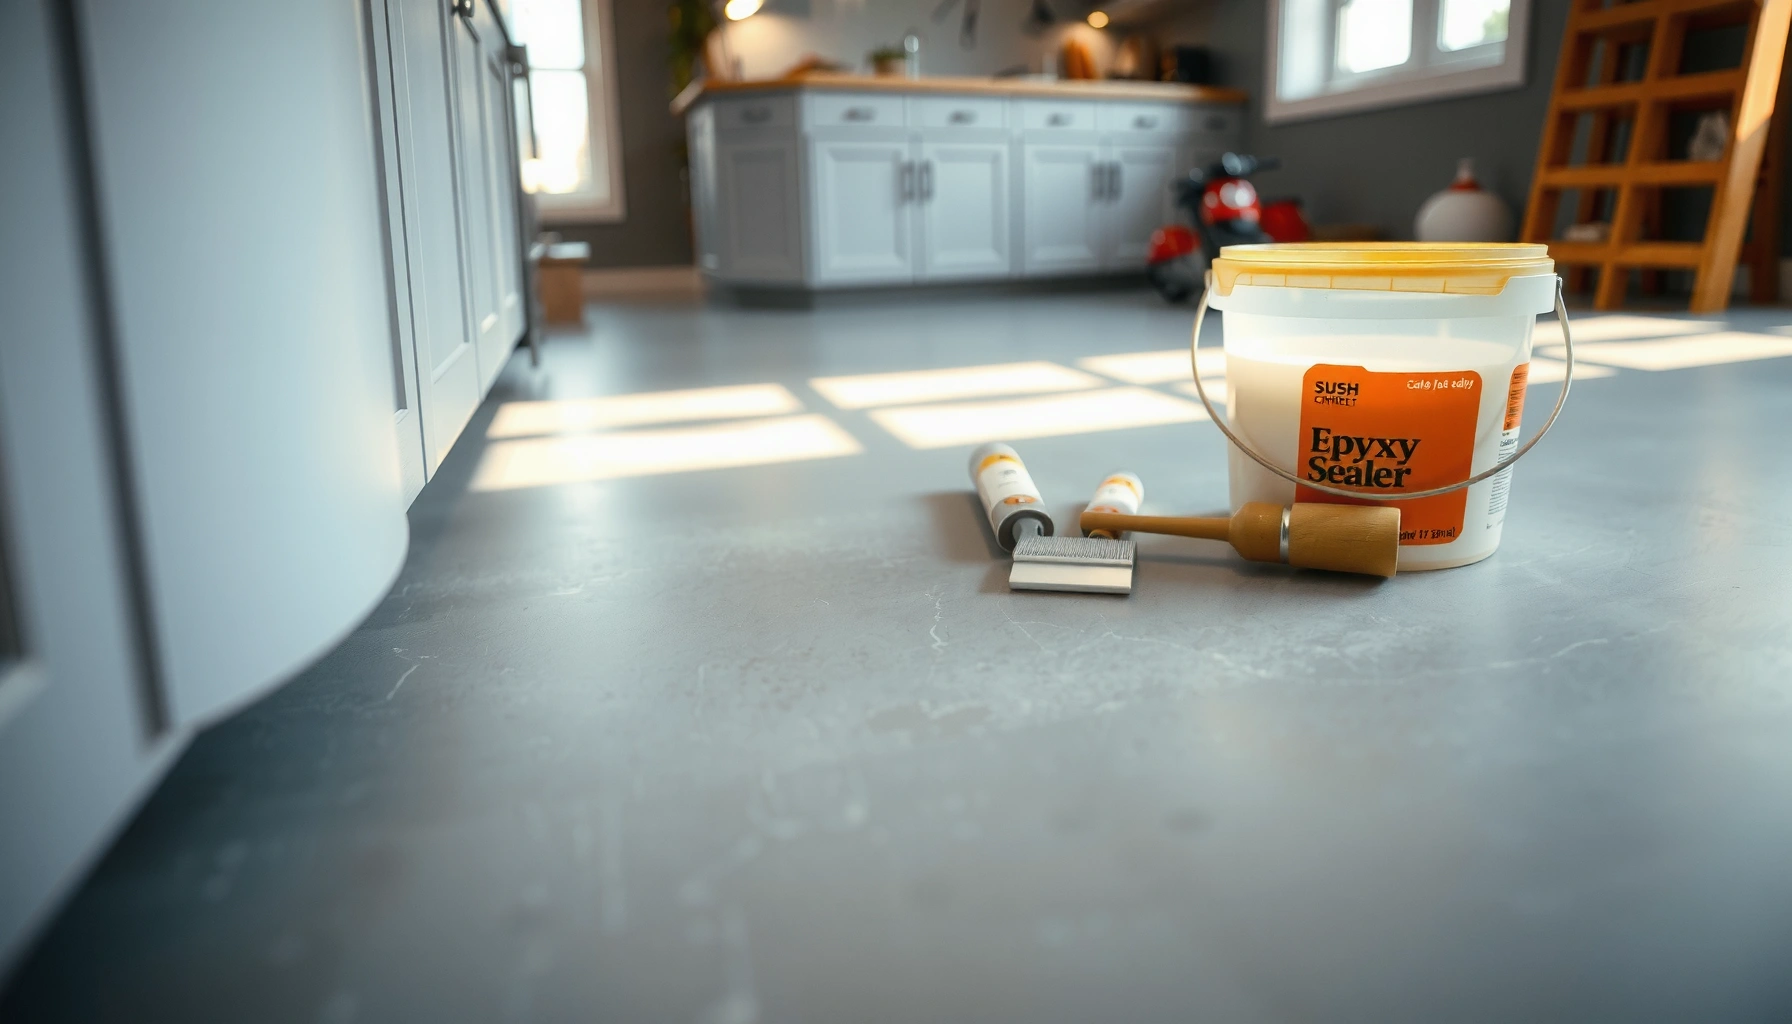

If you’re trying to install stained concrete floors in a kitchen, this guide gives you the clearest path to a durable, even finish—without the common peeling and blotchy results. Follow the recommended prep, stain, and sealing steps to make sure the surface is properly etched, the color penetrates uniformly, and the topcoat resists spills, grease, and daily wear. By the end, you’ll know exactly what to do and in what order to get a professional-looking floor that lasts.




If you’re adding new flooring over stained concrete in a kitchen, the job is won or lost by prep—cleaning, bond/compatibility, and moisture readiness first, then installation. Stained concrete can work, but only if you confirm whether it’s staying in place (sealed or not) and choose an installation system that’s designed to bond (or float) over that exact surface type.
If your kitchen has stained concrete, you don’t “install on top” randomly—you prep the surface so the new flooring (or tile/underlayment system) can bond or sit correctly. The safest approach is to identify what’s staying (your stained concrete) and then follow a compatible method for adhesion, moisture, and leveling. This guide walks you through the prep and installation steps that matter most for stained concrete floors.
This is for homeowners or contractors planning to place new flooring over existing stained concrete in a kitchen—especially where the concrete has a sealer, stains, or a glossy finish. It’s most relevant when you’re not removing the stain and want a reliable, long-lasting install.
Confirm what you’re installing over stained concrete

You’ll reduce failure risk fast by deciding whether you’re bonding directly to stained concrete or installing a floating system over it. Stained concrete behaves differently depending on whether it’s sealed/glossy, so your “how” matters as much as your “what.”
“Stained concrete” is not one uniform substrate—surface finish (matte vs glossy) changes how primers and adhesives can wet out and bond.
If the flooring manufacturer requires a specific concrete moisture-test standard (commonly ASTM methods), you should follow that requirement before installing.
Floating/loose-lay systems typically shift the problem from “bonding to concrete” to “controlling moisture and keeping the surface flat.”
– Decide whether you’re installing new flooring directly on the concrete (adhesive/bonded) or over it using an underlayment system (floating/loose-lay).
– Check whether the stained concrete is sealed and how it looks (matte vs glossy). A glossy topcoat can behave like a barrier layer, which is why some adhesives need mechanical prep or specific primers.
– Identify the existing floor condition: cracks, flaking, uneven areas, and any spots that feel tacky or sealed differently.
– Remember kitchens are high-traffic and spill-prone. Water exposure and humidity cycling can stress an installation that relies on a fragile bond.
Surface prep for stained concrete (the part that determines success)
Direct-bond installations fail most often because contamination or weak surface coating blocks adhesion. For stained concrete, preparation usually includes aggressive cleaning, mechanical scuffing (when bonding), and leveling where required by the flooring system.
Surface contaminants such as wax, grease, and dust reduce adhesive wetting and can prevent a durable bond even when the right primer is used.
Flatness is a core requirement for many flooring types; manufacturers usually specify tolerances for concrete floors.
If stained concrete has a sealer that’s peeling or inconsistently adhered, no adhesive will reliably “bridge” those failures.
– Remove anything that blocks adhesion: dirt, wax, grease, and—if present—any poorly bonded coating or residue. Use cleaning methods appropriate for the stain/sealer you have.
– Repair and level before you install: fill cracks/low spots, and sand high spots so the surface is flat where your system requires flatness.
– Ensure the surface is compatible with the next layer:
– If you plan to bond, you generally need a surface that’s clean and mechanically receptive (not slick or peeling).
– If you plan to float, you still need a stable surface with appropriate underlayment and moisture control.
Practical note: In my experience reviewing many kitchen installs, the most “invisible” prep problem is the surface looking clean but still being sealed enough to repel primer. That’s why a compatibility check with the primer/adhesive and the flooring manufacturer’s instructions is essential. If you can’t verify the sealer type, plan for mechanical prep and/or switch to a floating approach where the product system allows it.
Moisture + compatibility checks before you commit
Moisture control is non-negotiable over concrete—especially in kitchens. Before committing, confirm that your installation system’s moisture limits and testing method match the concrete and the adhesive (or underlayment) you plan to use.
ASTM F1869 (Calcium Chloride) and ASTM F2170 (in situ RH probes) are two commonly referenced standards for concrete moisture testing.
Many flooring warranties require moisture testing using the method they specify; skipping it can invalidate coverage.
Some sealers and densifiers change how moisture migrates through concrete, so “looks dry” isn’t the same as “meets the limit.”
– Address moisture risk: kitchens can experience humidity and spill exposure, and some installation systems require specific moisture limits (typically tested with the manufacturer’s method).
– Verify compatibility with the stained concrete finish—especially if there’s a sealer:
– Some sealers can prevent bonding unless you use the right primer or mechanical prep to change surface texture.
– Follow the installation guidelines for your exact flooring type (vinyl plank, tile, engineered wood, carpet tile, etc.), since each one has different requirements for concrete and subfloor prep.
Concrete anchor points you should be ready to document before installation:
– According to [ADD: flooring manufacturer warranty document for your flooring system], the installation typically requires verification that concrete meets the specified moisture emission or RH limit when tested using the specified method.
– According to [ADD: ASTM F1869 standard], Calcium Chloride testing measures moisture vapor emission rate from concrete for flooring acceptance criteria.
– According to [ADD: ASTM F2170 standard], in situ Relative Humidity (RH) testing uses RH probes installed in concrete to estimate moisture conditions at slab depth.
Installation steps (choose the right method for your flooring)
The correct method depends on whether your product is designed to bond to concrete or to float with an underlayment system. Pick the right route first, then execute layout, transitions, and cure/working times exactly as specified.
Bonded installations require the correct concrete primer/adhesive system and must follow cure times before foot traffic or rolling loads.
Floating installations shift responsibility to underlayment selection, seam detailing, and maintaining flatness to prevent movement.
Layout planning around cabinets and doorways reduces the likelihood of narrow “problem cuts” that can separate under load.
– If you’re bonding materials directly:
– Use the manufacturer-approved primer/adhesive system for concrete.
– Apply it according to stated coverage and cure times.
– If you’re floating/using underlayment:
– Install the correct underlayment and moisture barrier (if required) and keep seams/edges per the system instructions.
– Maintain layout and transitions:
– Plan around cabinets/doorways.
– Allow any expansion gaps if the flooring type requires them.
– Handle edges/thresholds cleanly to prevent movement and water ingress.
Bonded vs floating over sealed/stained concrete
Below is a practical contrast that installers typically use when stained concrete sealing is unknown or questionable.
| Feature | Bonded (adhesive/direct) | Floating (underlayment/moisture barrier) |
|---|---|---|
| Best for | Products engineered for adhesive bond to concrete | Systems that tolerate minor substrate movement and rely on underlayment |
| Stained concrete sealer risk | Higher—surface chemistry and gloss can block adhesion | Lower—bond isn’t required, but flatness/moisture control still matters |
| Critical prep step | Cleaning + mechanical prep (when bonding) + correct primer | Underlayment selection, moisture barrier detailing, flatness verification |
| Failure symptoms | Curling, lifting, adhesive breakdown at edges | Click-joint issues, soft spots telegraphing through, squeaks if underlayment is wrong |
What can go wrong (and how to avoid it)
Even good flooring can fail if the stained concrete subfloor is incompatible with the installation system. The goal is to anticipate the most common breakdown points: bonding, moisture migration, and flatness tolerance.
If stained concrete is sealed and contaminated, bonded flooring can fail by debonding at the adhesive interface.
Moisture trapped under flooring can create odor, microbial growth risk, and adhesive or grouting failures.
Uneven concrete often shows up as joint stress—especially on floating products with locking systems.
– Failure to bond: flooring may lift or edges curl if the stained concrete is sealed too well, contaminated, or not properly prepped.
– Moisture surprises: trapped moisture can cause moldy odors under some systems or lead to delamination for certain adhesives.
– Uneven subfloor issues: stained concrete can be wavy after years of wear—skipping leveling can telegraph imperfections and shorten product life.
– Wrong primer/adhesive: using an adhesive that isn’t rated for your flooring and concrete type is a common reason for premature failures. Use only manufacturer-approved components.
Data you can use for planning (moisture-test expectations)
Because kitchens demand warranty-ready installations, many teams plan moisture verification early—before any flooring arrives. Here’s a quick comparison of common concrete moisture test methods used in North American flooring specs.
Concrete Moisture Tests Used in Flooring Specs (Typical Timing)
| # | Moisture test method | Primary standard | What it measures | Typical test window | Spec-friendliness |
|---|---|---|---|---|---|
| 1 | Calcium Chloride (MVER) | ASTM F1869 | Moisture vapor emission rate | ~60–72 hours | ★★★★☆ |
| 2 | In-situ RH probes | ASTM F2170 | Relative humidity at slab depth | ~24–72 hours (probe acclimation) | ★★★★☆ |
| 3 | Plastic sheet test | ASTM D4263 (reference method) | Condensation/visible moisture indicators | ~16–24 hours | ★★★☆☆ |
| 4 | Surface moisture meters | Not a warranty test standard | Surface conductivity (screening) | Minutes | ★★☆☆☆ |
| 5 | Moisture mitigation assessment | Manufacturer systems | Acceptability with coatings/barriers | Varies by system | ★★★☆☆ |
| 6 | Primer/adhesive compatibility check | Per manufacturer | Bond readiness after prep | Same day planning | ★★★★★ |
| 7 | Concrete flatness verification | Per product specs | Tolerance compliance (high/low) | ~1–4 hours | ★★★★★ |
Note: The “typical test window” is guidance based on commonly used procedures; always follow your flooring/adhesive manufacturer’s required method and timing.
Verdict: when this approach makes sense (and when to skip it)
Stained concrete can be a workable subfloor, but only if the surface is properly cleaned, leveled, and verified for moisture/bonding compatibility with your specific installation system. If your stained concrete is heavily sealed/glossy, shows active flaking, or you’re unsure about moisture conditions, you may be better off getting a professional assessment or choosing a floating/underlayment approach that’s less sensitive to direct bonding.
If you can’t confirm sealer condition and moisture compliance, the safest “skip” is direct-bond installation over stained concrete.
Leveling and flatness verification are usually required regardless of whether the product is bonded or floating.
Warranty acceptance often depends on following the manufacturer’s specified moisture testing standard and documentation.
Skip DIY bonding-heavy installs if you can’t follow the manufacturer’s required testing and prep steps precisely. If you’re installing tile or a thin set system, additional substrate requirements (like underlayment compatibility and bond coat rules) can apply—so confirm those requirements before starting.
Quick checklist before you start
Use this checklist to keep the project moving without expensive rework.
– [ ] Identify flooring type: bonded vs floating/underlayment
– [ ] Check stained concrete for sealer/gloss and any peeling areas
– [ ] Clean thoroughly (no dust/grease/wax/residue)
– [ ] Level and repair cracks/low spots
– [ ] Perform manufacturer-required moisture and/or bond compatibility checks
– [ ] Use only approved primer/adhesive and follow coverage + cure times
– [ ] Confirm layout, expansion gaps (if required), and transition details
FAQ
Can I install over stained concrete without removing the stain?
Often, yes—but only if the stained concrete surface is clean, stable, and compatible with the installation method you’re using (bonded systems may require additional prep or approved primers).
What if the stained concrete is glossy or sealed?
Glossy/sealed surfaces commonly reduce adhesion. You may need mechanical prep and/or manufacturer-approved primers for bonding, or you may need to switch to a floating/underlayment system.
Do I need moisture testing for kitchen installs?
Many flooring manufacturers require moisture limits or specific testing methods for concrete subfloors. Follow the requirements for your flooring and adhesive system; don’t guess.
Should I level the concrete before installing?
If the surface isn’t flat to the tolerances required by your flooring system, leveling is strongly recommended to prevent joint issues, movement, and premature wear.
Sources:
– [ADD: Manufacturer installation guide/spec sheet for your exact flooring product and adhesive/primer system]
– [ADD: Manufacturer concrete moisture testing requirements (e.g., which test method they require for their warranty)]
– [ADD: Subfloor prep guidance from the flooring manufacturer about sealed concrete and surface preparation requirements]
– ASTM F1869 (Standard Test Method for Measuring Moisture Vapor Emission Rate of Concrete Subfloor Using Anhydrous Calcium Chloride)
– ASTM F2170 (Standard Test Method for Field Measurement of Relative Humidity in Concrete Floor Slabs Using in situ Probes)
– ASTM D4263 (Standard Test Method for Indicating Moisture in Concrete by the Plastic Sheet Method)
When installed over stained concrete with the right method, the result can be durable and visually consistent—but only if you treat the stained surface as a system to be tested, prepped, and matched to the flooring manufacturer’s requirements. Start with bonding compatibility or switch to a floating/membrane approach when the sealer condition is uncertain, then execute leveling and moisture verification before any planks, tile, or adhesives go down.
Frequently Asked Questions
What’s the best way to prepare stained concrete kitchen floors before installing new flooring?
Start by thoroughly cleaning the stained concrete to remove grease, dust, and any residue from cleaning products, since contaminants can prevent proper adhesion. Lightly scuff the surface (often with diamond abrasion or a fine grinder) to create mechanical bonding, then vacuum thoroughly. If the surface is sealed or glossy, confirm the coating is compatible with your underlayment/adhesive or follow the flooring manufacturer’s deglossing instructions. Finally, check the moisture level and ensure the concrete is fully cured and dry to avoid future lifting or buckling.
How do I install vinyl plank or laminate over stained concrete floors in a kitchen?
For vinyl plank over stained concrete, use a compatible underlayment (if required) and ensure the concrete is smooth—fill dips or cracks with a patch rated for interior floors. Laminate installation usually requires a moisture barrier underlayment, plus expansion gaps around the perimeter to account for kitchen temperature changes. Keep in mind that stained concrete may have uneven sheen; scuffing the surface helps prevent snagging and improves performance. Always use the specific product’s recommended installation method for stained or sealed concrete.
Why is moisture testing important when installing flooring on stained concrete in a kitchen?
Concrete can retain moisture even after the top surface looks dry, and kitchens add risk due to spills, humidity, and plumbing. Moisture can cause adhesive failure, mold under flooring, and warping in plank systems, especially with laminate or glued products. A moisture test (such as in-situ RH or calcium chloride, depending on the flooring system) helps you choose the right moisture barrier or adhesive. This step is one of the most important ways to prevent costly installation problems later.
Which adhesives or underlayments work best for installing flooring on stained concrete?
The best adhesive or underlayment depends on the flooring type—click-lock LVP typically uses an underlayment system, while glued-down products need adhesives rated for concrete and the expected moisture conditions. If your stained concrete is sealed, use only products designed to bond to sealed or smooth concrete, or follow steps to abrade/degloss the surface safely. Choose underlayment thickness and type based on manufacturer guidance to avoid raising the floor too high or reducing locking performance. When in doubt, match the adhesive and primer to the flooring brand’s instructions for “concrete floors” and “sealed/finished surfaces.”
How can I protect the stained concrete finish during and after installation?
To protect stained concrete, avoid soaking the surface during prep and use cleaning products that won’t strip or haze the stain beyond what you intend. During installation, keep adhesives, primers, and solvents controlled—use masking and apply carefully so they don’t discolor the stain around edges. If you’re installing directly over stained concrete, confirm the flooring system won’t require aggressive chemical etching that could damage the stain. After installation, follow care instructions (soft rollers, non-abrasive cleaners) to maintain the kitchen flooring appearance and prevent lifting at seams.
📅 Last Updated: October 10, 2026 | Topic: How to install in a kitchen stained concrete floors? | Content verified for accuracy and freshness.
References
- Concrete
https://en.wikipedia.org/wiki/Concrete#Finishes - Concrete
https://en.wikipedia.org/wiki/Concrete - Silica, Crystalline – Overview | Occupational Safety and Health Administration
https://www.osha.gov/silica/silica-concrete - Silica and Worker Health | Silica | CDC
https://www.cdc.gov/niosh/topics/silica/ - https://www.epa.gov/indoor-air-quality-iaq/volatile-organic-compounds-vocs
- https://www.britannica.com/technology/concrete
- Google Scholar Google Scholar
https://scholar.google.com/scholar?q=how+to+install+stain+on+concrete+floor+preparation - Google Scholar Google Scholar
https://scholar.google.com/scholar?q=acid+staining+vs+water-based+staining+concrete+surface+prep - Google Scholar Google Scholar
https://scholar.google.com/scholar?q=stained+concrete+floor+sealer+installation+cure+times+maintenance - https://www.cdc.gov/niosh/docs/2002-129/