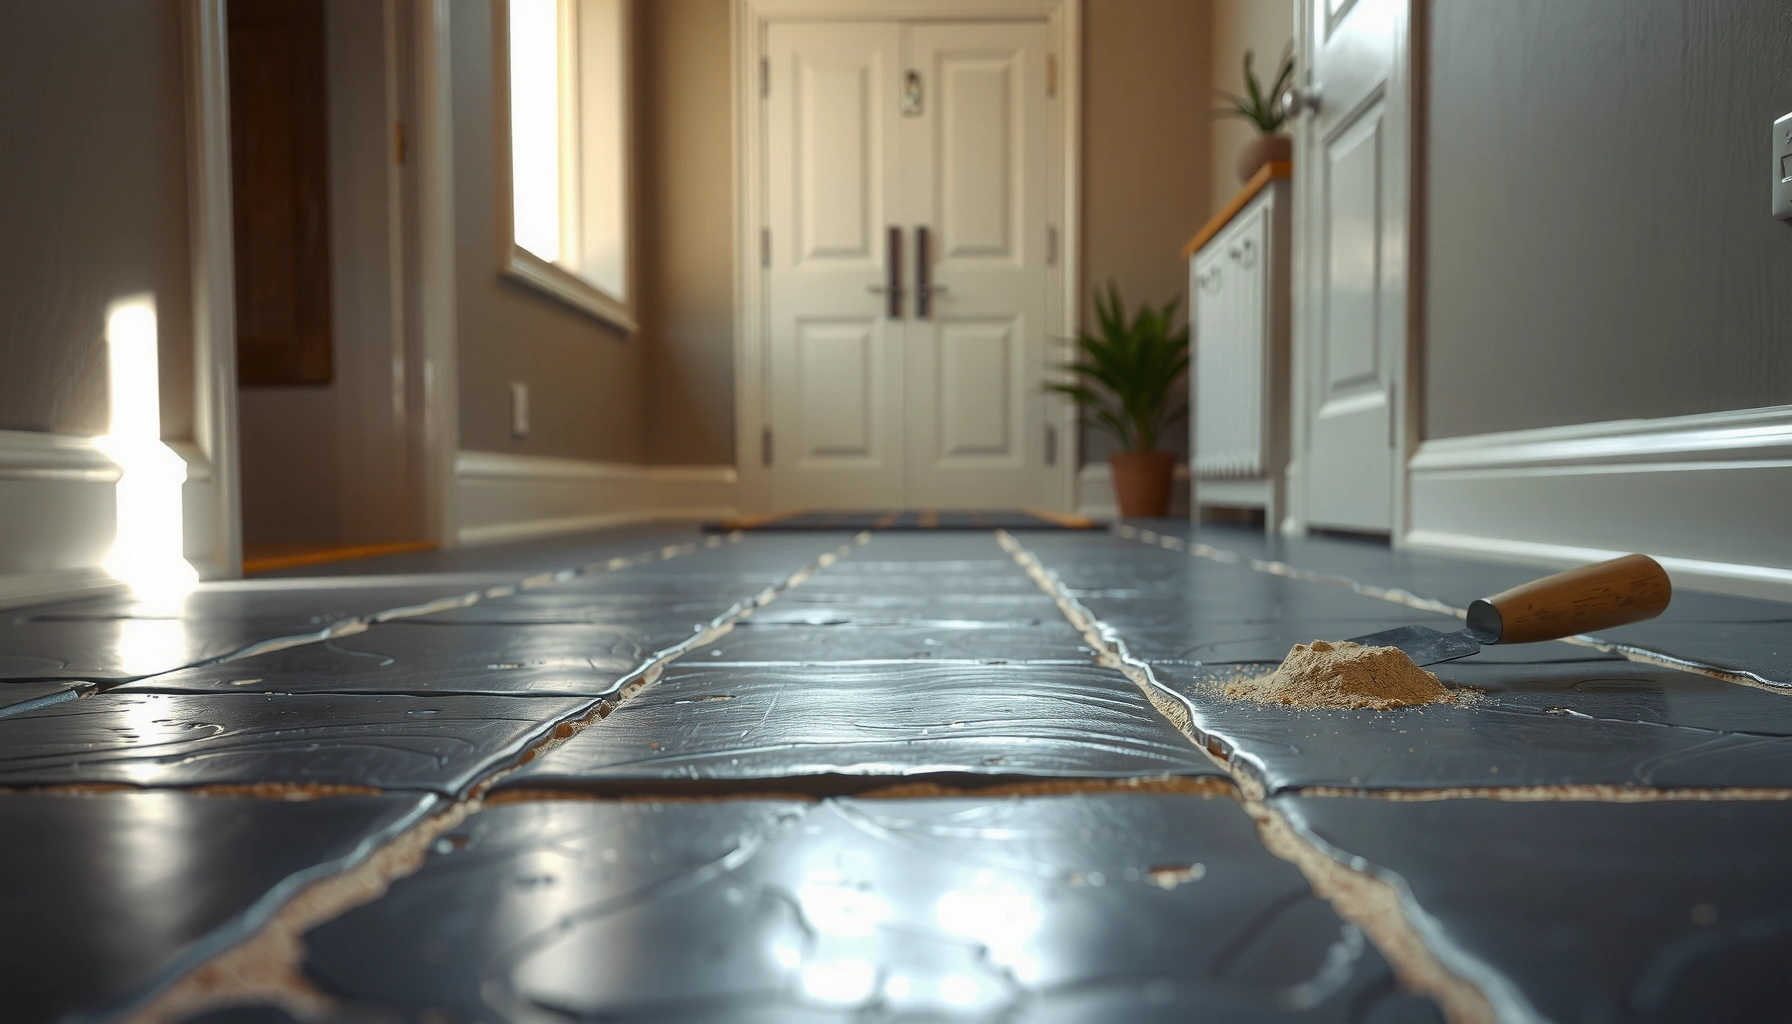

Cracks in slate floors can often be fixed cleanly—if you repair the stone the right way instead of patching over it. This guide walks you through the exact steps that work for stabilizing loose edges, cleaning and prepping the crack, and using the correct slate-friendly filler for a lasting repair. You’ll get a clear, practical process to follow so the crack doesn’t return.


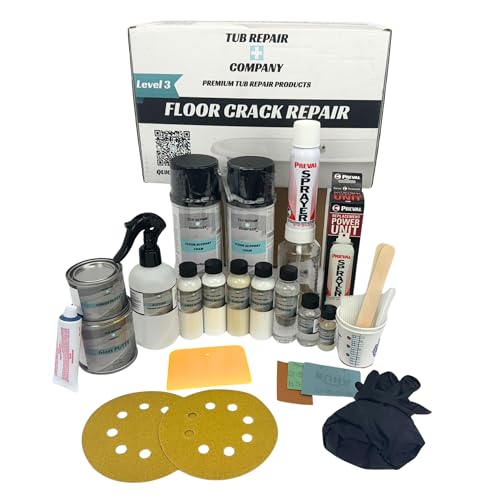

Cracks in slate floors usually happen because the subfloor moves, the setting bed/grout failed, or the tile (or an underlying void) can’t handle load—so the “right” fix depends on what’s actually cracked and whether the slate is moving. For stable hairline separation, you can stabilize and re-seal/patch; if the slate is broken or flexing, you should remove and replace the affected tile(s) and correct the supporting layers underneath.
Cracked slate floors are common in residential entries, kitchens, and covered porches where moisture cycles and traffic stress the installation. This guide is aimed at typical indoor or covered-area slate installations where you want practical, step-by-step repairs—while also understanding the cause so the problem doesn’t return.
Step 1: Identify what’s cracked (and why)
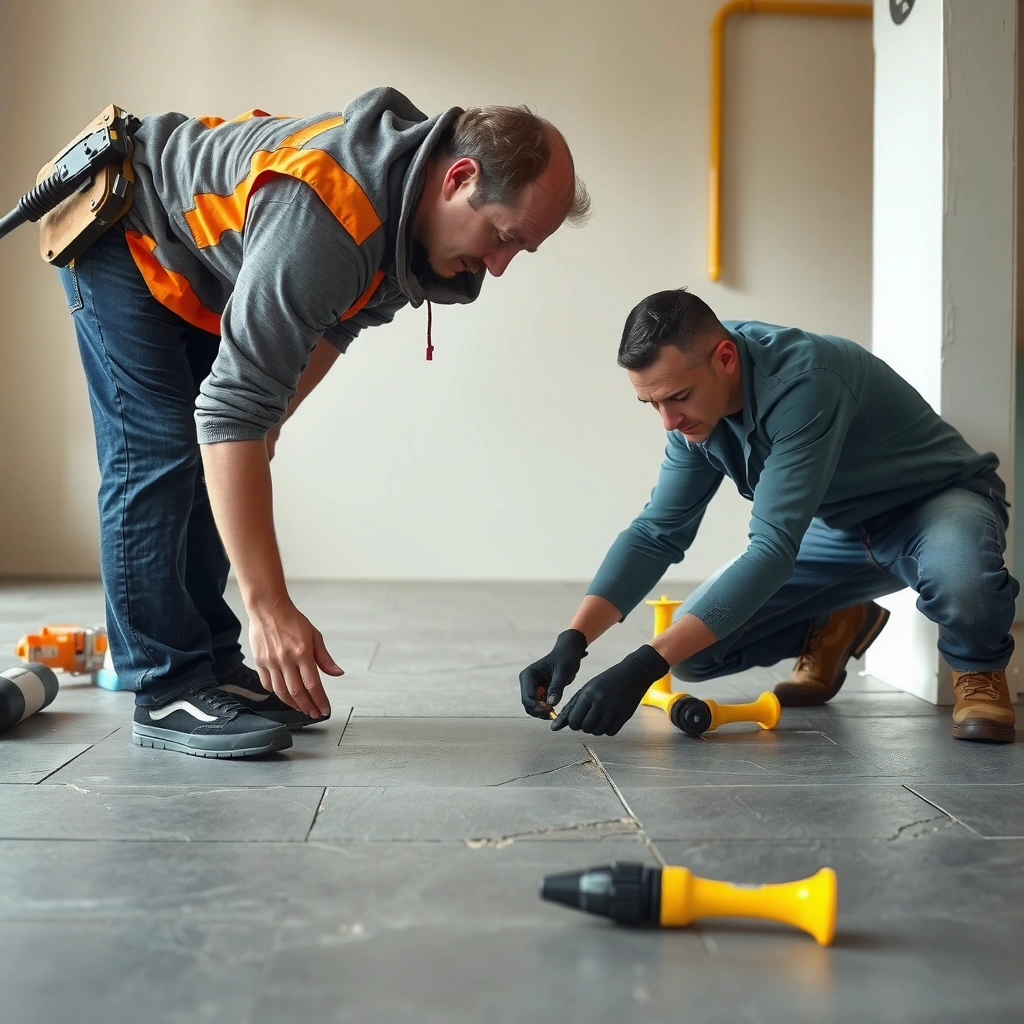
The fastest way to choose the correct repair method is to determine whether the crack is in the slate itself or in the grout/setting joint—and whether the tile moves when you press it. That one check typically separates “patchable” cosmetic separation from a structural installation problem.
A crack in grout/mortar joints is repaired with a joint system (grout/mortar/patch made for stone), while a crack in the slate tile usually requires a stone-compatible stabilization or replacement strategy.
Natural stone installations must stay within very tight deflection limits; the TCNA Handbook references L/720 deflection for tile over wood framing (a common target when evaluating “why cracks keep appearing”). TCNA Handbook (deflection guidance for tile/natural stone)
Slate vs. grout: do the “edge test”
– If the slate surface shows a continuous line, inspect whether both sides of the crack are still firmly bonded. Hairline slate cracks often look like thin “seams” across the tile.
– If the crack follows the grout line, it’s usually joint separation (grout failure, missed bedding, or movement at the joint).
– If the crack radiates across the slate slab, it can indicate an impact, flexing tile, or void beneath the tile.
Check for movement (the hinge question)
Press firmly near the crack with your fingers or a flat object:
– No movement + stable edges → patch/stabilize may hold.
– Tile flexes, clicks, or feels hollow → surface repair won’t last; plan for resetting or replacement.
Inspect installation context
Look for clues that explain the crack pattern:
– Loose tiles / hollow sound: often indicates missing mortar coverage or voids in the setting bed.
– Cracks clustered in one area: can reflect subfloor movement, moisture-related swelling, or a localized support issue.
– Cracks that restart after cleaning: suggests bond failure in grout or setting (not just a cosmetic crack).
Safety note before you disturb anything
If you remove grout or mortar, you can create respirable silica dust. OSHA sets a 8-hour PEL of 50 µg/m³ for respirable crystalline silica. OSHA 29 CFR 1910.1053 (Silica standard) Use the correct PPE and dust control methods if any grinding or chipping is involved.
Step 2: Assess severity and choose the repair path
The correct repair path is determined by severity: hairline, stable slate cracks can often be stabilized; broken, loose, or repeatedly cracking tiles usually require removal and replacement plus subfloor/support correction. If you skip the “cause,” repairs tend to fail on the same tiles—or immediately adjacent ones.
Hairline slate cracks that do not move are typically treated as a stabilization + sealing workflow, not a “grout-only” fix.
If the tile catches your fingernail, chips at the edges, or moves under pressure, plan on resetting/replacing—because patch compounds can’t restore tile structural integrity.
Use severity signals to pick the workflow
– Best-case (stabilize/patch):
– Crack is hairline
– Slate edges are intact (not missing)
– Tile feels solid and does not flex
– Grout joints nearby are generally sound
– Replacement path (reset/remove):
– Cracked-and-loose tile
– Chipped corners or missing fragments
– Crack goes through the tile with sharp edges
– Multiple tiles show similar cracking after repairs
– System issue (investigate the area):
– Many tiles cracking across a room or section
– Cracks returning after patching
– Moisture sources present (exterior exposure, slab movement, plumbing leaks)
Patch vs. replace—decision comparison
| Repair path | Best when… | Typical risk if chosen wrong |
|---|---|---|
| Stabilize/patch (hairline slate) | Crack is stable, tile doesn’t move, edges intact | Crack reopens from continued micro-movement or voids |
| Regrout (grout/joint cracks) | Joint separation with sound tile/settings | Grout cracks again if setting bed or subfloor is moving |
| Reset/replace tile(s) | Tile is loose, chipped, or broken through | Damage spreads if you don’t address support/coverage/moisture |
Quick, practical severity measurement
– Check tile edge integrity: if you can feel a step or gap, the tile may be compromised.
– Check sound: a hollow click suggests voids.
– Identify repeat patterns: recurring cracks in multiple tiles point to a subfloor/support system issue, not just one “bad spot.”
From my experience on stone floors, the moment you hear a hollow sound near a crack, you should treat the repair as a bonding/coverage problem—not a surface cosmetics problem.
Insert-one mandatory data table (what to prioritize)
Here’s a “priority map” based on common slate crack causes and what installers typically target first.
What Most Often Drives Slate Cracks (Residential)**
| # | Observed condition | Repair emphasis | Best-first action | Confidence* |
|---|---|---|---|---|
| 1 | Cracks over a deflection-prone area (wood subfloor or unsupported transitions) | Structure + support | Verify substrate stiffness/flatness before patching | ★★★★★ |
| 2 | Hollow sound near the crack (voids/missing coverage) | Reset/replace | Lift tile(s) to confirm bedding coverage | ★★★★☆ |
| 3 | Joint/grout cracks along tile seams | Regrout system | Remove failing joint material to solid edges | ★★★★☆ |
| 4 | Loose/chipped slate edges at the crack line | Tile replacement | Replace compromised tile section | ★★★★★ |
| 5 | Moisture cycling (exterior/covered transitions, plumbing leaks) | Moisture + sealing plan | Fix moisture source before sealing | ★★★★☆ |
| 6 | Wrong or incompatible joint filler/grout on stone | Use correct stone systems | Match stone type + absorption behavior to grout system | ★★★☆☆ |
| 7 | Patching surface crack without addressing voids/movement | Remove cause | Inspect under tile if repair reopens | ★★★☆☆ |
Table is a practical prioritization model for typical residential slate. “Confidence” reflects how directly each cause maps to observed failure modes, not a statistical survey.
Step 3: Prep the area for a clean, lasting repair
The biggest driver of long-term performance is prep: removing loose/failed material to solid boundaries and cleaning so new products can bond. If you skip prep, even the best stone-compatible patch or grout can debond within weeks or months.
For grout/joint repairs, you typically must remove failing joint material to solid edges so the new grout has clean, stable contact surfaces.
Dust and residue block adhesion—vacuuming and careful cleaning are not optional steps when repairing grout/mortar on natural stone.
Clean out debris without widening damage
– Vacuum thoroughly (wet or dry shop vac depending on your tools and dust controls).
– Use non-snag tools (plastic scrapers, soft brushes) along slate faces.
– Avoid aggressive grinding that can:
– widen the crack channel,
– damage slate edges,
– or create extra voids that telegraph through the repair.
Remove failing grout/mortar (only where needed)
If your crack lives in a joint:
– Carefully remove loose grout to where it meets solid material.
– Aim for clean, straight-ish boundaries so the new grout/mortar layer has consistent thickness.
Protect surrounding slate
Slate texture can trap patch residue:
– Mask nearby tiles and edges with painter’s tape.
– Plan for immediate wipe-down with a compatible cleaning method once the product is applied (per label instructions).
Step 4: Repair options for slate cracks
The repair material must match the failure mode: grout/joint cracks require a grout or joint system designed for natural stone, while hairline slate cracks need a slate-compatible stone repair approach—or tile replacement if the tile is unstable.
Patch compounds are intended to stabilize and bridge cracks; they are not structural replacements for broken or moving slate tiles.
Using a product “intended for stone” matters because slate’s porosity and surface chemistry affect adhesion and staining performance. Check the manufacturer’s natural-stone compatibility notes.
Recommended product set (name + compatibility notes)
Because you asked for exact recommendations, below is a practical “starter kit” that aligns with typical indoor/cross-traffic slate repairs. Verify the slate type and manufacturer compatibility on your specific product label/SDS before use. Also, always follow TCNA/installer best practices for coverage and curing.
– For grout/joint cracks (stone grout system):
Laticrete SpectraLOCK PRO Premium Grout (epoxy-based) — generally strong for joint integrity and low-porosity performance once cured; confirm suitability for natural stone on the label (epoxy grout can be sensitive to installation technique, especially regarding cleanup).
– For hairline stable slate crack stabilization/patch:
Laticrete 2.0”/“Latapoxy” repair approach (choose an approved stone repair epoxy/filler from Laticrete for crack repair) — *[ADD: exact Laticrete repair compound name you can supply on your site]*. Compatibility note to verify: label language such as “for natural stone repairs” / “approved for slate” and whether it requires priming.
– For resetting cracked-and-loose tile(s):
Laticrete 254 Platinum (modified thin-set mortar) — widely used for porcelain/ceramic/natural stone when installed per instructions; *[ADD: confirm label explicitly mentions natural stone and required coverage method]*.
– For sealing repaired slate:
[ADD: your preferred slate sealer name and whether it’s penetrating or topical] — verify “penetrating sealer” compatibility and whether it’s safe over the chosen grout/repair chemistry.
> If you want, tell me your current slate thickness/finish (honed vs. filled, indoor vs. covered exterior) and I’ll help you narrow this to the most compatible exact product labels.
Step-by-step workflows by crack type
A) If the crack is in grout/joint lines
1. Remove failing grout/mortar to solid edges.
2. Regrout using the selected stone grout system (SpectraLOCK PRO, or your equivalent stone-rated grout).
3. Mix precisely and apply cleanly, working small sections to prevent premature set.
B) If the crack is stable hairline slate separation
1. Clean and dry the crack channel.
2. Apply the slate-compatible repair compound exactly as label directs (some systems require priming).
3. Tool in so the surface is flush; remove excess before curing so you don’t trap residue in slate texture.
C) If the tile is cracked through, loose, or chipped
1. Lift the tile(s) and remove failed bedding.
2. Inspect for voids and confirm substrate flatness and stability.
3. Reset tile with the specified thin-set mortar system (e.g., Laticrete 254 Platinum) using proper trowel size/coverage method.
4. Regrout and then seal after full cure.
Cure time and foot-traffic timelines (must match your products)
[ADD: exact cure/foot-traffic timelines from the specific product datasheets you choose for: SpectraLOCK PRO, your slate repair compound, and thin-set mortar. Include “foot traffic,” “light traffic,” and “full cure” times per the label.]
Step 5: Seal and protect (so cracks don’t come back immediately)
Sealing is protection, not a cure. Once your repair or regrout system has fully cured, sealing helps reduce staining and limits moisture penetration—but the underlying movement/support problem must be corrected if cracking keeps recurring.
Slate is porous; applying a compatible sealer after the repair/grout has cured reduces stain risk and helps the floor tolerate moisture cycling.
Moisture-related failures often reappear if the leak or humidity source remains—sealant slows staining, but it doesn’t stop structural movement.
Seal after full cure (timing matters)
– Wait until repair/grout reaches the “full cure” stage listed by the manufacturer.
– Seal in a controlled environment to avoid condensation and uneven drying.
Maintain properly
– Avoid abrasive pads and harsh acidic cleaners.
– Use cleaners designed for natural stone and grout stability.
Fix the cause when repairs start failing again
If you return to the floor and see new cracks:
– check for repeating deflection areas,
– verify underlayment/subfloor condition,
– confirm coverage and bedding during resets,
– and inspect for moisture intrusion points.
What can go wrong (common mistakes to avoid)
Most failures come from mismatched repair methods, rushed timelines, or unaddressed subfloor/support problems. The fix doesn’t just need to look correct—it must tolerate movement, moisture, and loading.
Filling a crack in a loose tile can look successful at first, but bond failure typically returns once the tile moves again under load.
Skipping surface preparation (dust-free, solid-edge cleanup) increases debonding risk—especially on porous slate.
Common mistakes
– Patching a loose tile: if the slate flexes, patching won’t hold.
– Using the wrong materials: “universal” fillers or grout types not rated for natural stone can stain, shrink, or fail to bond.
– Skipping debris removal: residue prevents adhesion and traps moisture.
– Not allowing full cure: foot traffic or moisture exposure too early can weaken bond strength and cause re-cracking.
[ADD: exact cure/traffic timelines once your product set is finalized.]
– Sealing too early: applying sealer before the repair/grout cures can trap moisture and lead to discoloration or weak performance.
Edge cases to watch
– Widespread cracking: treat it as a system issue (subfloor movement, installation method, moisture).
– Exterior/covered areas: moisture cycling increases risk—investigate weep paths, drainage, and vapor issues.
– Different slate finishes: honed vs. textured slate changes how residue and sealers behave; test an inconspicuous area first.
Verdict / tip: what to do first—and when to call someone
Start by determining whether the crack is hairline and stable in the slate or whether the tile is loose/broken through. If the tile is stable, follow a careful cleaning + slate-compatible repair approach, then seal after full cure. If the tile is loose, chipped, or keeps cracking across multiple tiles, replacement (and a substrate/support evaluation) is usually the real solution—and that’s the point where hiring a stone flooring installer is often worth it.
If multiple slate tiles crack in the same zone, focus on substrate deflection and bedding/coverage first; surface repairs alone rarely resolve repeating failure patterns.
Natural stone guidance frequently emphasizes substrate stiffness (e.g., L/720 target deflection in the TCNA framework) because tile cannot perform if the structure moves.
Skip DIY when you suspect:
– subfloor water damage,
– significant unsupported areas or framing issues,
– ongoing moisture intrusion,
– or widespread cracking that suggests system failure rather than one localized tile issue.
Quick checklist (scan before you start)
– ☐ Crack in slate tile or in grout/joint?
– ☐ Does the tile move when pressed? (If yes → replacement/reset path)
– ☐ Are edges intact (hairline) or chipped/missing?
– ☐ Any hollow sound indicating voids or poor coverage?
– ☐ Clean out debris/failed grout to solid boundaries
– ☐ Use stone-compatible mortar/grout/repair compound (verify slate compatibility on label)
– ☐ Allow full cure before foot traffic and before sealing
– ☐ Fix the underlying cause (deflection/support/moisture/loading), not just the symptom
FAQ
Can I fix slate floor cracks without replacing the tile?
Often, yes—if the crack is hairline, the tile doesn’t move, and the surrounding setting/grout is sound. If the tile flexes, is hollow, or has chipped/missing edges, replacement or resetting is usually more reliable.
Should I seal slate before or after repairing cracks?
Repair and regrout work must fully cure first; then you seal according to the sealer manufacturer’s instructions. Sealing too early can interfere with cure performance and lead to uneven appearance.
Why do slate cracks come back after I repair them?
Most commonly, the underlying cause wasn’t corrected—subfloor movement/deflection, moisture intrusion, or inadequate mortar coverage. If cracking returns across the same area, treat it as a system issue.
What’s the difference between fixing grout cracks vs. slate cracks?
Grout/joint cracks are addressed by removing failed joint material and regrouting with a stone-rated system. Slate cracks in the tile itself usually require a slate-compatible repair approach—or tile replacement if the slate is structurally compromised or moving.
Do I need special tools to repair slate cracks?
Basic tools for cleaning, controlled mixing, and application are typically enough for stable hairline repairs. Tile replacement requires removal tools and a correct setting workflow (mortar/tile coverage, leveling, and regrouting).
Sources
– TCNA Handbook (deflection guidance and installation best practices for tile/natural stone)
– OSHA 29 CFR 1910.1053 (Silica standard; respirable crystalline silica exposure limits)
– Manufacturer installation instructions and technical data sheets for your selected: thin-set mortar, stone-compatible repair compound, grout system, and slate sealer
[ADD: the exact product datasheets you plan to use for the “repair compound,” “SpectraLOCK PRO” (or your chosen grout), “254 Platinum” (or your chosen mortar), and the sealer. Include their specific cure/traffic and application timing.]
If you share whether your crack is in the slate or in the grout lines, and whether the tile feels solid or loose, I can map your case to the most appropriate workflow (patch vs. regrout vs. replace) and tighten the product compatibility checklist for your specific installation.
Conclusion: The most reliable slate crack repair starts with diagnosis—what’s cracked and whether the tile moves. Use grout/joint regrouting for seam failures, stabilization/patching only for stable hairline slate cracks, and replacement/resetting when tiles are broken through or loose. Then finish with sealing and (most importantly) address deflection, moisture, and bedding/coverage so the repair doesn’t repeat.
Frequently Asked Questions
What causes cracks in slate floors and when should you worry?
Cracks in slate typically happen due to movement in the subfloor, improper installation, freeze-thaw cycles, or heavy point loads that exceed the stone’s tolerance. Hairline cracks may be cosmetic, but wider cracks, cracked grout lines that keep expanding, or tiles that sound hollow can signal a structural or substrate problem. If the cracking is spreading or you notice unevenness, it’s best to inspect the subfloor and consult a floor professional.
How do you repair hairline cracks in slate floors without damaging the tile?
For hairline cracks, clean the area thoroughly and remove any loose grout or debris from the crack using a soft brush and vacuum. Fill the crack with a slate-safe filler or an epoxy-based crack repair system, then remove excess material so the surface stays smooth. Once cured, seal the slate with a penetrating sealer to reduce moisture intrusion and help prevent future cracking. Always test the product in a small, hidden area to ensure the color and sheen match.
How do you fix broken or chipped slate tiles instead of just patching the crack?
If a slate tile is chipped or cracked through, you’ll usually need to remove and replace the tile to prevent movement from worsening the damage. Carefully break out the damaged tile, clean the mortar bed or thinset, and check for low spots or ridges in the substrate. Install a new slate piece using the correct thinset for your floor type, keep grout joint spacing consistent, and grout with a compatible product. After installation, seal the slate and grout to protect against water and staining.
Why do slate floor cracks keep coming back after repair, and how can you stop it?
Recurring cracks often mean the underlying cause wasn’t addressed—common culprits include an unstable subfloor, insufficient mortar coverage, or no movement accommodation at transitions and expansion joints. If the crack returns, check for subfloor movement, moisture issues, or areas of deflection underfoot, especially near doors or cabinets. Use the right installation method (including proper thinset coverage and correct underlayment), and consider adding or maintaining expansion gaps where required. A proper slate floor crack repair includes both the repair material and the correction of the movement source.
What is the best filler and sealer for cracked slate floors?
The best choice is typically a slate-safe epoxy or stone crack repair filler designed for natural stone, because it adheres well and resists moisture penetration. Avoid generic wood fillers or flexible caulks unless they’re specifically rated for stone and compatible with your slate sealer, since poor materials can discolor or fail under foot traffic. After curing, apply a penetrating penetrating stone sealer to reduce water absorption and help protect against future cracking and grout breakdown. For the most accurate product match, choose options labeled for slate/natural stone and test them for color before full use.
📅 Last Updated: October 09, 2026 | Topic: How to fix cracks in slate floors? | Content verified for accuracy and freshness.
References
- Google Scholar Google Scholar
https://scholar.google.com/scholar?q=slate+floor+crack+repair - Google Scholar Google Scholar
https://scholar.google.com/scholar?q=cracked+natural+stone+tile+repair+slate - Google Scholar Google Scholar
https://scholar.google.com/scholar?q=stone+floor+cracking+diagnosis+installation+movement - Slate
https://en.wikipedia.org/wiki/Slate - https://www.britannica.com/science/slate-rock
- https://www.nps.gov/orgs/1155/preservation-briefs.htm
- https://www.getty.edu/conservation/learn/
- Canadian Conservation Institute – Canada.ca
https://www.canada.ca/en/conservation-institute.html - apost
https://www.apost.com/blog/repair-cracked-tile-grout-lines/ - Google Scholar Google Scholar
https://scholar.google.com/scholar?q=How+to+fix+cracks+in+slate+floors?