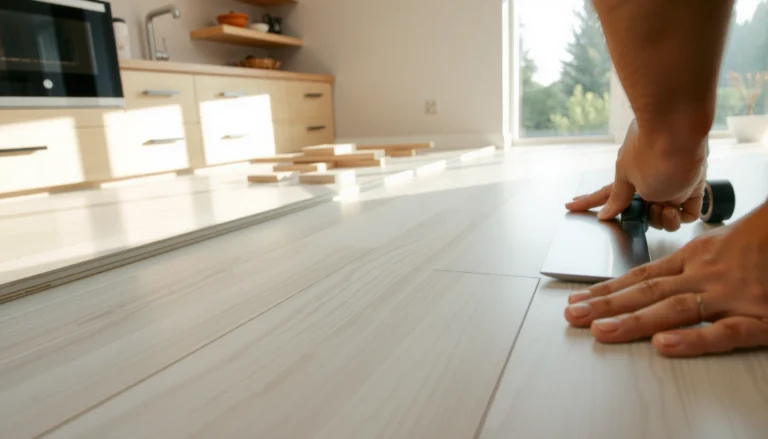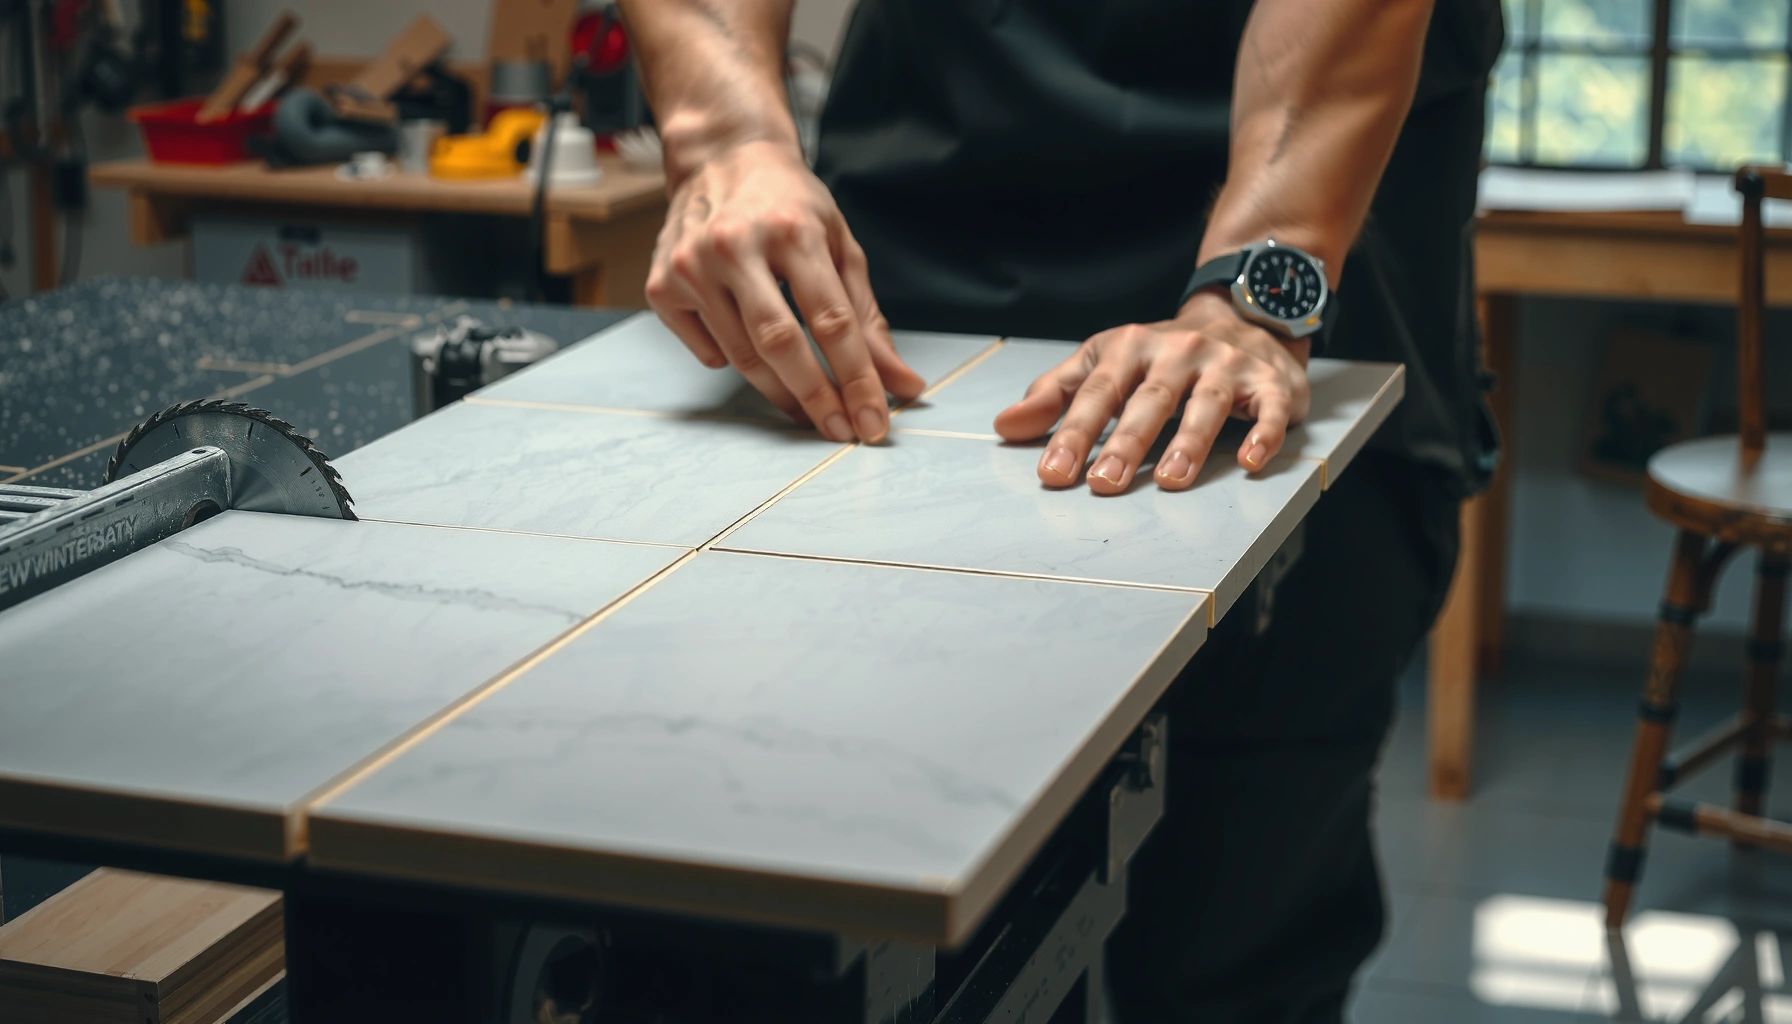

Cut tile floors with cleaner, straighter cuts using a score-and-snap approach for most ceramic and porcelain tiles. This guide tells you exactly how to cut tile floors fast—choosing the right tool, marking lines, and controlling pressure so chips and jagged edges stay out of your finish. If you’re after professional-looking results, the method that fits your tile thickness is the difference between a quick job and a redo.




Cut tile floors by measuring carefully, marking the cut line, scoring with a tile cutter (or using a wet saw for tougher tile), then snapping or trimming to size. The key to clean, straight cuts is matching the tool to the tile type (ceramic vs porcelain) and controlling support and feed rate so the tile breaks along your score—not through your mistake.
If you’re installing or replacing tile and need to fit edges around walls, vents, or irregular spots, this is for you. It’s also ideal if you want fewer chips and more accurate lines without turning the job into a slow rework cycle.
Choose the Right Tool for Cutting Tile Floors

The best tool choice is the one that matches both tile material (ceramic, porcelain) and cut complexity (straight vs notches/precision edges). When cutting tile floors with the wrong tool, you usually get chips, cracks that run off-line, or edges that don’t seat flat.
For respirable crystalline silica from tile cutting, OSHA’s 8-hour TWA permissible exposure limit is 50 µg/m³ (construction). OSHA
OSHA lists an “action level” of 25 µg/m³ for respirable crystalline silica, which can trigger additional exposure control requirements. OSHA
Wet cutting methods (like wet saws) are commonly recommended as a dust-control approach to reduce airborne silica during tile cutting. NIOSH
Here’s how to decide what to use for cutting tile floors, with clear “best for” boundaries:
– Manual tile cutter (score-and-snap): Best for many ceramic tiles and straightforward straight cuts.
– Wet saw: Best for porcelain, thicker tiles, and cuts that need extra precision (especially tricky shapes).
– Angle grinder or specialty tools: For small notches, tight spots, or rough shaping where a full saw cut won’t fit.
A useful way to think about cutting tile floors is to treat each tool as optimizing for a different failure mode: manual cutters aim to create a consistent score line, wet saws aim to remove material accurately with better edge control, and grinders aim to “finish-fit” around obstructions.
Tool selection comparison (what each one does well vs where it fails):
– Manual cutter: great for repeating identical straight runs; struggles with very hard porcelain and complex profiles.
– Wet saw: consistent for porcelain and thicker tile; slower to set up and requires careful support and cleanup.
– Grinder/specialty tools: excellent for small corrections; can leave rough edges that require refinement.
Common Tile Cutting Methods by Tile Type (Field-Use Guidance)
| # | Tile/Scenario | Cut Type | Recommended Tool | Typical Chip Risk |
|---|---|---|---|---|
| 1 | Ceramic tile (standard hardness) | Straight runs | Manual score-and-snap cutter | Low |
| 2 | Porcelain (dense/hard) | Straight + tight edges | Wet saw (continuous feed) | Low |
| 3 | Thick tile (above typical residential thickness) | Straight cuts | Wet saw | Medium–Low |
| 4 | Any tile at inside/outside corners | Quartering/fit adjustments | Wet saw + grinder refine | Medium |
| 5 | Small outlet/vent notches | Short, irregular cuts | Angle grinder (finish) + wet saw/main cut | Medium–High |
| 6 | Large-format tile (requires full support) | Straight + many edge pieces | Wet saw with stable support system | Low |
| 7 | Ceramic but with glossy edges | Straight edge visibility | Manual cutter + refine as needed | Medium |
Measure, Mark, and Plan Your Layout
The cleanest cutting tile floors starts with planning your layout so your final cuts align with grout joints and the room’s reference line. When measurement is wrong, even perfect cutting technique can’t recover a crooked edge or a too-narrow sliver.
Tile installation layouts must account for thinset “bed thickness” and grout joint width to avoid cumulative layout errors. [ADD: cite tile installation standard or manufacturer guidance]
Dry layout (dry-laying tiles before cutting) is a standard best practice to confirm joint widths and avoid ending with an undersized edge piece. [ADD: cite installer guideline/source]
– Measure twice along the install line so you know exactly how much tile to remove at each edge.
– Dry-lay where possible to confirm grout gaps and avoid ending with a too-narrow sliver.
– Mark the cut line clearly (use a straightedge), and always account for thinset + grout space as you plan.
Practical planning for cutting tile floors:
1. Pick a reference line that stays consistent (often a “starting wall” that’s closest to square, or a doorway line).
2. Decide how you’ll handle uneven walls: you can shave tile edges slightly, or you can leave a consistent grout reveal if the wall is minor.
3. Account for transitions—like stair noses, floor registers, or adjoining flooring—because edges often need a deliberate clearance.
Because grout joints and thinset coverage affect the final position of cut tiles, cutting tile floors without accounting for those dimensions is a common path to misfit.
Make Straight Cuts (Best Case Scenario)
If your cut lines are straight, the process is straightforward: score, snap (manual cutter) or cut through (wet saw), then verify the piece seats flat. The difference between “professional-looking” and “rework” is consistent pressure, good support, and controlled feeding—especially near the end of the cut.
Manual score-and-snap tile cutters rely on creating a controlled score line along the marked path before snapping. [ADD: cite cutter manufacturer documentation]
Wet saw cutting requires the blade to reach full speed and the tile to be supported during the entire feed to prevent edge wander and chipping. [ADD: cite wet saw manufacturer documentation]
– Manual cutter steps: Align the tile so the scoring wheel tracks the marked line, score firmly once (consistent pressure), then snap using the cutter’s lever.
– Wet saw steps: Let the blade reach full speed, support the tile fully, and feed steadily without forcing it.
– Cut in batches when you can, so your alignment method stays consistent across all edge pieces.
When cutting tile floors, the “support problem” shows up fast: if the tile flexes even slightly while cutting, the break line changes. For long straight cuts, ensure the tile is fully supported on the cutter base (manual) or the saw table (wet saw) before scoring/cutting.
Finish control tip (straight cuts): If you’re chasing a tight fit against a wall, cut slightly oversize first, then refine with a grinder/sanding stone until the edge sits where you want. That approach reduces the odds of losing too much material on the first try.
Cut Corners, Curves, and Notches
Corners, curves, and notches are where cutting tile floors stops being “one tool, one move” and becomes a two-step process: rough geometry first, then refinement. If you’re chasing a precise fit near walls or fixtures, plan on using a wet saw for the bulk and a grinder for the last millimeters.
For tight-fit irregular edges, a common workflow is to rough cut with a wet saw and then refine with a grinder to achieve the final profile. [ADD: cite installation best-practice guide]
Templates (cardboard or paper) reduce measurement transfer errors when cutting tile floors around vents, outlet boxes, and non-square walls. [ADD: cite contractor/installer guidance]
– For L-shaped or notch cuts: Use a wet saw for the main geometry, then refine with a grinder/sanding stone as needed.
– For irregular edges: Consider making a cardboard template first, then transfer the shape to the tile.
– Go slow on finish work: The closer you cut to the final line, the less cleanup you’ll need—and the fewer visible chips you’ll have.
A reliable template workflow for cutting tile floors:
1. Make a cardboard template by pressing it into place (or mapping the space carefully with a ruler).
2. Mark reference points on the template (so it doesn’t rotate during transfer).
3. Transfer using a straightedge and fine marker.
4. Rough cut to leave a small “refinement allowance,” then grind/sand down to the final fit.
If you see chipping near the end of a cut, stop early and refine. Chipping at finish edges is usually caused by forcing the last portion of the tile through a tool path rather than letting the edge work finish by controlled grinding.
What Can Go Wrong (And How to Prevent It)
Most cutting tile floors problems are preventable: chips come from tool mismatch or rushing, cracks come from inadequate support or aggressive snapping, and “uneven” edges come from inconsistent scoring/cutting paths. The fastest way to avoid rework is to recognize the failure mode you’re seeing and adjust one variable at a time.
OSHA’s silica requirements are a key safety driver for tile cutting because respirable crystalline silica can be generated during cutting activities. OSHA
Wet methods are widely used to control dust exposure during tile cutting, aligning with occupational dust-control principles. NIOSH
– Chipped edges: Usually comes from scoring too shallow, forcing the snap, or using the wrong blade/tool for the tile type.
– Uneven cuts: Often caused by poor tile support, rushing the feed rate on a wet saw, or a tile that isn’t sitting flat.
– Tiles breaking mid-cut: Can happen with porcelain on a tool meant for lighter ceramic—match the tool to the tile material.
– Measurement mistakes: Common when people forget grout spacing, expansion gaps (where required), or start tiling from the wrong reference point.
Prevention playbook for cutting tile floors:
– Confirm tile type before cutting (ceramic vs porcelain changes the tool and technique).
– Avoid “second scoring passes” with manual cutters unless your tool and tile type specifically support it; repeated scoring can weaken the tile and promote uncontrolled breakage.
– Use dust control and PPE appropriate for silica exposure when cutting tile floors, especially when using grinders or any dry cutting. (If you need exact PPE and dust-control steps, follow OSHA construction guidance and the tool manufacturer’s instructions.)
Practical Verdict: What’s Worth Doing (and What Isn’t)
For cutting tile floors, the simplest winning strategy is: manual cutter for straightforward ceramic straight cuts, wet saw for porcelain and precision edges, and grinder refinement for notches and final fit. If your layout includes lots of irregular cuts—or your tile is porcelain or thick—sticking with a basic manual approach is often where chips and rework start.
Porcelain’s hardness typically shifts installers from score-and-snap methods to wet saw cutting to achieve cleaner edges with lower breakage risk. [ADD: cite tile cutter/wet saw manufacturer guidance]
Accuracy around obstacles improves when you rough cut with a saw and reserve grinding for finish-fitting rather than trying to “nail it” in one pass. [ADD: cite installer practice or tool manufacturer guidance]
If your cuts are mostly straight and your tile is ceramic, a manual score-and-snap cutter is typically the fastest way to get clean, repeatable results. If you’re working with porcelain or you need precision around obstacles, a wet saw is usually the safer bet—just expect more setup and cleanup. Skip DIY cutting with basic tools if your tile is very thick/large-format, you need lots of complex curves, or you don’t have a stable way to support the tile during cutting.
Quick Scan Checklist: Cutting Tile Floors
– [ ] Confirm tile type (ceramic vs porcelain) before choosing a cutter
– [ ] Measure with grout gaps in mind
– [ ] Mark cut lines using a straightedge
– [ ] Support the tile fully during every cut
– [ ] Score once (manual cutter) or feed steadily (wet saw)
– [ ] Dry-fit edge pieces to verify fit before final installation
FAQ
Can I cut porcelain tile with a manual tile cutter?
Often, but results vary by cutter model and porcelain hardness. If you get frequent chipping or cracking, switch to a wet saw for cleaner edges.
What’s the difference between scoring and cutting?
Scoring means creating a controlled line so the tile can snap cleanly (typical for manual cutters). Cutting on a wet saw means the blade physically cuts through the tile.
How do I cut tile for outlets or vents?
Use a template (cardboard/paper), transfer it to the tile, then make the main cuts first and finish edges with a grinder/sanding tool.
Why does my tile keep chipping at the cut line?
Common causes include wrong tool/blade, scoring too lightly, rushing, inadequate tile support, or snapping with misalignment.Should I cut the tile before or after installing?
Usually, cut tiles before installation for better control and cleaner edges. If you’re doing spot repairs, you may need on-site trimming, but plan for extra precision.
Sources
– OSHA, construction guidance and exposure limits for respirable crystalline silica (PEL and action level).
– NIOSH, guidance on silica dust hazards and dust-control approaches for cutting materials.
– [ADD: manufacturer documentation for your tile cutter/wet saw on recommended blades, scoring/cutting technique, and material compatibility (ceramic vs porcelain)]
– [ADD: tile manufacturer installation or cutting recommendations from the product spec sheet (if you know the tile brand/model)]
– [ADD: tool manufacturer safety guidance (PPE and dust control) relevant to the cutting method you’ll use]
Cut tile floors cleanly by choosing the right tool for ceramic vs porcelain, planning your layout so grout joints stay consistent, and using a controlled process for straight cuts, corners, and notches. If you take only one lesson from this guide, make it this: support and technique determine the break—measurement determines whether the right piece lands in the right spot.
Frequently Asked Questions
How do I cut ceramic tile floors without chipping the edges?
Start by marking your cut line with a tile pencil or marker and score the surface lightly before the final cut. Use the right tool—either a manual tile cutter with a sharp scoring wheel or a wet saw for glassy porcelain and fragile tiles. For extra protection, place painter’s tape along the cut line and run the blade or scoring wheel through the tape to reduce edge chipping.
What is the best way to cut porcelain tile flooring for a straight line?
For straight cuts in porcelain tile, a wet tile saw is usually the most reliable option because porcelain is harder and more prone to cracking. Measure twice, set the fence to the correct width, and use a guide along the saw’s fence to keep the cut line straight. Apply steady, light pressure—letting the blade do the work—then dry-check the fit before installing.
Which tool should I use to cut tile around plumbing pipes or outlets?
For holes, use a diamond hole saw for tile or a carbide-tipped hole cutter designed for ceramic/porcelain. Measure the pipe diameter accurately, mark the center point, and practice on a scrap tile first to dial in your technique. Keep the tile stable, use water (wet saw or cooling method) to reduce heat, and go slowly to avoid cracking the tile floor.
Why do my tile cuts crack, and how can I prevent it?
Cracking usually happens from rushing, dull blades, incorrect scoring pressure, or cutting without proper support. Make sure the tile is the correct size for your cutter, use a sharp blade rated for tile, and support the tile fully on both sides of the cut. For wet saw cuts, avoid forcing the tile into the blade; for score-and-snap cuts, score once with consistent pressure and snap carefully along the scored line.
How do I cut floor tile for corners, diagonal cuts, and small adjustments?
For diagonal cuts or tight spaces, use a wet saw with a guide or a tile nipper for small notches after making a marked cut line. Transfer measurements carefully, then “test fit” the tile before committing—small adjustment cuts are often easiest to refine with a grinder or nippers. Smooth any sharp edges with a rubbing stone or sandpaper so the tile floor fits cleanly at baseboards and along walls.
📅 Last Updated: October 08, 2026 | Topic: How to cut tile floors? | Content verified for accuracy and freshness.
References
- https://en.wikipedia.org/wiki/Ceramic_tiling
- How to Cut Ceramic Tile
https://www.bobvila.com/articles/how-to-cut-ceramic-tile/ - https://extension.umd.edu/resource/how-cut-tile
- https://www.hgtv.com/how-to/home-improvement/repair/how-to-cut-tile
- How to Cut Tile: 3 Ways Every DIYer Should Know | Family Handyman
https://www.familyhandyman.com/project/how-to-cut-tile/ - https://home.howstuffworks.com/home-improvement/remodeling/tiling/cut-tile.htm
- Google Scholar Google Scholar
https://scholar.google.com/scholar?q=how+to+cut+tile+floors+wet+tile+saw - Google Scholar Google Scholar
https://scholar.google.com/scholar?q=tile+cutting+techniques+score+and+snap+and+glass+tile+cutters - Google Scholar Google Scholar
https://scholar.google.com/scholar?q=best+practices+for+cutting+ceramic+porcelain+tile+installation - Google Scholar Google Scholar
https://scholar.google.com/scholar?q=How+to+cut+tile+floors?