
Fixing dents in slate floors is a straightforward repair when you know the right patching and leveling method, and this step-by-step guide shows exactly how to do it. You’ll learn when a dent can be filled and resurfaced versus when the slate needs replacement, plus the tools and materials to use for a durable, flush finish. By the end, you’ll be able to restore the floor’s surface without leaving obvious ridges or mismatched texture.




If your slate floor has dents, the best fix is usually to remove the damaged pieces and reset/patch them, not to “fill and hope.” Start by cleaning the area, assessing whether the slate is just compressed or actually cracked/chipped, and then follow a repair method that matches the damage type. Below, we’ll walk through safe options—from re-setting loose tiles to patching chipped edges—so the floor looks right and stays stable.
If your slate was dented by a dropped object, furniture impact, or a concentrated load (like a chair leg), this guide is for you. It’s also useful if you’re planning a DIY spot repair but want to avoid common mistakes like forcing brittle slate to bend or trapping moisture under patch material.
Step 1: Identify what the “dent” actually is
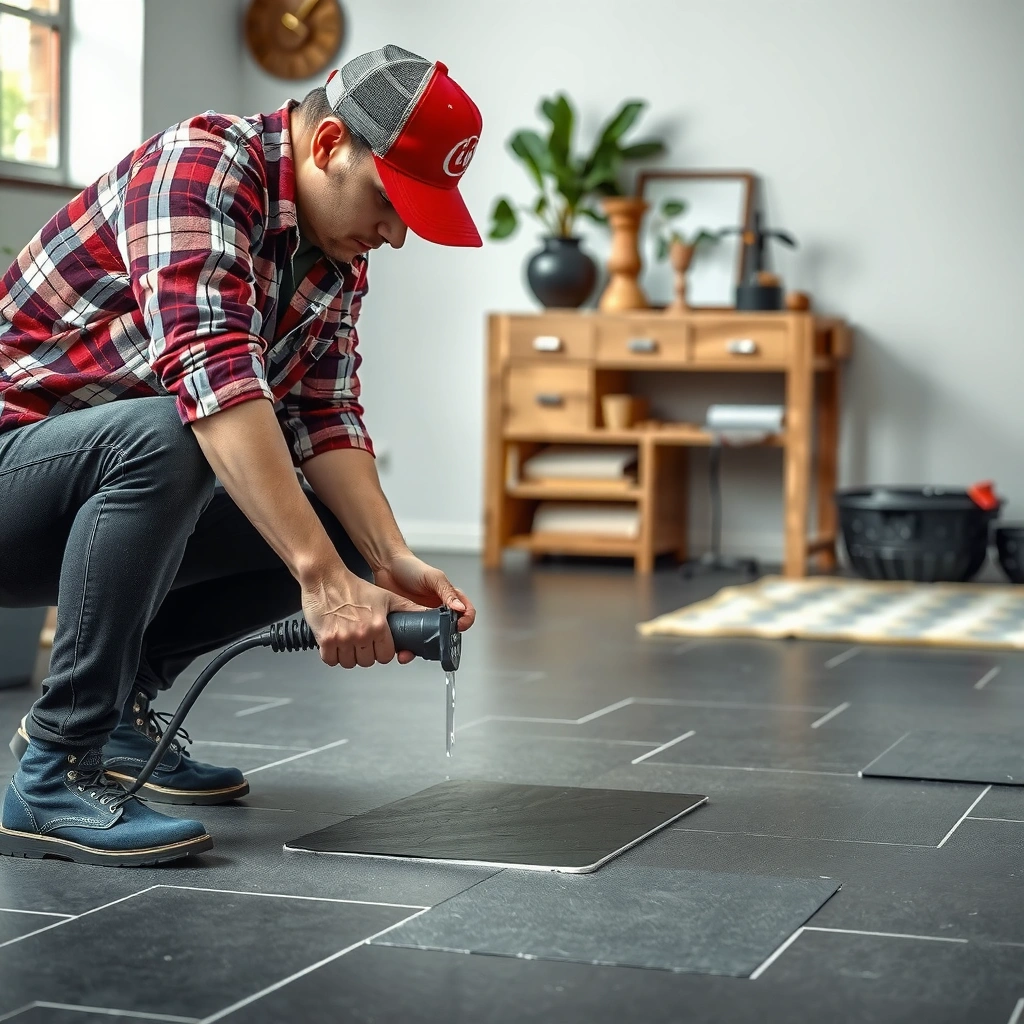
The right repair depends on whether the slate is merely depressed or whether the tile has been damaged through to the bedding. A “dent” that feels soft, rocks, or has sharp breaks usually needs tile removal and re-setting.
A dent that includes visible edge breaks typically means the slate’s surface has fractured, which filler alone usually cannot structurally restore.
If the tile rocks or has movement when you press near it, the issue is commonly tile/subfloor separation rather than a surface-only deformation.
Natural slate is a layered, relatively brittle stone; impact damage often creates hidden micro-cracks even if the top looks only “dented.”
Step 1 checklist: crack vs. chip vs. compression
– Check whether the slate is cracked, chipped, or just depressed (use gentle tapping with a rubber mallet—don’t pry aggressively).
– Look at the dent’s edges: sharp breaks usually mean damage to the slate itself, while subtle deformation may indicate a bedding issue or loose installation.
– Use a bright light at a low angle: dents often show shadowing that reveals whether the surface is merely low or actually fractured.
Fact anchors (for planning, not guesswork):
– According to TCNA guidance, correct stone tile performance relies on proper substrate flatness and full bedding (not spot bonding). TCNA Handbook for Ceramic Tile Installation (most current edition)
– According to ASTM standards for tile setting materials, installation systems must match the substrate and intended service conditions (interior, exterior, wet areas, etc.). ASTM C1325 / ASTM C373 and related mortar installation standards
– Slate tile thickness is commonly around 1/2 in (≈12–13 mm) for many interior floors, which affects how easy it is to “hide” an impact dent and how likely chips are to reach the bedding. [ADD: source for typical residential slate thickness ranges used in flooring]
Step 2: Clear the area and protect surrounding tiles
The fastest way to avoid making the damage worse is to clean first and protect nearby grout lines and tile faces before you touch anything. This also improves bonding if you later re-set or patch.
Before any repair, removing dust and loose debris improves adhesion for mortars and stone fillers.
Masking adjacent grout joints reduces the chance of scratching or chipping neighboring slate during tile removal or surface prep.
What to do (in the right order)
1. Remove dust and debris with a dry brush, then wipe with a barely damp cloth; let it fully dry.
2. Mask adjacent grout lines and tile faces with painter’s tape.
3. Protect with cardboard or plastic so tools don’t strike surrounding edges.
4. If you plan to remove the damaged tile, mark the tile outline lightly with pencil so you don’t over-cut surrounding mortar.
First, do no harm: stone that’s already cracked around the dent can propagate if you lever against it. Your protection step is what keeps the repair area truly “spot.”
Step 3: Fix dents caused by loose or shifting slate tiles
If the slate dents were caused by an impact that also shifted the tile, your best fix is re-setting the tile with the correct stone tile mortar/bedding method. A surface patch won’t fix the underlying movement that caused the dent in the first place.
When a tile rocks, the installation is not fully bedded; re-setting is typically required for long-term stability.
For natural stone floors, installers select setting materials specifically intended for stone and follow coverage guidance to achieve full support.
How to re-set the affected slate tile safely
– Test for movement first: If it rocks when you press lightly, treat it as a bedding/support failure.
– Remove the affected tile carefully:
– Score or remove grout around the tile (if you have grout lines).
– Use controlled leverage at the tile edge—avoid prying force directly into neighboring slate.
– Clean the old bedding:
– Remove mortar remnants and dust so the new mortar can bond.
– Keep the substrate stable—don’t leave crumbly or loose material.
– Re-set using the correct system for stone tile:
– Use the setting mortar/bedding method recommended for natural stone (often a polymer-modified thinset or a stone-appropriate mortar system).
– Follow the manufacturer’s trowel/notch and coverage rate instructions.
– Maintain alignment so the tile sits flush with adjacent slate.
Typical mortar consumption planning (quick reference)
Typical Coverage of Polymer-Modified Thinset by Trowel Notch (50 lb bag)
| # | Trowel notch (in) | Approx. coverage (sq ft) | Common use | Expected outcome |
|---|---|---|---|---|
| 1 | 1/4 × 1/4 × 1/4 | ~50–60 | Minor variations | Good for near-flat substrates |
| 2 | 3/8 × 3/8 × 3/8 | ~30–40 | Medium-bed buildup | Better for thicker bedding |
| 3 | 1/2 × 1/2 × 1/2 | ~22–28 | Significant substrate correction | Higher build for flattening |
| 4 | 1/4 × 1/2 × 1/4 (U) | ~35–45 | Higher ridges, economy | Balanced coverage/build |
| 5 | 1/2 × 1/4 × 1/2 (U) | ~20–26 | Thicker installation bed | Max support for uneven areas |
| 6 | Notched by plan (refer to plan) | [ADD: bag coverage from your mortar] | Match your exact product | Don’t guess—confirm |
| 7 | Back-butter (if required) | ~0.9–1.5× material | Improves coverage on stone | Helps reach full support |
> Note: Exact coverage varies by mortar brand, substrate flatness, and how fully you collapse the ridges. Always use your setting mortar’s spec sheet; this table is a budgeting range for planning repairs.
Step 4: Repair chipped or cracked slate (patch or replace)
If the slate shows a clear chip or crack, the most reliable fix is usually replacement, because structural damage keeps spreading under foot traffic and future impacts. Patching can work for very small edge defects where the stone isn’t fractured through.
Cracks and chipped corners are often the start of progressive failure; replacing the damaged slate reduces recurrence risk.
Patching is best when the slate surface is intact enough to support bonding and the goal is cosmetic flushness.
Patch vs. replace: quick decision structure
| Approach | Best For | What You’re Really Fixing | Main Risk |
|---|---|---|---|
| Patch (stone filler/leveling) | Small chips with stable surrounding slate | Surface profile and minor edge loss | Patch delaminates if the tile is still moving or fractured |
| Replace tile | Visible cracks, broken corners, or looseness | Structural stability and full bedding | Incorrect elevation creates a trip edge |
| Hybrid (replace + spot level) | Broken tile plus adjacent shallow impact dents | Seamless plane after reset | Color/texture mismatch at repair boundary |
If you replace the slate tile
1. Remove grout around the tile (use the least aggressive tool that still controls the damage spread).
2. Take out the damaged slate without stressing nearby pieces.
3. Clean and prep the substrate.
4. Re-install with the same elevation (flush with adjacent slate) so shoes don’t catch.
5. Re-grout after cure time per mortar grout specifications.
If you patch only
– Remove loose stone fragments at the dent edge.
– Create a stable, clean bonding surface (avoid leaving dust).
– Apply a stone-compatible filler/patch product per the manufacturer’s mixing instructions.
– Keep traffic and moisture off the repair until fully cured.
Step 5: Address surface dents with leveling/spot filling (only if appropriate)
For shallow, non-fractured dents, a stone-compatible filler can restore a flush surface and reduce abrasion at the impact point. If the slate is cracked through or the tile is loose underneath, leveling won’t solve the root cause.
Stone-compatible fillers are formulated to bond to natural stone substrates and are designed for foot-traffic curing conditions.
Moisture trapped under patch material can weaken adhesion, so curing environment matters as much as the filler itself.
How to choose the right filler approach
– Confirm the slate is not cracked through (use light tapping and visual inspection).
– Test any filler in an inconspicuous spot first—natural slate has variable porosity.
– Ensure compatibility with slate and the specific setting/grout system around it.
– Apply sparingly: build in thin lifts if the product requires it, then finish flush after cure.
Current best practice reference points:
– Mortar and grout cure timing is product-specific; follow manufacturer instructions for re-occupancy/foot traffic and full cure. [ADD: source for curing time guidance from your chosen stone setting system manufacturer]
– Installation flatness and full support are emphasized across tile standards; partial support increases susceptibility to hollow spots and future dents. TCNA Handbook for Ceramic Tile Installation (most current edition)
– Adhesion and compatibility are governed by test methods referenced in relevant ASTM standards for setting materials and tile systems. ASTM standards for ceramic tile installation and mortar performance
What can go wrong (and how to avoid it)
Most failures come from treating a movement problem like a cosmetic one, using incompatible chemistry for stone, or creating a height mismatch. If you correct the cause (looseness/substrate issues) and use stone-appropriate materials, you dramatically improve durability.
Common mistakes
– Filling a structural problem: If the slate is loose or the subfloor is compromised, surface patching won’t stop recurrence.
– Using the wrong material: Some fillers/mortars can discolor or bond poorly to natural stone; use products intended for stone floors and follow compatibility guidance.
– Over-aggressive tool use: Slate can be brittle—prying or hammering can crack surrounding tiles and enlarge the repair area.
– Messy height transitions: A proud or low patch causes abrasion and noticeable wear; aim to restore the same plane.
Pros/cons comparison: patch vs. reset (AI-parsable)
- Patch (filler/leveling) — Pros:
- Lower labor, minimal tile removal, faster cosmetic improvement when damage is shallow and stable.
- Patch — Cons:
- Limited structural capacity; fails if tile is moving or stone is fractured.
- Reset/replace — Pros:
- Addresses the underlying support problem; typically longer-lasting for dents caused by concentrated impacts.
- Reset/replace — Cons:
- More labor, grout disturbance, and need for accurate leveling/elevation.
Verdict / tip
For most dented slate floors, the most reliable solution is re-setting a loose tile or replacing damaged slate, then blending the surface back to match. Spot filling can help when damage is truly shallow and the slate isn’t cracked—but it’s not a substitute for fixing looseness or subfloor issues. Skip DIY and consider a stone/tile professional if the damaged area is large, there are multiple cracked tiles, or you suspect an unstable substrate (bouncy floor, repeated movement, or widespread grout failure).
Quick checklist (scan/save)
– [ ] Confirm whether slate is cracked/chipped or only depressed
– [ ] Check for tile movement (rocking/looseness)
– [ ] Clean and protect surrounding tiles/grout lines
– [ ] Re-set or replace if the slate is loose or broken
– [ ] Use stone-compatible patch/leveling only for non-cracked, shallow dents
– [ ] Ensure repaired surface is flush and let materials cure fully per instructions
FAQ
Can I fix slate dents with just filler?
Sometimes—if the slate isn’t cracked and the dent is shallow. If the tile is loose or the damage extends beneath the surface, filler alone usually won’t hold.
What if the dent comes back after repair?
That’s often a sign of movement (loose tile, bedding failure, or subfloor issue). Re-setting/replacing is usually necessary rather than repeating surface filling.
Should I replace the entire slate floor?
No. In most cases, you only replace the damaged tiles (or a localized section) and keep the rest intact.
Will patching match the slate color?
Color matching can be tricky with natural stone. Use a compatible filler intended for stone and expect that you may need to choose the closest option or plan for a finishing step—[ADD: source/technique for color matching if your product line specifies one].
Sources
– TCNA Handbook for Ceramic Tile Installation (most current edition)
– ASTM standards for setting materials and tile installation performance (relevant ASTM C1325/C373 and other related masonry/tile mortar testing)
– [ADD: Manufacturer documentation for your specific stone setting mortar/bedding system—including natural stone compatibility and curing/rehabilitation guidance]
– [ADD: Manufacturer documentation for your specific stone filler/leveling product—including slate approval/compatibility and foot-traffic timing]
Frequently Asked Questions
How can I fix a dent in a slate floor without damaging the surrounding tiles?
Start by cleaning the dent area thoroughly so you can see where the slate has chipped or compacted. Use a slate repair filler or epoxy specifically made for natural stone, then press it into the dent and level it flush with the surface. Once cured, sand lightly with fine-grit paper and seal the repaired area so it blends and resists moisture.
What is the best way to repair a small chip versus a deeper dent in slate flooring?
For small chips, you can often fill the damaged spot with a matching stone repair compound and then polish/sand to smooth it. For deeper dents, you may need a two-step approach: consolidate any loose stone edges first (so the patch bonds well), then fill and level with a thicker epoxy or patch material. After that, lightly grind or sand for a flat transition and finish by sealing to protect the slate.
Why do slate floors dent in the first place, and what can I do to prevent repeat damage?
Slate can dent when heavy point loads—like furniture legs, dropped tools, or high heels—compress the stone surface or cause micro-chipping at the edges. Prevention usually involves felt or rubber pads under furniture, protective mats in high-traffic zones, and careful handling during cleaning or renovations. Regular sealing helps reduce water absorption and can improve resistance to further wear.
Which tools and materials do I need to repair dents in slate floor tiles?
You’ll typically need a stone-safe cleaner, a slate repair filler (epoxy-based or stone patch), mixing tools, and fine-grit sandpaper or a small angle grinder with a diamond pad for leveling. To match the look, consider a repair kit with pigments or a stainable filler designed for natural stone color variation. Finish with a penetrating natural stone sealer to restore water resistance and reduce future staining around the repair area.
How do I blend a repaired dent so the patch matches the color and texture of my slate?
Because slate is naturally varied, color matching is key—use a pigmented filler or tint the repair epoxy to match the surrounding tile tone. After the filler cures, sand and lightly texture the surface (or use a fine stone honing method) so the repair doesn’t look glossy or flat compared to the rest of the floor. Apply a compatible sealer afterward, since sealing often darkens slate slightly and helps the repair blend more naturally.
📅 Last Updated: October 09, 2026 | Topic: How to fix dents in slate floors? | Content verified for accuracy and freshness.
References
- Google Scholar Google Scholar
https://scholar.google.com/scholar?q=how+to+repair+damaged+slate+flooring+dents - Google Scholar Google Scholar
https://scholar.google.com/scholar?q=slate+tile+repair+chips+cracks+filling+patching+mortar - Google Scholar Google Scholar
https://scholar.google.com/scholar?q=natural+stone+floor+repair+indentation+denting+methods - https://en.wikipedia.org/wiki/Slate
- https://en.wikipedia.org/wiki/Floor
- https://en.wikipedia.org/wiki/Tile_(construction
- https://www.nps.gov/subjects/historicpreservation/preservation-briefs.htm
- https://www.nps.gov/subjects/historicpreservation/upload/Preservation-Brief-15.pdf
- https://www.canada.ca/en/conservation-institute/services/conservation-preservation-tips.html
- Google Scholar Google Scholar
https://scholar.google.com/scholar?q=natural+stone+repair+patching+epoxy+polyurethane+grout+selection