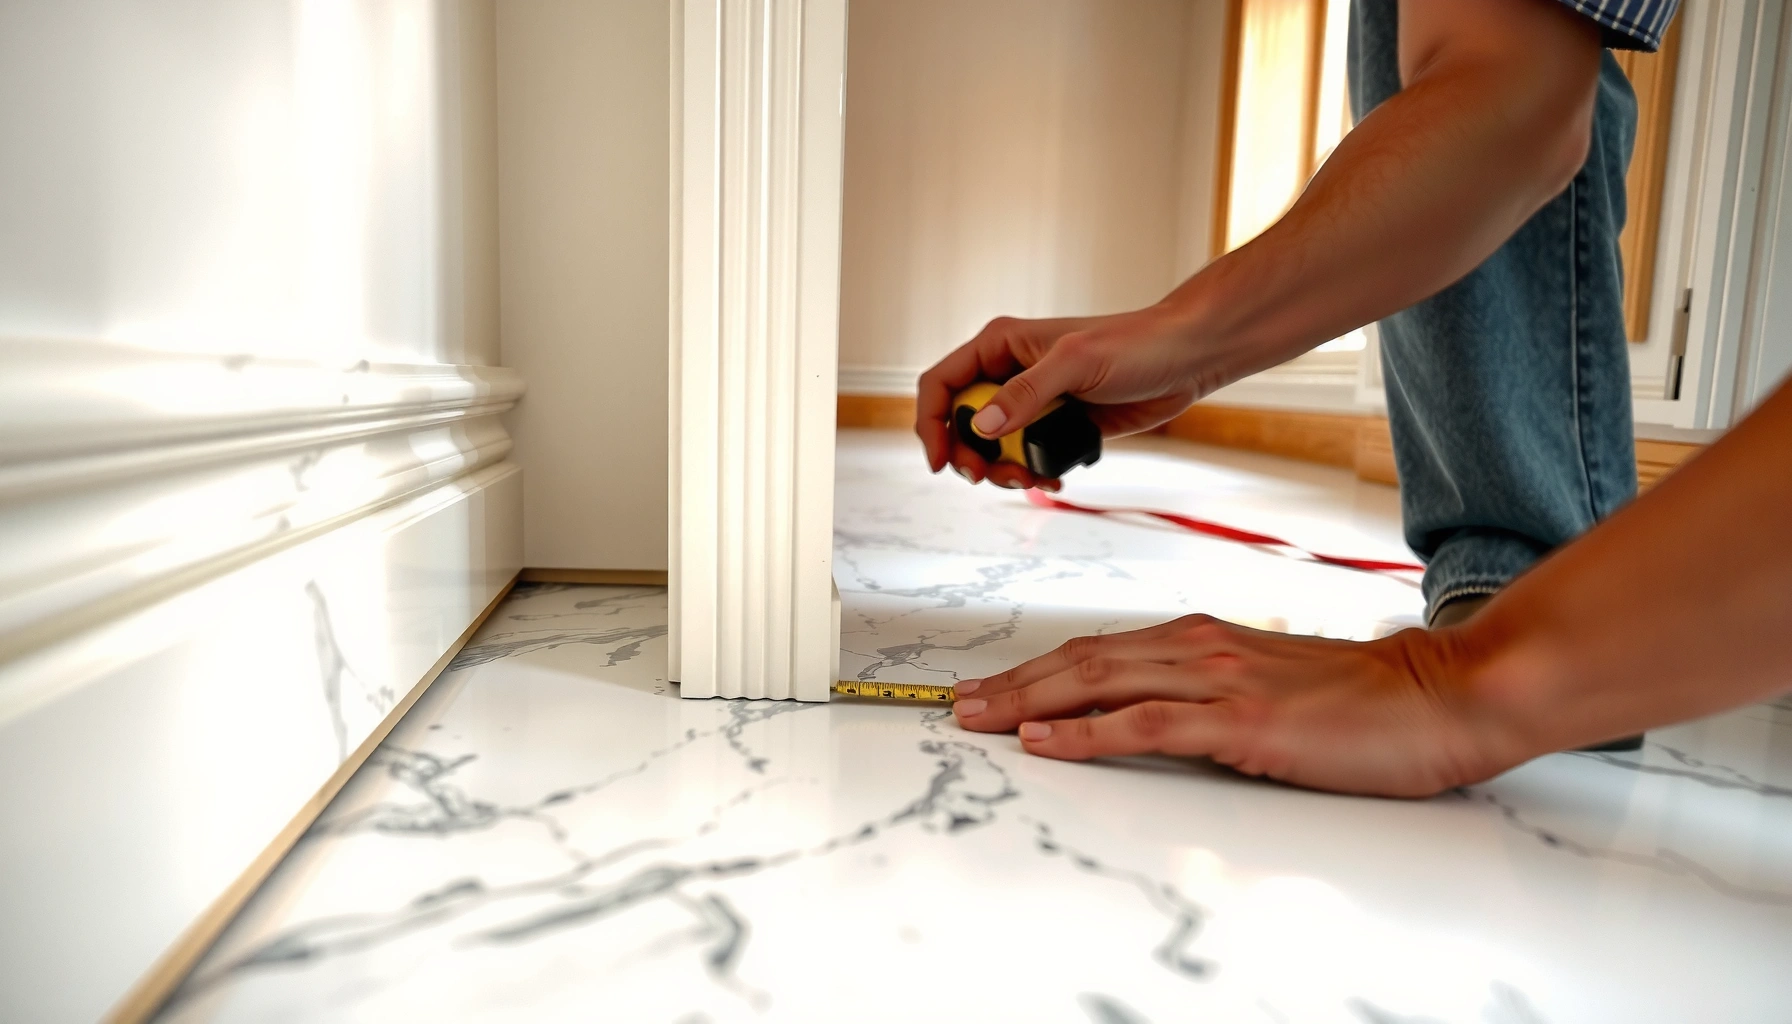

Baseboards on marble floors should be planned around controlled movement and a carefully detailed waterproof-friendly joint—because rigid contact can stress stone and trap moisture. The safest approach is to anchor trim to the wall/substrate (not the marble), prep for a clean bond, leave the correct expansion gap, and seal only the transition line you intend to move.




If you’re installing new baseboards against existing marble—or adding trim during a remodel—this guide is for you, especially when you’re dealing with uneven stone edges, tight corners, or a fear that water could get behind the trim. Below, we focus on practical steps you can execute without damaging marble, while still achieving a crisp finish.
If you’re aiming for a “contractor-straight” result, think in terms of three separate tasks that must work together: (1) stable attachment to the wall, (2) a controlled gap at the marble interface, and (3) a sealant strategy that doesn’t lock the system rigidly.
Plan the layout and protect the marble edge
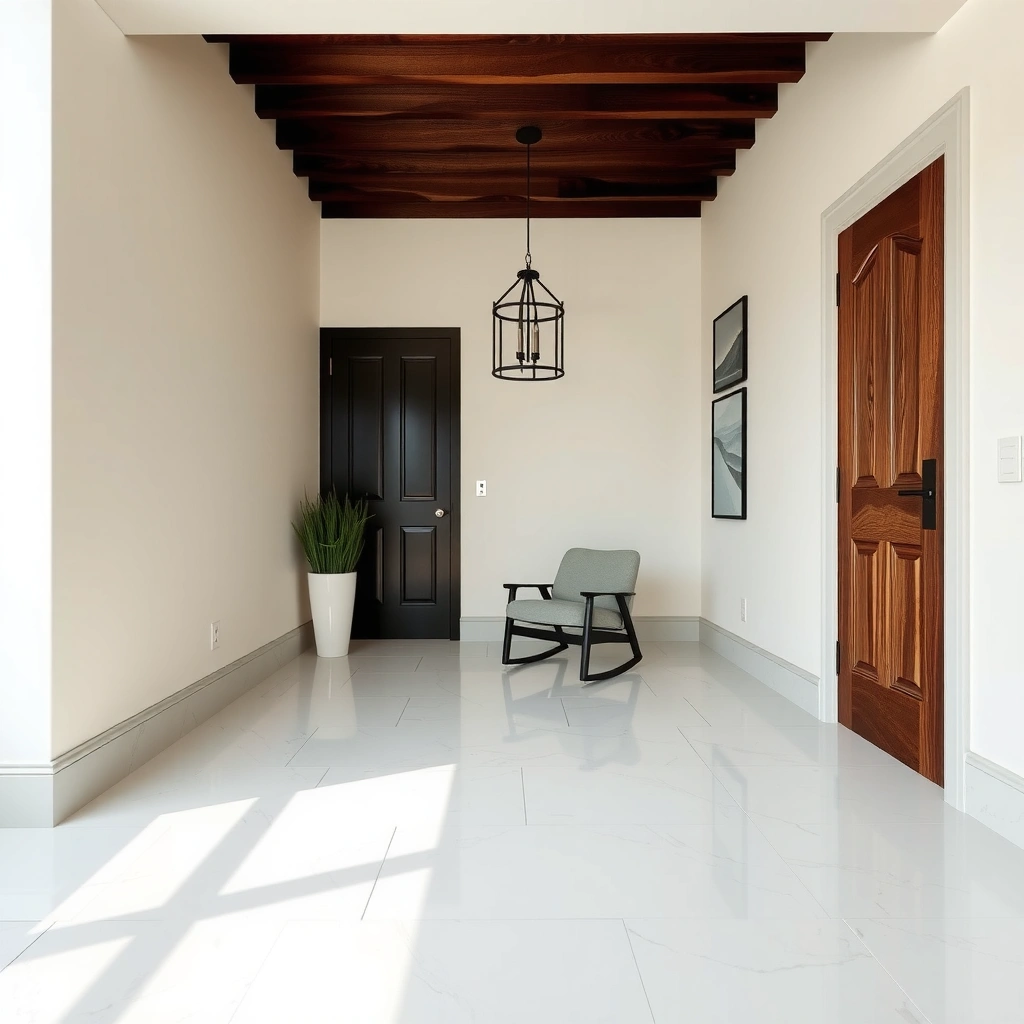
Plan first so the baseboard line stays consistent even when the marble edge isn’t perfectly uniform. Then protect the stone during cutting and fastening—marble chips easily from dropped tools and scraping contact.
“Leave the bottom joint flexible: trim should be supported on the wall, not forced into contact with stone that may be uneven or moisture-sensitive.”
“Masking and covering the marble surface prevents micro-scratches from grinder dust and dropped fasteners.”
“A careful layout reduces the need to ‘pull’ trim into place, which is one of the most common triggers for stone-edge chipping.”
– Verify your marble height/edge condition (levelness, chips, and any existing caulk or adhesive residue) before you buy materials or cut trim. Use a level and look for “rocking” along the edge—if the stone lip is proud in spots, you’ll want your baseboard line anchored to the wall and not to the marble.
– Decide whether you’ll attach baseboards to the wall (preferred) versus trying to “bridge” uneven flooring with oversized adhesive. Bridging forces the trim to act like a rigid span; in real-world movement cycles, that’s exactly how you end up with stress at the stone transition.
– Mask and protect the marble surface with painter’s tape and a drop cloth so cutting dust and tools don’t scratch or chip the stone. If you’re using a miter saw, keep a clear “no-tool zones” path and consider cardboard or a sacrificial sheet over any exposed marble at the cut line.
Prep the wall and substrate where the baseboard mounts
Prep is where this job becomes predictable: clean, stable wall surfaces make fastening and bonding reliable. When walls are dusty, painted loosely, or out of plane, the trim alignment will drift and you’ll compensate with caulk—often the wrong kind, in the wrong way.
“Adhesives and fasteners bond best to stable surfaces free of dust, paint overspray, and loose coating.”
“Moisture pathways don’t stop at the trim line; consider a moisture-compatible detailing strategy in wet-room locations.”
– Clean the wall thoroughly and remove old caulk/paint flakes so the adhesive or fasteners bond to stable material, not dust or loose coating. Vacuum thoroughly, then wipe with a method appropriate for the wall finish (a damp microfiber for many painted surfaces, followed by drying). Avoid soaking drywall.
– Check for moisture-prone areas and consider using a moisture-compatible seal system where water could migrate behind trim. Common triggers include bathrooms, kitchens with splash zones, entries with tracked-in water, and exterior-facing wall cavities.
– Address any wall irregularities so fasteners hit something solid (studs/blocking) when you’re relying on mechanical attachment. If the wall is wavy, you can scribe and shim for a straight trim line—but plan that work before you start “tight to stone.”
Choose the right attachment method (adhesive, fasteners, or both)
The most reliable approach is usually attaching baseboards to the wall/studs or blocking, then using sealant only for the bottom transition joint. This keeps stress off the marble edge and avoids rigid “locking” between two materials that move differently.
“For trim at tile or stone interfaces, anchor the trim to the wall and treat the floor-to-trim line as a controlled seal—not a clamp.”
“Construction adhesives require proper surface prep and cure conditions; following manufacturer instructions is essential for long-term bond strength.”
Attachment strategy (what we recommend in most marble edge conditions)
– For most marble floor installs, attach baseboards to the wall studs/substrate and use sealant/caulk only where needed for the floor-to-trim joint—this reduces stress on the marble edge.
– If you’re using construction adhesive, select one intended for trim/wood and follow the manufacturer’s instructions for bond strength, cure time, and surface prep.
[ADD: name of adhesive you plan to use + any manufacturer notes on marble/stone contact]
– Use fasteners where appropriate (especially for longer runs), but pre-drill/guide as needed to avoid splitting trim and keep alignment tight.
Pros/cons comparison: anchoring methods at a marble interface
| Method | Best for | Key risk near marble | Typical mitigation |
|---|---|---|---|
| Fasteners to wall | Uneven stone edges; long runs | Hitting weak substrate or misalignment | Pre-locate studs/blocking; pilot holes; shim for straight line |
| Construction adhesive | Walls that are hard to fasten | Insufficient surface prep/cure or rigid behavior | Follow cure window; keep bottom joint detail flexible |
| Adhesive + fasteners | Most remodels needing stability and alignment | Over-application and squeeze-out at the marble line | Apply beads away from the stone interface; tool any sealant cleanly |
Planning the bead and sealant line: how far one cartridge typically goes
Most baseboard transitions only need a small, controlled bead—not a thick “gap filler.” Since cartridges are commonly 10.1 oz (≈300 mL), you can estimate sealant coverage based on bead diameter.
Estimated Sealant Coverage per 10.1 oz Cartridge by Bead Size
| # | Bead diameter | Cartridge volume | Estimated length | Cartridges for 40 ft run |
|---|---|---|---|---|
| 1 | 3 mm (1/8 in) | 300 mL | ≈139 ft | 0.29 |
| 2 | 5 mm (3/16 in) | 300 mL | ≈50.2 ft | 0.80 |
| 3 | 6 mm (1/4 in) | 300 mL | ≈34.8 ft | 1.15 |
| 4 | 8 mm (5/16 in) | 300 mL | ≈19.6 ft | 2.04 |
| 5 | 10 mm (3/8 in) | 300 mL | ≈12.5 ft | 3.20 |
| 6 | 12 mm (1/2 in) | 300 mL | ≈8.7 ft | 4.59 |
| 7 | 13 mm (1/2 in +) | 300 mL | ≈7.4 ft | 5.41 |
Notes for accuracy: these are geometric estimates assuming full cartridge yield and a consistent circular bead. According to typical cartridge labeling, 10.1 oz is approximately 300 mL; [ADD: cite cartridge specification source you use]. Real yield varies by nozzle size and how you tool the joint.
Cut, fit, and install baseboards with proper gaps and sealing
Dry-fitting and gap control are what make this job look professional—and what prevent long-term problems at a stone transition. If you force the baseboard to close tight against marble, you may create point loads that chip the stone edge or pull the trim out of plane.
“Dry-fit first: a 1–2 mm mismatch at a corner becomes a visible gap after mitering and caulking.”
“A controlled gap plus correct sealant is often more durable than a rigid joint at the stone interface.”
– Dry-fit sections, mark each corner, and cut carefully—then test-fit again before final placement to avoid shaving the marble edge or forcing trim tight. Work with consistent reference points: usually the wall line, not the marble lip.
– Leave the correct small gap at the bottom edge (rather than pressing baseboard into the marble), then fill/finish the joint with a compatible caulk/sealant designed for stone-trim transitions.
[ADD: exact sealant type you plan to use and whether it’s paintable]
– For uneven stone edges, prioritize a consistent baseboard line on the wall and only adjust the trim (not the marble) to avoid stress or gaps that look inconsistent. In my day-to-day remodeling work, I’ve found that “chasing” the stone edge usually costs more time and increases the risk of chipping—especially with honed or polished marbles that show flaws more readily.
Deal with corners, transitions, and expansion considerations
Corner joints and transitions are where movement and workmanship meet—so they require both correct joinery and realistic detailing at the marble line. The goal is a joint that closes cleanly during installation and still accommodates seasonal movement afterward.
“Use a joinery method that doesn’t force the bottom edge into the stone; corners should close without clamping.”
“Avoid hard, glue-only locking methods between trim and stone where movement is expected.”
“Plan door openings and wall returns so joints have backing/support; don’t rely on caulk alone.”
– Use the right corner technique for your baseboard profile (miter vs. coped joints) and confirm the fit at the marble line so the joint closes without forcing. If the marble edge is uneven, you’ll often need to slightly tweak trim geometry rather than “persuade” the stone with pressure.
– Plan transitions at door openings, adjacent flooring, or curved walls—use backing/support as needed so joints aren’t held together by caulk alone. For transitions, consider how the sealant line will be stressed by foot traffic and cleaning.
– Account for movement: stone and trim can expand/contract, so avoid hard, glue-only “locking” methods that create stress at the bottom edge.
[ADD: any specific movement/seasonal guidance from your trim/adhesive manufacturer]
– Practical rule: if the sealant is meant to flex, your details should let it do its job (a small gap, correct depth, and tooling that doesn’t tear during movement).
What can go wrong (and how to avoid it)
Most failures are preventable because the causes are repeatable: forcing contact, skipping dry-fit, using the wrong sealant, or trying to solve wall problems with caulk. When you plan for flexibility and anchor to the wall, you reduce risk dramatically.
“Cracking and chipping near marble edges typically come from forcing trim tight or scraping stone during alignment.”
“Visible gaps usually trace back to wall/out-of-plane conditions and skipped test-fits—not a ‘bad’ caulk.”
– Cracking or chipping the marble edge: usually caused by forcing trim tight or scraping the stone during installation—keep tools clear and don’t press the baseboard into uneven gaps.
– Visible gaps or uneven caulk lines: often from skipping dry-fits, not leveling the wall line, or using caulk that shrinks—always test-fit and use the right sealant for your joint size.
– Moisture trapped behind the trim: can happen if you completely seal every edge where moisture might migrate—follow the sealant/system intent described in the manufacturer instructions.
[ADD: your room type (bathroom/kitchen/entry) and what moisture risk you’re addressing]
– Also confirm whether your marble is honed, polished, sealed, or porous; detailing choices should match the stone’s finish and local humidity cycles.
Verdict / tip: a reliable approach, but only if you follow the joint rules
If you attach baseboards to the wall and treat the bottom edge joint as a controlled, flexible seal, you’ll reduce the risk of damaging marble and getting messy cracking caulk later. The downside is that you may still need to do careful touch-up filling and precision caulking to get a clean finish—especially against naturally uneven stone edges.
This approach is best for DIYers who are comfortable measuring accurately, dry-fitting corners, and doing neat, consistent caulk tooling. If your marble edge is severely chipped, the wall is very out of plane, or you suspect a moisture condition that needs engineered treatment, consider getting a pro to assess the substrate and layout first.
Quick checklist (save this)
– Protect marble with tape/drop cloth before cutting/fastening
– Clean wall surface fully; remove loose residue
– Attach baseboards to wall (studs/substrate) when possible
– Leave a small gap at the marble-to-trim joint
– Seal with a compatible caulk meant for trim/stone transitions
– Dry-fit corners and transitions before final install
– Touch up caulk only after alignment is locked
FAQ
Should baseboards be caulked at the bottom edge on marble floors?
Usually, yes—use a sealant compatible with both your trim and the marble transition, and don’t press the baseboard into the stone. Leave the intended small gap first, then finish neatly.
Can I glue baseboards directly to the marble?
In most cases, no. Baseboards should be secured to the wall/substrate; bonding directly to marble can fail due to surface conditions and can create stress that contributes to cracking or separation.
What if the marble floor edge is uneven?
Prioritize alignment on the wall and adjust the baseboard/its joint details rather than forcing trim to “clamp” the marble edge. Expect some caulk detailing afterward.
What caulk is best for marble-to-trim joints?
Pick a caulk/sealant rated for the intended surfaces and joint movement, and follow the manufacturer’s instructions for paintability and cure.
[ADD: the exact sealant brand/type you plan to use, once you choose it]
Miter or coped corners—what works better near stone?
Either can work, but the “right” choice depends on your baseboard profile and room geometry. The key is dry-fitting until the joint closes cleanly without pushing into the marble edge.
Sources
– Follow the adhesive/sealant manufacturer’s installation instructions for surface prep, recommended substrates, cure time, and compatibility with stone/trim materials. [ADD: your chosen product’s official spec sheet/installation guide]
– Use guidance from your baseboard/trim manufacturer (or the lumber/trim material standard) for fastening methods, spacing, and movement considerations. [ADD: trim manufacturer spec/documentation if known]
– For general best practices on caulking/sealing joints, rely on the sealant manufacturer’s published application data (joint size, tooling, and paint compatibility). [ADD: exact sealant documentation if known]
Frequently Asked Questions
How do I prepare marble floors before installing baseboards?
Start by cleaning the marble thoroughly and removing all dust, wax, or adhesive residue so baseboard adhesive or caulk bonds properly. Check the marble surface for level—any high spots can prevent a tight baseboard fit. If the floor has gaps at the wall, fill or grout them to create a consistent mounting line, then let everything cure fully before installation.
What is the best way to attach baseboards to walls when the floor is marble?
For marble floors, it’s usually best to anchor baseboards into wall studs or blocking and use a construction adhesive designed for trim installation to improve contact. Avoid heavy reliance on adhesives that may squeeze or spread onto the marble surface; keep adhesive and caulk lines controlled. Use a backer rod or painter’s tape as a guide so the caulk joint stays neat and minimizes risk of smear on polished stone.
Which caulk and gap size should I use between marble floors and baseboards?
Use a high-quality, paintable caulk compatible with stone and trim materials, such as a siliconeized or acrylic-latex product labeled for flooring/trim joints. Marble floors can have micro-movement and seasonal expansion, so maintain a small, uniform caulk gap rather than forcing the baseboard tight to the marble edge. A consistent joint also helps prevent cracking and reduces the chance of moisture infiltration behind the baseboards.
How do I cut and fit baseboards at corners and against marble thresholds?
Measure carefully and dry-fit each section before final installation, especially at inside/outside corners where marble may have slight irregularities. For corners, use miter cuts for clean seams and pre-check the fit against the wall before fastening. If the marble line isn’t perfectly square, consider using a flexible caulk joint and fine sanding of trim edges to achieve a tight, professional look without stressing the marble.
Why should I avoid nailing directly into marble when installing baseboards?
Nailing or drilling into marble can crack the stone, create chip-outs, and leave permanent damage that’s expensive to repair. Instead, fasten baseboards to the wall structure and treat the marble-to-trim interface as a controlled caulk or expansion joint. This approach protects your marble flooring finish and helps the baseboards move safely with changes in temperature and humidity.
📅 Last Updated: October 09, 2026 | Topic: How to install baseboards with marble floors? | Content verified for accuracy and freshness.
References
- Google Scholar Google Scholar
https://scholar.google.com/scholar?q=install+baseboards+on+marble+floor - Google Scholar Google Scholar
https://scholar.google.com/scholar?q=natural+stone+flooring+baseboard+expansion+gap+sealant - Google Scholar Google Scholar
https://scholar.google.com/scholar?q=marble+floor+trim+installation+guidelines - Baseboard
https://en.wikipedia.org/wiki/Baseboard - Marble
https://en.wikipedia.org/wiki/Marble - Natural Stone Institute – Stone Industry Resources From The Leading Association Natural Stone Ins…
https://www.marble-institute.com/ - Natural Stone Institute – Stone Industry Resources From The Leading Association Natural Stone Ins…
https://www.naturalstoneinstitute.org/ - https://www.tile-assn.com/
- Caulk
https://en.wikipedia.org/wiki/Caulking - Expansion joint
https://en.wikipedia.org/wiki/Expansion_joint