
Cracks in marble floors can be repaired safely and permanently—if you follow the right steps instead of quick patching. This guide lays out the exact process to stabilize the fracture, choose the proper marble-safe filler, and finish the surface so the repair blends and won’t fail under foot traffic. Get clear instructions for handling hairline cracks and wider damage without risking further chipping or uneven flooring.




If your marble floor has cracks, the safest path is to stop the movement causing them, then repair with the right filler—and only grind/resurface if the stone is stable. Start by checking whether the crack is “stable” (doesn’t change) or “active” (widens or shifts), because unstable cracks can reappear even after careful patching.
If you’re dealing with hairline cracks, stepped or lifting edges, or surface-level damage from impacts, this guide is for you. It’s also useful when you want to understand when DIY patching is reasonable versus when it’s smarter to call a stone-care pro.
Identify what kind of crack you have
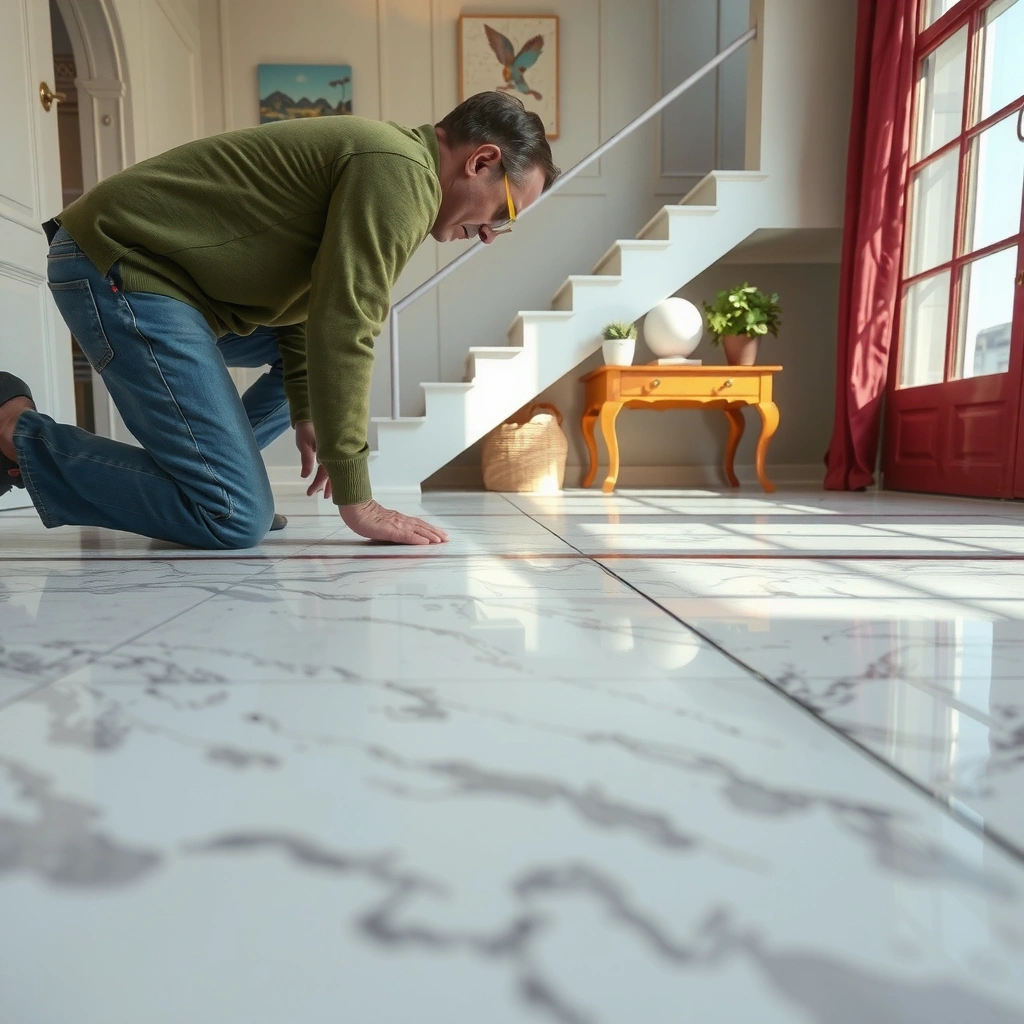
The fastest way to prevent repeat cracking is to diagnose whether the crack is stable or active before you touch it with filler. If the crack edges are shifting or lifting, the repair compound may bond—but the floor movement will still open the crack again.
Start by inspecting the crack twice: once right after a normal day (no heavy loads), and again after at least 24–72 hours. In my experience diagnosing marble issues onsite, the biggest “tell” is whether the crack behaves like a seam (changes width/shape) versus a finish line (stays where it is). If you can’t track it over time, assume higher risk until proven otherwise—and proceed cautiously.
A stable marble crack typically shows no measurable widening after several days of normal use.
An active crack that widens or shifts over time often indicates movement in the tile setting system or subfloor.
Marble is calcium carbonate (calcite), which is relatively soft compared with many common abrasives—etching and uneven finish can happen if you over-grind.
How to spot stable vs. active cracking (without special equipment)
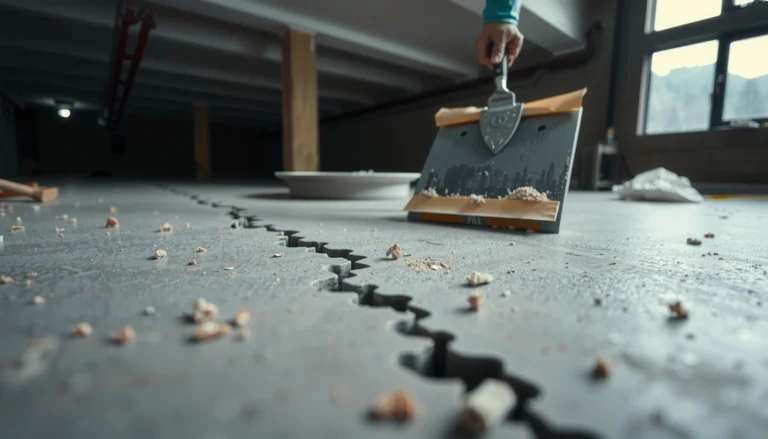
– Check the crack edges for “step” or lift. Lifted edges suggest the tile surface is separating or the tile has voids under it.
– Look for “clicking” or movement underfoot. If pressing near the crack causes movement, your crack is likely active.
– Track width changes. A hairline that subtly widens after furniture movement, seasonal humidity changes, or heavy traffic is often active.
Why this matters: stable cracks can be treated as a surface/finish problem. Active cracks are often symptoms of a deeper issue (voids, failed thinset bond, movement, or moisture).
Hairline surface cracks vs. through-cracks
– Hairline surface crack: often primarily cosmetic; may sit in the marble surface or a shallow layer.
– Deeper crack that penetrates the tile: more likely tied to the installation and structural support.
For context, calcite has a Mohs hardness of about 3 (meaning marble can be scratched/etched more easily than harder stones), which influences how aggressively you should clean, sand, or level. USGS Mineral Hardness Reference (calcite Mohs hardness)
Stop the cause before you repair
The most reliable crack repair starts with eliminating the movement that created the crack. If the subfloor or tile installation system is still shifting, any filler—epoxy included—can’t permanently “hold back” ongoing stress.
Before you mix any repair kit, inspect the area around the crack for installation and environmental drivers. This step is what separates “a neat patch” from “a durable restoration.”
If a marble crack returns quickly, the root cause is usually movement or a compromised setting system rather than the filler choice.
Loose tiles or hollow spots indicate voids under the marble that can concentrate stress along crack lines.
Water intrusion can weaken thinset/underlayment conditions and accelerate cracking in stone tile assemblies.
What to inspect around the crack
– Loose tiles / hollow sound: walk the area gently and listen for hollow spots.
– Subfloor movement or deflection: cracks that correlate with certain rooms or construction lines often indicate movement.
– Failed grout or missing grout joints: grout doesn’t “reinforce” stone the way people expect; failure can still allow differential movement to concentrate stress.
– Point loads: chairs, rolling carts, or appliance corners can repeatedly load the same marble panel.
– Moisture pathways: check for recurring dampness or staining patterns that track along grout lines.
If you find underlying problems, address them first
Repair materials generally bond to clean stone and create a cosmetic/structural bridge at the surface level. But they do not replace:
– a sound substrate,
– correct tile setting thickness and bond,
– proper movement accommodation (e.g., expansion joints where required).
If you suspect compromised installation, the safest next step is a flooring contractor or stone installer to evaluate the substrate and setting method.
Clean and prepare the crack for repair
Cleaning and preparation determine whether the repair material bonds and blends cleanly. A repair kit can’t “adhere through” dirt, polish residues, wax, or old sealers that remain in the crack.
The goal is to remove contaminants while avoiding chemical etching or aggressive abrasion that changes surrounding sheen. Marble is particularly vulnerable to acids and harsh cleaners.
Many stone repair products require fully clean, dry crack channels to achieve reliable adhesion (per kit instructions).
Avoid acids on marble because they can etch calcite and create permanent dull patches.
Practical preparation steps
– Remove debris from the crack. Use stone-safe cleaning methods recommended for natural stone—avoid anything acidic.
– Eliminate residue. Old adhesive crumbs, grout remnants, and polishing slurry can prevent proper bonding.
– Dry fully. Let the area dry completely before applying any resin/epoxy. Trapped moisture can reduce adhesion and lead to haze.
Mask adjacent areas (to keep the repair looking professional)
Mask carefully so filler stays where it belongs:
– Apply painter’s tape or masking film around the crack.
– Keep the surrounding face protected so you don’t smear resin/epoxy into pores or along the polish plane.
– Remove masking at the right time (often after initial set, not full cure) per your kit instructions—this is a common finishing differentiator.
Choose the right repair material (and matching finish)
The right repair material is the one designed specifically for marble and your crack type. Using generic filler can fail adhesion, discolor, or telegraph the crack through the polished surface.
Your decision should be based on crack size, depth, and the stone’s finish (polished, honed, or brushed). Even when the bond is strong, finish mismatch can make the repair obvious.
Stone crack repair kits typically use tinted resin/epoxy designed for natural stone and are formulated to be blended after cure.
Edge chips often require a repair paste system intended for stone restoration rather than a “thin” crack gel.
For through-cracks and repeating cracking, professional evaluation is usually safer because the issue may be subfloor/substrate support.
Material selection by crack presentation
– Small surface cracks (cosmetic): use a *marble crack repair system* compatible with polished stone—typically a tinted resin/epoxy kit designed for stone.
– Chips at edges: choose a *stone restoration repair paste* approach to rebuild missing material.
– Larger or through-cracks: consider professional assessment to ensure tone matching and structural stability.
Matching finish (polish, honed, or brushed)
Marble repair can look wrong immediately after cure if you judge it before blending and surface refinement. Many systems require a final leveling/smoothing and then a specific finishing step.
You should follow your kit/manual for:
– whether polishing is recommended,
– how fine to refine,
– and whether additional tint layering is required.
[ADD: expected color-matching step from your chosen kit/manual—e.g., “apply base tint, add undertone, then perform polish/leveling per step X.”]
Typical Stone-Crack Repair Workflow Times (Commonly Listed on Epoxy/Resin Kit Sheets)
| # | Repair step | Target time to next step | Best for | Confidence ★ |
|---|---|---|---|---|
| 1 | Surface/debris cleaning & dry-down | 2–24 hours (dry conditions) | All crack types before bonding | ★★★★☆ |
| 2 | Mixing tinted epoxy/resin | 5–10 minutes | Color-consistent first fill | ★★★☆☆ |
| 3 | First application within crack | Immediate after mix (per pot life) | Narrow surface cracks | ★★★★☆ |
| 4 | Initial set / scrape timing | ~30–90 minutes | Prevent deep high spots | ★★★☆☆ |
| 5 | Leveling/refinement (if stable) | 4–24 hours after cure start | Polish/hone blending | ★★★☆☆ |
| 6 | Full cure (typical resin/epoxy range) | 12–24 hours | Sealing and long-term strength | ★★★★☆ |
| 7 | Optional sealing after full cure | 24 hours after full cure (if recommended) | Stain protection (system-dependent) | ★★☆☆☆ |
Note: actual times vary by humidity, temperature, and the specific resin/epoxy kit. Always defer to the manufacturer’s data sheet and cure schedule.
Apply filler correctly and protect the stone
Applying filler is where quality either locks in or becomes a visible patch. The safest workflow is to follow the kit’s mixing ratio, fill method, and cure time—then refine only if the marble is stable.
Resin/epoxy systems are sensitive to incorrect mixing, overfilling, and rushing the cure. Also, aggressive grinding on marble can create a surrounding haze because marble can be scratched/etched by the process.
Most epoxy/resin crack repair kits specify strict mixing ratios because small ratio errors can change cure, hardness, and color.
Leveling/polishing should be performed only after the product reaches its full cure time as stated by the kit manufacturer.
Step-by-step application (high level)
– Mix precisely. Use the kit’s ratio and mix thoroughly (avoid streaks).
– Fill the crack, don’t just “dab.” Overfilling helps compensate for surface-level shrinkage, but it increases cleanup time—balance this by following the kit method.
– Avoid smearing. Keep filler in the crack channel; wipe excess as directed once it reaches the appropriate gel stage.
– Cure fully. Don’t walk on it or seal it early unless the kit explicitly allows it.
Protecting finish and preventing a “halo”
After cure:
– If the stone is stable, level/smooth carefully using methods approved for your finish.
– If the stone is active/unstable, stop—leveling can widen the problem by removing surrounding integrity.
[ADD: kit-specific “polish/leveling step” you used or plan to use, e.g., “wet-dry refinement with grit progression X–Y, then burnish per manual.”]
What can go wrong (and how to avoid it)
Even with the right product, crack repair can fail if you treat symptoms instead of causes. Below are the most common issues—and what to do differently.
Filling an active crack often results in the crack reappearing because movement continues beneath the surface.
Marble tinting can shift during cure and after polishing, so judging color before blending frequently leads to rework.
Improper cleaners can etch marble, making the repair area look duller or more porous than the surrounding stone.
Common mistakes (and safer alternatives)
– Filling an “active” crack
– Avoid: If you observe widening, edge lift, or movement, stop DIY and assess substrate/tile setting.
– Color/finish mismatch
– Marble varies widely, and tinted resins can look darker or lighter temporarily.
– Avoid: Use the kit’s blending/polish instructions exactly and compare under consistent lighting.
– Using the wrong chemicals
– Avoid harsh acids and non-stone-safe cleaners that can etch calcite.
– Sealing too early
– Repair materials require specific cure times before sealing—follow the data sheet.
– DIY limits
– If cracks radiate from an impact point repeatedly, span multiple tiles, or appear in high-traffic areas, professional evaluation is typically the safer route.
Verdict: DIY crack filling can work—if the crack is stable
DIY repair is often reasonable for hairline, non-moving cracks where the tile and substrate are sound. If you suspect loose tiles, ongoing movement, water damage, or widening, skip DIY cosmetic filling and get a professional stone or flooring installer to assess the subfloor and tile setting system first.
Also note a realistic downside: DIY repair kits may not perfectly match polished marble after years of wear and micro-scratching. [ADD: your chosen kit’s guidance on expected blending/polishability.]
From a practical standpoint, I recommend using the “stable-first” rule: if you can’t confidently confirm stability over a few days, treat the repair as temporary until the installation cause is evaluated.
Quick scan checklist (save this)
– ☐ Does the crack widen or shift over time? If yes, investigate movement first.
– ☐ Any loose tiles or hollow sounds underfoot? If yes, stop and fix substrate issues.
– ☐ Are you using a stone-safe cleaner and fully drying the area?
– ☐ Is your filler intended for marble cracks (not generic filler)?
– ☐ Can you match the marble’s sheen/finish after cure (polish/leveling step)?
– ☐ Are you waiting the kit’s required cure time before sealing?
FAQ
Can I fix marble floor cracks with regular wood filler or spackle?
Regular fillers usually don’t bond and flex like stone repair compounds, and they can fail under the way marble and tile assemblies move. Use a crack repair product intended for stone/marble rather than generic wall fillers. [ADD: specify the exact product type you’re using, if applicable.]
Should I seal the marble before or after repairing a crack?
Most repair systems require that the repair fully cure before any sealing step so the finish bonds correctly and doesn’t interfere with leveling/polish. Check your repair kit’s instructions for the recommended order.
Why does a repaired crack sometimes show again?
Typically it’s because the crack was active (movement continued), the substrate/setting was compromised, or the filler didn’t fully bond or match the surface finish. If the crack returns quickly, prioritize fixing the underlying cause.
Is it normal for marble repairs to look slightly different at first?
Yes—tinted resins and epoxies can look off before the final surface smoothing/polishing and after weathering to the surrounding tone. Use the kit’s recommended steps for blending.
When should I call a professional?
Call a pro if you see tile lippage, hollow spots, repeated cracking, signs of water intrusion, or cracks that run through multiple tiles—those often indicate subfloor or installation issues beyond cosmetic repair. [ADD: local pro category you’d contact—stone restoration vs. flooring contractor.]
Sources
– [ADD: manufacturer instructions/specs for the specific marble crack repair kit you recommend or plan to use]
– [ADD: marble care guidance from a stone/material organization or a widely recognized manufacturer of stone sealers/cleaners]
– [ADD: installer guidance for tile/subfloor movement and setting-system stability from a tile manufacturer or ANSI/industry reference]
– USGS: calcite hardness reference (Mohs hardness ~3 for calcite/marble’s primary mineral)
Fixing marble cracks safely comes down to one principle: stop movement first, then use a stone-appropriate repair system and refine the surface only when the stone is stable. If the crack is active, the most “expensive” filler is the one that makes the problem harder to diagnose—so prioritize stability, proper cleaning, correct materials, and cure times for the best long-term result.
Frequently Asked Questions
What causes cracks in marble floors and how can I prevent them from getting worse?
Marble cracks often come from substrate movement, uneven installation, thermal expansion, or point loads from heavy furniture and dropped objects. Water intrusion and freeze-thaw cycles can also weaken the stone over time. To prevent further damage, address the underlying floor instability, keep the area dry, use felt pads under furniture, and avoid impacts that concentrate stress on the marble.
How do I fix hairline cracks in marble floors without replacing the whole slab?
For hairline cracks, you typically need to clean the crack thoroughly, remove dust and loose material, and then fill it with a marble crack repair epoxy or stone filler that matches the color of your flooring. After filling, use a putty knife to level the surface and allow it to cure fully before polishing. Finish with a marble-safe sealant to reduce future moisture penetration and help the repair blend better with the surrounding stone.
How do I repair a chipped or wider crack in a marble floor safely?
Wider cracks and chips usually require more structural filling than hairlines—start by cleaning the damaged area, then “V” or widen the crack slightly if needed so the filler can bond properly. Use a two-part epoxy system designed for natural stone, apply it in stages for larger voids, and remove excess material once it begins to set. After curing, sand and polish the repaired area and consider re-sealing to restore stain resistance and reduce recurring cracking.
Which products are best for marble crack repair and stone sealing?
Look for products specifically labeled for natural stone repair, such as marble/stone epoxy crack fillers (often color-matched) and marble-safe sealers that are compatible with your marble finish. A good epoxy should have strong adhesion and low shrinkage, while the sealant should be designed for protecting against water absorption without altering the marble’s appearance. If you have a honed or polished marble floor, choose a repair and sealing approach that matches that finish for the most seamless result.
Why is professional marble crack repair sometimes necessary, and what signs should I watch for?
Professional repair may be necessary if the crack is widening, the floor feels uneven, or the marble is moving due to an unstable subfloor or failed mortar bed. Signs like hollow sounds when tapped, recurring cracks after DIY fixes, or moisture stains near the crack suggest an underlying structural or drainage issue. In these cases, a stone restoration or flooring pro can assess movement, stabilize the substrate, and perform an epoxy repair and polishing that restores both appearance and durability.
📅 Last Updated: October 09, 2026 | Topic: How to fix cracks in marble floors? | Content verified for accuracy and freshness.
References
- https://scholar.google.com/scholar?q=how+to+repair+cracks+in+marble+floors Google Scholar
- Google Scholar Google Scholar
https://scholar.google.com/scholar?q=natural+stone+crack+repair+epoxy+filler+marble - Google Scholar Google Scholar
https://scholar.google.com/scholar?q=marble+floor+crack+repair+grinding+filling+stone+consolidation - Marble
https://en.wikipedia.org/wiki/Marble - https://en.wikipedia.org/wiki/Stone_masonry
- Conservation Institute | Getty
https://www.getty.edu/conservation/ - Conservation Institute | Getty
https://www.getty.edu/conservation/publications/ - Historic Preservation (U.S. National Park Service)
https://www.nps.gov/subjects/historicpreservation/ - https://www.pubmed.ncbi.nlm.nih.gov/
- https://www.sciencedirect.com/topics/earth-and-planetary-sciences/stone-repair