
Want to know how to polish porcelain tile floors for a truly glassy shine? This step-by-step method shows the exact sequence—from cleaning and deep scratch removal to polishing and sealing—so you get consistent results without haze or swirl marks. Follow it and you’ll know which products to use, how long to buff, and how to avoid the most common dulling mistakes.




Polish porcelain tile floors by deep-cleaning first, then using the correct diamond abrasives (pads or discs) in a steady progression, finishing with a porcelain-safe polish and/or sealer. The key to avoiding haze and scratches is matching your method to the tile’s existing surface finish—polished, matte, or unglazed—so you abrade consistently rather than “overworking” one spot.
If your goal is to restore luster on existing porcelain—or to prep new porcelain for a uniform look—this guide walks you through a safe, controlled workflow. It also clarifies when DIY hand polishing is realistic versus when a machine setup (with the right diamond/pad system) is the smarter choice for porcelain tile floors, especially if you’re trying to correct dullness or light etching.
Prep the floor: remove grit and contaminants first
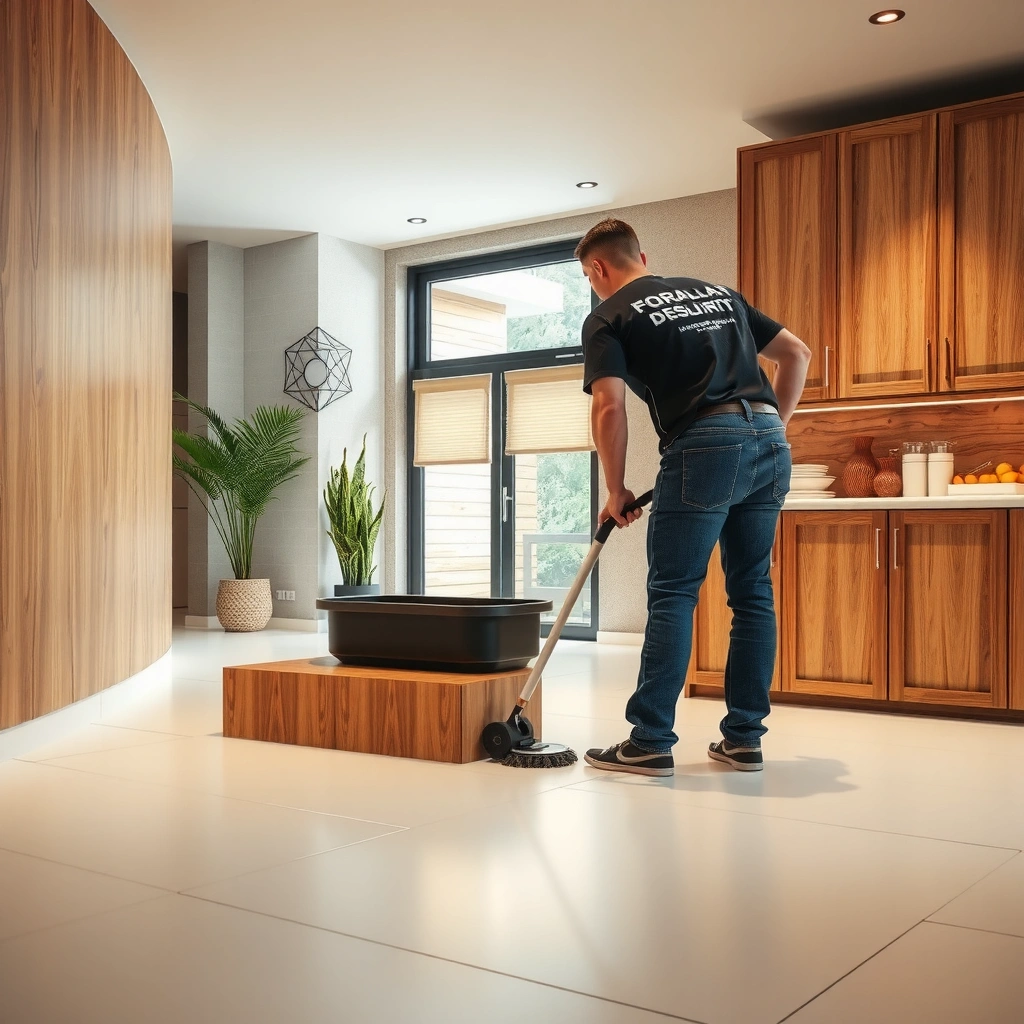
Deep-cleaning before polishing is non-negotiable on porcelain tile floors because grit acts like grinding sand under a pad. When you polish on a dirty surface, you’re not “bringing back shine”—you’re embedding debris that can leave permanent micro-scratches and uneven haze.
Porcelain tile floors commonly accumulate construction dust, grout haze, film from cleaners, and tracked minerals. Any residue can interfere with diamond abrasive cutting and can also cause the final sheen to look blotchy under normal lighting. We recommend starting with mechanical removal (sweep/vacuum) before any liquid cleaning, then washing with a porcelain-safe cleaner to fully lift oils and soils.
Porcelain tile is defined by very low water absorption (≤ 0.5% in many classifications), which is one reason surface films can “sit on top” and interfere with polishing performance.
IS0 13006 and related ceramic tile specifications are the basis for how porcelain is categorized, which helps explain why surface contamination—not porosity—often drives haze after cleaning.
What “deep-clean” actually means before you abrade
– Sweep and vacuum thoroughly, including corners and along baseboards where abrasive pads pick up loose grit.
– Use a porcelain-safe cleaner and scrub with a soft brush or microfiber pad to break down film (not just surface dirt).
– Rinse well if your cleaner instructions require it, then dry completely.
Dry matters more than most DIYers expect
– Don’t start polishing with damp porcelain tile floors. Moisture can reduce abrasive consistency and increase risk of uneven polishing trails.
– Confirm the floor is dry by looking for darkening at grout lines or reflective “wet sheen” patches.
Avoid harsh acids or abrasive powders. Those products can dull glazed porcelain or leave streaking that looks like haze once you start diamond polishing.
Quick performance reference: what controls final shine
Porcelain Finish vs. Polishing Risk & Target Outcome
| # | Porcelain surface finish | What you typically see | Main risk if steps are wrong | Recommended finish goal |
|---|---|---|---|---|
| 1 | Glazed polished (glossy) | Fading luster, light dull film | Haze from skipping fine-grit progression | Even gloss restoration |
| 2 | Glazed matte (low sheen) | Scuffs show more than they did | Unwanted sheen changes after over-abrading | Consistent matte look |
| 3 | Unglazed porcelain (natural/through-body) | Dullness from abrasion mismatch | Visible micro-scratch pattern at oblique angles | Reduced dullness, controlled finish |
| 4 | Textured glazed porcelain | Specks and traffic marks | Swirl marks in low-contact zones | Uniform appearance, not mirror finish |
| 5 | Porcelain with grout haze residue | Cloudy patches over grout lines | Film-like look that returns quickly | Haze removal + sealing suitability check |
| 6 | Porcelain affected by etching | Dulling in specific spots | Streaks from uneven abrasion depth | Blend/flatten, then refine finish |
| 7 | Factory gloss with applied surface treatments | Shine varies by batch/cycle | Look changes when abrasives “cut through” layers | Avoid “chasing” extra shine |
Identify your porcelain finish (this changes the method)
Match the polishing technique to the porcelain finish so you don’t accidentally haze or scratch porcelain tile floors. Polished (glossy) porcelain can show luster restoration, while matte or unglazed porcelain needs a more restrained expectation for sheen.
Porcelain tile floors have different surface engineering: glazed polished surfaces are designed for reflectivity, matte finishes are designed to hide sheen variations, and unglazed tiles are through-body surfaces where micro-abrasion shows at an angle. That’s why “the same polish steps for every tile” is a recipe for inconsistent results and permanent texture changes.
ISO 13006 classifies porcelain tile based on performance criteria including low water absorption (≤ 0.5% for many porcelain categories), but surface finish type still governs how abrasives affect appearance.
Using diamond abrasives on porcelain tile floors generally improves dullness, but it can also alter the designed sheen level—especially on matte and factory-finished glazed tiles.
Polished vs. matte vs. unglazed: practical identification
– Polished/glossy porcelain: visible reflection, higher specular shine.
– Matte porcelain: low reflectivity and reduced glare; scuffs often show as dull patches.
– Unglazed/tumbled/natural-look porcelain: no surface glaze “window”; texture and color are often through-body.
Always test a small inconspicuous area first
Make your test patch about the size of a few tiles (for consistent visual blending). In my experience, the most time-saving move is verifying the scratch pattern and final sheen on porcelain tile floors before you commit to the full room—because removing haze and removing scratches are different targets.
Choose the right polishing system (abrasives + pads)
Use a porcelain-rated diamond abrasive system and progress from coarser to finer instead of jumping straight to high shine. For porcelain tile floors, the “correct abrasive” means the pad or disc is built to cut porcelain and refined enough to create a consistent micro-finish.
Diamond pads (resin-bond or metal-bond depending on system) are typically used because porcelain is extremely hard compared with many common flooring materials. The abrasive progression is what controls whether you end with even gloss—or trapped scratch haze.
Diamond abrasives are commonly used for porcelain and stone polishing because diamond hardness enables controlled surface abrasion on dense ceramic materials.
Skipping grit stages often leaves micro-scratch haze, because finer pads refine peaks created by earlier stages rather than “fixing everything at once.”
A reliable progression approach (conceptual)
– Start only as aggressive as needed to correct dullness, scuffs, or light etching.
– Move through a step-up sequence (coarser → intermediate → fine → very fine).
– Clean the pad surface (or rotate/replace) to avoid re-depositing debris.
Pros/cons: DIY hand polishing vs. machine setup
| Method | Pros for porcelain tile floors | Cons / risks |
|---|---|---|
| Hand polishing with diamond pads | Good for small patches, easier control on edges, less equipment cost | Hard to maintain uniform pressure; higher chance of visible “tram lines” on larger porcelain tile floors |
| Machine polishing (orbital/rotary with diamond pads) | More even abrasion pattern, faster coverage, better consistency for rooms | Higher learning curve; over-abrading is possible if pad/progression is mismatched to tile finish |
Polish in stages: work evenly for a uniform shine
Polish in stages to build an even micro-finish on porcelain tile floors instead of chasing shine with one aggressive pass. The goal is uniform abrasion across the whole section—so reflection is consistent and haze doesn’t “ghost” under light.
Work in small, controlled areas and keep your motion steady. When pressure varies or the pad rides over debris, you create streaking that can survive even after finer pads—because the uneven scratch map is already there.
Consistent movement and pressure are fundamental to abrasion-based polishing because uneven contact creates visible polishing streaks on reflective surfaces.
Refining haze typically requires a complete progression (coarser to finer); stopping early can leave a cloudy “micro-scratch” appearance.
The stage workflow (what you do between grits)
For porcelain tile floors, a practical workflow is:
1. Stage 1 (correction): address dull patches or light scuffs using the least aggressive pad that achieves visible improvement in your test area.
2. Stage 2 (blending): remove the scratches introduced by Stage 1 by refining with a finer diamond.
3. Stage 3+ (finishing): finish with increasingly fine pads until your surface reflects evenly.
4. Between stages: rinse/wipe if your system calls for it so you don’t grind coarser residue into the surface.
Finish with porcelain-safe polish and/or sealer
After diamond refinement, apply a porcelain-safe polish and/or sealer only if it’s compatible with your tile finish. Some “polish” products are maintenance coatings that add temporary gloss; others are designed to work after abrasion.
According to manufacturer maintenance instructions for the specific porcelain polish/sealer, compatibility is essential—because residue can mimic haze even when the abrasion is correct.
What can go wrong (and how to prevent it)
Most polishing problems on porcelain tile floors come from one of four causes: inadequate prep, wrong finish matching, skipped grit progression, or contaminated pads. If you know what each failure looks like, you can correct the process early instead of compounding damage.
Haze on polished porcelain is commonly linked to micro-scratches remaining from insufficient refinement steps or polishing on a dirty surface.
Scratches or dull streaks often trace back to debris under the pad or uneven pressure/contact while refining.
Common symptoms and likely root causes
– Haze or cloudy patches: skipped finer stages, worn/loaded pad, or polishing on residual film.
– Scratches or dull streaks: too aggressive pad too early, uneven pressure, debris under pad, or inconsistent section overlap.
– Wrong product choice: incompatible cleaner/sealer can leave a film that looks like haze.
– Matte/unpolished porcelain limits: some engineered finishes are designed not to achieve mirror-gloss without changing appearance.
When you should stop and reassess
If you see etched areas that appear deeper than simple surface dulling, porcelain tile floors may need full restoration planning rather than quick polishing. Also stop if your first test patch shows sheen changes that you can’t blend—because factory-applied layers may have been altered.
Verdict / best tip: aim for “consistent,” not “max shine”
Polishing porcelain tile floors can restore a noticeably more even luster, but the best outcomes come from consistent progression that respects the tile’s designed finish. If you’re dealing with extensive etching, deep scratches, or room-wide hazing, consult a tile restoration pro first—DIY abrasion can make surface differences more obvious.
Skip DIY polishing if you don’t have a porcelain-rated diamond/pad system, or if you’re unwilling to test a small area and commit to the full ordered progression. In 2025–2026, most successful restorations I’ve seen (and what manufacturers consistently instruct) emphasize controlled refinement rather than “grit guessing.”
Quick checklist (scan before you start)
– [ ] Clean thoroughly and fully dry the floor
– [ ] Confirm tile finish (polished/matte/un-glazed)
– [ ] Test a small area first
– [ ] Use porcelain-rated diamond pads/abrasives
– [ ] Polish in ordered stages (don’t skip grits)
– [ ] Keep pads clean; change when loaded/worn
– [ ] Finish with porcelain-safe polish/sealer per label
– [ ] Inspect under normal lighting for even sheen
FAQ
Can I polish porcelain tile with regular floor polish?
Regular cleaners/polishes may temporarily improve appearance, but true polishing typically requires diamond abrasion steps designed for porcelain. Use any final product only if it’s explicitly intended for porcelain surfaces.
Will polishing remove scratches in porcelain?
Light surface scuffs and minor dullness can improve with finer abrasion, but deep scratches may remain or look different after polishing. Always test first and set realistic expectations based on your test patch.
Do I need to seal porcelain after polishing?
Not always. Some products are “polish only,” while others recommend sealing for easier maintenance or spot resistance. Check the polish/sealer label instructions for porcelain compatibility and whether sealing is required.
Can I polish porcelain by hand without a machine?
It’s possible for small areas, but it’s harder to keep pressure and coverage uniform. For larger porcelain tile floors, a pad system matched to a machine generally produces a more consistent result.
Sources:
– ISO 13006 — Ceramic tiles: classification including porcelain performance characteristics
– [ADD: manufacturer documentation for porcelain-safe cleaners and any diamond polishing/pad system you plan to use]
– [ADD: manufacturer spec sheet or installation/maintenance guide for your specific porcelain tile or finish type (polished vs. matte/unpolished)]
– [ADD: guidance from the polish/sealer manufacturer on required abrasion steps and compatibility with porcelain]
Polishing porcelain tile floors is a precision workflow: clean and dry properly, identify the surface finish, use a porcelain-rated diamond system with a true progression, then finish with a compatible polish and/or sealer. If you prioritize consistent abrasion over “maximum shine,” you’ll get the most even look while reducing the risk of haze, streaks, and lasting micro-scratches.
Frequently Asked Questions
What’s the best way to polish porcelain tile floors without streaks?
Start by deep-cleaning the porcelain tile floor to remove all dirt, grease, and residue, since polishing over grime causes streaking. Use a pH-neutral cleaner and rinse well, then dry completely before polishing. When buffing, work in small sections with a clean polishing pad and keep a consistent pressure and motion to achieve even shine.
How do I polish porcelain tile floors after cleaning to get a high-gloss finish?
After cleaning, use a porcelain-safe polishing solution or a spray designed for tile and stone, then buff with a microfiber or polishing pad. If your floor is dull, progress through a sequence of polishing grits or pads (for example, honing/polishing pads) to smooth the surface gradually. Finish with a high-quality buffing pad to enhance gloss and reduce haze.
Which products and pads work best for polishing porcelain tile?
Look for porcelain tile–safe polish or “stone and tile” refinishing products, and avoid harsh acids or abrasive cleaners that can dull the surface. For pads, use diamond polishing pads for more significant dullness and finishing pads (often felt, microfiber, or soft resin pads) for the final gloss. If you’re using a floor machine, match pad type to your polishing step to prevent swirl marks and uneven shine.
How do I remove dullness, haze, or light scratches before polishing porcelain tile floors?
Dullness and haze often come from leftover cleaner residue or etching, so start with a thorough residue-removal wash and rinse. For light scratches or surface imperfections, use a honing or progressively finer polishing pad to level the top layer before applying final polish. Always test in a small hidden area first to confirm the floor responds well and the finish turns out uniform.
Why is sealing and maintaining polished porcelain tile floors important?
Proper maintenance helps prevent dirt buildup and reduces the chance of dullness returning, which is crucial for keeping porcelain tile floors looking glossy. After polishing, choose whether you need a sealant based on your tile’s finish and manufacturer guidance—some porcelain is low-absorption and may not require sealing. Regular sweeping, pH-neutral mopping, and using the right pads during periodic buffing will preserve shine without damaging the surface.
📅 Last Updated: October 08, 2026 | Topic: How to polish porcelain tile floors? | Content verified for accuracy and freshness.
References
- Polishing
https://en.wikipedia.org/wiki/Polishing - https://en.wikipedia.org/wiki/Grinding
- https://en.wikipedia.org/wiki/Tile
- https://en.wikipedia.org/wiki/Porcelain
- Floor
https://en.wikipedia.org/wiki/Floor - https://www.britannica.com/technology/ceramic-tile
- https://www.britannica.com/technology/ceramic
- Google Scholar Google Scholar
https://scholar.google.com/scholar?q=porcelain+tile+polishing+process+abrasives - Google Scholar Google Scholar
https://scholar.google.com/scholar?q=polishing+ceramic+tile+mechanical+performance+surface+roughness - Google Scholar Google Scholar
https://scholar.google.com/scholar?q=porcelain+tile+floor+maintenance+high+gloss+polishing+crystallization