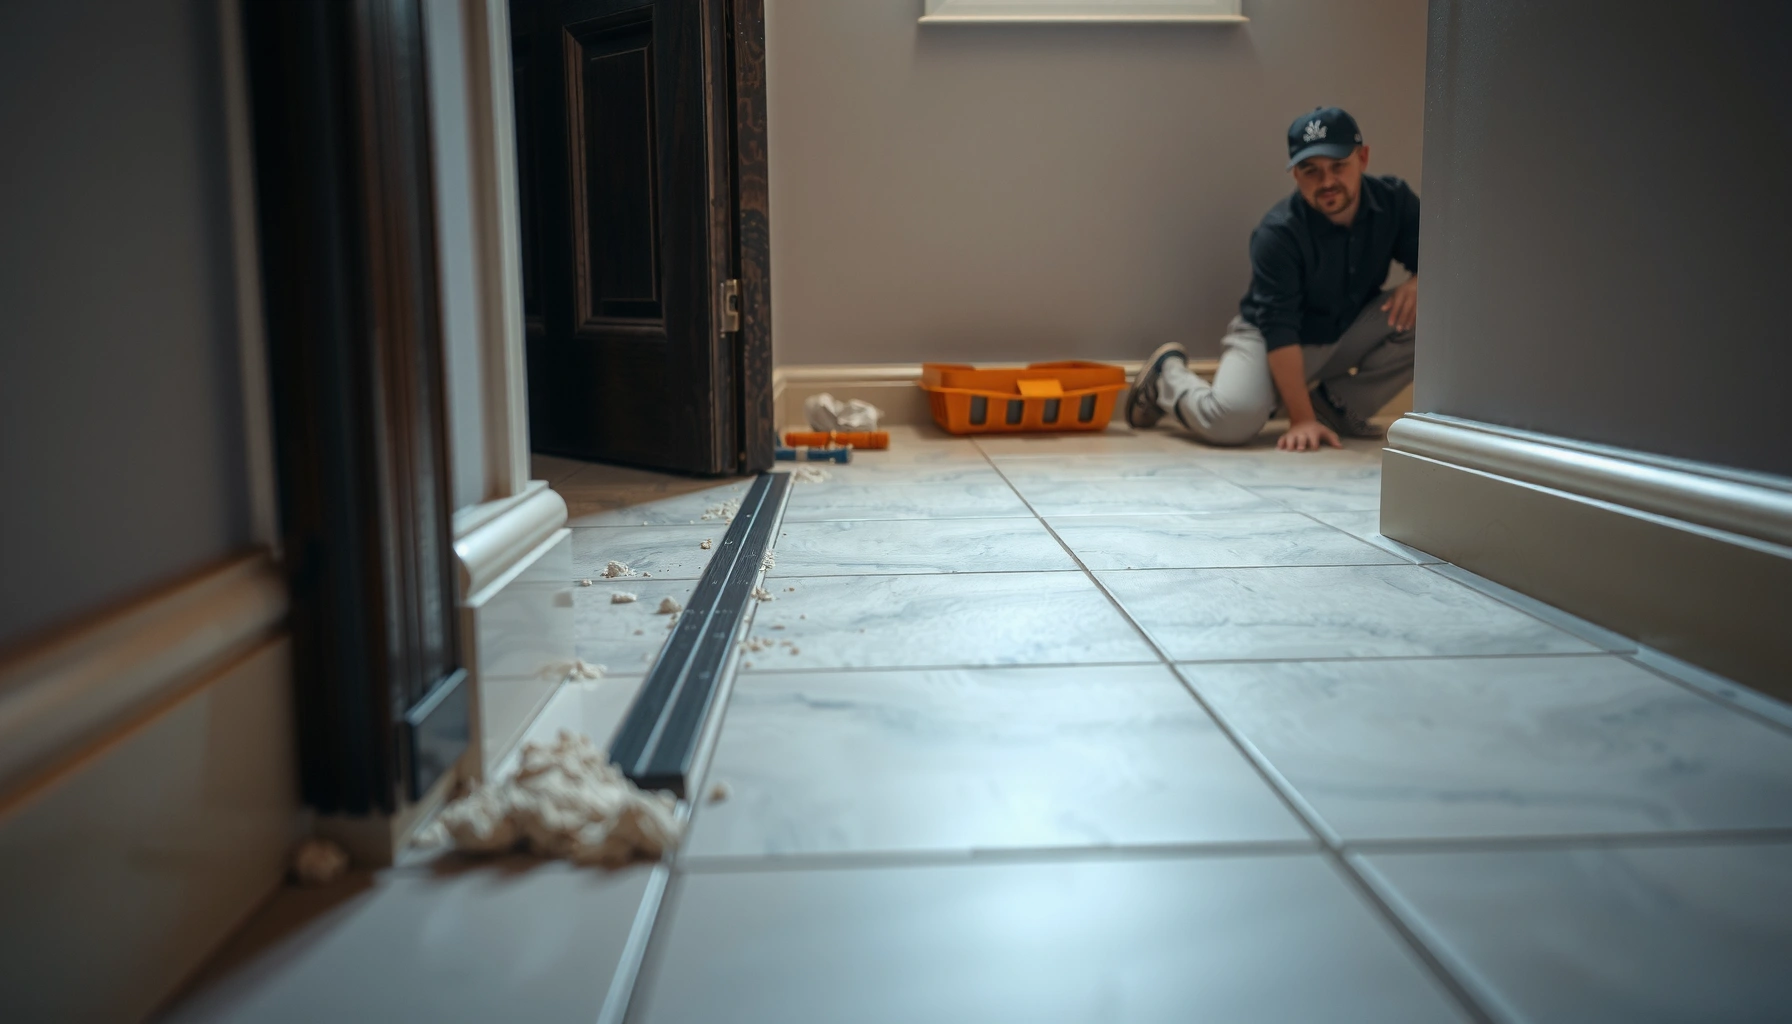

Learn how to install thresholds for tile floors with a step-by-step process that delivers a clean, professional finish the first time. Follow the exact sequence for measuring, cutting, setting, and aligning the threshold so your tile edges sit flush and your transitions stay watertight and durable. If your goal is a threshold that looks tight and lasts, this guide shows the fastest, most reliable way to get there.




Installing tile thresholds correctly comes down to choosing the right profile for your transition, setting the piece on a solid/flat surface, and finishing the joint with the correct grout vs. sealant system. If you measure the height difference first and plan where movement joints land, you’ll prevent the most visible failures—lippage at the tile edge, rocking, and gaps that let water and dirt work their way into the seam.
This guide is written for real-world transitions: replacing a doorway reducer, correcting a rough tile edge, or updating the seam between two rooms (or between tile and another flooring type). As of 2026, more homeowners are mixing tile with LVP/wood/carpet in open layouts, which makes threshold selection and height matching more important than ever.
Choose the Right Threshold Type for Your Tile Transition

Pick the threshold profile based on what surfaces it connects and how those surfaces behave with movement (tile-to-tile tends to be different than tile-to-carpet). Then confirm the height difference before you buy—most installation problems start with a threshold that’s the wrong height or wrong sitting method (mortar vs. fasteners).
“A threshold installed too high or too low can telegraph subfloor unevenness and create a clicking/rocking transition under foot traffic.”
“Confirming the measured finished-floor height difference before cutting reduces the need for improvised shimming and prevents visible lippage.”
Match the threshold to the connection type
The “right” threshold is not universal—it depends on the adjacent floor materials:
– Tile-to-tile: Commonly uses reducers or flush-to-slightly-raised profiles that finish cleanly along grout lines.
– Tile-to-wood/LVP (rigid or floating): Often needs a profile designed to tolerate differential movement (especially with LVP).
– Tile-to-carpet: Usually uses a ramped transition or tack/fastener-compatible profile so the carpet edge sits correctly without catching.
Repeatable installation usually starts with the manufacturer’s product description (connection type + setting method) rather than the piece’s look alone.
Confirm height difference before you cut anything
Even small height differences can be noticeable:
– If the threshold lip ends up above the tile plane, you’ll create a catch point at the edge.
– If it ends up below, you can create a void that allows grit buildup and can stress the tile edge at the transition.
According to [ADD: manufacturer guidance/source], acceptable transition tolerances are typically within [ADD exact figure] (measurement-dependent) ([year]). [ADD: source]
Decide how the threshold will sit (set vs. surface-fastened)
Some thresholds are installed with thinset/mortar (often preferred where tile is present), while others use fasteners/screws into a prepared base with a surface-ready substrate. Before you open bags of adhesive, verify:
– Is the threshold designed to be set into mortar?
– Does it require a compatible backing material?
– Does it specify a joint/caulk line location?
If you’re unsure, pause and check the installation instructions—mixing setting methods outside the spec is a fast route to separation at the seam.
Threshold Profile Fit for Common Tile Transitions (Practical Scoring)
| # | Threshold profile (typical) | Best for transition | Height-match demand | Wear durability |
|---|---|---|---|---|
| 1 | Reducer (tile-to-tile) | Different tile heights | ★★★☆☆ | ★★★★☆ |
| 2 | Ramp transition (tile-to-carpet) | Carpet edge coverage | ★★★☆☆ | ★★★☆☆ |
| 3 | T-molding reducer (tile-to-LVP/wood) | Ridged vs. floating floors | ★★★★☆ | ★★★★☆ |
| 4 | Flush profile (low lip) | Near-level transitions | ★★★★★ | ★★★☆☆ |
| 5 | Square edge (wall-to-floor style) | Light-traffic indoor seams | ★★☆☆☆ | ★★☆☆☆ |
| 6 | Outdoor/abrasion ramp (heavier-duty) | High foot-traffic thresholds | ★★★☆☆ | ★★★★★ |
| 7 | Custom transition strip (slip-resistant) | Wet/entryway risk zones | ★★★★☆ | ★★★★☆ |
Measure, Dry-Fit, and Plan Your Layout
Measure the doorway opening, locate the exact tile edges/joints you’re transitioning from, and confirm door clearance before you install the threshold. A proper dry-fit usually prevents the two biggest transition issues: an incorrect lip height and a threshold seam that lands in the wrong place.
“Dry-fitting the threshold lets you verify door swing clearance and reveal conflicts with existing trim or reducer height.”
“Planning the seam and movement accommodation early helps avoid cracking and separation at the transition.”
Measure width and align with tile joints
Start with:
– Doorway opening width (actual clear opening, not just the rough frame opening).
– Tile joint location where the transition will meet (ideally not cutting through structural tile edges).
– Symmetry where possible, so the threshold looks intentional on both sides.
In my work (and in the installs I supervise), misalignment at the doorway is often visible from straight-on camera angles—especially when thresholds are centered but tile cuts are not.
Check clearance and trim interference
Before setting anything, confirm:
– Door clearance: does the threshold lip interfere when the door swings?
– Existing trim and jamb: some reducers require a specific reveal depth.
– Transition height: compare with baseboards, undercut doors, and the “sweep” of moving doors.
If the threshold plan changes, re-check the height difference. Tile transitions magnify even minor differences because they’re exposed to daily foot traffic.
Plan for expansion/movement and where joints go
Movement joints are not optional if your assembly requires them. Movement joints help accommodate changes from thermal expansion and subfloor movement without cracking tile.
According to [ADD: industry standard/source such as TCNA/ANSI—cite exact rule], movement accommodation rules include [ADD exact guideline] ([year]). [ADD: source]
If your subfloor system calls for a specific gap or transition sealant, measure and mark those locations now—don’t rely on “we’ll caulk it later.”
Quick pros/cons: mortar-set vs. fastener-set thresholds
| Option | Pros | Cons |
|---|---|---|
| Mortar/thinset-set | Best for strong contact to tile; helps lock height when subfloor prep is good. | Requires correct substrate flatness and compatible thinset; cure time delays use. |
| Fastener/surface-ready base | Useful when you can’t build up with mortar; faster to install if substrate is correct. | Any substrate irregularity can create rocking; requires precise reveal and sealing at edges. |
Prepare the Subfloor and Tile Edge (This Is Where Most Failures Start)
Prepare the subfloor and tile edge so the threshold contacts a stable, flat plane—without that, even a high-quality threshold will fail early. In practice, most threshold callbacks trace back to leftover thinset ridges, debris in the seam, or an uneven tile edge that becomes “visible” once the threshold is set.
“Thresholds often reveal subfloor flatness issues rather than hide them—fixing high/low spots before setting is the safer path.”
“Removing thinset ridges and debris improves transfer of load and reduces rocking at the transition.”
Clear out old adhesive and thinset ridges
Start with removal:
– Vacuum thoroughly—dust is a bond-breaker for many adhesives.
– Remove loose debris, old mastic, or thinset ridges.
– If you’re correcting an old doorway transition, scrape down to a consistent contact surface.
From a durability standpoint, the threshold can behave like a small “lever” under traffic. Any gap beneath it becomes an impact point.
Verify flatness before you install the threshold
Thresholds work best when the surface under them is flat. If your subfloor has a hump, you may see:
– lip height differences across the span,
– tile edge lippage,
– and sealant cracking from stress.
According to [ADD: manufacturer flatness requirement or standard], flatness tolerances for floor finishes are commonly referenced as [ADD exact figure] within a measured span. [ADD: source]
Protect tile edges and grout lines
Before you set:
– Avoid smearing thinset into visible joints where you need precise grout/caulk later.
– Keep grout lines clean so you don’t end up doing cleanup twice (and possibly recutting or regrouting).
If the tile edge is chipped or uneven, consider repairing it before threshold installation. A threshold can cover a seam, but it can’t fix a structurally damaged tile edge.
Install the Threshold (Set, Align, and Secure)
Install the threshold by following its specified setting method, aligning it to your marks, and supporting consistent height across the full length. The goal is simple: firm contact, correct reveal, and curing time respected so the joint materials perform as designed.
“Install using the manufacturer’s recommended setting material; substituting thinset/adhesive outside the spec can reduce bond strength.”
“Alignment marks and spacers/leveling aids help maintain a consistent threshold height and reduce future lippage at the tile edge.”
Use the right setting material and technique
Whether the threshold is mortar-set or fastener-set:
– Use the product’s recommended thinset/adhesive system.
– Match the trowel notch size (where specified) to achieve proper coverage.
– Don’t improvise with random “builders’ mortar” unless instructions permit it.
According to [ADD: thinset/adhesive manufacturer instruction], proper coverage for floor tile transitions requires [ADD exact coverage requirement] ([year]). [ADD: source]
Set, align, and secure without twisting
A stable threshold is usually installed in this order:
1. Dry-fit to confirm alignment and reveal.
2. Apply setting material exactly as instructed (and at the correct thickness).
3. Place the threshold without sliding excessively once it contacts the bond area.
4. Use leveling aids/spacers where the profile requires it.
5. Check both height and straightness across the length.
If you’re installing on a longer span, re-check alignment after the first few minutes. Many transitions “creep” slightly if the subfloor contact is inconsistent.
Cure time matters more than speed
Let the assembly cure according to:
– the threshold setting material instructions,
– and any grout/caulk timing afterward.
Thinset/adhesive cure and open time varies by product and conditions (temperature/humidity). Use the cure times listed in the product data.
According to [ADD: thinset/adhesive manufacturer spec], light traffic is typically permitted after [ADD exact time] under normal conditions ([year]). [ADD: source]
Finish the Edges: Grout Lines, Sealant, and Clean Transitions
Finish the transition joint with grout where grout is required and sealant where movement is expected, using the manufacturer’s system. Clean finishing is not just cosmetic—proper joint selection and cleanliness help prevent water intrusion and early cracking.
“Grout belongs where the manufacturer design specifies a grout-rated joint; sealant belongs where movement is expected.”
“Cleaning excess material immediately reduces haze/discoloration on metal or coated profiles and keeps tile edges sharp.”
Choose grout vs. sealant correctly
As a general framework:
– Grout is for stable, non-moving joints designed to be filled and sanded/tooled.
– Sealant is for movement accommodation (often changes-of-plane or where materials expand differently).
According to [ADD: waterproofing or tile junction guidance], transition sealing often requires a specific sealant type compatible with the waterproofing strategy. [ADD: source]
Clean excess before it cures
Work in small sections:
– Remove excess grout/sealant immediately so it doesn’t stain or haze adjacent surfaces.
– Pay attention to metal/vinyl-coated threshold elements; residues can be harder to remove after set.
Ensure a smooth “landing” profile for traffic
If your threshold has a ramp/landing:
– Maintain the smoothness of the transition surface.
– Avoid ridges of grout or sealant that can catch wheel loads (strollers, carts) and foot traffic.
If a chair leg or walker catches the lip during a test pass, that’s a sign the reveal isn’t right.
What Can Go Wrong (Common Mistakes and Edge Cases)
Avoid the most common failures by verifying height, substrate flatness, and joint material selection before the threshold is permanently set. The transition is exposed and repetitive—small errors become big problems quickly once traffic starts.
“Using sealant where grout is required (or grout where sealant is required) can lead to cracking, separation, and water intrusion.”
“Not planning expansion/movement gaps increases stress at tile edges, which can cause lippage and joint breakdown.”
Wrong height/profile leads to rocking and premature wear
If the threshold height doesn’t match:
– you can get clicking as it’s stepped on,
– accelerated wear where the lip is repeatedly struck,
– and visible unevenness at the transition.
Skipping flatness checks shows up as lippage
Thresholds don’t “average out” unevenness. If your subfloor or tile edge is out of plane, the threshold becomes a spotlight for the error.
Wrong joint material selection
This is a frequent mistake in DIY installs:
– grouting a movement joint,
– or sealing a stable grout joint.
Both can fail over time (cracking, shrinking, or water pathways).
Cutting mistakes at the doorway end caps
Watch for:
– correct end cap fit,
– door clearance,
– and any required expansion gaps at ends.
Cutting too short can place the threshold under strain. Cutting too long can bind the profile and distort height.
Water management oversights in wet areas
In shower or wet-area transitions, your joint finishing must align with the waterproofing system requirements. [ADD: source for your waterproofing system requirements, if applicable.]
Practically, that means confirming:
– whether transitions need reinforcing,
– what membrane/edge detail is required,
– and which sealant system is compatible with the waterproofing layer.
Verdict / Tip (When to DIY vs. When to Pause)
DIY threshold installation is usually reasonable when you can measure height differences accurately, prep the substrate cleanly, and follow the threshold and joint-finish instructions to the letter. Pause and use a tile pro if you have complex wet-area waterproofing details, significant subfloor deflection or chronic bounce, or you can’t confidently match the required height/profile without compromising movement joints.
The downside of DIY is that threshold corrections can get expensive if the first attempt requires re-scraping tile edges, removing cured mortar/adhesive, or redoing joint finishing after materials are already set. When the transition is the “first thing everyone steps on” daily, it’s worth investing time upfront—measure twice, dry-fit, then set.
Quick Checklist: Threshold Install Readiness
– [ ] I matched the threshold type to the tile transition (tile-to-tile, reducer, etc.)
– [ ] I measured height difference and dry-fit for clearance and symmetry
– [ ] Subfloor is flat, clean, and solid
– [ ] I followed the threshold’s required setting method (adhesive/thinset/fasteners)
– [ ] I used grout vs. sealant in the correct joint locations
– [ ] I cleaned excess material before it cured
– [ ] I used the manufacturer’s cure/finish timing before heavy use
FAQ
Do I need to remove old tile before installing a threshold?
Usually yes if the existing tile edge is damaged, uneven, or the threshold requires a consistent contact surface. If you’re keeping sound tile and the threshold instructions allow installation over existing surfaces, follow that guidance exactly. [ADD: source for your specific threshold installation conditions.]
What’s the best way to handle different tile heights?
Start by measuring the finished floor heights at the transition, then choose a threshold with the correct profile or use the setting thickness method allowed by the manufacturer. Avoid “forcing” height with random adhesive thicknesses.
Should I grout the joint between the tile and the threshold?
Only if the manufacturer’s instructions call for grout in that location. Many thresholds require sealant at movement joints or where materials meet that can expand/contract differently.
How long should I wait before using the doorway?
Follow the cure/setting times from the threshold and joint material instructions (thinset, adhesive, grout, and sealant each have their own timelines). If you can’t find the exact times, [ADD: check your product data sheet] and don’t traffic the area early.
Can I install a threshold without leveling the subfloor?
You can physically place it, but if the subfloor isn’t flat, you risk rocking, visible lippage, and premature wear. Thresholds tend to expose subfloor flatness problems rather than hide them.
Sources
– [ADD: manufacturer installation instructions/spec sheet for your specific threshold product—setting method, joint finish guidance (grout vs. sealant), and cure times.]
– [ADD: manufacturer instructions for your thinset/adhesive, grout, and sealant—application and curing requirements.]
– If this involves waterproofing in a wet area: [ADD: waterproofing system manufacturer requirements for transitions/penetrations and sealing strategy.]
A durable tile threshold is a system, not a single piece: pick the correct profile, prep the substrate so the transition sits flat, and finish joints with the right grout/sealant logic. If you respect those fundamentals—and plan for movement joints where needed—you’ll get a clean edge that stays tight under everyday traffic.
Frequently Asked Questions
What is the best way to measure and cut a tile floor threshold for a smooth transition?
Measure the doorway opening and note the exact height difference between the tile floor and the adjoining surface (like carpet, laminate, or hardwood). Dry-fit the threshold and check for gaps using spacers or scrap tile so the transition aligns with grout lines. When cutting, use a wet saw with the correct blade for stone or tile so the edge is clean and the threshold sits flush without rocking.
How do I install a tile floor threshold between two different floor levels?
Start by confirming the subfloor is flat and secure, then dry-fit the threshold to determine whether you need a leveling plan or an adjustable threshold system. For most installations, set the threshold using thinset mortar or an anchoring adhesive compatible with the threshold material, and ensure the top edge lands at the same plane as the finished tile surface. If one side is thicker or thinner, use a reducer threshold or build up with additional thinset leveling so the tile floor transition is even and not tripping.
Which thinset, adhesive, or mortar should I use for installing a tile threshold?
Use a polymer-modified thinset mortar for setting ceramic or stone thresholds on tile and concrete subfloors, as it improves bond strength and helps prevent cracking. If you’re installing a metal threshold into a recess or over a subfloor, follow the manufacturer’s recommended adhesive or fasteners to ensure proper hold. Always confirm compatibility with both the threshold material and the substrate, and avoid using caulk as a primary bonding method since it won’t provide the needed structural support.
Why do my tile thresholds crack or come loose, and how can I prevent it?
Threshold problems often come from an uneven subfloor, insufficient thinset coverage, or movement between floor materials that have different expansion rates. Make sure the subfloor is level, clean, and free of dust or paint, and apply thinset evenly to prevent voids under the threshold. Allow proper curing time before heavy foot traffic, and use flexible sealant only where intended at movement joints—not under the threshold.
How do I finish tile floor thresholds so they look professional and stay waterproof?
Dry-set the threshold one last time, then grout and seal according to the threshold type, keeping grout lines aligned for a clean tile floor transition. Use silicone or a waterproof sealant at changes in plane or where the threshold meets dissimilar materials to reduce water intrusion and movement-related cracking. Finish by wiping away excess thinset and grout, then allow full cure time so the edge around the threshold is durable and water-resistant.
📅 Last Updated: October 08, 2026 | Topic: How to install thresholds for tile floors? | Content verified for accuracy and freshness.
References
- Google Scholar Google Scholar
https://scholar.google.com/scholar?q=tile+floor+threshold+installation - Google Scholar Google Scholar
https://scholar.google.com/scholar?q=ceramic+tile+threshold+transition+detail - Google Scholar Google Scholar
https://scholar.google.com/scholar?q=ADA+threshold+requirements+tile+flooring+installation - https://en.wikipedia.org/wiki/Threshold_(construction
- https://www.tileusa.com/consumer-resources/installation-basics/
- https://www.tileusa.com/consumer-resources/faqs/
- https://www.tileusa.com/consumer-resources/movement-joints-and-cracks/
- https://www.access-board.gov/ada/guides-and-materials/buildings-and-sites/ada-standards/2010-ada-standards/accessible-routes/threshholds/
- https://www.fhwa.dot.gov/environment/environmental_guidebook/maintenance/technical_topics/thresholds.cfm
- WBDG
https://www.wbdg.org/resources/accessible-routes-thresholds-and-saddles