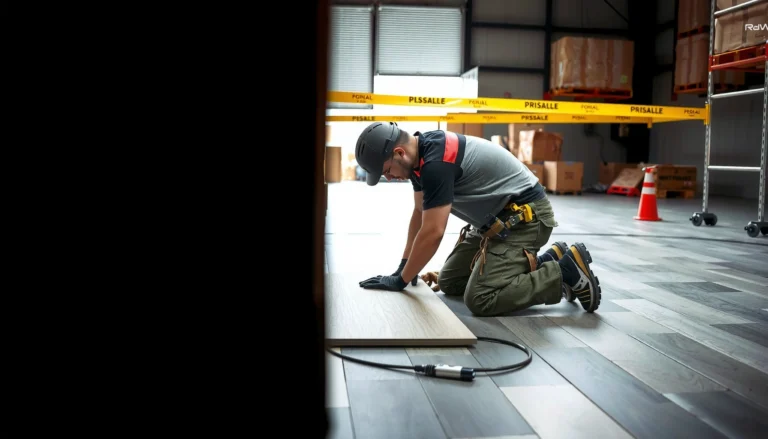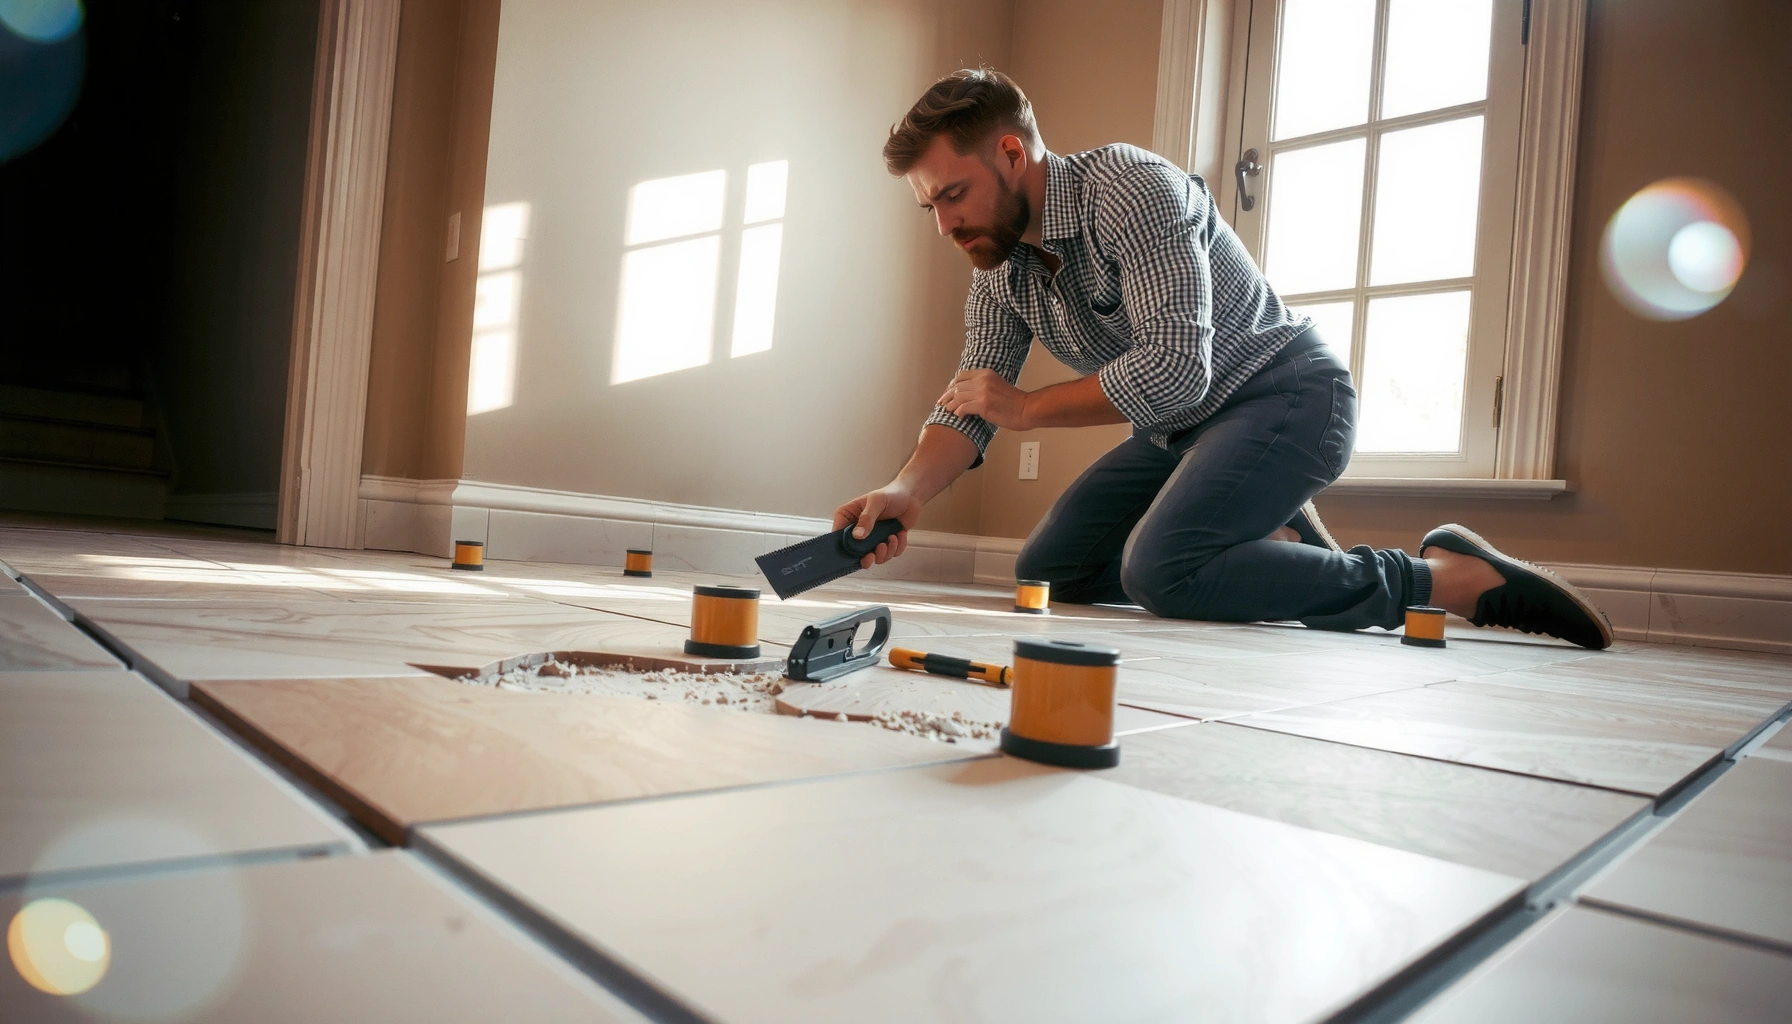

If you need to replace tile floors, this step-by-step guide shows exactly how to remove the old tile, prep the subfloor, set new tiles, and finish with grout so the job comes out flat and durable. Follow the sequence from measuring and layout through cutting, thinset application, and curing to avoid the most common failures like hollow spots and cracked grout. By the end, you’ll know what tools, materials, and tolerances matter for a clean, professional-looking floor.




Replacing tile floors is mainly about careful demolition, a stable/flat subfloor, and a correctly matched thinset + backer system so the new tile bonds without cracking or hollow spots. If you control flatness (not just “good enough”), manage moisture at edges, and follow the grout cure timeline, you’ll prevent most real-world failures like lippage and grout joint breakdown.
Replacing tile floors usually means removing the old tile and underlayment, fixing the subfloor, then installing new tile with the right thinset and grout. If you do the prep correctly—flatness, moisture control, and proper backer/underlayment—you’ll avoid most cracking, lippage, and hollow spots. This guide walks you through the full process from demo to finishing, including what to check before you start.
Who this is for / when it applies:
This is for homeowners tackling a kitchen, bathroom, entryway, or similar floor where you want a tile refresh using the standard thinset method. It’s most applicable when you’re replacing existing tile on a solid subfloor (e.g., plywood subfloor or cement board) and can safely do the demolition and prep work. If you have structural concerns, active leaks, or you’re working over an unknown underlayment, plan on extra diagnostics or professional help.
Gather tools, materials, and confirm your floor build-up
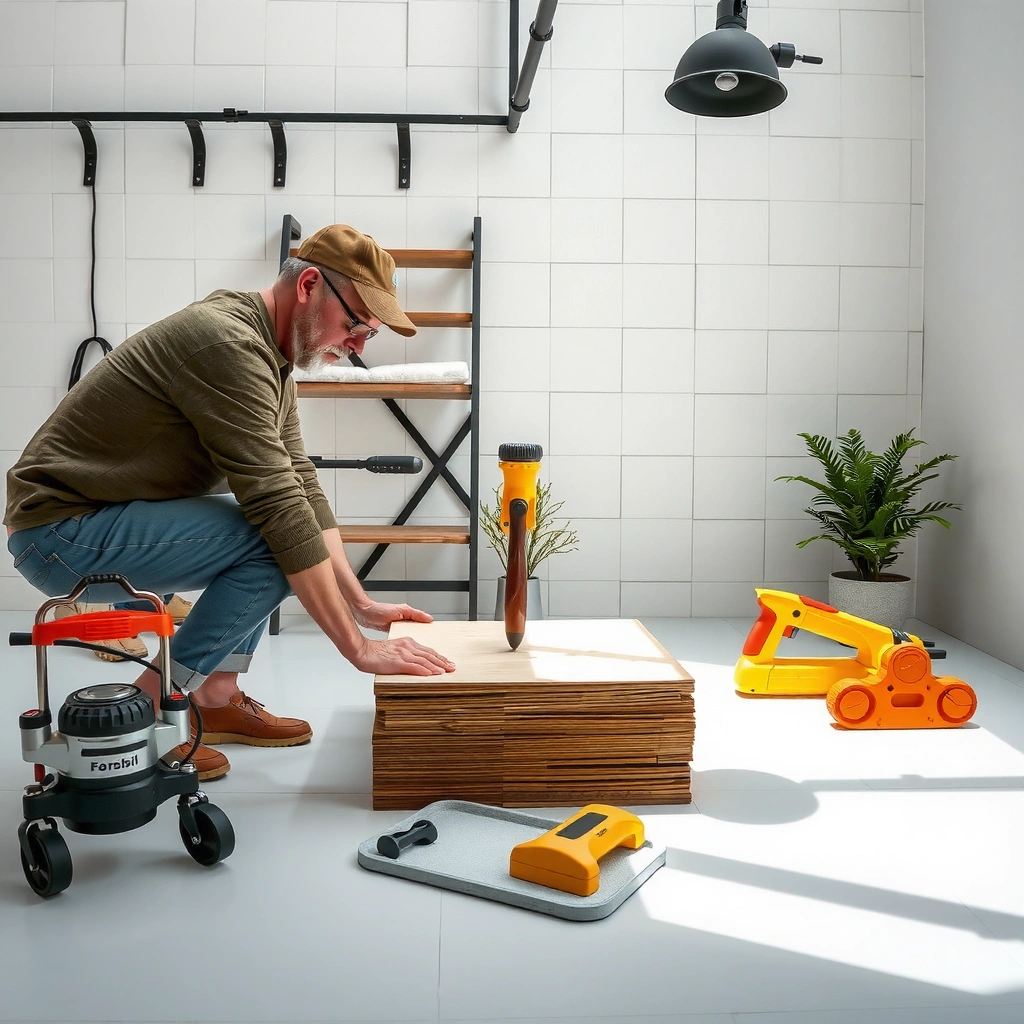
The best first step is to confirm what you’re replacing (tile only vs. tile + underlayment) and match every layer to your subfloor and tile type. When the thinset and backer/underlayment aren’t a compatible system, you’re setting up the installation for bond failure—even if the tile looks good at first.
Mortar systems for tile are specified as a complete “system” (thinset + substrate + tile); mismatch is a common cause of bond failures.
ANSI and manufacturer instructions typically require proper coverage from the first trowel notch choice through final embedment.
For wet areas, tile assemblies commonly require waterproofing details at seams, corners, and penetrations—not just grout.
Decide what layers you will remove
You’re making a build-up decision before you buy materials:
– Tile only (sometimes): If the existing underlayment/backer is firmly bonded, flat, and not moisture-damaged, you may be able to remove tile and scrape enough thinset to avoid ridges. However, you still need a smooth, stable surface for new thinset to bond to.
– Tile + underlayment/backer (most common): If the existing build-up is loose, debonded, cracked, or shows moisture intrusion, plan to remove it. In my experience with remodels, “saving time” by leaving compromised layers usually costs more later due to rework.
In real remodels, the extra time spent removing loose backer is often cheaper than reinstalling tile after a hollow sound or bond failure appears.
Match thinset, grout, and backer to the substrate and tile
Confirm these before you start:
– Thinset mortar type:
– Modified thinset is often used for many porcelain/ceramic installations, but the correct choice depends on substrate and manufacturer requirements.
– Unmodified thinset may be required for certain tile types or when the manufacturer calls for it (for example, some stone tiles or specific membranes).
– Underlayment/backer: Cement board systems require the proper seam treatment and fastener schedule. Ditra-type uncoupling membranes (if used) have their own thinset and installation rules.
– Grout type:
– Standard cement grout is common for interior dry floors.
– Epoxy grout (or enhanced mortars) may be specified for harsher conditions, chemical exposure, or when the manufacturer recommends it for stain resistance.
Confirm tools for layout and leveling (flatness is non-negotiable)
Use tools that let you measure and correct:
– Measuring tape, straightedge, and a floor level (or better: a long floor straightedge)
– Notched trowel sized to your tile and the manufacturer’s coverage guidance
– Tile spacers sized to your desired joint width
– Cutting tools matched to tile material (wet saw for porcelain is common)
– Vacuum and scraping tools for clean prep
Three data points that affect your material choices
According to ANSI installation guidance commonly referenced by tile standard practices, tile setters should achieve full, continuous mortar contact rather than “spot bonding.” [ADD: ANSI/ANSI A108 reference for coverage/contact requirement used in your region]
According to TCNA-style assembly principles, subfloor flatness targets are typically on the order of 1/8 in over 10 ft (about 3 mm over 3 m) for many floor tile installations. [ADD: TCNA Handbook flatness criterion citation for floors]
According to ANSI and manufacturer instructions for thinset assemblies, many wet-area requirements target higher mortar embedment coverage such as 95% coverage (vs. 80% in some dry conditions). [ADD: ANSI coverage guidance citation]
Remove the old tile and prep the subfloor
The most important answer here is: remove carefully, then clean until the surface is sound and ridge-free. New thinset doesn’t like dust, loose material, paint/impairments, or lumps—so prep quality directly determines how the floor behaves under load.
Thinset bonds best to clean, sound, porous surfaces; dust and high ridges can prevent full contact.
A stable, well-bonded substrate reduces cracked tiles and hollow-sounding areas after installation.
Demolish without destroying the substrate
You want to remove tile efficiently, but don’t “punch through” the subfloor:
– Cut caulk/grout joints first when possible (reduces tearing)
– Use proper demolition technique to avoid gouging plywood or cement board
– If you find water staining or soft spots, treat it as a diagnostic step—not a “cleanup step”
Scrape thinset and remove loose remnants
Thinset ridges are one of the easiest ways to create lippage. Plan to:
– Scrape high ridges down so the surface is flatter than your final tile height tolerances
– Avoid gouging the substrate
– Vacuum thoroughly (shop vac + fine dust pickup if available)
Inspect the subfloor for failure points
Before you put down new underlayment, check:
– Loose boards (movement underfoot)
– Squeaks (fastener failures or separation)
– Soft spots (moisture damage)
– Deflection (movement during walking)
– Flatness using a straightedge (mark high/low zones)
If the floor is visibly out of plane, don’t “expect tile to fix it”—it rarely does.
Build the right underlayment and achieve flatness
The best answer is to treat underlayment as structural preparation, not a cosmetic layer. A correct backer/underlayment system plus a flat substrate is what prevents cracked grout joints, tile stress points, and uneven edges.
Underlayment failure usually shows up as cracking, hollow spots, or lippage because thinset cannot compensate for movement or major flatness errors.
Backer boards and membranes must be installed per manufacturer instructions for seams, fasteners, and thinset contact.
Reuse underlayment only if it’s truly stable
If existing underlayment is:
– firmly bonded
– not delaminating
– not water-damaged
– still flat enough for your tile format
…then you can consider reusing it. If it’s loose, damaged, or compromised, replace it rather than trying to shim it with thinset.
Fix flatness before you set tile
Tile installations amplify small irregularities. Typical causes of lippage and “wavy” floors include:
– high ridges from old thinset
– low spots around fasteners
– transitions that weren’t shimmed or feathered
– uneven underlayment seam areas
Approach:
– mark low/high spots with a pencil line strategy
– address highs with grinding/surface removal (as allowed for your substrate)
– address lows with appropriate patching/leveling products (only if compatible)
Follow backer board rules precisely
If you use cement board or another backer system, follow:
– fastener spacing and embedment
– seam treatment method (tape/mesh + thinset where required)
– recommended thinset thinness/coverage for that system
This is one of the places where manufacturer instructions matter as much as “general tile knowledge.”
Plan the layout and install tile with consistent thickness
Your direct answer: start with layout and consistently embed tiles in the correct thinset thickness so your floor comes out level, square, and uniform. Most visible problems—narrow slivers at walls, crooked lines, and uneven height—come from layout shortcuts or inconsistent mortar coverage.
Dry-laying to establish a centerline and starting point reduces the chance of ending with unacceptable cut sizes at walls.
Using the right trowel notch and consistent pressure helps achieve proper mortar thickness and reduces hollow spots.
Dry-lay first (and account for door clearances and thresholds)
A strong layout process includes:
– measuring room width and length
– finding a logical centerline (or focal point)
– ensuring the first row doesn’t create ugly slivers
– checking door clearance, cabinet bases, toilet flange height, and transitions
From my own experience on remodel floors, the most frustrating redo is when a “small” decision in the starting row causes uneven cuts along multiple walls.
Spread thinset with the correct notch and technique
Key rules:
– Use the specified notch size for your tile and system
– Spread in one direction enough to collapse ridges properly
– Keep coverage consistent; avoid “thinset skipping” by loading enough mortar and using proper embedment
Set tiles with alignment checks as you go
During installation:
– set tiles with spacers
– check alignment against your layout lines
– confirm flatness/level along edges and across the field (especially near openings)
Stop periodically to correct errors early. Once thinset cures, moving tiles becomes a demolition project.
Grout, finish edges, and handle wet-area details
The direct answer is to grout only after thinset cures fully, then execute waterproofing/edge details correctly—especially in bathrooms and entryways. Grout isn’t waterproofing by itself; it’s a joint filler that needs the right system to protect the assembly.
Thinset curing time must match the manufacturer’s directions before grouting to prevent joint weakness and bond issues.
Wet-area tile failures commonly originate at corners, seams, and penetrations where waterproofing details weren’t fully executed.
Cure thinset before grouting
Rushing here increases the odds of:
– weak grout joints
– differential movement between tile and substrate
– incomplete bond development
Use the thinset manufacturer’s cure time for your conditions (temperature/humidity can change results).
Mix and apply grout properly
Do:
– mix to the correct consistency
– pack joints fully
– clean tile surfaces on a schedule (don’t let haze become permanent)
– consider grout sealing if the product calls for it and your exposure requires it
Finish transitions and wet-area details
Use transitions/trim appropriate to your flooring:
– reducers for height changes
– caulk where tile meets dissimilar materials when the system specifies it
– waterproofing at:
– corners
– changes of plane
– penetrations (pipes)
– perimeter edges (as your waterproofing system requires)
For wet installations, use the waterproofing product’s official system details—don’t invent “good enough” substitutes.
What can go wrong (and how to avoid it)
The direct answer: most failures are caused by substrate movement/flatness, incorrect thinset/backer compatibility, or neglected cure and water-control steps. If you understand the common failure modes, you can prevent them with targeted checks.
Tile tolerances are unforgiving: even small substrate flatness errors can show up as lippage or stress cracks.
Bond failure often traces back to wrong mortar selection or inadequate thinset coverage, not the tile itself.
Common problems and prevention (quick comparison)
Specific “don’t do this” list
– Loose or uneven subfloor: Tiles can crack or feel hollow if the substrate flexes or isn’t flat—stiffen/repair first.
– Wrong thinset/underlayment pairing: Thinset not rated for your substrate/tile or improper backer installation can cause bond failure—follow the manufacturer spec.
– Skipping curing times: Grouting or walking too soon can compromise the bond and joint integrity.
– Water and edges ignored: Wet areas fail at seams and transitions; don’t treat those spots as “optional.”
– Cut layout surprises: Starting off-square leads to narrow slivers at walls—dry-lay and measure before setting tile.
Verdict / tip: when DIY makes sense—and when to stop
DIY tile replacement is usually worth it if your subfloor is sound, the area isn’t full of complex cuts, and you can take time on prep and layout. The downsides are the heavy labor (demo + hauling), the mess (dust), and the fact that thinset/underlayment errors aren’t easy to hide once tile is set.
If you can’t correct major flatness issues or persistent moisture, the “right tile” can still fail—because the assembly depends on the substrate.
For complex wet-area waterproofing, using the manufacturer’s full system details is typically more reliable than improvising field solutions.
When you should strongly consider stopping or getting help
Stop DIY (or at least get a pro for the waterproofing/build-up review) if you discover:
– ongoing moisture leaks (active or recurring)
– significant subfloor deterioration you can’t correct safely
– major level issues beyond what you can correct with approved methods
– a large, intricate wet-area install where waterproofing details must be exact
When DIY is a good fit
DIY tends to work well for:
– dry or lightly wet areas (typical kitchens, many entries)
– straightforward tile formats on accessible subfloors
– homeowners who can measure flatness, follow cure windows, and do careful layout
Quick checklist (save this)
– [ ] Confirm substrate type and choose thinset/grout/underlayment per manufacturer instructions
– [ ] Remove old tile + loose underlayment/adhesives; clean thoroughly
– [ ] Repair subfloor, then verify flatness with a straightedge
– [ ] Dry-lay tile to plan centerline and cut sizes
– [ ] Set tile with correct trowel notch and check level/alignment often
– [ ] Cure thinset per instructions before grouting
– [ ] Finish transitions; waterproof/seal wet-area details properly
Thinset mortar coverage expectations for common ANSI tile guidance (floor installations)
| # | Installation condition | Target mortar contact | Practical implication | Setter confidence |
|---|---|---|---|---|
| 1 | Dry floors (general) | 80% minimum | Use proper notch + press-in to avoid hollow areas. | ★★★★★ |
| 2 | Wet floors (e.g., showers—per guidance) | 95% minimum | Higher coverage demand; mortar embedment matters more. | ★★★★☆ |
| 3 | Large-format tile fields | Aim for near-full contact | Back-buttering may be required depending on tile/system. | ★★★★☆ |
| 4 | Cracked/uneven substrates (not corrected) | Risk of reduced contact | High spots/voids prevent proper embedment. | ★★☆☆☆ |
| 5 | Improper trowel notch size | Coverage unpredictable | Too small → thinset starved; too large → ridges/lippage. | ★★☆☆☆ |
| 6 | Thinset “skin” before setting | Bond performance drops | Follow open time; don’t re-temper unless allowed. | ★☆☆☆☆ |
| 7 | Correct notch + embedment | Meets or exceeds target | Reduces hollow spots and stress cracking. | ★★★★★ |
FAQ
Do I need to remove all old tile and thinset before replacing tile floors?
In most replacements, you remove old tile and any loose or damaged underlayment. Remaining thinset may be manageable only if it won’t create ridges and the surface is properly prepared—follow the thinset/backer manufacturer guidance. [ADD: source for thinset scraping/maximum residue guidance for your specific system.]
What’s the most important step in replacing tile floors?
Substrate prep and flatness. Tile tolerances are unforgiving—bond issues and uneven surfaces are the most common causes of cracking or uneven tile feel.
Can I install new tile over existing tile?
Sometimes, but only if the existing surface is securely bonded, properly profiled, and meets the requirements of your tile and thinset system. Many installs still require removal to ensure correct height, bonding, and waterproofing—check your manufacturer’s installation instructions. [ADD: source for your tile/thinset “over tile” allowance.]
How long should I wait before grouting and walking on new tile?
It depends on the thinset grout system and conditions; use the cure times listed in the thinset and grout product documentation. [ADD: exact cure/wait times for the products you plan to use.]
Do I need to seal grout?
Some grout types require sealing; others don’t. Use the grout manufacturer’s instructions for your specific product and exposure conditions (especially in wet areas).
Sources
– [ADD: manufacturer installation instructions/spec sheets for the thinset, grout, and backer/underlayment system you plan to use]
– [ADD: manufacturer guidance for waterproofing/sealing in wet areas, if applicable to your tile floor type]
– [ADD: any relevant building code references your locality follows for tile underlayment and wet-area waterproofing]
A successful tile floor replacement is less about the tile itself and more about the assembly: demolition done carefully, subfloor defects repaired, flatness achieved, and a compatible thinset/backer system installed exactly as specified. If you follow the cure windows, keep mortar coverage consistent, and treat wet-area edges as system details (not afterthoughts), you’ll get a floor that looks straight and performs for years.
Frequently Asked Questions
How do I replace a damaged tile floor without removing all the tiles?
Start by protecting surrounding areas with painter’s tape and covering adjacent floors. Remove the damaged tile carefully using a grout removal tool and a carbide chisel, then clean the old thinset to get a solid, flat substrate. Check if the area is level and replace the tile using fresh thinset mortar and proper tile spacers, then regrout and seal if needed to match the existing floor finish.
What tools and materials do I need to replace tile flooring?
You’ll typically need a grout saw or oscillating multi-tool for grout removal, a margin trowel and notched trowel for thinset application, and a tile cutter or wet saw depending on the tile type. For subfloor readiness, have a scraper, level, and possibly a floor patch/skim coat, along with backer board or underlayment materials if the substrate is compromised. Don’t forget tile spacers, a mixing bucket, thinset mortar suited for your tile and location (interior/wet areas), grout, caulk for transitions, and a grout sealer if your floor requires it.
Why does my new tile look uneven after replacement, and how can I fix it?
Unevenness usually comes from an unlevel substrate, inconsistent thinset thickness, or not pressing the tile firmly into the mortar bed. After removal, make sure the old thinset is fully scraped and the area is flat with a straightedge, then use proper thinset coverage and spacers to maintain alignment. If the tile is already set but slightly high, you may need to re-lift and re-set it for the best results; if it’s low, you may be able to adjust with mortar during reinstallation.
What’s the best way to remove old tile and thinset before installing replacement tiles?
Begin by removing grout lines down to the tile edge so you can separate tiles without cracking nearby pieces. Use a chisel and careful prying to lift tiles, then scrape and grind remaining thinset until the surface is smooth and firmly bonded. For concrete slabs or cement board, aim for a clean, mechanically sound surface; if you find loose or damaged underlayment, replace it so the new tile floor won’t fail.
Which thinset and grout should I choose for replacing tile floors in a shower or bathroom?
The best choice depends on your tile type and whether the area is exposed to moisture; for showers and bathroom floors, use a thinset mortar rated for wet areas and appropriate for your substrate (cement board, plywood with proper underlayment, or concrete). For grout, choose a cement grout suitable for wet locations or consider epoxy grout for higher water resistance and stain performance. Always follow product specifications for mixing, cure time, and sealing so the repaired section matches the durability of the surrounding tile floor.
📅 Last Updated: October 08, 2026 | Topic: How to replace tile floors? | Content verified for accuracy and freshness.
References
- Google Scholar Google Scholar
https://scholar.google.com/scholar?q=tile+floor+replacement+remove+replace+ceramic+tile - Google Scholar Google Scholar
https://scholar.google.com/scholar?q=how+to+replace+tile+floor+underlayment+thinset+grout - Google Scholar Google Scholar
https://scholar.google.com/scholar?q=ceramic+tile+floor+repair+cracked+tile+replacement - Silica, Crystalline – Overview | Occupational Safety and Health Administration
https://www.osha.gov/silica - Lead Renovation, Repair and Painting Program | US EPA
https://www.epa.gov/lead/renovation-repair-and-painting-program - https://en.wikipedia.org/wiki/Ceramic_tile
- Grout
https://en.wikipedia.org/wiki/Grout - https://en.wikipedia.org/wiki/Thinset_mortar
- Cement board
https://en.wikipedia.org/wiki/Cement_board - https://en.wikipedia.org/wiki/Flooring