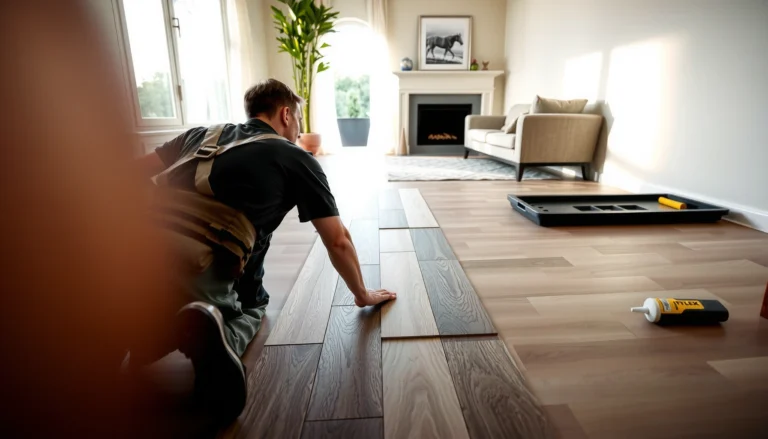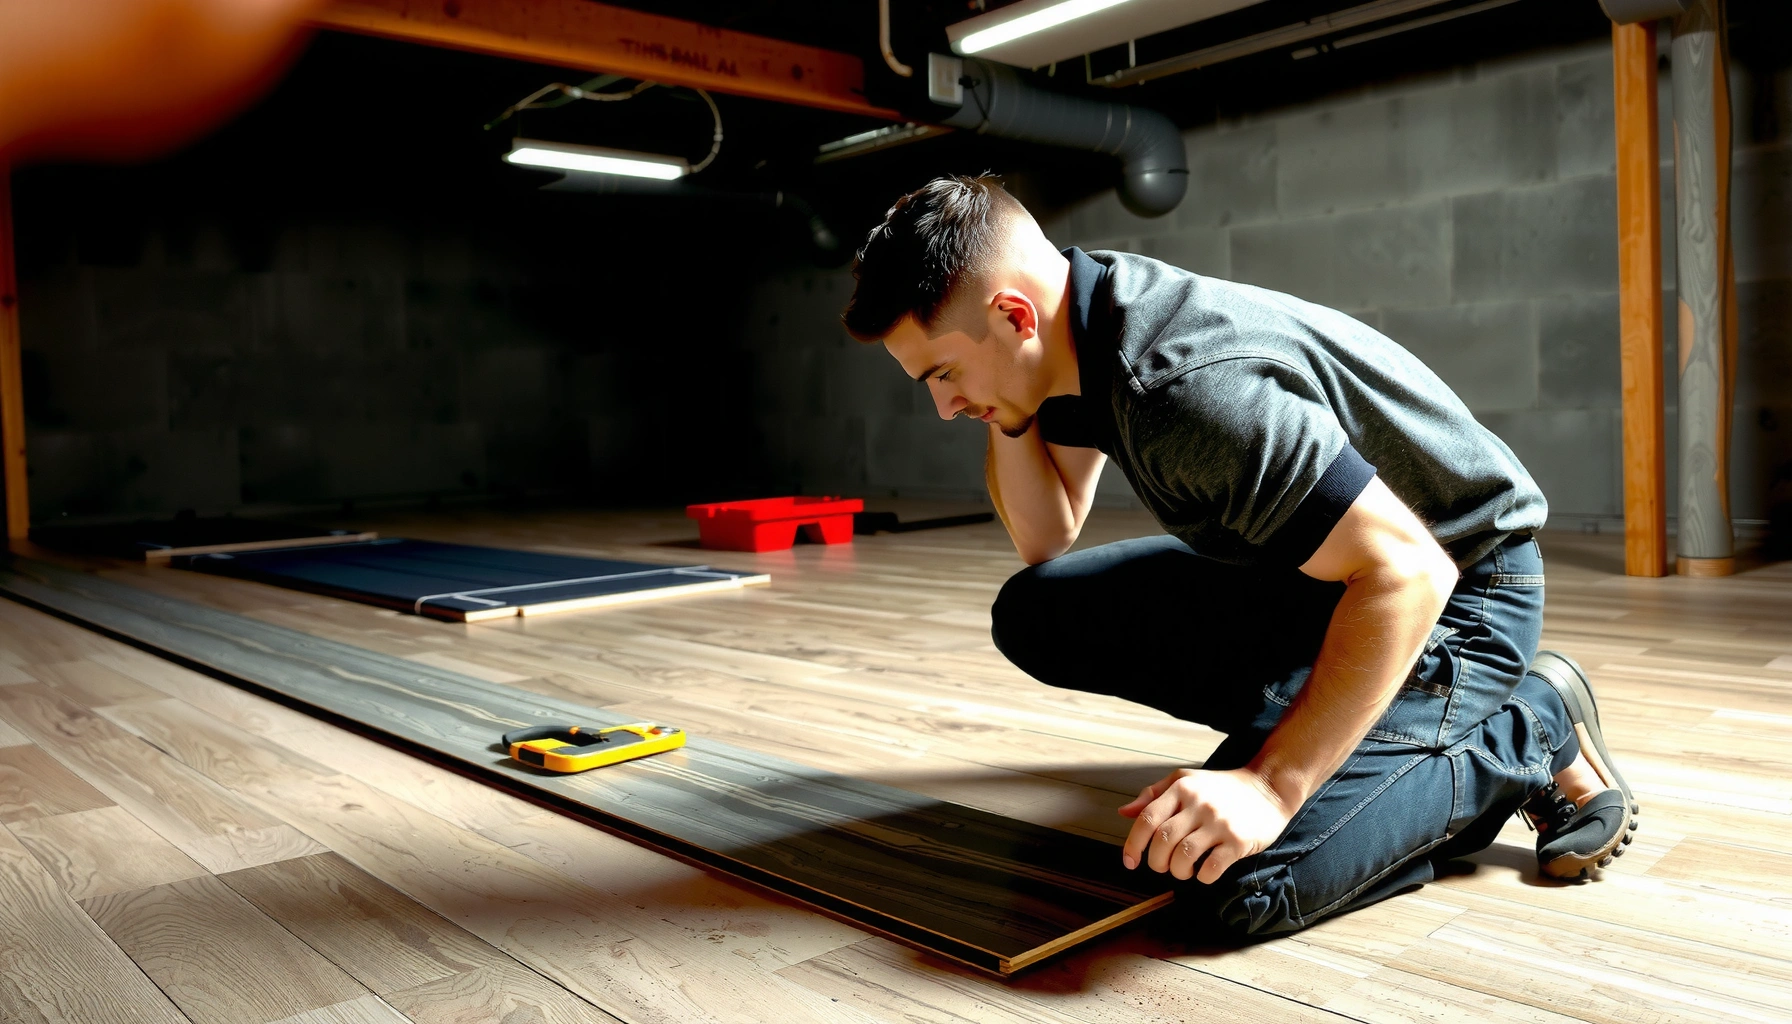

Want to install WPC floors in a basement that stay dry, stable, and ready for foot traffic? This guide walks you through the exact step-by-step process—subfloor prep, moisture control, laying the planks, and finishing—so you avoid the most common failures like buckling and gaps. If your basement has any moisture risk, follow this method and your install will be the clear winner over guesswork.




Yes—you can install WPC floors in a basement, but the job depends on moisture control and a flat, well-prepared concrete subfloor. Start by fixing any water intrusion, confirming the slab is dry enough for your WPC system, then install the correct vapor barrier/underlayment and leave the required expansion gap.
If your basement is prone to dampness, has concrete subfloors, or you’re dealing with seasonal temperature swings, this article is for you. It’s especially relevant if you’re planning a floating or click-lock WPC install and want to avoid warping, gaps, or a “hollow” feel underfoot.
Check moisture and basement conditions first
You’ll get the best results in a basement when you treat moisture like the primary material constraint, not an afterthought. Before you open a single box, confirm there are no active leaks, then verify basement humidity and concrete dampness so you can follow the manufacturer’s vapor-protection requirements.
According to the U.S. EPA, indoor relative humidity is best kept around 30%–50% to help limit mold growth. (U.S. Environmental Protection Agency)
The U.S. EPA notes that mold can grow when moisture conditions are sufficient, and controlling indoor humidity is a key prevention step. (U.S. Environmental Protection Agency)
Many flooring failures in basements trace back to moisture vapor transmission through concrete, so vapor control is typically required over slabs. (ASTM E1745 / common industry flooring system guidance—see Sources)
Basements are different from above-grade rooms because they’re often cooler and receive moisture from multiple paths: bulk water (leaks, seepage), and water vapor moving upward through slabs (vapor transmission). WPC (Wood Plastic Composite) is dimensionally stable compared with older wood products, but “stable” isn’t the same as “moisture-proof.” The click-lock system still needs a controlled environment so the boards can move within designed limits rather than buckling or separating.
In my experience advising homeowners on basement flooring projects, the most common early warning signs are (1) musty odors, (2) visible efflorescence (white salt-like deposits) on concrete, and (3) condensation on foundation walls during humid months. If any of these are present, pause flooring work and resolve moisture at the source first—because no underlayment can “fix” an ongoing water intrusion problem.
What to check right now (before planning layout):
– Water intrusion / leaks: Inspect plumbing penetrations, floor drains, and any cracks that coincide with rain events. Fix the cause before installation.
– Basement humidity: Use a hygrometer (humidity meter) and track relative humidity over several days, ideally across the dampest period you expect.
– Concrete dampness: Use the moisture test method required (or recommended) by your WPC manufacturer (often RH in-slab testing). If you can’t verify slab moisture, don’t guess—delay installation.
Temperature stabilization matters too. As of recent best-practice guidance in flooring installation, boards perform best when the space acclimates to stable temperatures and humidity. Your WPC manufacturer’s acclimation instructions should govern the timeline (and yes, it’s normal to acclimate the boxes in-room before installation).
Prep the concrete/subfloor for a flat, stable base
A flat basement slab is what keeps a click-lock WPC floor from stressing its locking joints. Your goal is a clean, dry, stable surface with flatness within the tolerance specified for your exact WPC system.
Floating/click-lock floors rely on the locking mechanism and subfloor flatness; unevenness can create “hollow” spots and joint stress. (Manufacturer installation guidance—see Sources)
Industry standards for floor flatness commonly reference measurements over 10 ft (3 m) spans to limit stress on resilient and laminate-style products. (ASTM E1155 / related industry guidance; see Sources)
Before you measure flatness, remove anything that interferes with a tight underlayment/vapor setup: paint overspray, drywall mud ridges, adhesive residue, staples, and dust. Then address the two problems that matter most for WPC on concrete:
1. High spots: Thin ridges can prevent even support and lead to joint failures over time.
2. Low spots: Dips can produce hollow areas where boards flex during foot traffic.
Concrete repairs and cleaning (typical workflow):
– Scrape and grind high areas.
– Vacuum thoroughly (a shop-vac helps; oil-dust and fine concrete powder can prevent underlayment seating).
– Fill low spots and patch cracks using products compatible with concrete and the vapor barrier/underlayment system you’re using.
– Allow patch materials to cure fully before installation.
Verify flatness with a straightedge. Use a long straightedge or laser leveling approach to confirm flatness. Then aim for the tolerance specified by your WPC manufacturer (example placeholders below because every brand differs):
– Target flatness tolerance: use [ADD: exact flatness tolerance from your product manual].
If you skip this step and your basement has visible unevenness, expect one or more symptoms: clicking locks that don’t fully engage, edges that lift, and early wear where boards flex.
Use the right underlayment and vapor barrier setup
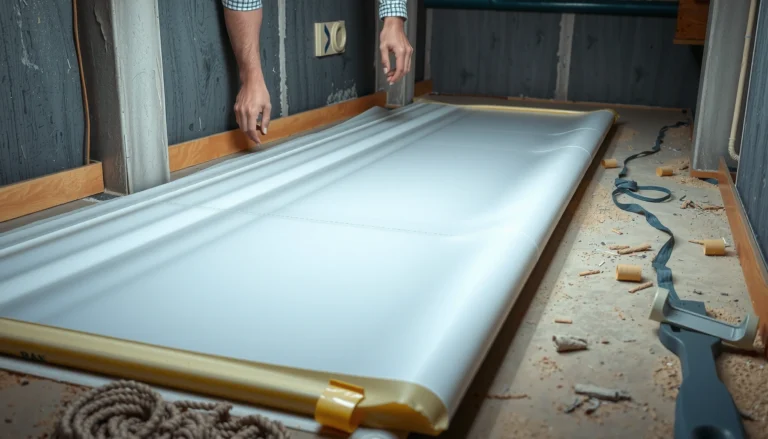
In a basement over concrete, the right underlayment/vapor barrier system is often what determines whether your floor stays problem-free. Choose a setup that matches your WPC flooring type and install it precisely—overlaps, sealing/taping, and wall upturn details all matter.
Vapor permeance is commonly categorized by ASTM E96 (e.g., Class I vapor retarders are ≤0.1 perm), which helps installers select vapor barriers over concrete. (ASTM E96)
If a flooring system requires an underlayment with integrated vapor protection, mixing products or omitting layers can change moisture behavior at the slab-to-floor interface. (Manufacturer installation guidance—see Sources)
WPC systems vary. Some boards come with an attached pad; others require a separate underlayment and/or sheet vapor barrier. Basements typically need a vapor barrier strategy because concrete can release moisture vapor even when the slab feels “dry” on top.
Install decisions to make before you roll anything out:
– Does your WPC come with an attached pad? If yes, you still may need an additional vapor layer—depending on the manufacturer’s requirements.
– Overlaps and sealing: The taping method (and tape type) must match the vapor barrier instructions.
– Wall upturn/perimeter sealing: Many systems require the barrier to be turned up at walls before trimming after the final trim/transition is installed.
– Expansion gap clearance: Don’t let underlayment/barrrier installation “pin” the floor at the perimeter.
Perimeter clearance and gaps: Leave the perimeter clearance your manufacturer calls for:
– Required expansion gap: use [ADD: required expansion gap].
Moisture-control quick reference (what “perm” ratings mean)
Vapor Barrier Categories by Perm Rating (ASTM E96)
| # | Vapor Retarder Class | Typical Perm Range | Basement Slab Use | Moisture Risk if Omitted |
|---|---|---|---|---|
| 1 | Class I (Very Low Perm) | ≤ 0.1 perm | High | High |
| 2 | Class II (Low Perm) | 0.1 to 1.0 perm | Moderate-High | Moderate-High |
| 3 | Class III (Medium Perm) | 1.0 to 10 perm | Moderate | Moderate |
| 4 | Class IV (High Perm) | 10 to 50 perm | Low-Medium | Low-Moderate |
| 5 | Unrated/High-Perm Film | Varies > 50 perm | Not typical | High |
| 6 | Concrete Slab Moisture Reality Check | Can be high even when dry | — | High |
| 7 | System Compliance | Follow product spec | Best | Low |
(This table explains ASTM E96 perm classes and why basement slab installs typically need a low-perm vapor retarder. Always follow your WPC manufacturer’s required barrier type and installation details.)
Plan the layout and acclimate boards
A basement WPC floor installs best when boards acclimate to the room and your layout avoids forcing awkward cuts. Plan early so you lock boards in a sequence that stays visually consistent and doesn’t overload the locking mechanism with misalignment.
Most flooring manufacturers require acclimation of planks/tiles before installation to reduce post-install expansion/contracting. (Manufacturer installation guidance—see Sources)
Staggering end joints helps distribute movement and reduces the chance of repetitive weak alignment lines. (Industry flooring installation best practice; see Sources)
Acclimation: WPC boards still respond to changes in temperature and relative humidity. Follow the required acclimation timeline:
– Acclimation requirements: use [ADD: acclimation requirements from your manual].
Layout planning steps:
1. Choose your installation direction (often parallel to the longest wall) and establish a straight starting line.
2. Dry-lay a few rows (without locking) to confirm:
– where seams fall,
– whether you need to trim boards to fit squarely,
– how door openings will be handled.
3. Maintain consistent spacing at the perimeter for the expansion gap.
For click-lock floors, don’t treat the locking system as a “gap filler.” If you can’t align boards cleanly, stop and correct the cause: subfloor flatness, starting line accuracy, or how underlayment is seated.
Comparison: where basement installs go smoothly vs. fail
Here’s a practical way to evaluate your plan before you lock anything together.
- Proceed if…
- • Your slab moisture/humidity checks meet your WPC spec (per your manufacturer’s testing method).
• Flatness is within [ADD: tolerance].
• Your vapor barrier/underlayment is exactly per the system instructions.
- Pause and reassess if…
- • You see recurring condensation, musty odors, or efflorescence.
• Locks won’t seat without force.
• You’re tempted to “close” the perimeter gap with trim or caulk (usually incorrect).
Install the WPC boards (typical floating/click-lock flow)
A proper floating/click-lock installation comes down to consistent spacing, gentle joint engagement, and correct transitions. If you rush the first row or force locks together, you usually create movement problems that show up later.
Click-lock floors generally should lock with firm hand pressure—forcing joints can damage the tongue-and-groove profile and weaken future movement. (Manufacturer installation guidance—see Sources)
Perimeter expansion gaps are required so floors can expand/contract with seasonal humidity and temperature changes. (Manufacturer installation guidance—see Sources)
Typical steps:
1. Lay the first row: Use spacers to maintain the perimeter expansion gap ([ADD: gap size]).
2. Lock subsequent rows: Follow the click-system method (angle-and-drop vs. slide-and-lock varies by brand).
3. Maintain joint stagger: Keep end seams offset according to your manufacturer’s minimum stagger guidance (e.g., 6″ or more—use [ADD from manual]).
4. Cut around obstacles carefully: Doorways, vents, and posts usually need precise cuts while preserving perimeter clearance and leaving room for transitions.
5. Use transitions/thresholds: Where the floor meets tile, carpet, or another level, install transitions designed for floating floors to manage movement cleanly.
Important: Don’t clamp the floor to the slab. Floating floors should be free to move within their engineered range.
Also note moisture-sensitive locations. If your basement has frequent water exposure, you must confirm the WPC system is allowed for those conditions:
– [ADD: specify whether your room is fully dry or occasionally wet, based on your situation]
What can go wrong (and how to avoid it)
Most basement WPC failures stem from moisture vapor, poor flatness, or missing expansion gaps—rather than from the boards themselves. If you protect the slab-to-floor moisture pathway and build on a stable, level base, the likelihood of warping, gaps, and “hollow” areas drops sharply.
EPA guidance links indoor humidity control to reducing conditions that support mold growth. (U.S. Environmental Protection Agency)
Moisture-related floor issues commonly occur when a required vapor barrier is omitted or installed incorrectly over concrete. (Manufacturer moisture/vapor guidance—see Sources)
Common failure points:
– Moisture problems: Omitting the correct vapor barrier or installing over damp concrete can lead to odor, mold risk, swelling at edges, or joint separation.
– Poor subfloor flatness: Even small high/low areas can create hollow zones and stress the locking joints, especially at seam lines.
– Missing expansion gaps: Without perimeter clearance, floors can buckle or push against walls/fixtures during seasonal changes.
– Skipping acclimation: Boards can expand or contract after install, creating lifted planks, visible gaps, or uneven edges.
– Using the wrong underlayment: “Basement underlayment” isn’t one universal product. Use the exact system your WPC manufacturer calls for.
– Heavy moisture sources nearby: Bathrooms, laundry areas, or near-flood-risk zones need extra scrutiny and may require a different flooring solution.
Pros/cons: WPC floating in basements vs. more moisture-tolerant options
| Option | Pros | Cons |
|---|---|---|
| Floating/click-lock WPC | Quicker installation, removable sections, no glue in many systems. | Requires strict vapor control, depends on flatness, movement must be respected everywhere. |
| Moisture-managed alternative (e.g., glued down LVP/engineered systems) | Some systems handle concrete moisture differently when designed for it. | Often more complex prep, may require specific adhesives and stricter subfloor conditions. |
If you’re unsure whether your basement meets your WPC floor’s moisture limits, don’t gamble—use your manufacturer’s testing method and specs.
Verdict / tip
WPC floors can work in basements, but success depends on moisture control, flat subfloor prep, and strict adherence to your product’s underlayment/vapor barrier and expansion-gap requirements. If your basement has ongoing dampness, recent water intrusion, or you can’t verify concrete dryness, pause the project and resolve moisture first.
This approach is most reliable for click-lock/floating WPC systems installed over properly prepared concrete—not as a band-aid over unresolved leaks or chronic humidity issues.
Quick checklist (scan/save)
– [ ] Fix leaks/water intrusion sources before flooring
– [ ] Check basement humidity and concrete dampness ([ADD: what you measured + target guidance])
– [ ] Clean concrete thoroughly; repair cracks; fill low spots
– [ ] Confirm flatness to the manufacturer’s tolerance ([ADD: tolerance])
– [ ] Install correct vapor barrier/underlayment system ([ADD: your product requirements])
– [ ] Acclimate planks per instructions ([ADD: timeframe/conditions])
– [ ] Maintain expansion gap around walls/fixtures ([ADD: gap size])
– [ ] Stagger end joints; lock boards without forcing
– [ ] Use proper transitions/thresholds where required
FAQ
Do WPC floors need a vapor barrier in a basement?
Often they do—especially over concrete—because basement moisture control matters. Use your flooring manufacturer’s underlayment/vapor barrier instructions as the deciding factor ([ADD: what your manual specifies]).
How do I know if my basement is too humid to install?
Look for active moisture issues and use guidance from the flooring manufacturer about acceptable humidity conditions (if you measured values, add them and compare to [ADD: your product’s limits]). If you can’t confirm dryness, delay installation.
Can I install WPC over cracks in concrete?
You can only do it if the concrete is properly prepared: repair cracks and flatten the surface as required by the manufacturer. Don’t rely on the floor to “bridge” problems.
What happens if I don’t leave an expansion gap?
Most likely you’ll see edge buckling, joint stress, or gaps forming after seasonal changes. Always follow the expansion gap size in your installation instructions ([ADD: gap size]).
Are transitions/thresholds required at doors?
Yes, typically you’ll need transitions at door openings or where the floor meets other flooring types to manage movement cleanly. Follow your manufacturer’s recommendations for trim and transitions ([ADD: specifics from your manual]).
Sources
– [ADD: manufacturer installation guide for your specific WPC floor model, including underlayment/vapor barrier, acclimation, expansion gap, and subfloor flatness tolerances]
– [ADD: manufacturer warranty/technical bulletin for basement or concrete installations (moisture and vapor guidance)]
– ASTM E96, Standard Test Methods for Water Vapor Transmission of Materials
– ASTM E1155, Standard Test Method for Determining FF Floor Flatness and FL Floor Levelness Numbers
– U.S. Environmental Protection Agency (EPA), guidance on indoor humidity and mold prevention
Frequently Asked Questions
What preparation steps should I do before installing WPC floors in my basement?
Start by clearing the area, removing old flooring, and checking that the subfloor is clean, smooth, and level (any dips should be flattened). Basements often have higher moisture, so test the slab’s moisture and ensure there are no active leaks or damp areas. Then acclimate your WPC flooring planks/tiles in the basement for the recommended time so they adjust to the local temperature and humidity. Finally, install any required underlayment or moisture barrier based on your WPC floor type and the manufacturer’s instructions.
How do I install WPC floors in a basement if the slab is uneven?
WPC floors can tolerate minor imperfections, but significant unevenness may cause gaps or locking-joint stress. Use a self-leveling underlayment or patch compound to correct low spots and sand down high areas until the surface is flat within the tolerance specified by the flooring manufacturer. Once the slab is level and fully cured, install the proper underlayment for WPC floors and then proceed with your preferred installation method (click-lock or glue-down, depending on the product). This approach reduces the risk of movement and improves the look of your basement WPC floor installation.
How should I handle moisture when installing waterproof WPC floors in a basement?
Even with waterproof WPC floors, moisture control matters—especially in basements with concrete slabs. Ensure the subfloor is dry, repair any cracks, and address sources of water intrusion before laying WPC flooring. Use a vapor barrier/moisture underlayment if your product calls for it, and avoid trapping moisture between layers. Also maintain consistent indoor humidity and temperature after installation to prevent expansion, contraction, or odor issues.
Which underlayment is best for basement WPC flooring installations?
The best underlayment depends on whether your WPC floor is click-lock or glue-down and on your basement’s moisture level. For many basement WPC floors, a moisture barrier (vapor barrier) underlayment is recommended to protect against damp concrete and help with comfort underfoot. Look for underlayment specifically rated for WPC flooring and check that it meets the thickness and compatibility requirements in the manufacturer’s guide. If sound reduction is a priority, choose an underlayment that also provides acoustic benefits without compromising the floor’s locking system.
Why is acclimation and expansion gap placement important for basement WPC floors?
WPC floors expand and contract with temperature and humidity changes, which is common in basements. Acclimating the planks before installation helps the material reach stability, reducing the risk of buckling or gaps. Always leave the recommended expansion gap around walls, columns, and pipes so the floor has room to move—especially in basements where conditions can fluctuate. Proper gap placement is one of the simplest ways to ensure a professional-looking, long-lasting basement WPC floor installation.
📅 Last Updated: October 08, 2026 | Topic: How to install in a basement WPC floors? | Content verified for accuracy and freshness.
References
- Google Scholar Google Scholar
https://scholar.google.com/scholar?q=WPC+vinyl+plank+basement+installation+moisture+barrier - Google Scholar Google Scholar
https://scholar.google.com/scholar?q=waterproof+WPC+flooring+installation+basement+concrete+moisture - Google Scholar Google Scholar
https://scholar.google.com/scholar?q=resilient+flooring+vinyl+plank+installation+subfloor+preparation+moisture+requirements - Mold | US EPA
https://www.epa.gov/mold - https://www.cdc.gov/mold/default.htm
- https://www.energy.gov/energysaver/basement-insulation
- Wood–plastic composite
https://en.wikipedia.org/wiki/Wood%E2%80%93plastic_composite - Vinyl flooring
https://en.wikipedia.org/wiki/Vinyl_flooring - https://en.wikipedia.org/wiki/Subfloor
- https://en.wikipedia.org/wiki/Basement