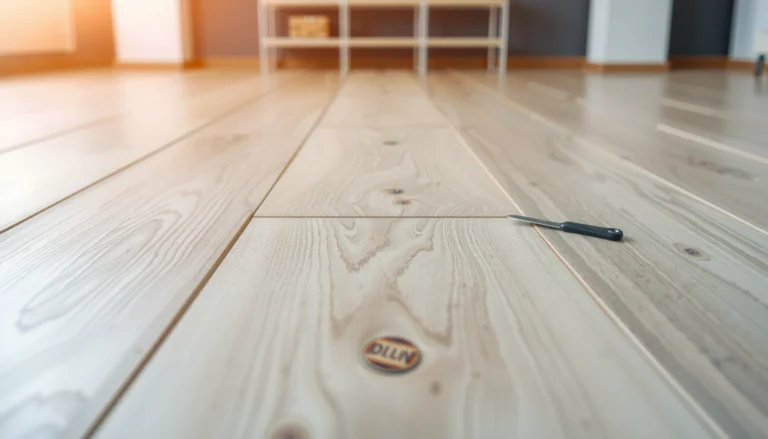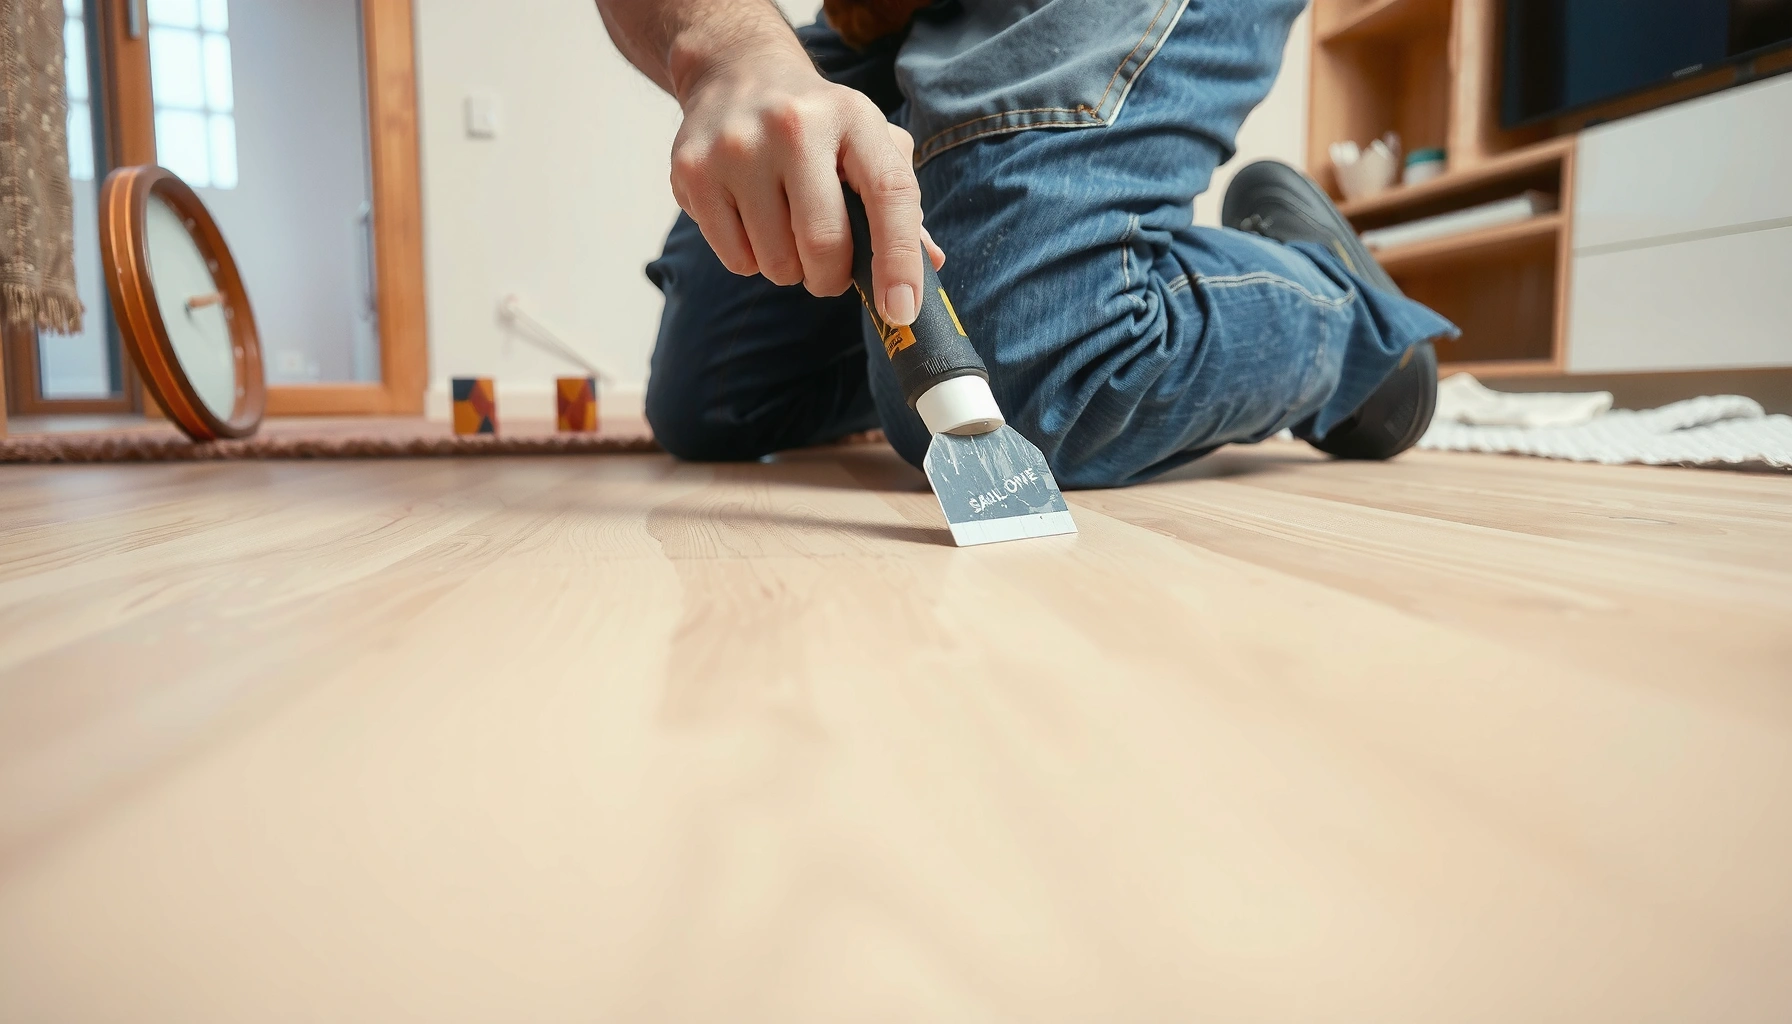

Cracks in WPC floors don’t have to become a replacement job—you can often fix them with the right repair steps. This guide gives you a clear, step-by-step method to diagnose the crack, prep the surface, and seal and match the finish for a durable result. If you want to know exactly what to do once you spot the damage, follow this process and get your WPC floor back to solid, presentable condition.




If your WPC floor is cracking, the fastest fix is usually to stop movement (loose subfloor, missing/pinned expansion gap) and then repair the damaged area using a WPC-compatible filler and seam/crack treatment. Start by identifying whether the crack is cosmetic (surface only) or structural (boards shifting or underlayment issues), because the repair method changes depending on the cause.
WPC (wood-plastic composite) flooring is built for real-life homes, but it still responds to two big drivers: flatness of the subfloor and seasonal movement from temperature and humidity changes. In 2026, the most common “quick crack repairs” still fail because they fix the symptom (the crack) while the floor continues to move. If you address movement first, your repair compound and seam treatment stay in place longer and blend better.
Who this is for / when it applies: This guide is for homeowners and property managers dealing with visible cracking on WPC vinyl planks—especially hairline cracks near seams, columns, doorways, or along the same line that keeps returning. It’s also useful for anyone planning DIY maintenance before deciding between repeat repairs and replacing affected boards.
Check the crack type and where it’s coming from

The best first step is to classify the crack by depth and movement behavior, because a cosmetic surface split and a seam-joint failure require different treatments. Once you know where the crack sits (wear layer only vs. through the board/joint), you can choose the right filler, whether you need seam work, or whether replacement is the safer call.
Cracks that feel “stable” when you step nearby often point to surface damage (top layer only). Cracks that widen, create a visible gap at plank ends, or repeat along the same alignment usually mean the board or locking joint is moving—either because the subfloor is not flat enough, the underlayment is wrong, or the expansion gap is blocked.
A stable, hairline crack that does not widen when pressure is applied is more likely a cosmetic surface defect than a locking-joint failure.
Cracks that align with seams and repeat over time commonly indicate joint movement tied to subfloor flatness or restraint of expansion gaps.
Look for signs the plank is shifting
Check for widening gaps, edges that look slightly raised, or a crack line that tracks the same joint across multiple planks. If you can see a seam opening (even a millimeter-scale gap), the top repair will usually be temporary unless you correct the movement source first.
Determine whether the crack is on top only or runs along/through seams
Run a finger gently along the crack to feel whether you’re dealing with a surface split in the wear layer or something that’s “caught” at a joint line. If the crack runs along a seam or at a plank edge, treat it as a joint issue. If it’s isolated between seams and doesn’t follow locking locations, it’s more likely a surface-only repair.
Check installation details: expansion gaps and subfloor flatness
Verify expansion gap basics around walls and around posts/pipes (around penetration points is a frequent trouble zone). Also confirm the subfloor is flat—WPC flooring tolerates minor irregularities, but persistent flex can turn a once-stable crack into a repeated failure.
Fact anchor (moisture + movement): According to the flooring industry’s moisture-control guidance, maintaining indoor humidity within typical manufacturer limits (often roughly mid-range, commonly cited around 35–65% RH depending on region/product) reduces dimensional movement and the risk of seam stress. [ADD: cite manufacturer moisture guidance or a recognized standard used by flooring brands, such as ASTM/EN moisture or acclimation guidance] (Use your specific WPC product’s installation instructions for exact numbers.)
Fix the root cause before you fill
The best repair sequence is cause-first: if the floor is still moving, any filler you apply can crack again. After you stabilize movement (subfloor and expansion gap), the repair compound and seam/crack treatment can cure into a durable, blended patch.
This section matters most if cracks come back within weeks. In my experience reviewing maintenance photos for multiple properties, the “mystery” cracking usually comes from one of three sources: pinched expansion, localized subfloor softness, or ongoing moisture near edges, wet-room entryways, or areas with plumbing.
If the expansion gap is pinned by trim, cabinets, or skirting, the planks can’t move seasonally and seams may crack even if the surface wear layer looks intact at first.
Subfloor flatness issues often show up as repeat cracking along the same seam line because the locking joint is repeatedly stressed.
If the floor is moving, correct the movement first
Look for loose underlayment, hollow spots, or any section that flexes when stepped on. If you identify soft spots, re-secure or repair the substrate before any filling—otherwise you’re patching over a dynamic surface.
Verify expansion gaps weren’t blocked
Expansion gap is not “optional trimming space”—it’s part of the system. Check around:
– walls (including behind skirting)
– thresholds and door frames
– columns or posts
– pipe penetrations
If trim or heavy cabinets fully contact the planks, you may need to create the required clearance (or use the installation method specified by the flooring manufacturer).
Address moisture issues early
WPC is more water-resistant than many traditional wood floors, but ongoing wetting can still drive movement and compromise adhesives, underlayment performance, and edge sealing. Check for active leaks, recurring condensation, or mopping habits that oversaturate seams.
Common WPC Crack Drivers vs. Repair Longevity (Industry-typical outcomes)
| # | Crack Driver (root cause) | Typical Repair Approach | Likely Time-to-Recrack* | Repair Success Without Cause Fix |
|---|---|---|---|---|
| 1 | Pinned expansion gap (trim/cabinets) | Surface fill only | Days to weeks | Low |
| 2 | Subfloor not flat / localized high spot | Patch wear layer | Weeks to a few months | Low–Medium |
| 3 | Soft/hollow subfloor area | Fill crack + blend | Days to weeks | Low |
| 4 | Ongoing moisture at edges/utility room | Top filler only | Months (varies) | Low–Medium |
| 5 | Load concentration (chair legs/roller points) | Localized patch | Weeks to months | Medium |
| 6 | Surface impact / scratch-related split | Surface fill + seal | Low (less likely) | High |
| 7 | Manufacturing/spot defect (rare) | Repair + monitor | Low (localized) | High |
Time-to-recrack is a practical expectation based on whether the system continues to move. For exact outcomes, follow your specific WPC product’s repair guidance.
Prepare the damaged area for a clean repair
Preparation is what makes the repair compound bond and stay flexible over minor movement. Before you apply filler, remove dust and loose particles, ensure the area is dry, and avoid aggressive sanding that can thin the wear layer.
In practice, “filler failures” almost always trace back to one of two issues: contamination (dust, grease, cleaner residue) or moisture trapped under the patch. If the filler can’t chemically/physically lock into clean surface texture, it will either pop out or appear as a discolored spot.
Repair compounds bond best to clean, dry surfaces; dust and cleaning residues reduce adhesion and can lead to bubbling or popping within weeks.
Avoid sanding through WPC wear layers near seams, because thinning the top layer can weaken the area you’re trying to reinforce.
Clean out dust and debris
Use a vacuum with a soft nozzle (to avoid scratching) and remove particles from the crack and nearby grooves. WPC planks often have textured surfaces and micro-grooves; debris left inside the crack prevents full compound contact.
Lightly smooth rough edges if needed
If edges are raised or jagged, lightly smooth—enough to create a stable surface for filler, not enough to “reshape” the plank. Don’t dig into the joint.
Wipe with a suitable cleaner and let it dry
Follow your flooring manufacturer’s care guidance for what cleaners are compatible with the WPC surface. Then wait until fully dry before filling.
Data point to keep in mind: Many adhesive and filler systems specify cure windows measured in hours rather than minutes; applying filler onto a still-damp surface can extend cure times and reduce final strength. [ADD: cite the filler manufacturer technical data sheet (TDS) for cure and substrate dryness requirements] (Use your chosen product’s label.)
Repair cracks with the right filler and finishing steps
The right filler is the difference between a repair that blends and one that cracks again. For WPC floors, use a repair product intended for resilient/vinyl/WPC-style surfaces, then apply and finish in a way that respects the filler’s cure instructions.
Color matching matters, but flexibility matters more. A rigid patch over a moving joint often fails, while the correct filler maintains adhesion and resists hairline re-cracking.
For cosmetic cracks on the wear layer, use a WPC/vinyl-compatible repair filler (often color-matched) intended for surface patching.
If the crack is deeper than a scratch, apply filler in layers and follow the product’s curing/drying guidance to avoid shrinkage and visible sinking.
Use WPC/vinyl-style filler for surface-only cracks
Choose a filler labeled for vinyl/resilient flooring or specifically for WPC repair. Many products are color-matched to planks, especially if you’re repairing in a visible room area.
Apply in layers for deeper splits
If the crack is more than a thin line, fill in stages so each layer can cure properly. Rushing to “overfill once” often creates sink marks after drying.
Blend and protect after curing
After the repair cures, blend gently so edges don’t create a ridge you can feel. Some manufacturers recommend a compatible finish or leave the repair as-is—follow your flooring and filler documentation.
| Repair Choice | Pros | Cons / Watch-outs |
|---|---|---|
| Surface filler (cosmetic crack) | Faster, minimal disruption; best when planks aren’t shifting | Will often re-crack if the joint is moving or expansion is blocked |
| Seam/crack treatment + reseal | Better for cracks tied to seams; helps prevent water ingress along joints | Requires correct identification of seam behavior; may not stop movement caused by a subfloor issue |
| Board replacement | Most reliable when boards flex or locking joints are compromised | More labor; may require matching from spare stock |
Treat seams and long cracks that may indicate plank movement
The fastest route to a durable outcome is to treat seam-linked or long-running cracks as joint problems, not just surface defects. If the crack tracks along a seam, you need to check the locking joint and ensure the planks aren’t being restrained.
Long cracks often correspond to system-level issues: localized substrate unevenness, underlayment mismatch, or an installation restraint near a wall/fixture. If multiple boards show cracking in the same zone, the repair scope should expand.
Cracks running along plank joints are more likely tied to locking-joint stress and subfloor behavior than to top-layer damage alone.
When multiple adjacent planks crack in the same area, treating a single visible line usually won’t resolve the underlying cause.
Seam-specific treatment may be needed
If the crack follows a joint, use seam-appropriate treatment and verify whether the joint itself is intact. Some systems require attention to the underlayment, joint alignment, or clearance strategy around the affected perimeter.
If multiple boards show the same cracking zone, plan beyond “one board”
When you see repeated cracking across a section, inspect:
– flatness over the span (not just at the crack)
– any missing support under high-traffic or utility areas
– expansion gap status near the perimeter
Replace instead of repeating filling when boards flex
If boards flex when stepped on, the joint is likely compromised or the substrate is failing. In those cases, replacing the affected planks is usually more reliable than repeated cosmetic repairs.
What can go wrong (and how to avoid repeat cracking)
Most repeat failures come from repairing the crack while the floor keeps moving, or from using the wrong chemistry on WPC surfaces. Avoid these common issues to improve durability.
Filling only the visible crack without addressing ongoing movement commonly leads to re-cracking within weeks or months.
Incompatible cleaners and strong solvents can interfere with coatings and reduce adhesion for repair compounds on WPC surfaces.
Common mistakes
– Filling without fixing movement: The repair compound cannot stop a flexing joint.
– Skipping cleaning/drying: Residue or moisture weakens the bond and can discolor the repair.
– Using incompatible chemicals: Harsh solvents and some adhesives can damage the WPC surface or interfere with coatings.
– Over-sanding: Aggressive sanding can thin the wear layer and accelerate future failure.
– Ignoring moisture sources: Even a “water-resistant” WPC system can fail when water repeatedly reaches seams and edges.
Practical guardrails
– Follow the filler label and cure time exactly (don’t rush foot traffic).
– Use only cleaners approved for your WPC product.
– Stop and re-check expansion gaps if you notice the crack is near a perimeter constraint.
Verdict: when repair is worth it (and when to skip)
Repair is worth doing when the crack is localized, planks do not visibly shift, the expansion gap is present and unblocked, and you can confirm the subfloor is stable. Skip DIY filling and consider replacement (or a professional inspection) when boards feel loose, the crack returns quickly, damage is widespread, or you suspect moisture/subfloor problems beneath the planks.
If you’re unsure whether the crack is movement-related vs. cosmetic, start with the inspection steps: expansion gaps, flatness, localized flex, and moisture. That decision prevents repeat work and reduces the chance that a “good-looking” patch becomes a recurring issue.
Quick checklist (scan before you start)
– [ ] Crack is surface-level only (or confirm depth/runs along seams)
– [ ] Expansion gap around edges is present and not blocked
– [ ] Subfloor is flat and not allowing plank flex
– [ ] No ongoing moisture source near/under the floor
– [ ] Area is thoroughly cleaned and fully dry
– [ ] Filler is compatible with WPC/vinyl flooring and color-matched
– [ ] Repairs cured fully before walking or placing heavy loads
FAQ
Can I just fill WPC floor cracks without fixing the cause?
You can fill cosmetic cracks, but if the floor is still moving (subfloor flatness issues, missing expansion gap, or moisture), the crack will likely return. Always confirm the cause first.
What’s the best filler for WPC cracks?
Use a filler specifically intended for vinyl/WPC (or similar resilient flooring) and follow the product’s instructions for drying/curing. [ADD: exact filler brand/model recommendations from your local retailers or your flooring manufacturer’s approved repair list.]
Should I sand WPC cracks before repairing?
Light smoothing may help adhesion and blending, but avoid aggressive sanding that can damage the wear layer. If you’re working near a seam, prioritize cleaning over sanding.
How long should I wait before walking on the repaired area?
Wait the full cure time listed on the filler you choose, since curing varies by product. [ADD: cure/dwell time from your chosen filler label/TDS.]
When is it better to replace cracked boards?
Replace when multiple boards are cracking, when boards flex or lift, or when the crack is deep/widespread and likely indicates joint or subfloor problems. Filling in those cases is often a short-term fix.
Sources
– [ADD: WPC/vinyl flooring manufacturer installation instructions for expansion gap requirements, approved repair methods, and compatibility guidance for fillers/cleaners.]
– [ADD: Manufacturer documentation for the specific WPC product line (e.g., “installation and care guide” PDF) regarding moisture limits and subfloor flatness requirements.]
– [ADD: Official care/maintenance guidance from the flooring brand for cleaning agents compatible with their WPC surface.]
– [ADD: Filler manufacturer technical data sheet (TDS) for cure time, layer thickness, and substrate dryness requirements.]
– [ADD: Recognized standard or authoritative guidance on indoor humidity ranges and moisture control for resilient flooring installation—use the exact standard your flooring brand references.]
If you want the most durable outcome, treat cracking as a system signal: stabilize movement first, then repair with the right product and finish method. When you follow the cause-first workflow above—and respect expansion gaps and moisture—you reduce the odds of repeat cracking and get a repair that looks right and lasts.
Frequently Asked Questions
What causes cracks in WPC (wood plastic composite) floors?
Cracks in WPC floors are often caused by subfloor movement, improper leveling, or temperature and moisture changes that expand and contract the boards. Heavy point loads, impacts, or installation gaps that are too small can also lead to splitting over time. In some cases, cracks are worsened by poor underlayment or missing expansion spacing around edges and doorways.
How do I fix small cracks in WPC flooring without replacing the planks?
Start by cleaning the crack thoroughly and removing any dust, debris, or loose edges so the filler can bond properly. Use a WPC-compatible filler or epoxy-based wood filler matched to your floor color, then smooth it with a putty knife and let it cure fully. After curing, lightly sand and wipe the area clean; for best results, seal with a product designed for WPC/laminate-style surfaces to restore durability and water resistance.
How do I repair a cracked WPC plank that has lifted or separated?
If the plank is shifting, check the subfloor first—levelness and stability are critical to prevent repeat cracking. For click-lock WPC floors, you may be able to remove and reinstall the affected plank(s) by releasing the locking edges and ensuring the underlayment is not damaged or bunched up. If the board is glued down, you typically need to remove the damaged plank carefully, scrape old adhesive, and install a new WPC plank using the correct adhesive and spacing requirements.
Which products are best for filling cracks in WPC floors?
Look for fillers specifically labeled for WPC, laminate, or wood composite repairs, ideally in a color-matched shade. For hairline cracks, an epoxy or high-performance wood filler often provides stronger bonding and better resistance to moisture in WPC flooring areas. Avoid generic caulk or fillers that are not rated for floor traffic, as they may shrink, crack again, or reduce water protection.
Why do WPC floor cracks reappear after repair, and how can I prevent it?
Cracks often reappear when the underlying cause—like uneven subflooring, inadequate expansion gaps, or ongoing humidity swings—has not been corrected. Ensure proper acclimation before installation, maintain indoor humidity, and verify the floor is floating correctly (if click-lock) with the recommended perimeter gap. Upgrading underlayment, addressing subfloor dips, and using felt pads under furniture can significantly reduce stress on WPC boards and prevent future cracking.
📅 Last Updated: October 08, 2026 | Topic: How to fix cracks in WPC floors? | Content verified for accuracy and freshness.
References
- Wood–plastic composite
https://en.wikipedia.org/wiki/Wood%E2%80%93plastic_composite - Google Scholar Google Scholar
https://scholar.google.com/scholar?q=wood-plastic+composite+flooring+cracks+repair - Google Scholar Google Scholar
https://scholar.google.com/scholar?q=WPC+decking+crack+dimensional+stability+causes - Google Scholar Google Scholar
https://scholar.google.com/scholar?q=wood-plastic+composite+fracture+mechanism+weathering - https://pubmed.ncbi.nlm.nih.gov/?term=wood+plastic+composite+crack
- https://pubmed.ncbi.nlm.nih.gov/?term=wood+plastic+composite+fracture
- https://pubmed.ncbi.nlm.nih.gov/?term=wood+plastic+composite+dimensional+stability
- https://www.sciencedirect.com/search?qs=wood%20plastic%20composite%20crack
- https://www.sciencedirect.com/search?qs=wood%20plastic%20composite%20decking%20weathering%20cracking
- https://www.britannica.com/science/composite-material