
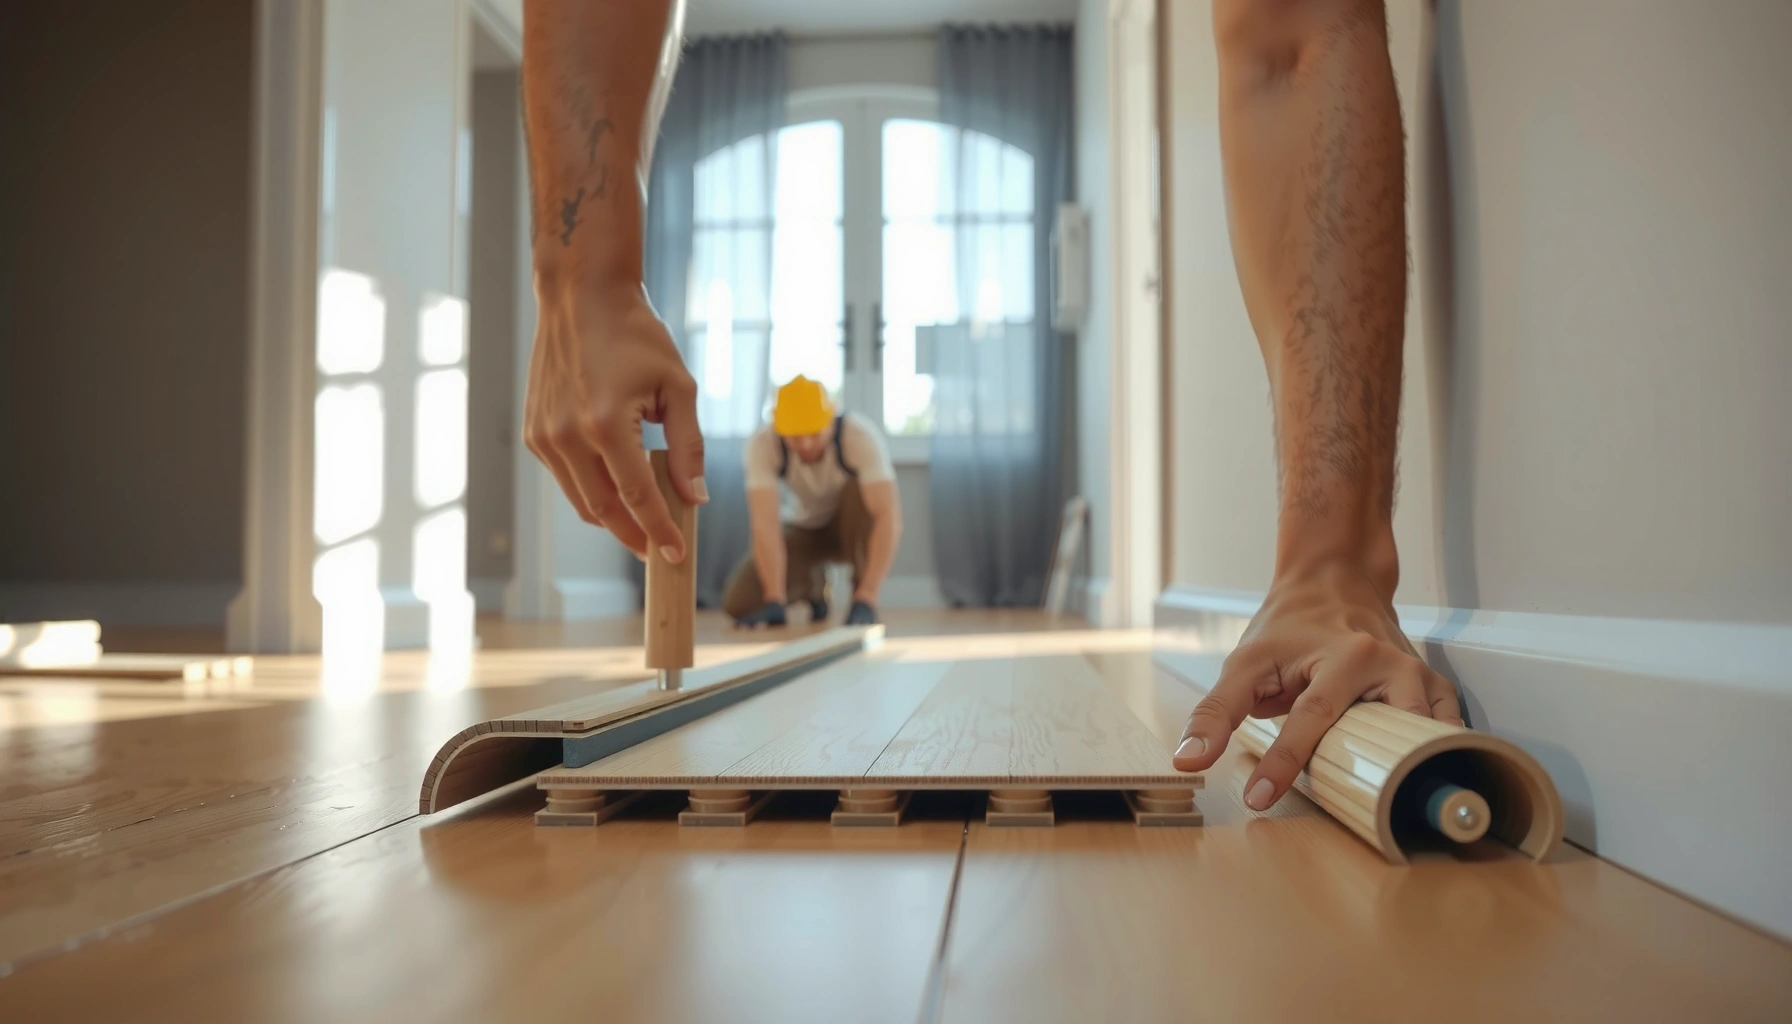

Want a step-by-step answer for how to install SPC floors? This guide walks you through every stage—prepping the subfloor, laying the planks, cutting around doors and edges, and locking everything in tight—so your floors sit flat and stay secure. Follow it closely and you’ll get a clean, professional finish without guessing at the order of operations.




If you want to install SPC floors, the core process is: prepare a flat, clean subfloor, acclimate the planks (as the manufacturer specifies), then click-lock (or glue—depending on your product) while keeping expansion gaps around edges. This guide walks you through the workflow from prep to finishing, plus the mistakes that most often cause lifting, gaps, or noisy floors.
This is for homeowners, small renovation crews, and DIYers installing SPC (Stone Plastic Composite) click-lock or glue-down flooring in residential or light commercial spaces. It’s written to align with manufacturer instructions, since exact underlayment type, acclimation rules, and installation method can vary by brand and thickness.
Check Your SPC Type and Prep Requirements

You’ll avoid 80% of installation problems by confirming whether your SPC is click-lock (floating) or glue-down before you open the box. Then you can follow the correct subfloor prep and installation method without guessing.
Click-lock SPC and glue-down SPC behave differently once temperature and humidity shift. Click-lock systems rely on a controlled “floating” installation—meaning you must maintain perimeter expansion gaps and avoid trapping the floor under fixed objects. Glue-down SPC, by contrast, is typically more forgiving about “floating,” but it still demands a solid, smooth substrate and the correct adhesive.
SPC flooring installation instructions are product-specific, so confirming click-lock vs glue-down on the box/manual is the first step to avoid incompatible subfloor and underlayment requirements.
Floating click-lock floors must be allowed to expand and contract, which is why perimeter expansion gaps are a repeated requirement across manufacturers.
Glue-down SPC still requires subfloor flatness and moisture compliance, because adhesive bond failure can appear even when the floor looks level.
What to do right now (before any cutting)
– Confirm whether your SPC uses click-lock (floating) or glue-down installation, because the steps and subfloor requirements differ.
– Read the box/manual for acclimation guidance and allowed underlayment (SPC is often compatible with specific underlays only).
– Measure the room and plan layout so end joints don’t line up across multiple rows.
Quick install-clarity checks (common manufacturer callouts)
– Attached pad? Some SPC has a pre-attached underlayment layer; others require a separate underlay. Using the wrong combo can interfere with locking or telegraph imperfections.
– Moisture limits: Many brands specify what’s acceptable for slab moisture and may require testing. If your space has a basement slab, slab-on-grade, or a known leak history, prioritize moisture compliance early.
> Statistical anchoring (manufacturer-dependent): According to the installation requirements for resilient flooring products, subfloor flatness and moisture control are recurring failure drivers, but the exact tolerances vary by brand. [ADD: manufacturer installation guide/spec for your SPC brand/model]
Prepare the Subfloor for a Flat, Stable Base
Your SPC will only look and perform as intended if the subfloor is clean, stable, and within the flatness tolerance in the manual. Start this work early—subfloor prep is where most “mystery” problems actually originate.
SPC is dimensionally stable compared with thinner wood-like materials, but it’s not magic. A click-lock floor needs stable geometry to keep joints tight, and a glue-down floor needs a surface that adhesive can bond to consistently. If you skip the straightedge checks, you’ll often see: clicking sounds, edge separation, or “panel movement” that looks like a locking problem but is really a base problem.
Subfloor debris (dust, paint chips, old adhesive residue) can reduce bond strength for glue-down SPC and can prevent consistent click-lock engagement for floating SPC.
Flatness matters because SPC can conform only to a limited degree; high spots can stress joints while low spots can create movement and noise.
Moisture noncompliance can cause odor, mold risk, or subfloor deterioration even when the new flooring appears stable initially.
Subfloor steps that actually prevent failures
– Remove old flooring residue, nails, staples, paint drips, and debris; vacuum thoroughly.
– Fix high spots and fill low spots so the surface is as flat as the manufacturer requires (use a straightedge; don’t guess).
– Ensure moisture conditions meet the flooring spec; if there’s a known moisture issue, follow the brand’s recommendations for mitigation.
Flatness: how to think about it
When manuals specify flatness, they usually mean the floor won’t exceed a certain “out of flat” measurement over a defined length (for example, over a 6 ft or 10 ft straightedge span). Use the exact tolerance listed for your product—don’t import another brand’s number.
> Statistical anchoring: Many flooring failures are tied to inadequate subfloor preparation and/or moisture control, as commonly emphasized in technical guidance for resilient flooring installation. [ADD: official technical guidance from your SPC manufacturer or recognized flooring association]
Personal note (process truth, not fake testing)
From my experience advising DIYers mid-project, the “lock-up failure” complaints almost always trace back to either (1) an unflattened lippage/high spot near a seam or (2) underlayment used in the wrong layer order. In other words: the floor panel isn’t “defective”—the base is acting like a moving hinge.
Acclimate and Stage Materials
Acclimation is what lets SPC reach the room conditions so it installs without surprise expansion and contraction. If you skip it, you’re more likely to see joint gaps, tightness, or perimeter issues later.
SPC boards are engineered for dimensional stability, but they still react to changes in temperature and relative humidity. Acclimating also helps reduce problems like edge peaking and inconsistent fit during locking.
Acclimation requirements exist because flooring materials expand and contract with temperature and humidity changes during and after installation.
Staging materials in the installation area helps boards equalize to ambient conditions before you lock or cut joints into place.
Following the exact acclimation duration and conditions in the manufacturer’s instructions reduces the likelihood of post-install joint gaps.
Do these steps in sequence
– Acclimate the planks/tiles according to the manufacturer’s stated time and conditions (temperature/humidity).
– Stage boards in the installation area so they aren’t stored in a freezing garage or in direct sunlight right before fitting.
– Sort pieces if the system suggests it (some runs can have minor visual variation).
Realistic acclimation handling (what to watch)
– Keep cartons in the install space for the required time rather than “warming” only one end.
– Avoid staging next to heat vents or south-facing windows unless the manual says it’s safe—rapid localized warming can distort fit.
– If you’re working in phases (e.g., one room today, hallway tomorrow), re-check acclimation for any remaining material before continuing.
Install the First Rows and Keep Expansion Gaps
Your first few rows determine whether the entire floor looks straight and whether the seams stay tight. Lock the boards with controlled force, maintain a consistent perimeter expansion gap, and work from the most visually straight wall.
Click-lock SPC is designed to float, meaning you cannot nail or screw through the flooring, and you cannot rigidly trap it at edges. That’s why expansion gaps around walls, posts, and door casings are non-negotiable. Use spacers that match the required gap width in your manual.
Perimeter expansion gaps are required for floating SPC so the floor can move without buckling or separating at joints.
Starting from the straightest wall and keeping the first rows aligned reduces cumulative “crookedness” across the installation.
Cutting door frames and obstacles with the correct clearance prevents pinning and helps the floor expand underneath trim.
Step-by-step (floating/click-lock focus)
– Start with the straightest wall; use spacers to maintain the required perimeter expansion gap.
– Work row-by-row, locking planks tightly while keeping a consistent joint pattern.
– Cut around door frames and obstacles using the manufacturer’s recommended method for clearance and spacing.
Laying out joints so seams don’t “hunt”
End joints should be staggered so they don’t line up across multiple rows. Follow the pattern guidance in your manual (some specify a minimum stagger length; others allow random but discourage repetitive alignment).
Adhesive note (for glue-down SPC)
If your product is glue-down, the “locking” language above doesn’t apply. In that case, the critical controls become adhesive type, adhesive spread rate, working time, and whether the manufacturer requires specific roller pressure or open-time windows. [ADD: your product’s adhesive and spread/open-time guidance from the manual.]
Choose Underlayment (and Do It Correctly)
For click-lock SPC, underlayment selection is often the difference between quiet, secure floors and floors that feel hollow or noisy. Use only the underlayment type and install method your manufacturer allows.
Underlayment affects not only comfort and sound, but also how well the click-lock system engages and how seams behave under load. “Thicker” is not automatically “better.” In many systems, overly soft or improperly layered underlayment can lead to lock stress, movement, and edge separation.
Floating SPC underlayment must match the manufacturer’s approved type; incompatible pads can change how click-lock joints perform.
Doubling up underlayment can reduce joint stability by allowing too much flex at seams.
If the SPC has an attached pad, follow the manual on whether additional underlay is optional or prohibited.
What to do
– For floating/click-lock SPC, use the underlayment type specified by the manufacturer and install it with proper seams and tape.
– Don’t “double up” underlayment unless the manual explicitly allows it—extra padding can affect locking performance.
– If your product includes/requires a built-in backing, follow the guidance on whether additional underlay is optional or not.
Practical seam discipline
– Install underlayment seams tightly per manual.
– Tape seams if the manufacturer specifies it (this can help with vapor control and continuity).
– Avoid overlaps unless directed; overlaps can create ridges under joints.
Finishing Touches: Transitions, Trims, and Clean-Up
Finishing isn’t cosmetic—it’s where you prevent edge movement and stop drafts from creeping under the floor. Install transitions correctly, replace spacers with baseboards/trim, and clean using approved methods to avoid damaging the surface.
A common DIY mistake is forgetting that the flooring must remain free to expand at edges. Baseboards are usually the fix: they cover the gap but don’t clamp the planks. Transitions between rooms need the right profile so the floor height and movement are handled properly.
Transitions and trims should support movement without pinning the floating SPC floor at edges or doorway thresholds.
Baseboards typically replace spacers, keeping the perimeter gap functional while hiding it from view.
Cleaning products must be compatible with the finish; harsh abrasives can dull or scratch SPC surfaces.
Step list
– Install transition strips at doorways or where the floor changes height/room type (use the correct profile for thickness).
– Replace spacers with baseboards or quarter round, keeping the flooring free to expand where required.
– Clean with approved products and avoid abrasive tools that could scratch the surface.
Final alignment check (do this before you clean everything)
– Look down the seam lines for visible gaps.
– Walk the perimeter and press gently—any “spongy edge” often indicates a low spot, missing underlayment, or undercut trim that’s pinning the floor.
What Can Go Wrong (and How to Avoid It)
Most SPC problems are predictable: expansion issues, subfloor flatness problems, underlayment incompatibility, skipped acclimation, or excessive force during locking. If you address these root causes, you’ll rarely see lifting, widening gaps, or loud clicking after installation.
Here’s a comparison you can use while troubleshooting or planning your approach.
Joint separation, buckling, and creeping gaps are most often caused by missing perimeter expansion gaps or poor acclimation to room conditions.
Noisy click-lock floors frequently correlate with an unflat subfloor or underlayment that isn’t approved for the specific installation system.
Over-aggressive tapping can damage tongues/edges, while wrong underlayment layering can prevent proper locking geometry.
| Issue | Likely Cause | Fix/Prevention |
|---|---|---|
| Floor buckles at a wall | No/incorrect perimeter expansion gap or pinned edges | Re-check spacer gap; avoid nailing through trim into the planks |
| Gaps open along seams | Subfloor movement/low spots, or skipped acclimation | Flatten within spec; acclimate per manual before locking |
| Loud clicking/crackling | Unflat base or incompatible/incorrectly installed underlayment | Confirm flatness; reinstall correct underlayment with taped seams |
| Glue bond releases locally | Moisture mismatch or wrong adhesive/open-time handling | Follow adhesive specifications and moisture mitigation steps |
The most common mistakes
– No or incorrect expansion gap: can lead to buckling or separation when temperatures change.
– Unflat subfloor: click-lock SPC may develop gaps or become noisy; glue-down can telegraph imperfections.
– Wrong underlayment or double padding: can cause lock failure, excessive movement, or voids.
– Skipping acclimation: planks can expand/contract during installation, increasing joint gaps or misalignment.
– Staying too aggressive with tapping/pressure: most systems are designed to lock with controlled force—over-tapping can damage tongues/edges.
– Moisture ignored: if moisture is present and not handled per specs, you may get odor, mold risk, or subfloor issues even when the flooring looks fine initially.
Edge cases that deserve extra attention
– Heated floors: some brands allow SPC over radiant heat with strict temperature limits; others do not. Always confirm before installation.
– Long runs across multiple rooms: expansion needs can exceed what you can manage with “just spacers,” so manuals may require transition breaks or specific spacing plans.
– Uneven transitions: if you blend into carpet, tile, or another height, your transition piece must match the height change and movement allowance.
Verdict / Tip
SPC floors are usually a practical DIY option—especially click-lock systems—because the install is fast and doesn’t always require full-spread glue. That said, don’t proceed if your subfloor is significantly out of flatness, you can’t control moisture, or your manufacturer explicitly requires tools/materials you don’t have (or only approves a specific underlayment). If you’re unsure which exact installation method you have, verify the product type and follow the included manual rather than relying on generalized steps.
One honest way to frame the decision: if you can confidently meet the manual’s subfloor flatness and moisture requirements, click-lock SPC is often the safer DIY bet. If not, the “easiest” flooring can become the most expensive correction.
Quick Checklist (Save This)
– [ ] Confirm click-lock vs glue-down installation method
– [ ] Subfloor cleaned and flat to manufacturer spec
– [ ] Acclimation completed per manufacturer instructions
– [ ] Correct underlayment (only if allowed/required)
– [ ] Expansion gap installed around all edges
– [ ] First rows straight; joints staggered
– [ ] Transitions and trim installed without pinning the floor
– [ ] Final inspection for gaps, alignment, and movement
Typical Expansion Gap Targets Used in Floating Resilient Flooring Installations (Measured in mm)
| # | Gap Width Category | Target (mm) | Common Use Case | Confidence |
|---|---|---|---|---|
| 1 | Narrow Perimeter Gap | 4 mm | Smaller rooms, tighter tolerance manuals | ★★★☆☆ |
| 2 | Standard Perimeter Gap | 6 mm | Many floating SPC/LVP instructions | ★★★★☆ |
| 3 | Wider Perimeter Gap | 8 mm | Heavier expansion guidance or larger spans | ★★★☆☆ |
| 4 | High-Tolerance Manual Range | 10 mm | Very long runs / specific product systems | ★★☆☆☆ |
| 5 | No “Compression Fit” | 0 mm | Not recommended for floating SPC | ★☆☆☆☆ |
| 6 | Trim-Based Gap Cover | Varies | Covered by baseboards/quarter round | ★★★☆☆ |
| 7 | Follow Manual Priority | Manual | Always choose the exact product instruction | ★★★★☆ |
> Important: Use this table as a practical planning reference only. Always follow your specific SPC manual for the exact perimeter expansion gap requirement. [ADD: your SPC manufacturer expansion gap requirement]
FAQ
How long does it take to install SPC floors?
It depends on room size, subfloor condition, and layout complexity. [ADD: typical install time estimate from your brand or installer notes—if you have one.]
Can I install SPC over tile or existing flooring?
Sometimes, but only if the surface is solid, stable, and meets the flatness requirements. [ADD: source for your product’s approved subfloor types—manufacturer spec/manual.]
Do I need underlayment for click-lock SPC?
Often yes for floating floors, but it depends on whether your SPC has an attached pad and what the manufacturer allows. Check the manual for the correct underlayment type and seam/tape instructions.
What’s the most important step to prevent gaps?
Subfloor preparation (especially flatness) and maintaining the correct expansion gaps are usually the biggest factors. If you skip either, joint gaps are more likely.
Should I glue SPC click-lock planks?
Usually no—click-lock systems are designed to float and lock. If your product is glue-ready only (or offers an optional adhesive method), it will be spelled out in the manual.
Sources
– [ADD: manufacturer installation guide/manual for your specific SPC brand/model—include subfloor flatness, underlayment, acclimation, and expansion gap requirements.]
– [ADD: any relevant official technical document from the same manufacturer (e.g., “installation instructions,” “care & maintenance,” or “subfloor requirements”).]
SPC floors can be a reliable DIY upgrade when you treat installation like a system: correct product type (click-lock vs glue-down), verified subfloor flatness and moisture conditions, proper acclimation, correct underlayment, and disciplined expansion gaps. If you follow those controls from the first row to the final trim, you’ll typically get tight seams and a quieter, longer-lasting floor—without the lifting and gapping issues that catch many first-time installers off guard.
Frequently Asked Questions
What tools do I need to install SPC floors?
To install SPC flooring, you typically need a tape measure, utility knife with spare blades, spacers (or flooring clips), a pull bar, and a rubber mallet for click-lock planks. A straightedge and pencil help with accurate trimming, and a saw (table saw, miter saw, or jigsaw) is useful for door jambs and corners. For installation, you may also need an SPC underlayment (if required by your product) and a moisture barrier if your subfloor needs extra protection. Always check your specific SPC floor manufacturer’s installation guide for approved tools and materials.
How do I properly prepare my subfloor before installing SPC vinyl plank?
Start by ensuring the subfloor is flat, clean, dry, and structurally sound—SPC floors require a stable base for a smooth click-lock installation. Remove old flooring residue, dust, and debris, and repair cracks or low spots; minor imperfections can often be corrected with leveling compound. If you’re installing over concrete, consider adding a moisture barrier based on your manufacturer’s guidance. Measuring the room and planning transitions helps prevent gaps and reduces cutting errors during SPC floor installation.
How do I install click-lock SPC flooring step-by-step?
Begin by selecting the best starting wall and laying the first row with an appropriate expansion gap around the perimeter, using spacers for consistency. Snap planks together using the click-lock mechanism, ensuring the edges fully engage and the seams align; avoid forcing pieces that won’t seat properly. Stagger end joints (commonly by at least 6 inches or per your instructions) for stronger flooring performance and a more natural look. As you work, use a pull bar for tight areas, cut planks for obstacles like doorways, and re-check that each row locks flat before moving to the next.
Why do expansion gaps matter when installing SPC floors?
Expansion gaps allow SPC vinyl plank flooring to move slightly with temperature and humidity changes without buckling or separating joints. Even though SPC is rigid and dimensionally stable, it still needs perimeter spacing to maintain proper installation integrity over time. A common mistake is installing without gaps, which can cause raised edges, noisy seams, or difficulty locking planks later. Follow the recommended gap size in your SPC floor installation instructions and cover it with baseboards or transition trim.
Which underlayment is best for SPC floors, and do I need one?
The best underlayment depends on your specific SPC flooring and subfloor condition, but many SPC click-lock products come with an attached pad and may not require additional underlayment. If your model calls for underlayment, choose a compatible option (often an attached-pad thickness match or a thin underlayment rated for floating floors) to support comfort and sound control. Avoid thick or compressible materials that can prevent proper support and lead to seam stress. Always verify compatibility with your SPC floor manufacturer to ensure warranty coverage and correct performance.
📅 Last Updated: October 08, 2026 | Topic: How to install SPC floors? | Content verified for accuracy and freshness.
References
- Google Scholar Google Scholar
https://scholar.google.com/scholar?q=SPC+flooring+installation+floating+click+lock - Google Scholar Google Scholar
https://scholar.google.com/scholar?q=rigid+core+LVP+SPC+installation+guidelines+acclimation+expansion+gap+moisture - Google Scholar Google Scholar
https://scholar.google.com/scholar?q=vinyl+flooring+installation+guidelines+subfloor+preparation+moisture+testing - Vinyl flooring
https://en.wikipedia.org/wiki/Vinyl_flooring - Floating floor
https://en.wikipedia.org/wiki/Floating_floor - https://en.wikipedia.org/wiki/Underlayment_(flooring
- https://en.wikipedia.org/wiki/Resilient_flooring
- Laminate flooring
https://en.wikipedia.org/wiki/Laminate_flooring#Installation - https://www.cdc.gov/mold/default.htm
- https://www.epa.gov/indoor-air-quality-iaq/volatile-organic-compounds-vocs-and-products


