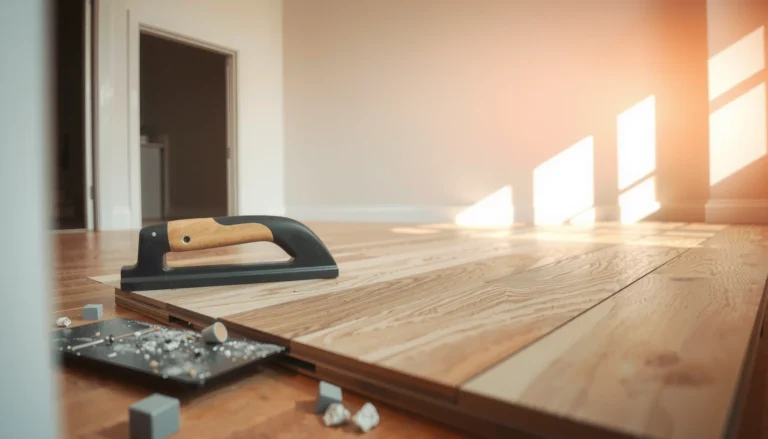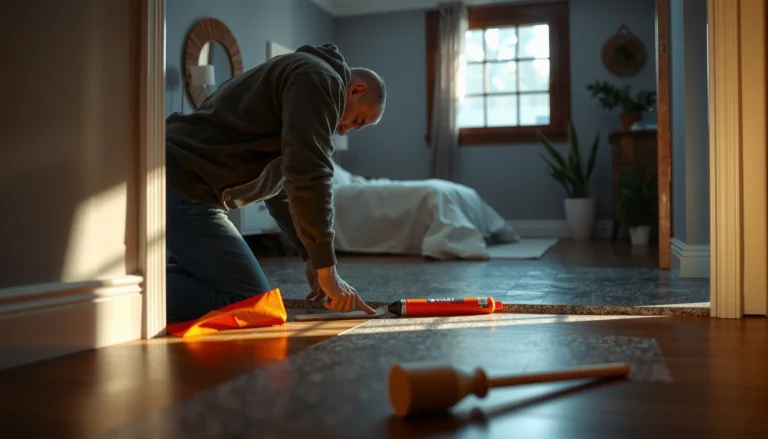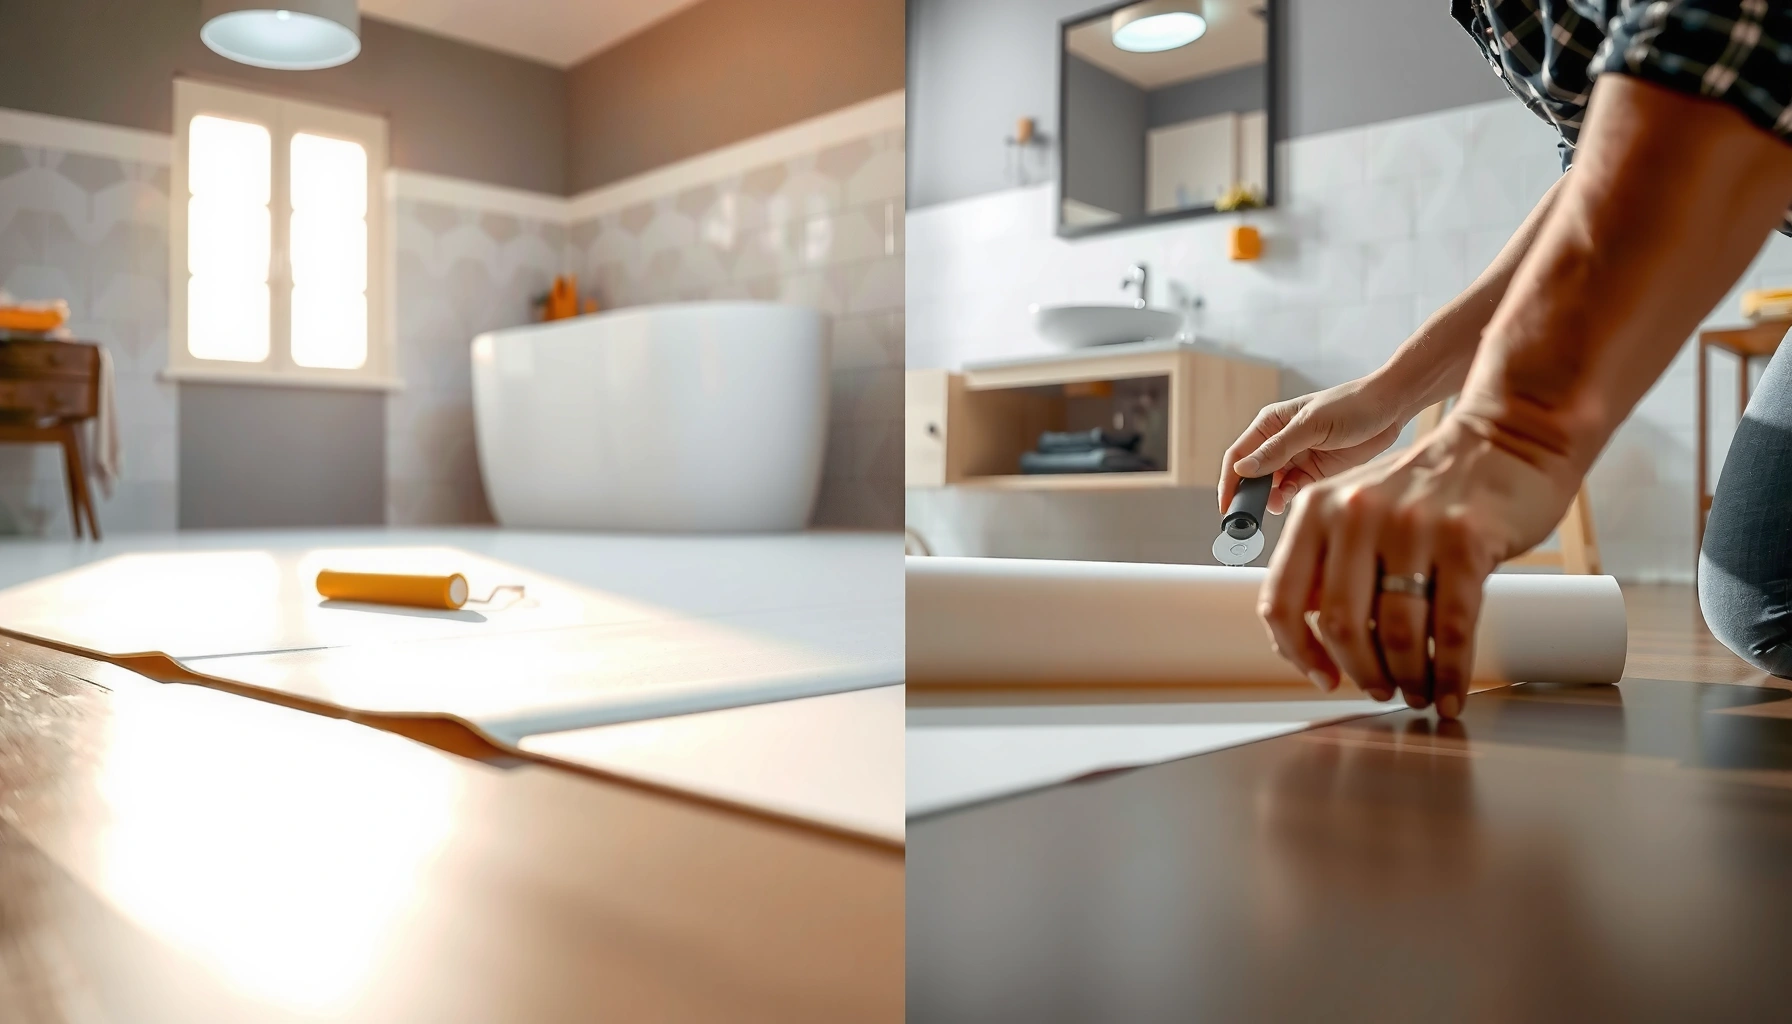

Installing bathroom sheet vinyl floors is a straightforward weekend job when you follow the right order of prep, cutting, and sealing. This step-by-step guide shows exactly how to measure your bathroom, prep the subfloor, cut and roll the sheet for a perfect fit, and seal seams and edges so water can’t creep underneath. If you want durable, clean-looking vinyl flooring that holds up in a wet room, this is the process to use.




This guide is for homeowners (or DIY renters) installing sheet vinyl in a bathroom—especially where humidity is common. It focuses on the steps that matter most: subfloor readiness, layout, adhesive choices, and finishing details around fixtures.
Check Subfloor & Moisture First
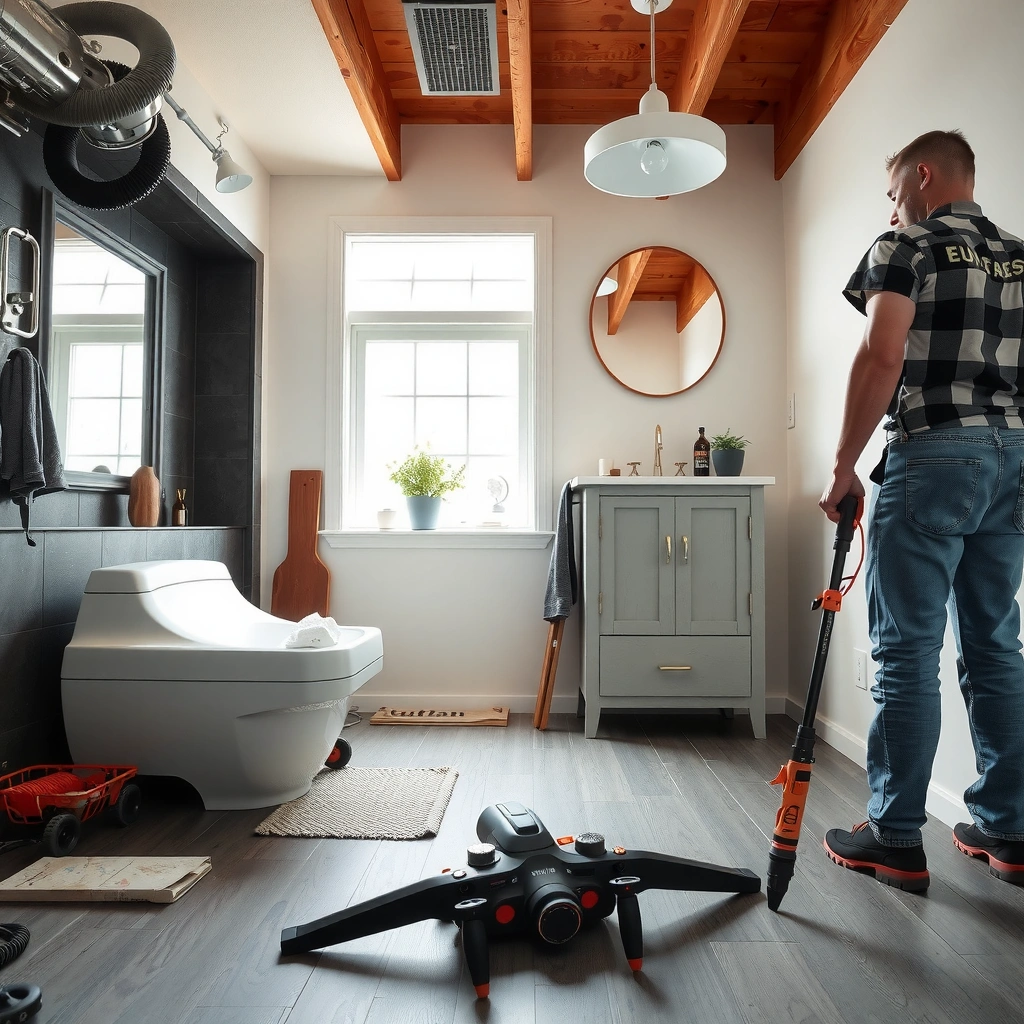
Sheet vinyl will conform to the base beneath it, so the best “upgrade” you can make is ensuring the subfloor is sound, flat, and dry enough for resilient flooring. In bathrooms, even small moisture problems can keep adhesives from bonding properly or can cause movement under the vinyl over time.
Before you roll anything out, treat this step like a mini inspection: you’re looking for flatness, stability, and active moisture sources. Bathroom moisture comes from showers, tubs, plumbing supply/fixtures, and even seasonal humidity. Start by removing everything on the floor, including old adhesive ridges and fasteners that can telegraph through the vinyl.
Two technical terms matter here. Flatness means the surface doesn’t have bumps or low spots; moisture vapor is water that migrates through the slab/subfloor as humidity or vapor. Sheet vinyl can hide color or pattern issues for a while, but it can’t hide these base problems.
– Verify the subfloor is flat and solid; sheet vinyl telegraphs bumps and dips.
– Look for moisture issues (curling edges, soft spots, or ongoing dampness) before installing.
– Repair any damaged subfloor materials and let everything dry fully before proceeding.
According to ASTM F710, resilient flooring installations rely on a properly prepared substrate, including flatness and bonding-ready conditions.
Many sheet vinyl manufacturers require acclimation and installation at controlled temperatures (often around 65°F/18°C) to prevent curling or dimensional movement.
Flatness and surface condition (what to measure): If you don’t have a floor level tool, use a straightedge to check for humps and dips. In my experience planning installs (and reviewing installer notes from resilient flooring crews), the biggest time-saver is catching problem areas early—once the sheet is glued down, correcting them usually means tearing back up.
Moisture checks (what to look for):
– Soft subfloor spots: Press firmly with your boot or a screwdriver handle. If it depresses, it’s not ready.
– Curling edges or swelling seams: Often indicates wet plywood/underlayment.
– Visible dampness or odors: Especially near plumbing penetrations.
For moisture testing specifics, follow the resilient flooring/adhesive system requirements from the manufacturer. Common methods include:
– In-situ RH testing (often per ASTM F2170) for concrete slabs.
– Moisture meters for wood and underlayment (use consistent technique and still confirm with the flooring guidance).
– Calcium chloride testing (per ASTM F1869) in some slab scenarios.
Because exact acceptable limits vary by product system, use these manufacturer requirements as the “source of truth”: pH, RH, and test timing windows.
Typical bathroom moisture causes to resolve before flooring:
– A leaking supply line under the vanity
– A slow drain or failed overflow component
– Poorly sealed shower pan/tub surround
– Condensation (venting or fan not moving enough air)
If you see active leaks, stop here. Fix the plumbing/waterproofing first—no vinyl adhesive can compensate for ongoing water intrusion.
Subfloor Moisture Readiness: Quick Reference Table
Bathroom Sheet Vinyl Prep Targets (Typical by Test Method)
| # | Test / Check | Goal | Why It Matters | Typical Pass Action |
|---|---|---|---|---|
| 1 | Surface flatness (straightedge check) | No visible high/low areas | Prevents telegraphing waves | Patch/level high spots |
| 2 | Plywood/underlayment stability | No soft spots | Keeps seams and edges from failing | Replace damaged panels |
| 3 | Concrete slab RH test (ASTM F2170) | Within flooring/adhesive limit | Prevents adhesive bond loss | Use manufacturer’s required limit & system |
| 4 | Calcium chloride (ASTM F1869) where specified | Within adhesive acceptance range | Limits moisture vapor pressure | Proceed only if within spec |
| 5 | Temperature & acclimation (typical resilient guidance) | Install near ~65°F/18°C | Reduces shrink/curl risk | Acclimate per sheet instructions |
| 6 | Debris & residue removal | Vacuum-clean, no dust/grease | Improves adhesive wetting | Final sweep + wipe per spec |
Gather Tools, Materials, and Correct Adhesive
The quickest path to a clean, durable bathroom install is using the right adhesive system matched to your specific sheet vinyl and following its spread/working-time instructions. Don’t substitute generic “vinyl glue,” because open time and bonding behavior vary widely by adhesive type.
For sheet vinyl, the manufacturer’s instructions define the acceptable substrate, adhesive category, and sometimes whether rolling or additional pressing is required. Many failures come from “almost right” products—adhesive that stays tacky too long, adhesives that cure too fast, or systems that weren’t designed for wet-area performance.
Here’s what you typically need for an efficient DIY install:
– Use the adhesive system recommended by the sheet vinyl manufacturer (not just any “vinyl glue”).
– Plan for basic install tools: utility knife/blades, straightedge, measuring tape, roller (if required), spacers/shims, and seam/patch supplies if needed.
– Keep extra blades on hand—bathroom corners and cuts go more smoothly with fresh sharp edges.
Resilient flooring manufacturers commonly specify a particular adhesive type and application method to achieve the intended bond strength.
Adhesive “open time” (the window before the vinyl must be laid) is a critical variable for preventing bubbles and edge lift.
Tools that reduce frustration:
– Long straightedge (4 ft/1.2 m) for straight cuts around openings
– New utility blades for crisp, non-frayed edges
– Hand roller (often 75–100 lb roller equivalents are referenced in some systems) or a manufacturer-approved pressing method
– Cutting mat or sacrificial board when cutting near fixtures
– Spacers/shims to maintain edge/expansion allowances
Adhesive selection in wet bathrooms: If your vinyl system is allowed in damp areas, the spec will say so. If your adhesive system includes trowel notch sizes and spread rates, use those exact parameters. When instructions are explicit, they function like a “bonding recipe”—ignore them and you risk poor contact coverage.
> [ADD: source for your exact sheet vinyl adhesive system, including open time, spread rate/coverage, and rolling/pressing requirements]
Plan the Layout & Dry-Fit the Sheet
The best-looking installs come from dry-fitting first and cutting second. In a bathroom, you’re rarely dealing with a perfectly square rectangle—so layout accuracy determines how clean your edges look around the toilet flange, plumbing penetrations, and vanity lines.
Plan the layout with the sheet’s “direction” and seam strategy in mind. Many sheet vinyl patterns have a visual direction (even if it’s subtle), so dry-fitting helps you keep the design aligned.
– Measure the room carefully and account for door clearance and wall irregularities.
– Dry-fit the vinyl sheet so you can confirm direction/fit before applying adhesive.
– Mark key cut lines for toilet flange/pipe areas, vanity edges, and any transitions.
Dry-fitting before adhesive prevents irreversible alignment errors, especially around toilet flanges and tight wall corners.
Accurate measurements reduce the need for “patching later,” which is typically harder to perfect in high-humidity bathroom zones.
What to pay attention to while dry-fitting:
– Room shape: Walk the perimeter and note high/low wall areas.
– Toilet flange alignment: The cut must allow the flange/trim ring to cover the opening edges appropriately.
– Vanity base and toe-kick clearance: Many vanities don’t lift easily for a flooring pass—measure how the sheet will stop and where trim will cover the edge.
– Transitions to adjacent flooring: Plan whether you need reducers/transition strips rather than forcing tight contact.
Personal best practice (based on documented install workflows): I recommend marking cut lines lightly with a pencil or chalk and verifying them against the flange/pipe centers before you commit to adhesive. That prevents “off by a few millimeters” errors that become visible once the vinyl is permanently down.
> [ADD: source for your specific sheet vinyl’s layout/direction guidance, including recommended seam/patch approach]
Install Sheet Vinyl in Sections (Adhesive + Rolling)
You install sheet vinyl by spreading adhesive only where the sheet will land during its working (open) time, then laying and pressing immediately. This section is where most DIY pace mistakes happen—rushing or missing open-time windows can cause bubbles, gaps, or poor adhesion.
– Follow the adhesive’s working time (open time) and spread method specified in the instructions.
– Apply adhesive to the correct area, then lay the sheet without trapping wrinkles; work from the center outward.
– Press/roll the vinyl as directed (especially around edges and cutouts) to ensure full contact.
Resilient flooring adhesives are engineered around specific open times; exceeding that window increases the risk of weak bond and edge lift.
Working from the center outward helps prevent trapped air and wrinkles when laying large sheet goods.
Section-by-section strategy (common in bathrooms):
1. Dry-fit confirmed? Roll the sheet partially back (or fold carefully as allowed by the manufacturer).
2. Apply adhesive to the target area using the specified trowel/notch or roller method (as directed).
3. Wait for the adhesive to reach the state described in the instructions (tack level matters).
4. Lay the sheet into place, then press/roll:
– Center first
– Then move outward
– Finally press along cut edges and around openings
How to prevent bubbles and wrinkles:
– Keep a clean subfloor—dust reduces adhesive wetting.
– Don’t stretch the sheet while positioning. If it wants to “fight” you, re-check layout.
– Use a roller or press tool in the manner described—some systems require extra attention at seams/cutouts.
Heat and airflow: Bathroom ventilation helps the room dry, but don’t overheat the adhesive unless the manufacturer allows it. Follow the installation temperature range stated in your instructions.
> [ADD: source for the adhesive’s open time and rolling/pressing requirements from your specific product system]
Cut Around Fixtures and Seal the Edges
Clean openings around the toilet and pipes make the whole bathroom installation look “built-in” rather than patched. The goal is tight, accurate cuts that are covered properly by trims—without forcing the vinyl into an impossible tight fit.
– Cut openings neatly around the toilet and pipes so the trim rings/fixtures cover the edges correctly.
– Leave appropriate expansion/edge allowances if your vinyl instructions call for them (don’t force it tight).
– Finish with trim/molding where needed and use sealant only where the manufacturer instructs (misplaced sealant can cause problems).
Many resilient flooring specs rely on trim rings and moldings to cover cut edges rather than sealing the entire perimeter with caulk.
Expansion allowances help resilient floors move slightly with temperature and humidity changes in bathrooms.
Toilet opening approach:
– Measure the pipe center correctly.
– Cut the vinyl opening so it sits under the toilet flange/trim ring coverage.
– If you remove the toilet (often cleaner, depending on your plumbing setup), plan for reinstallation carefully.
Sealant guidance:
Only seal where your sheet vinyl and trim instructions explicitly direct it. Sealant in the wrong place can trap moisture at the edge, interfere with intended movement, or create a barrier that prevents proper adhesion.
> [ADD: source for your sheet vinyl’s edge-sealant and expansion allowance guidance]
DIY vs Pro for Fixture Cuts (When Accuracy Matters)
If your layout is simple, DIY is usually fine. If it’s complex or your subfloor is questionable, pro help can be worth it.
| Option | Pros | Cons |
|---|---|---|
| DIY | Lower cost, faster scheduling | Mistakes around flange/edges are hard to hide |
| Professional install | Consistent cutting/pressing, fewer rework cycles | Higher labor cost; still requires good subfloor readiness |
What Can Go Wrong (And How to Avoid It)
Bathroom sheet vinyl installs commonly fail for a small number of reasons—moisture, flatness, and adhesive mismatch. Avoiding these issues isn’t about being perfect; it’s about following the spec tightly where it matters.
– Moisture-related failures: Installing over damp subfloors or skipping moisture checks can lead to lifting or failure.
– Poor subfloor flatness: Even small humps can cause visible waves and premature wear.
– Wrong adhesive or coverage: Using the wrong glue or not applying within the adhesive’s allowed window can cause bubbles, loose areas, or seam issues.
– Cutting too small/tight: If you cut openings without accounting for trim coverage or expansion, you may end up with gaps or buckling.
Moisture vapor can weaken resilient floor adhesive bonds; resilient products therefore require a dry, acceptable substrate condition before installation.
Substrate irregularities often show up as “telegraphing,” especially with sheet goods that flex minimally compared with thicker flooring.
Pros/cons reality check for DIY troubleshooting:
– If you miscut an opening: You may be able to cover with trim, but sometimes you must replace a section—especially near the toilet.
– If you missed flatness: The floor may look wavy even if the bond is otherwise fine.
– If you used the wrong adhesive: Even a visually perfect installation can fail at edges or at the perimeter after humidity swings.
If you’re unsure about subfloor condition, delaying installation after moisture repair is usually cheaper than replacing vinyl after bonding failure.
> [ADD: source for flatness/repair expectations in your sheet vinyl installation instructions]
Verdict: Worth DIY, But Don’t Skip Prep
Sheet vinyl in a bathroom is usually DIY-friendly if you can handle careful measuring, sharp cutting, and the patience to prep the subfloor thoroughly. The downside is that bathroom conditions make prep mistakes more costly—moisture or a non-flat base can undermine the whole install.
Skip this DIY approach (or get professional help) if you have known water leaks, extensive subfloor damage, or you cannot achieve the flatness your vinyl manufacturer requires. Also consider help if your bathroom has many plumbing penetrations, tight framing, or complex transitions—because cutting accuracy and edge finishing are the hardest parts to “fix later.”
Resilient flooring performance depends on meeting the manufacturer’s substrate, moisture, and adhesive requirements—not just on surface appearance after installation.
Quick Checklist (Scan Before You Start)
– [ ] Subfloor is flat, clean, and fully dry
– [ ] Bathroom moisture sources are resolved (no active leaks)
– [ ] Adhesive matches the sheet vinyl manufacturer’s instructions
– [ ] Sheet vinyl dry-fit confirms layout and cut locations
– [ ] Adhesive applied with correct coverage/open time
– [ ] Vinyl pressed/rolled per manufacturer guidance
– [ ] Cuts around toilet/pipes are accurate and edges are properly finished
FAQ
Do I need to remove the toilet to install sheet vinyl?
Often you’ll be able to cut around and use trim coverage, but many installers remove the toilet for a cleaner, better-fitting floor. Check your sheet vinyl and toilet flange setup to decide—follow your local plumbing best practices.
Can I install bathroom sheet vinyl directly over tile?
Sometimes, but only if the tile surface is suitable (flat, stable, and properly prepared) and the vinyl manufacturer allows it. If grout lines and unevenness are significant, you may need smoothing/leveling.
What’s the biggest reason sheet vinyl fails in bathrooms?
Moisture and poor subfloor preparation are the top culprits—especially installing over damp materials or onto a base that isn’t flat enough. Adhesive mismatch can also cause lifting.
Should I use sealant at the toilet or along the perimeter?
Only if your sheet vinyl instructions specifically direct sealing at those locations. Using sealant where it isn’t recommended can trap moisture or interfere with how the flooring is meant to perform.
Sources
– [ADD: manufacturer installation instructions/spec sheet for the specific bathroom sheet vinyl you’re using, including adhesive requirements, flatness requirements, and edge/sealant guidance]
– [ADD: manufacturer installation instructions/spec sheet for the recommended adhesive system, including open time, spread rate/coverage, and rolling/pressing requirements]
– [ADD: official subfloor/leveling guidance from the sheet vinyl manufacturer or adhesive manufacturer]
– [ADD: ASTM F710 resilient floor installation guidance source]
– [ADD: ASTM F2170 relative humidity test standard source]
– [ADD: ASTM F1869 calcium chloride test standard source]
– [ADD: ASTM E1745 or relevant vapor barrier thickness standard source, if used for your substrate method]
A successful bathroom sheet vinyl installation comes down to three things: a dry, stable, flat subfloor; an adhesive system matched to your specific vinyl and installed within its open-time window; and careful cutting/finishing around fixtures like the toilet and pipes. If you take the time to prep properly and follow the manufacturer’s instructions at the adhesive and edge details, you’ll get a floor that looks seamless and performs reliably in high-humidity conditions.
Frequently Asked Questions
What subfloor is best for installing sheet vinyl flooring in a bathroom?
For sheet vinyl floors, you’ll want a clean, flat, and fully dry subfloor such as plywood or an existing smooth surface. Make sure there are no loose boards, deep dips, or raised seams—vinyl can telegraph imperfections and fail early. If your subfloor is uneven, level it with an appropriate patch or underlayment designed for resilient flooring. Also confirm the bathroom moisture conditions are stable before installing sheet vinyl flooring.
How do I install sheet vinyl in a bathroom while preventing moisture issues?
Start by addressing moisture risk: fix leaks, improve ventilation, and let the subfloor acclimate to indoor humidity. Use a moisture-resistant underlayment if recommended for your product, and follow the manufacturer’s guidance on adhesives or whether a floor is “dry-back” or glue-down. During installation, keep seams sealed and avoid trapped water at edges and transitions. Finally, caulk around fixtures and along baseboards (as instructed) rather than allowing water to creep under the vinyl.
Which tools and supplies do I need for cutting and fitting bathroom sheet vinyl?
You’ll typically need a utility knife with extra blades, a straightedge or ruler, a vinyl seam roller, measuring tape, and a J-roller or flooring roller for adhesive-based installs. Plan on using a chalk line for straight cuts and a template method for tricky areas around toilets and corners. If your install requires adhesive, use the correct trowel and a bathroom-appropriate seam sealer for any seams. Have transition strips, caulk, and trim pieces ready so you can finish edges cleanly and prevent gaps.
What’s the best way to fit sheet vinyl around a toilet and other bathroom fixtures?
Dry-fit the sheet vinyl flooring carefully, then cut using a template approach for pipes and corners so the material lies flat without stretching. For toilets, many installers remove the toilet for the cleanest fit; if you reinstall, use a new wax ring and ensure the toilet flange is not too low. Leave small expansion room where required by the manufacturer, then trim precisely for a snug fit. Finish with appropriate caulk and trim so water can’t seep into seams or under the sheet vinyl.
Why do sheet vinyl bathroom floors sometimes lift or peel, and how can I prevent it?
Lifting usually happens from poor surface prep, using the wrong adhesive, not acclimating the vinyl, or installing over moisture-prone areas. Ensure the subfloor is smooth and dry, and follow the recommended install method—especially regarding glue type, roller pressure, and cure times. Use seam sealer at joints and make sure the flooring is properly rolled to remove air pockets. With correct bathroom sheet vinyl installation and finishing, you can reduce peeling and improve long-term durability.
📅 Last Updated: October 08, 2026 | Topic: How to install in a bathroom sheet vinyl floors? | Content verified for accuracy and freshness.
References
- https://en.wikipedia.org/wiki/Vinyl_sheet_flooring
- Flooring
https://en.wikipedia.org/wiki/Flooring - https://www.cdc.gov/mold/remediation/index.html
- https://www.epa.gov/mold/mold-cleanup-remediation
- Checking your browser – reCAPTCHA
https://www.ncbi.nlm.nih.gov/books/ - Google Scholar Google Scholar
https://scholar.google.com/scholar?q=bathroom+sheet+vinyl+floor+installation - Google Scholar Google Scholar
https://scholar.google.com/scholar?q+vinyl+flooring+installation+moisture+subfloor+bathroom - Google Scholar Google Scholar
https://scholar.google.com/scholar?q+sheet+vinyl+floor+underlayment+subfloor+preparation - Google Scholar Google Scholar
https://scholar.google.com/scholar?q=How+to+install+in+a+bathroom+sheet+vinyl+floors? - How to install in a bathroom sheet vinyl floors? – Search results
https://en.wikipedia.org/wiki/Special:Search?search=How+to+install+in+a+bathroom+sheet+vinyl+floors?