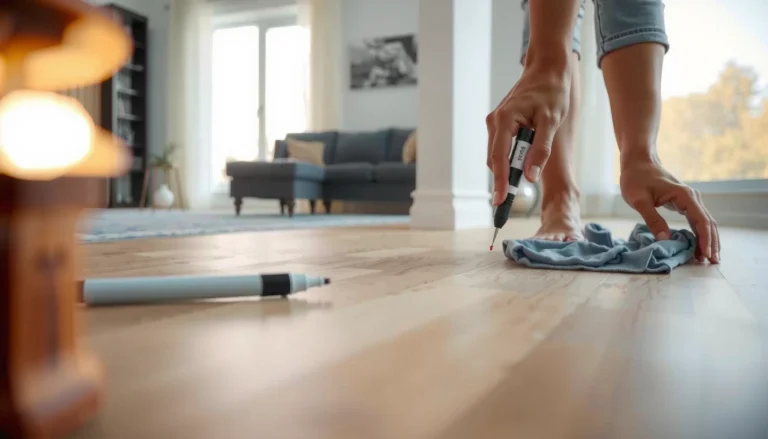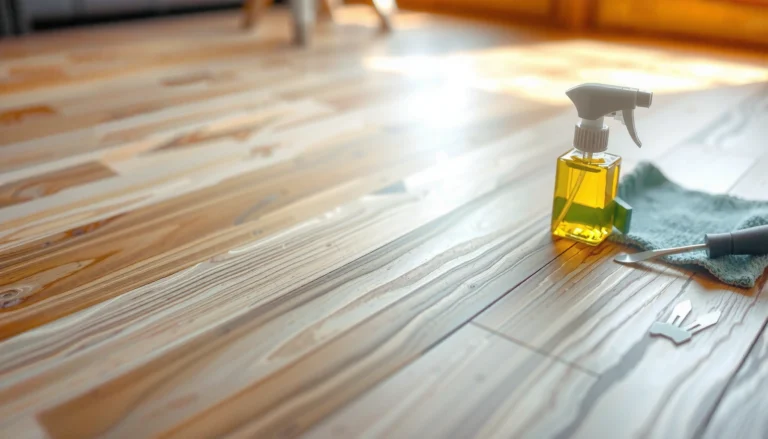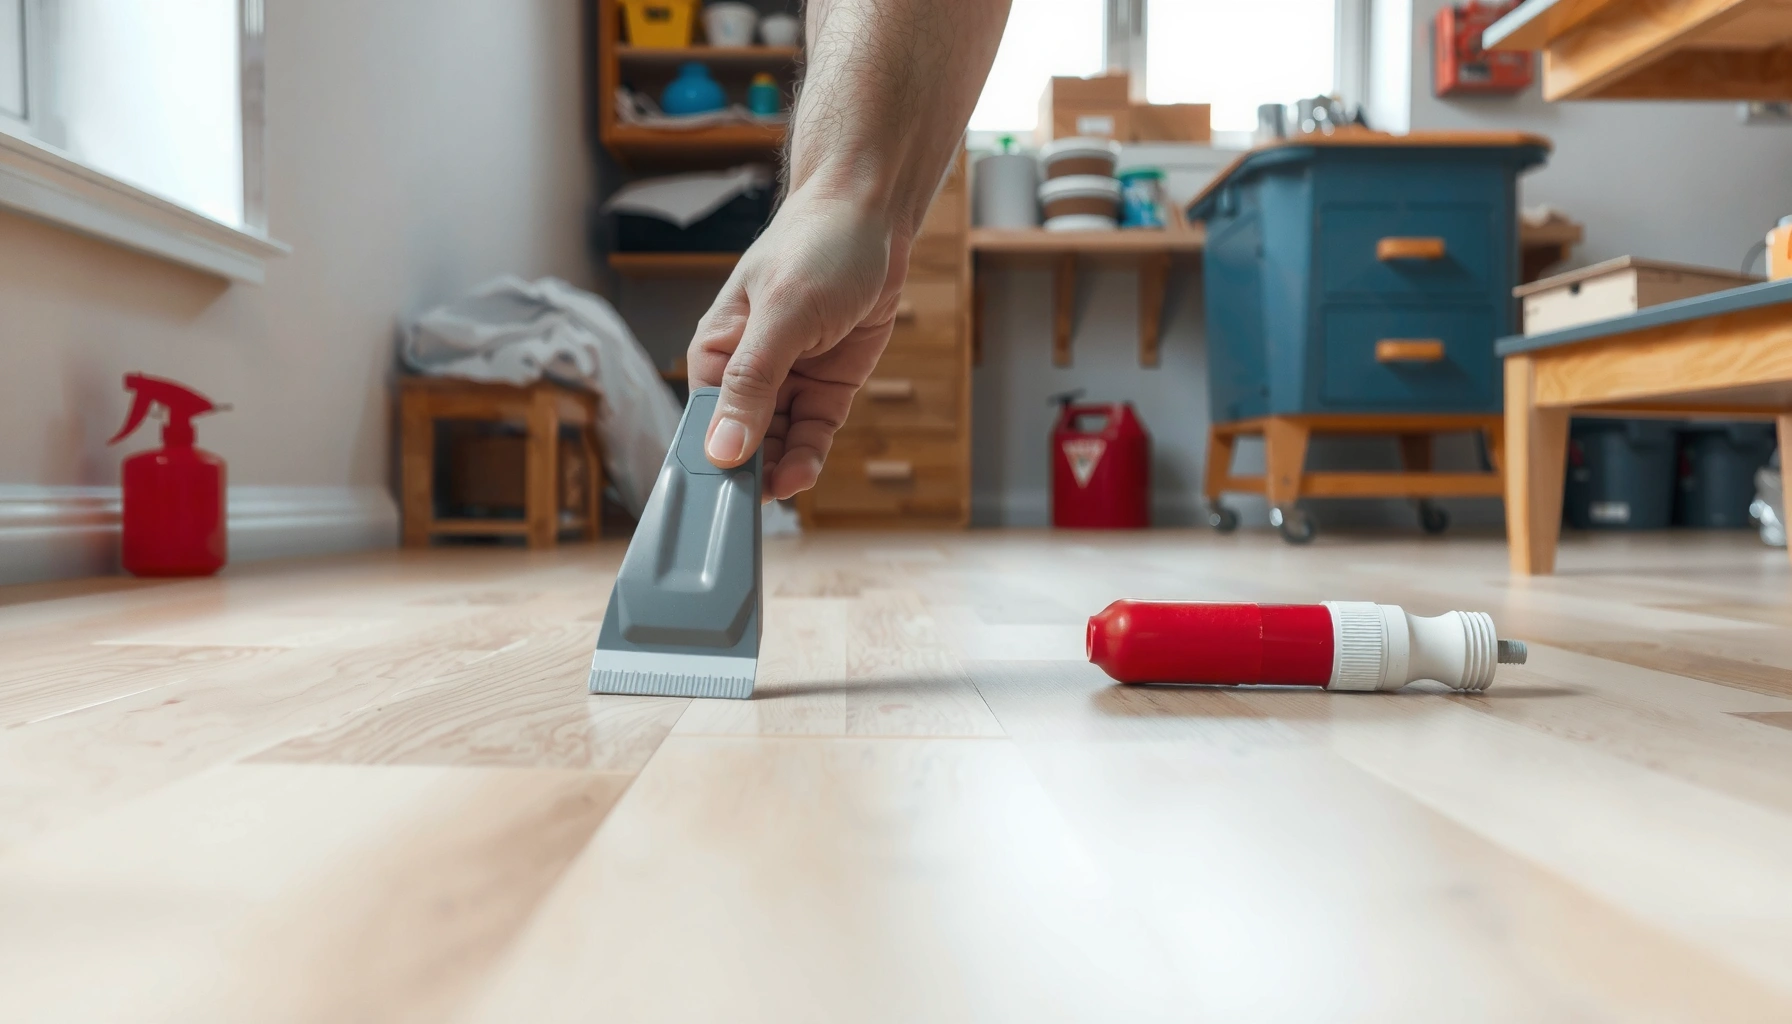

You can fix scratches on sheet vinyl floors quickly and cleanly using a simple repair method that restores the surface without replacing the entire sheet. This guide walks you through the exact steps to assess the scratch depth, clean and prepare the area, and apply the right vinyl filler or color-matching solution for a near-invisible finish. If you want the fastest, most reliable results, follow these targeted repair steps—starting with how to choose the correct product for your scratch.




If your sheet vinyl has scratches, the best fix usually comes down to cleaning first, then using a vinyl repair kit or color-matching filler to rebuild the surface. For shallow scuffs, careful cleaning and a vinyl polish/restorer can significantly reduce visibility, while deeper gouges require filling, smoothing, and proper blending.
This guide is for homeowners dealing with everyday damage like chair drag, grit scratches, or minor wear near seams—without replacing the whole sheet. It also helps when you’re unsure whether the scratch is only on the surface (top layer/finish) or actually gouged into the vinyl.
Assess the scratch (surface scuff vs. gouge)
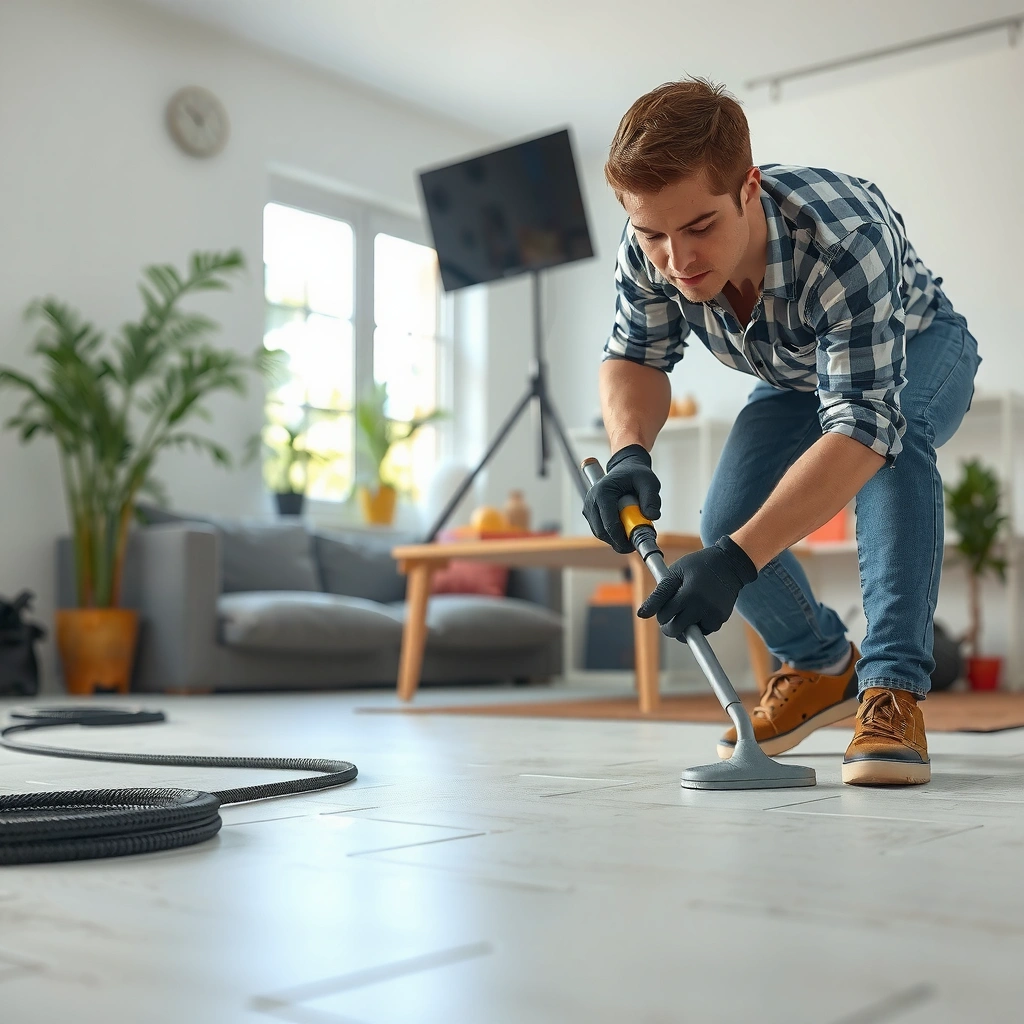
You can choose the right repair method only after you confirm whether the scratch is a surface scuff or a true groove. In general, surface scuffs respond to cleaning and vinyl polish, while grooves usually need filler to level the damaged spot.
Start by inspecting the scratch under bright light at a low angle—this makes raised edges and “burnished” (rub-through) areas easier to see. Then run a fingernail across the mark (lightly) to judge depth: if your nail catches, you’re likely dealing with material loss into the vinyl surface rather than a simple scuff.
A surface scuff typically looks flat and does not catch on a fingernail, which is why cleaning and a vinyl restorer often improve appearance.
A groove that you feel indicates the floor’s protective finish and/or wear layer has been damaged, so filler-based repairs are usually required.
Repairs near seams and transitions need extra blending because rigid edges and stress lines can telegraph differences after the repair cures.
Also check for lifted or frayed vinyl. If the scratch edge is snagging or you can see small raised fibers, you’ll need to stabilize that area before filling, otherwise the filler can fail to bond and the edge can keep tearing.
Finally, note location. Scratches that run into a seam, under a trim edge, or across a transition can be tougher because the sheet vinyl may flex slightly at that point—so your repair should be more conservative and carefully blended.
Clean and prep before you repair
Cleaning is the “hidden step” that determines whether your repair actually lasts. Before any vinyl polish or filler goes on, you must remove grit and any waxy residues that prevent adhesion.
Use a vinyl-safe cleaner (not a general-purpose degreaser) and wipe thoroughly. Then dry completely—repairs need a clean, dry surface so the repair compound can mechanically bond and not separate over time. If the area has picked up household wax or cleaner buildup, the repair can turn cloudy, peel, or show a ghost outline.
Vinyl repair materials rely on surface contact and bond strength, so contamination (grit, wax, cleaner film) commonly causes peeling or cloudy results.
Fully drying the floor before applying filler reduces the risk of trapping moisture and creates more consistent leveling after cure.
From my experience maintaining resilient flooring (especially in high-traffic kitchens), the difference between a “good blend” and a “visible patch” often comes down to whether grit was left behind. Even a small grain can create a tiny crater in the filler, which becomes noticeable once the sheen reflects light.
For best results, do one last wipe right before you apply any compound. Use a clean, dry cloth so you don’t reintroduce dust.
Repair shallow scratches and scuffs
For light scuffs, the fastest path is gentle cleaning followed by a vinyl polish/restorer made for resilient surfaces. The goal is to reduce contrast—not to “erase” deep damage.
Apply the vinyl polish/restorer to a soft cloth or applicator pad (as directed by the product). Use light pressure and work in small sections. Avoid aggressive rubbing—sheet vinyl is resilient, but grinding can spread the damage and change the local sheen so the mark becomes more noticeable.
Vinyl polish/restorer products are formulated to improve appearance on resilient floors by enhancing uniform sheen and cleaning the finish without rebuilding missing material.
Overworking a shallow scuff can haze the surrounding finish, which is why reassessment under good light matters mid-repair.
Wipe away excess product and reassess. If the scratch was truly only a scuff, it often becomes significantly less visible after one careful pass. If it still catches a fingernail or remains a distinct groove, stop polishing and move to filling.
Quick scan: when “polish only” is enough
– The area doesn’t catch a fingernail
– No lifted edges or frayed vinyl
– The mark looks mostly like discoloration or surface dulling
Fill and smooth deeper scratches
If the scratch is a groove you can feel, you need a vinyl repair filler/patch designed for sheet vinyl so you can rebuild a level surface. This is the step that prevents dirt buildup and reduces the “shadow line” created by uneven height.
Choose a filler that matches sheet vinyl use (resilient/vinyl repair) and follow the kit’s instructions. Apply in thin passes so you don’t trap bubbles or create an excessive ridge. Thin layers also reduce shrinkage, which can otherwise leave a dip after cure.
For groove repairs, the correct approach is to fill to the surrounding surface level, then blend—because leaving a ridge creates visible shadows and can accelerate new wear.
Smoothing after curing should use fine, repair-appropriate abrasives to avoid thinning or damaging the surrounding vinyl finish.
After curing (again, follow the kit’s directions), smooth carefully. Use fine-grit materials intended for floor repair blending—many repair workflows use progression grits (coarser for leveling, finer for finish blending). Then wipe clean and blend the final appearance with the appropriate finish/topcoat if your kit calls for it.
Match color and protect the repaired spot
Color matching is what turns a functional fix into a convincing one. If your kit includes color matching, add color in small increments until it matches the surrounding tone under typical lighting.
Color-matched fillers generally produce the best cosmetic results when applied in controlled increments rather than trying to “guess” the correct tone in one step.
Protection steps (topcoat/sealer) should be applied only when the kit specifies them, because some fillers require a particular finish system for durability.
When you’re satisfied with color and level, protect the repaired area according to the manufacturer’s instructions. Some systems require a specific topcoat to ensure the filler resists scuffing and blends in sheen; others do not. Don’t skip these instructions, but also don’t add extra layers that weren’t designed for the filler chemistry.
Finally, avoid heavy foot traffic until the repair has fully cured. Clean the area regularly afterward so grit doesn’t re-etch the repair surface.
Practical sanding/blending grit progression (for leveling and feathering)
Resilient Floor Repair: Common Grit Progression for Feathering
| # | Abrasive grit (fine sanding) | Primary purpose | Blend rating | Best use stage |
|---|---|---|---|---|
| 1 | 220 | Aggressive leveling | ★★★☆☆ | Only for tiny ridges (rare) |
| 2 | 320 | Initial feathering | ★★★★☆ | After cure, just to level |
| 3 | 400 | Reducing visible edge | ★★★★☆ | Feather around filler |
| 4 | 600 | Surface smoothing | ★★★★★ | Common “safe” finish grit |
| 5 | 800 | Final feathering | ★★★★★ | Blend to surrounding texture |
| 6 | 1000 | Very light finishing | ★★★★☆ | If the area feels “too rough” |
| 7 | 1500 | Polish-level smoothing | ★★★☆☆ | For sheen blending (advanced) |
What can go wrong (and when to stop)
The most common repair failures are preventable: they usually happen when the scratch isn’t correctly identified, the area isn’t properly cleaned, or the wrong products are used. If you see lifting/fraying edges, repeated shrinking, or a repair line that won’t blend, it may be time to stop patching.
Here are the pitfalls to watch for:
– Filling over dirty residue: adhesion fails, leading to peeling or a cloudy appearance
– Over-sanding: you can widen the damaged area or thin the surrounding finish
– Using harsh solvents or aggressive cleaners: some resilient vinyl finishes can haze or soften
– Misreading wear-through: if the protective wear layer is already gone across a broader zone, cosmetic fixes may have limited durability
– Underestimating flex near seams: stress points can reopen the repair
Adhesion failure is commonly caused by contamination (dust, wax, or cleaner film), which is why final wipe and full drying matter.
Over-sanding increases the size of the damaged footprint, so feathering in controlled steps is safer than sanding “until it looks even.”
To decide whether to DIY or escalate, compare expected cosmetic payoff vs. ongoing risk at that location:
| Scenario | Pros of DIY patch | Cons / why to stop |
|---|---|---|
| Small scuff, no groove felt | Often improves with polish/restorer | If it still catches, switching to filler is required |
| Single shallow groove | Filler can level and blend with careful smoothing | Ridge lines appear if too much filler is used at once |
| Near a seam with ongoing flex | Possible if the repair is thin and well-blended | Repair can re-crack or telegraph after foot traffic increases |
| Large worn area / multiple gouges | May improve locally | Appearance mismatch grows; replacement or professional resurfacing is more realistic |
Verdict / tip (what to do first)
For most sheet vinyl scratches, start with cleaning and determine depth first—shallow scuffs often improve with vinyl polish/restorer, while grooves generally need a vinyl repair filler and careful smoothing. If the area is heavily worn, near a seam with ongoing stress, or you’re seeing lifting/fraying edges, consider pausing and getting professional help or planning a broader repair/replacement rather than repeated patching.
Quick checklist: sheet vinyl scratch repair
– [ ] Clean with vinyl-safe cleaner and dry fully
– [ ] Test depth (fingernail check)
– [ ] Shallow? Try vinyl polish/restorer gently
– [ ] Deep groove? Use vinyl repair filler/kit
– [ ] Apply thin layers; cure fully per instructions
– [ ] Blend/smooth carefully; avoid over-sanding
– [ ] Protect/limit traffic until fully cured
FAQ
Can I fix sheet vinyl scratches without a repair kit?
Sometimes—if they’re shallow scuffs or surface marks, vinyl polish/restorer plus careful cleaning may reduce visibility. If you can feel a groove with your fingernail, a filler designed for vinyl is usually necessary.
Will sanding sheet vinyl make scratches worse?
It can if you sand too aggressively or over too wide an area. Use only the smoothing steps recommended by your specific vinyl repair kit and stick to fine, gentle blending abrasives.
What cleaners should I avoid on sheet vinyl?
Avoid harsh solvents and aggressive chemical cleaners that aren’t labeled safe for resilient/vinyl floors. When in doubt, use only the cleaner recommended by your floor or repair product manufacturer.
How long should I wait before walking on a repaired scratch?
Wait at least as long as the repair kit’s curing instructions specify. If you don’t have instructions, use a conservative “full cure” approach and limit traffic until the surface feels fully set.
Sources:
– [ADD: manufacturer instructions/specifications for your sheet vinyl floor (care/cleaning guidance and whether polish/topcoat is compatible)]
– [ADD: manufacturer instructions for the vinyl repair kit you plan to use (cure time, sanding guidance, and whether a topcoat/sealer is required)]
– [ADD: official guidance from the vinyl flooring/resilient flooring association or a specific floor-care brand on safe cleaners for resilient vinyl (use primary source docs, not blog summaries)]
Scratches on sheet vinyl floors are usually fixable without full replacement—provided you identify the depth, clean thoroughly, and use the right repair system for the damage. When you match the repair approach to the scratch type (polish for scuffs, filler for grooves) and avoid common mistakes like over-sanding or repairing over residue, you can restore a much more uniform look with minimal downtime.
Frequently Asked Questions
How do you fix scratches on sheet vinyl flooring without replacing the whole floor?
Start by cleaning the area with a mild vinyl-safe cleaner so grit doesn’t make the scratch worse. For light scuffs, try rubbing with a soft cloth and a vinyl polish; for deeper scratches, use a vinyl floor repair kit or a scratch repair marker designed for resilient flooring. If the damage is only surface-level, these methods can restore appearance without sheet vinyl replacement.
What’s the best way to repair white or faded scratches on sheet vinyl?
White or cloudy scratches are often “surface” damage, where the protective top layer is affected. Clean the scratch thoroughly, then apply a color-matched vinyl repair compound or filler and smooth it with a plastic putty knife. After it dries, buff the area gently so the repaired spot blends with the surrounding sheet vinyl floor texture.
How can you remove scuff marks and light scratches from vinyl sheet flooring?
Use a microfiber cloth with warm water and a small amount of vinyl-safe cleaner, then dry completely. If the scuff remains, lightly rub using a melamine foam “magic eraser” or a vinyl-safe scuff remover, applying minimal pressure to avoid dulling the finish. Finish by applying a thin coat of vinyl floor polish to improve uniform shine and help hide minor scratches.
Why do scratches show up more on some sheet vinyl floors, and how do you prevent them after repair?
Scratches become more visible when the floor’s wear layer is thinner, the finish is worn, or the surface has accumulated embedded dirt. After repairing scratches, use felt pads under furniture and keep pet nails trimmed to reduce new damage on sheet vinyl flooring. Regular cleaning with non-abrasive products and avoiding harsh scrubbers also preserves the protective layer so future scratches are less noticeable.
Which vinyl floor scratch repair method should you use for deep grooves in sheet vinyl?
Deep grooves typically need a true repair product rather than simple polish, such as a vinyl floor repair kit that includes filler and color matching. Clean and dry the groove, apply the filler in thin passes, then level it carefully with a plastic tool so it’s flush with the vinyl surface. Once cured, buff lightly and reapply vinyl floor polish to restore a smoother finish and better scratch visibility.
📅 Last Updated: October 08, 2026 | Topic: How to fix scratches on sheet vinyl floors? | Content verified for accuracy and freshness.
References
- Google Scholar Google Scholar
https://scholar.google.com/scholar?q=how+to+repair+scratches+on+sheet+vinyl+flooring - Google Scholar Google Scholar
https://scholar.google.com/scholar?q=vinyl+flooring+scratch+repair+techniques+heat+filler+patch - Google Scholar Google Scholar
https://scholar.google.com/scholar?q=sheet+vinyl+floor+maintenance+scratch+prevention+cleaning - https://en.wikipedia.org/wiki/Vinyl_flooring
- https://en.wikipedia.org/wiki/Linoleum
- https://en.wikipedia.org/wiki/Floor_polish
- https://en.wikipedia.org/wiki/Poly(vinyl_chloride
- Coating
https://en.wikipedia.org/wiki/Protective_coating - https://en.wikipedia.org/wiki/Abrasion
- https://en.wikipedia.org/wiki/Surface_finish