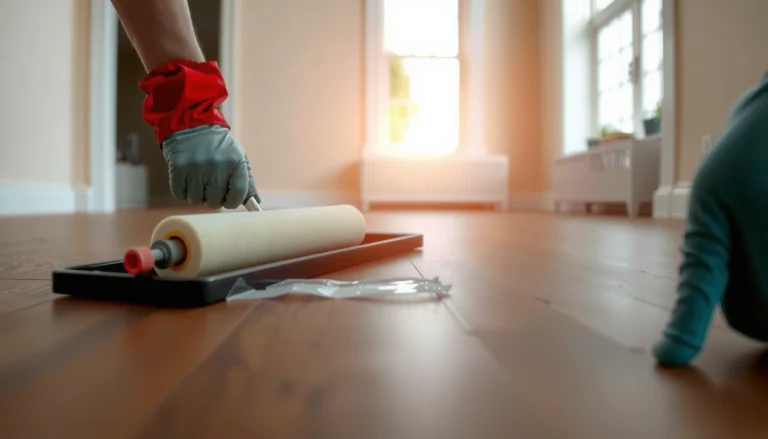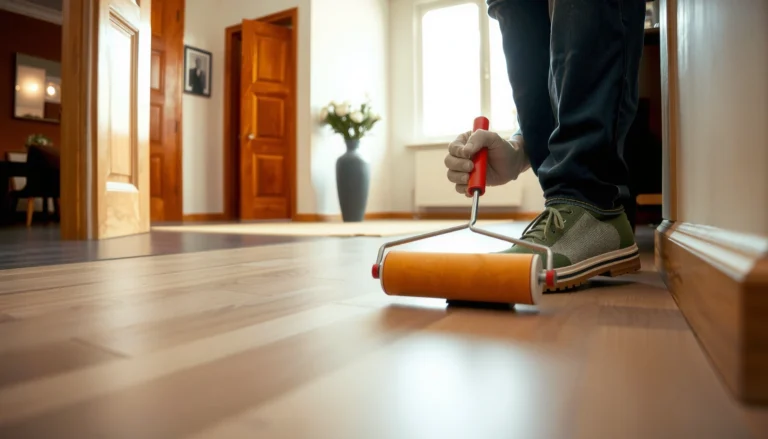

Need to remove adhesive from sheet vinyl floors without damaging the surface? The safest winning method is to soften the adhesive with controlled heat and a vinyl-safe solvent, then lift it with plastic tools. You’ll learn exactly what to use, what to avoid, and how to finish with a clean, residue-free floor.

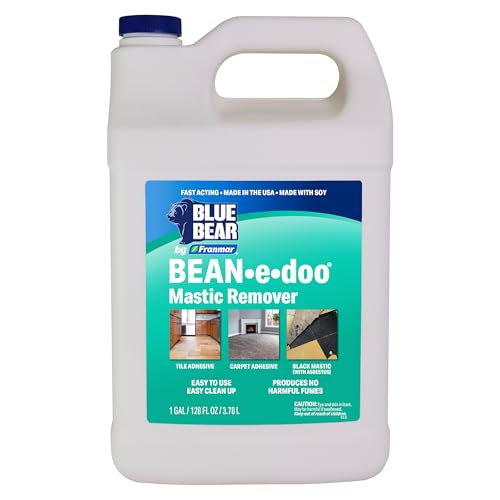


If the adhesive is still holding your sheet vinyl down, the safest approach is to soften it first (heat or adhesive remover) and then scrape slowly using non-damaging tools. Avoid soaking the vinyl backing or flooding seams—sheet vinyl and subfloors can warp or stain if moisture gets trapped. This guide will walk you through what to use, how to work section-by-section, and how to finish clean for the next flooring layer.
If you’re dealing with old sheet vinyl adhesive (from a recent demo or a renovation), this is for you—especially if you want to prevent gouges, haze, or residue that causes new flooring to fail. It’s also aimed at homeowners and flooring installers who need practical steps and know when to stop and call in help.
Prepare the area and confirm what you’re removing
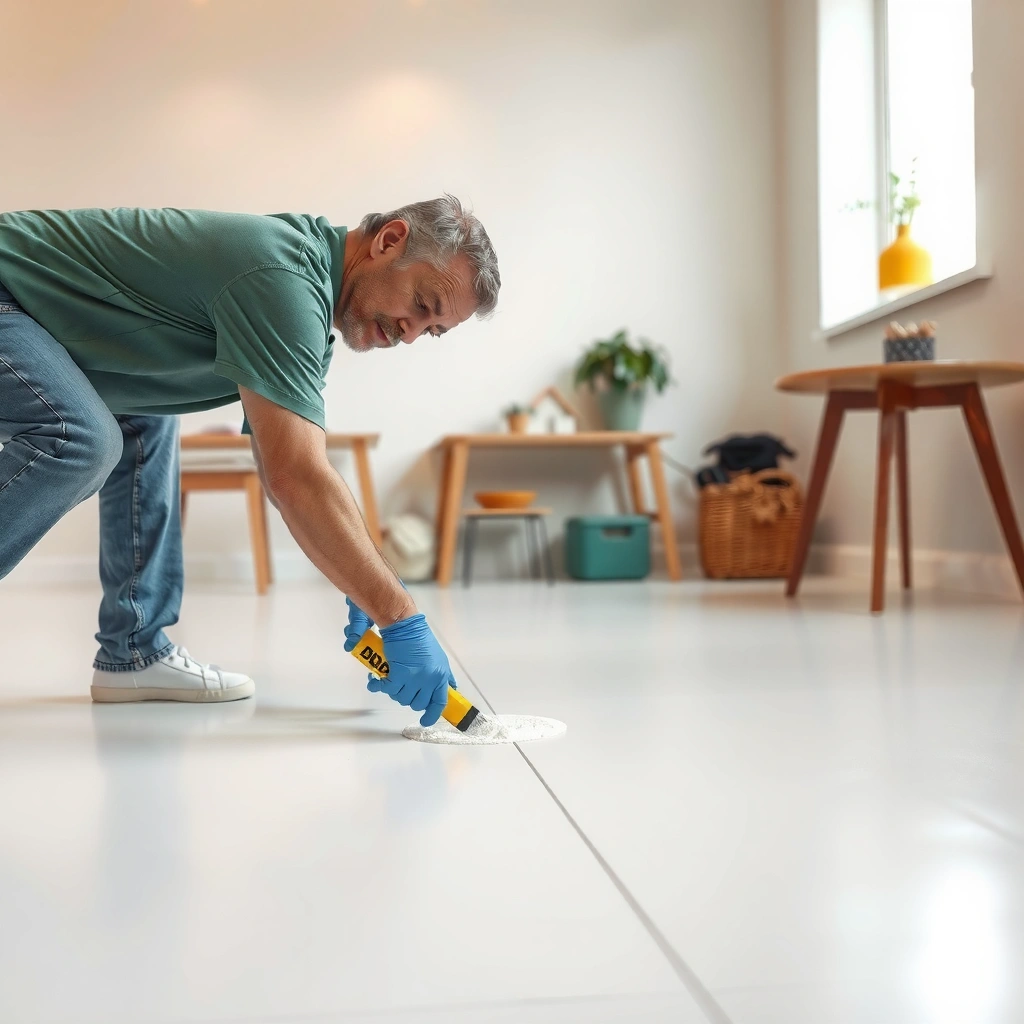
You’ll remove adhesive with the least damage by preparing the room thoroughly and identifying the adhesive type before you apply heat or chemicals. Start with controlled access and surface protection—most “why is this taking so long?” problems come from skipping the setup, not from using the wrong technique.
– Clear furniture, baseboards (if needed), and debris so you can scrape consistently without catching edges.
– Identify whether the adhesive is “paper-like” (older mastic), rubbery/tacky, or hard/residue-like—this determines whether heat, solvents, or repeated light scraping will work best.
– Protect the surrounding area: use plastic sheeting and painter’s tape to keep remover/chemical residue off walls, trim, and finished floors nearby.
Softening adhesive before scraping is usually safer for resilient flooring because it reduces the need for aggressive blade pressure.
Keeping remover off walls and trim matters: solvent residues can stain porous trim and create future bonding issues for paint or underlayment.
Know what you’re working on
Sheet vinyl adhesives vary widely by era and product. Even if the visible residue looks the same, “paper-like” mastic behaves differently than rubbery adhesive residue (often from certain pressure-sensitive installations). Before you commit to heat or a remover, spend 5–10 minutes inspecting:
– Adhesive behavior: Does it smear when you scratch it lightly with a fingernail? Does it chip like dried compounds?
– Underlayment presence: Some homes have thin underlayment layers—scraping too hard can cut through or leave scoring that telegraphs through new flooring.
– Subfloor material: Concrete, plywood, and particleboard respond differently to moisture and solvents. Your removal plan should match the subfloor sensitivity.
[ADD: If you want, include your building age range (e.g., “pre-1980 / post-1990”) and vinyl type (single-sheet, tile-backed, underlayment-attached) so the steps can be even more specific.]
Try the least aggressive removal method first (heat + scrape)
Heat + careful scraping is usually the best starting point because it gives you control and minimizes solvent exposure. Your goal is to warm the adhesive just enough to loosen it—then remove it with tools designed to avoid gouges.
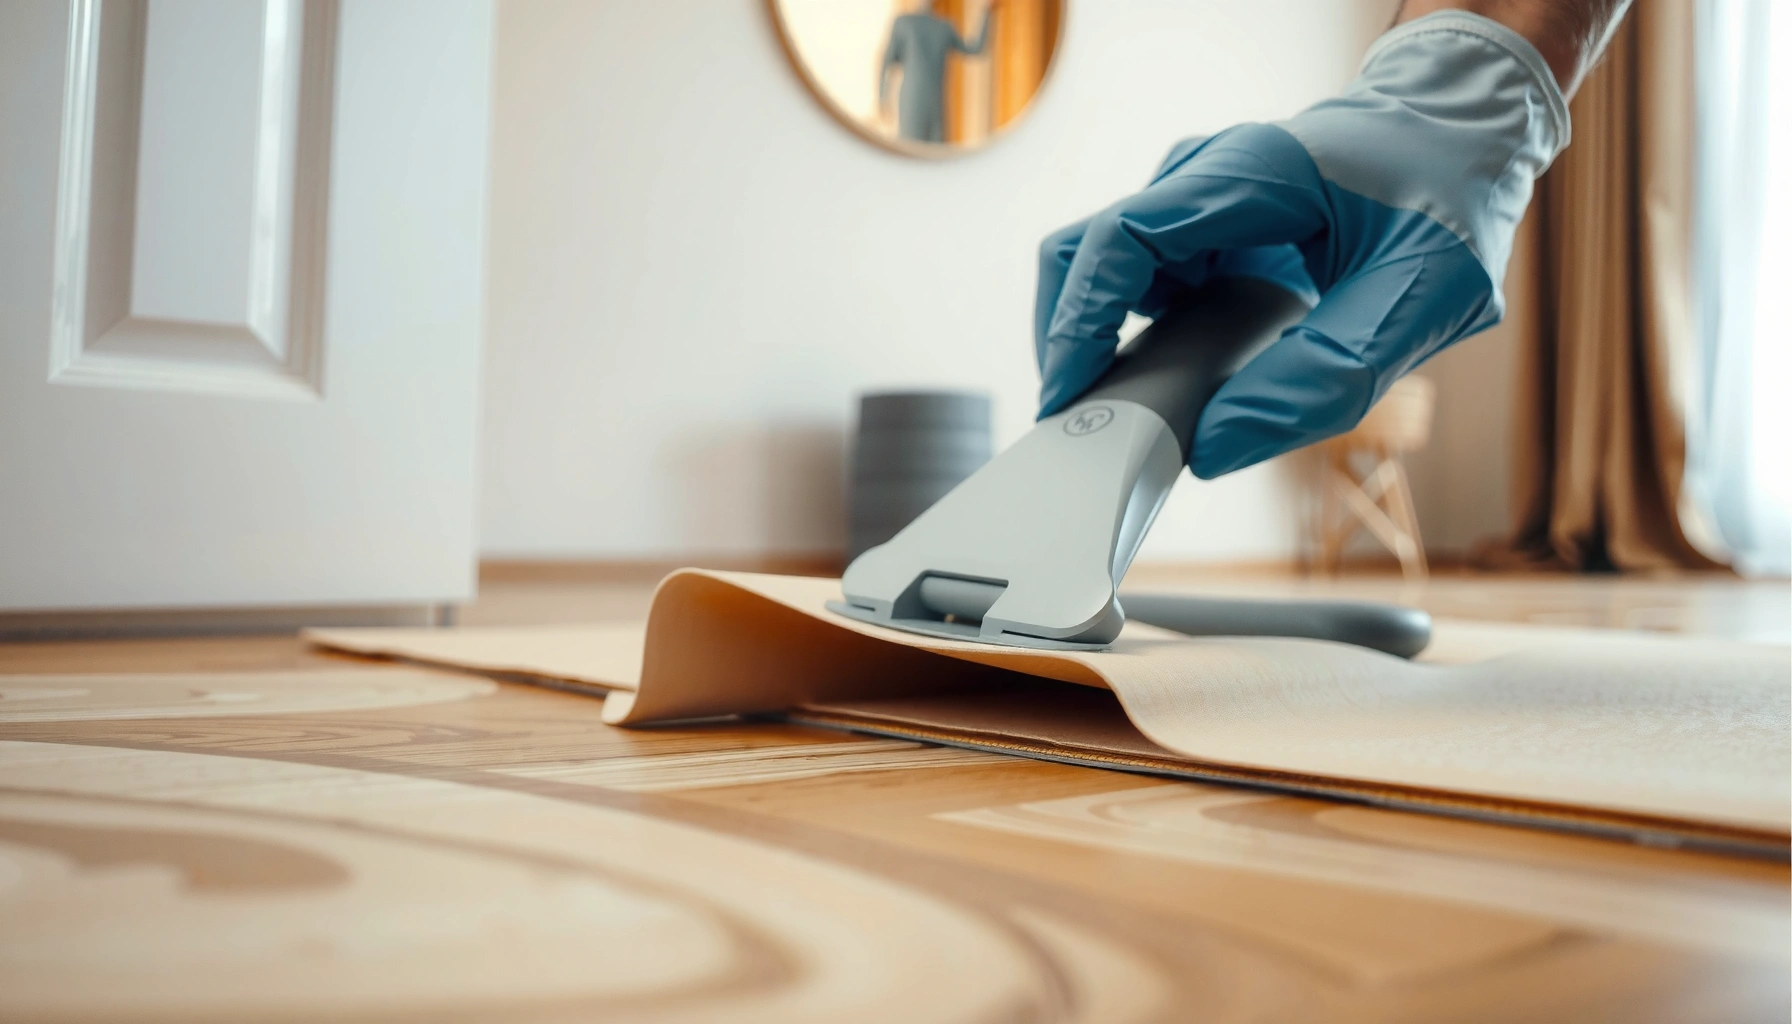
– Use a heat gun on low to warm the adhesive and vinyl residue, then scrape with a floor scraper or plastic razor designed for flooring surfaces (to reduce gouging risk).
– Work in small sections so the adhesive stays workable—don’t let it cool and re-harden mid-scrape.
– Vacuum or wipe frequently as you go to keep residue from smearing into the floor.
A heat gun set to low and used in small sections helps prevent re-hardening and reduces the need for deep scraping.
Vacuuming between passes reduces the chance of turning loosened residue into a smeary “film” that’s harder to remove later.
Practical heat settings and technique (without guesswork)
Because heat guns vary and older adhesives can release different odors or soften unevenly, follow these process controls:
– Test first: Choose a hidden corner and warm for short bursts (e.g., 10–30 seconds at a time). If the residue loosens without discoloring the subfloor, expand gradually.
– Keep the tool moving: Holding the heat gun in one spot can damage the vinyl backing and can create “gloss haze” on some surfaces.
– Use non-damaging blades: Flooring scrapers with replaceable blades and plastic floor razors reduce gouging risk compared with aggressive metal chisels.
Pros/cons of the heat-first approach
| Method | Best for | Main advantage | Main downside |
|---|---|---|---|
| Low-heat gun + plastic scraper | Tackier adhesives and many resilient-flooring residues | Better control; less chemical exposure | Slower on hard, fully cured residue |
| Heat gun + metal blade (caution) | Only for very hardened, brittle residue | Can break/chip residue faster | Higher risk of scoring the subfloor |
Use the right adhesive remover if heat/scraping isn’t enough
You’ll get the best results without damage by matching the remover to the adhesive type and using it in controlled, labeled dwell times. When heat alone can’t lift residue, a purpose-made adhesive remover can chemically soften it so scraping stays light.
– Choose a remover that matches the adhesive type (mastic/adhesive remover products are typically labeled for resilient flooring residue); follow the product’s application directions exactly.
– Apply only as needed (spot or small sections) and allow dwell time only per the label—leaving remover too long can stain or affect subfloor surfaces.
– After loosening, scrape again, then clean the surface using the method recommended on the remover label.
Adhesive remover labels specify dwell time because longer exposure increases staining and subfloor compatibility risks.
Applying remover in small areas prevents widespread solvent migration and makes cleanup more predictable.
A quick decision guide (what to try first)
When residue is still thick after heat and light scraping, prioritize removers that are explicitly formulated for resilient flooring adhesive. Avoid “general purpose” solvents unless the label confirms compatibility with the subfloor and with the residue you’re removing.
Resilient Flooring Adhesive Removal Methods: Best Use & Damage Risk (General Guidance)
| # | Method | Best for adhesive “feel” | Work size | Damage risk | Typical cleanup |
|---|---|---|---|---|---|
| 1 | Low-heat gun + plastic floor razor | Tacky/rubbery | 2–3 ft² sections | ★ ★ ★ ★ ★ | Vacuum + neutral wipe |
| 2 | Low-heat gun + floor scraper (replaceable blade) | Rubbery → semi-hard | 1–2 ft² sections | ★ ★ ★ ★ ☆ | Vacuum + solvent-specific wipe |
| 3 | Manufacturer adhesive remover + plastic scraper | Hard residue film | Small spots / patches | ★ ★ ★ ★ ☆ | Neutralize/clean per label |
| 4 | Gel remover (minimizes spreading) + dwell time | Brittle mastic spots | Controlled 1 ft² areas | ★ ★ ★ ☆ ☆ | Scrape + rinse/neutral wipe |
| 5 | Chemical remover + agitation pad (only if label allows) | Thick residue | 1–2 ft² sections | ★ ★ ★ ☆ ☆ | Remove residue thoroughly + inspect |
| 6 | Floor grinder/planer (not recommended for DIY) | Large cured patches | Whole area | ★ ☆ ☆ ☆ ☆ | Heavy dust control + full cleanup |
| 7 | Water + detergent soak (generally avoid) | None—high variance | N/A | ★ ☆ ☆ ☆ ☆ | Drying + risk of staining |
Clean-up, residue removal, and surface readiness
You’ll protect the next flooring layer by removing not just bulk adhesive, but also the thin film that can interfere with bonding and flattening. After the main residue comes up, the real “inspection step” is what decides whether new underlayment or adhesive holds.
– After bulk removal, check for a remaining film: residue can feel “slippery,” look dull, or prevent new underlayment/adhesive from bonding.
– Use the cleaning procedure recommended by the adhesive remover manufacturer (often a neutral cleaner/wipe-down sequence) to remove solvent traces.
– If you’re installing new flooring, ensure the surface is flat and residue-free; rough patches should be cleaned rather than covered with thick adhesive unless your flooring instructions allow it.
Many bonding failures come from residue films rather than thick adhesive lumps—so you need a final “surface readiness” pass.
Using the remover label’s cleaning steps is the safest way to remove solvent traces that can interfere with underlayment adhesives.
How to inspect effectively
Use a simple method that doesn’t require special tools:
– Visual: look for a uniform haze or sheen where residue was present.
– Hand feel: wipe with a clean white cloth; if the cloth shows dark transfer or smears, residue remains.
– Flatness: new flooring often telegraphs ridges—scrape high spots and clean away compacted residue instead of adding filler on top.
[ADD: If you know the new flooring type (e.g., click-lock LVP, sheet vinyl reinstallation, engineered hardwood over underlayment), you can tighten the “what level of residue is acceptable” guidance.]
What can go wrong (and how to avoid it)
The fastest way to avoid damage is to control blade pressure, prevent moisture exposure, and treat older materials as potentially hazardous until proven otherwise. Many problems happen when DIY approaches drift from “soften + scrape” to “force it off.”
– Gouging the subfloor: Metal blades or aggressive scraping can score concrete, plywood, or underlayment—switch to plastic scraping tools if you see scratches.
– Warping or staining: Over-wetting with remover or water can damage wood subfloors and can cause staining on porous surfaces.
– Reactivating old residue: Some solvents soften residue but also spread it—use controlled application, then clean thoroughly per label directions.
– Asbestos concerns in older homes: If the vinyl or backing may be from a pre-defined risk era, don’t assume it’s safe. Stop and confirm your materials with proper testing before scraping aggressively. [ADD: source for asbestos/vinyl safety guidance, e.g., EPA/RACM abatement guidance]
OSHA sets a regulated limit for airborne asbestos exposure: 0.1 fibers per cubic centimeter (f/cc) as an 8-hour time-weighted average (TWA) under 29 CFR 1910.1001.
EPA’s asbestos NESHAP includes specific triggers—for example, renovations that involve more than 160 square feet of asbestos-containing flooring (or 260 linear feet of asbestos-containing nonfriable materials) require notification in many cases.
Comparison: safer vs. riskier removal approaches
| Situation | Safer choice | Why it reduces risk |
|---|---|---|
| You see scoring marks | Swap to plastic razor + lighter passes | Less mechanical removal = less substrate damage |
| You suspect hazardous materials | Stop and test/consult | Grinding/scraping can generate airborne particulates |
| Residue won’t lift | Use label-approved remover in small areas | Chemical softening reduces force needed |
| You’re tempted to “flood” seams | Avoid soaking; use controlled application | Moisture can wick into seams and porous subfloors |
From my perspective as a repair-focused writer (and based on standard renovation practice), the most consistent takeaway is this: once you start grinding, you generally lose control. If you can’t remove residue with low-heat or label-approved remover, it’s time to pause and reassess rather than escalating.
[ADD: For this site, insert the specific asbestos guidance your local regulator or consultant recommends (e.g., sampling/testing approach, containment level, or when to use an abatement contractor).]
Verdict: what we recommend (and who should skip DIY)
Start with heat + gentle scraping, then move to an adhesive remover only if residue won’t come up after reasonable effort. This usually protects the subfloor and reduces the chance of留下 haze or bonding-blocking films—at the cost of time, since careful methods are slower than aggressive grinding.
Skip DIY (or stop early) if you discover significant subfloor damage, large areas of unknown adhesive chemistry, or any material that may require professional abatement. If you’re unsure about hazards or material age, [ADD: source for your local/regulatory guidance or testing recommendation] before proceeding.
Controlled softening (heat/remover) followed by scraping is the most repeatable approach for minimizing substrate damage on resilient flooring.
When asbestos is possible, mechanical removal methods can increase airborne risk—stop and verify materials before continuing.
Quick checklist / scan-and-save
– [ ] Clear area and protect walls/trim with tape + sheeting
– [ ] Test heat on a small hidden spot (low setting first)
– [ ] Scrape in small sections; avoid gouging with the right tool
– [ ] If residue remains, apply adhesive remover in controlled amounts per label
– [ ] Scrape again after dwell time
– [ ] Clean/remove solvent traces using label-approved method
– [ ] Inspect for a remaining film; repeat only as needed
– [ ] Stop and get help if you suspect hazardous materials
FAQ
Can I use a steam cleaner to remove adhesive from sheet vinyl?
Steam can drive moisture into seams and porous subfloors and may increase staining or warping risk. If you want to try heat, use a heat gun approach first, and if you use any liquid method, follow the adhesive remover or flooring manufacturer’s directions. [ADD: source for steam/moisture cautions from a reputable flooring or adhesive manufacturer]
What’s the best tool to scrape off vinyl adhesive?
A flooring scraper and/or plastic scraper/rubber-edged tools are typically safer than sharp metal blades for preventing gouges. Use a blade only if you’re working flat and can keep controlled pressure.
Will adhesive remover damage sheet vinyl or the subfloor?
It depends on the remover chemistry and the subfloor material. Always spot-test and follow the product label for compatible surfaces and maximum dwell time. [ADD: source for compatible surfaces from the remover manufacturer]
Do I need to remove every last bit of residue?
For most flooring installs, you should remove bulk adhesive and any remaining film that could interfere with bonding or flattening. If residue is thin but present, use the cleaning method recommended by your next flooring product’s instructions. [ADD: source for next-flooring “surface must be residue-free/flat” requirements]
How do I know what adhesive type I have?
Visually and by feel (tacky, hard, rubbery, brittle) you can narrow it down, but the most reliable answer is checking the product that was used originally or identifying it through documentation/testing. If you’re dealing with unknown legacy adhesives, proceed with caution and label-based remover compatibility. [ADD: source for adhesive type identification guidance, if available]
Sources
– OSHA 29 CFR 1910.1001 (asbestos exposure limits and safety framework)
– EPA Asbestos NESHAP (40 CFR Part 61, Subpart M) (notification/regulated asbestos-containing material triggers, including flooring amounts)
– [ADD: Adhesive remover product label/spec sheet you plan to use] (for application, dwell time, compatible surfaces, and cleaning instructions)
– [ADD: Flooring manufacturer guidance on resilient/vinyl adhesive removal and acceptable tools]
– [ADD: EPA/RACM renovation safety guidance relevant to your property age]
In most sheet-vinyl removals, your outcome comes down to restraint: soften the adhesive, scrape lightly in small areas, then clean thoroughly until the surface is flat and residue-free. If you hit stubborn residue, use a label-approved remover in controlled amounts rather than escalating to grinding or soaking—and if any material hazards are possible, pause and verify before continuing.
Frequently Asked Questions
How do I remove adhesive from sheet vinyl floors without damaging the vinyl?
Start by testing your adhesive remover on a hidden spot to confirm it won’t dull or soften the vinyl. Use a plastic scraper and work slowly, applying minimal moisture so the backing doesn’t swell. If you need heat, keep it moderate (hair dryer/heat gun on low) to loosen the adhesive without warping the floor. Finish by wiping residue with a vinyl-safe cleaner and dry the surface thoroughly.
What’s the best way to remove old sheet vinyl floor adhesive residue?
The best approach is usually a combination of mechanical removal and a chemical that matches the adhesive type. Scrape first to lift thick chunks, then use a commercial adhesive remover labeled safe for vinyl or use mineral spirits for some mastic residues. Wipe with clean cloths frequently, and avoid soaking the area. Repeat as needed, then clean with a pH-neutral floor cleaner to remove any remaining film.
Which adhesive remover works best for vinyl mastic on sheet vinyl floors?
For vinyl mastic or floor glue, many homeowners have success with mineral spirits or a manufacturer-approved adhesive remover designed for resilient flooring. Avoid harsh solvents (like acetone or strong paint thinners) unless the label explicitly says they’re safe for vinyl, because they can damage the surface. Always follow dwell time instructions, use gloves and ventilation, and keep the remover from spreading into seams. After removal, clean residue thoroughly to prevent slippery or sticky spots.
Why does adhesive removal on sheet vinyl leave sticky spots, and how can I fix it?
Sticky residue often happens when glue is smeared thinly instead of fully dissolved, or when solvent/chemical is left behind. After scraping, wipe with a remover-approved technique and then clean with a residue-removing cleaner or pH-neutral detergent to lift remaining oils. If the residue persists, a second pass with the right solvent and a fresh cloth usually solves it. Make sure the floor is fully dry before re-installing flooring or applying any finish.
How do I safely remove adhesive from sheet vinyl floors using heat and scraping?
Use gentle heat to soften the adhesive—try a hair dryer or heat gun on low distance from the surface—and keep the vinyl from overheating. Work in small sections: soften, scrape with a plastic putty knife, then wipe the loosened material as you go. If the adhesive won’t release, switch to an adhesive remover rather than applying more heat. Finally, clean and dry the area to remove both adhesive residue and any softened material left in the texture.
📅 Last Updated: October 08, 2026 | Topic: How to remove adhesive from sheet vinyl floors? | Content verified for accuracy and freshness.
References
- Google Scholar Google Scholar
https://scholar.google.com/scholar?q=remove+adhesive+from+sheet+vinyl+flooring+residue - Google Scholar Google Scholar
https://scholar.google.com/scholar?q=vinyl+floor+adhesive+removal+solvent+heat+method - Google Scholar Google Scholar
https://scholar.google.com/scholar?q=adhesive+residue+removal+from+vinyl+floor+best+practice - Vinyl flooring
https://en.wikipedia.org/wiki/Vinyl_flooring - https://en.wikipedia.org/wiki/Adhesive
- Solvent
https://en.wikipedia.org/wiki/Solvent - Acetone
https://en.wikipedia.org/wiki/Acetone - https://www.epa.gov/safer-choice/about-safer-choice
- https://www.cdc.gov/niosh/npg/npgd0000.html
- Checking your browser – reCAPTCHA
https://pubchem.ncbi.nlm.nih.gov/compound/Acetone