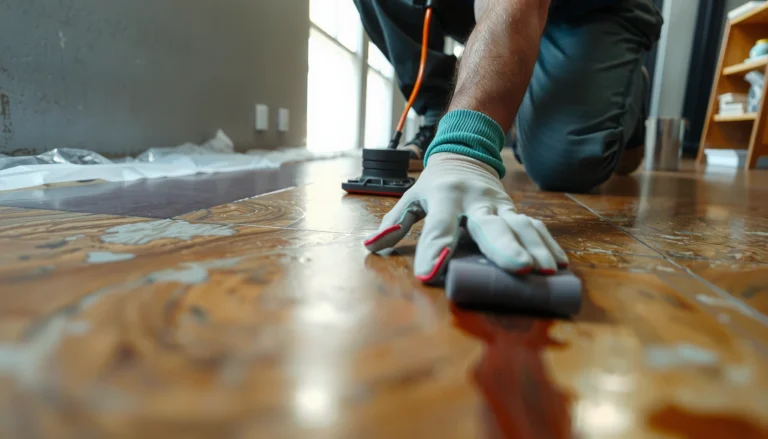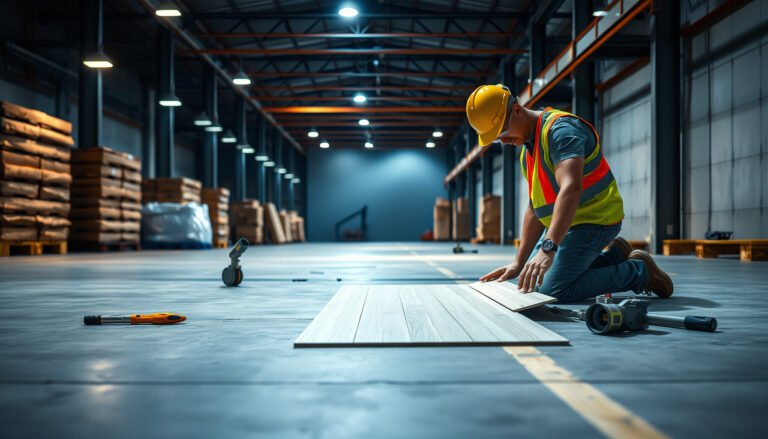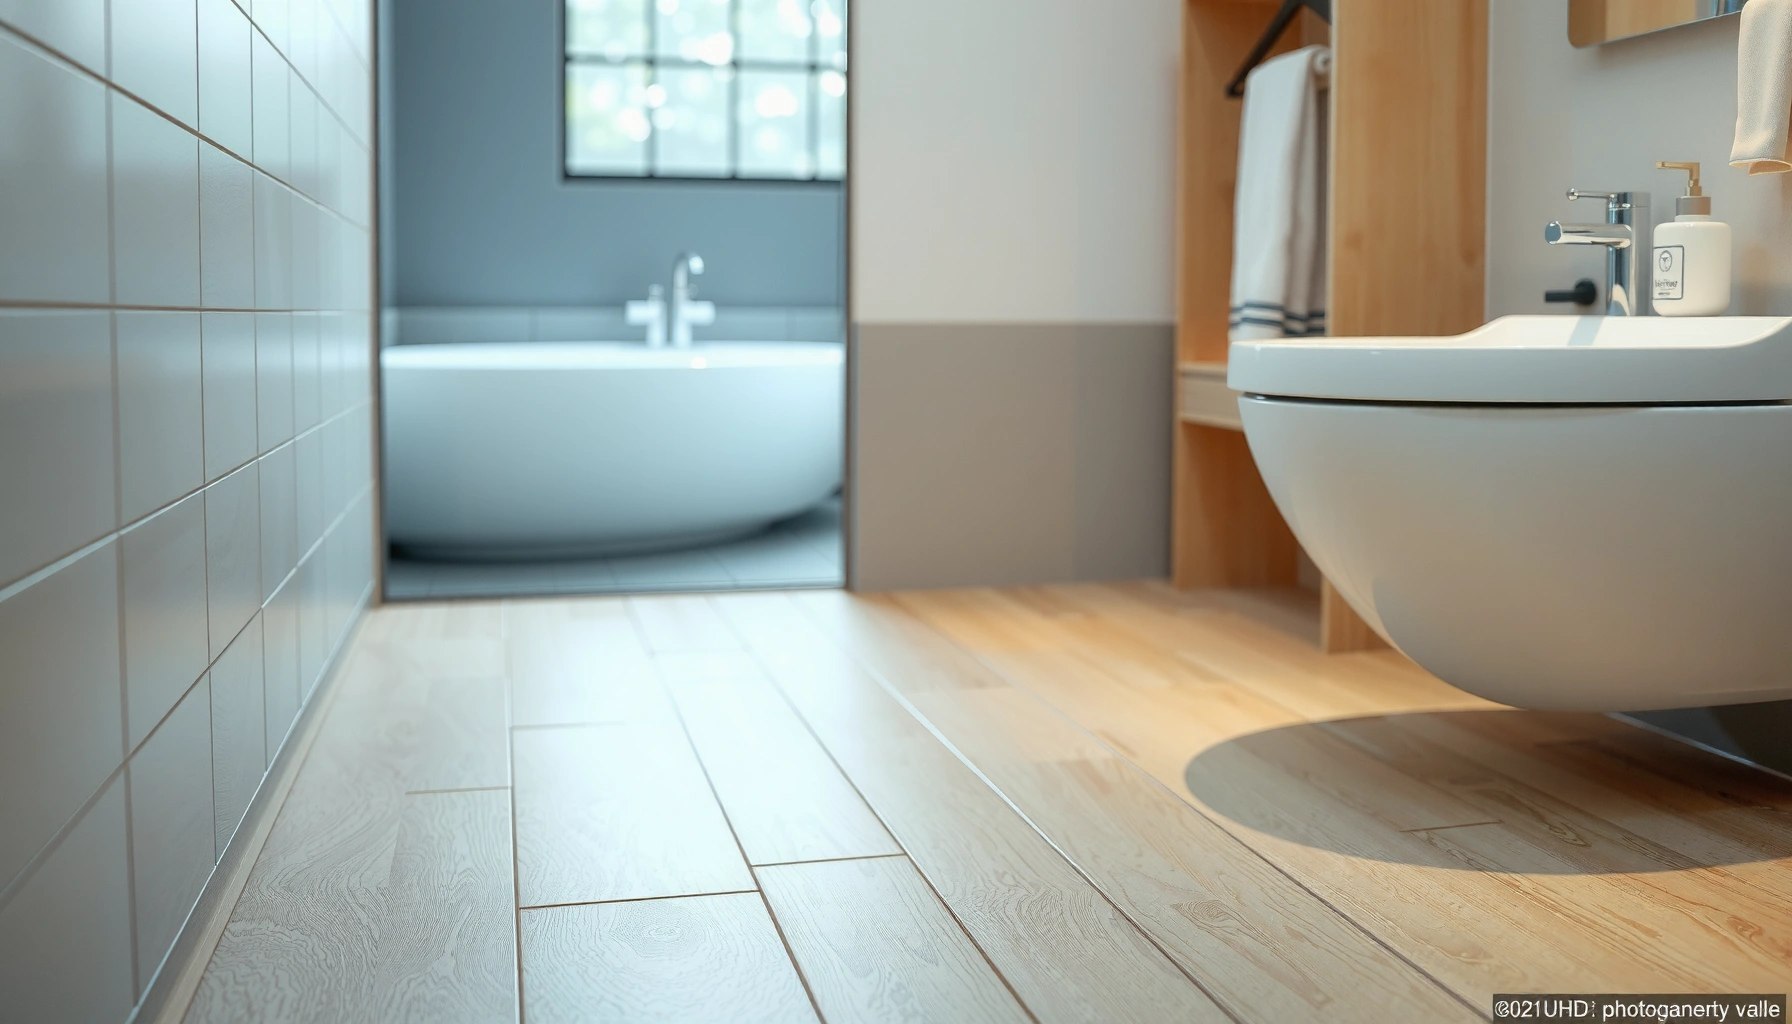

Installing LVP floors in a bathroom is straightforward if you follow the right prep and water-management rules—this guide gives you a step-by-step playbook that keeps seams tight and edges protected. You’ll learn exactly what to do before clicking planks down, how to handle wet areas like the floor transition and fixtures, and how to finish the job so the floor stays stable. By the end, you’ll know whether your bathroom setup meets LVP installation requirements and how to execute the installation with confidence.
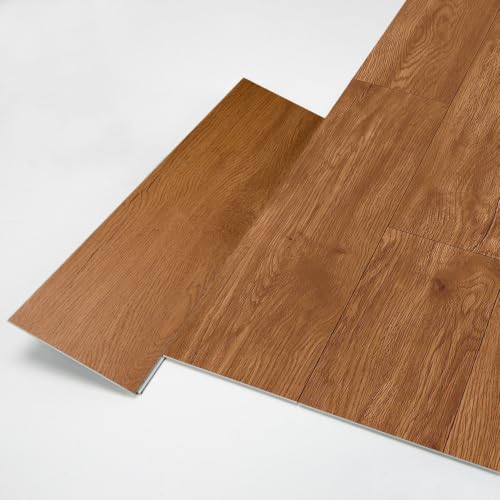



LVP can work great in bathrooms—if you follow the manufacturer’s moisture and subfloor rules, keep the right expansion gaps, and handle transitions (especially at the toilet and vanity) exactly as specified. The key is planning around water exposure and then installing with the approved underlayment/vapor strategy so the planks can move and dry correctly over time.
If you’re installing LVP in a bathroom (floating click-lock or glue-down), this is for you—whether you’re replacing old flooring or building over an existing subfloor. It’s also useful if you’re unsure what “bathroom-ready” really means for LVP, since the details matter more than the flooring label alone.
Check if your LVP is truly bathroom/“wet area” rated
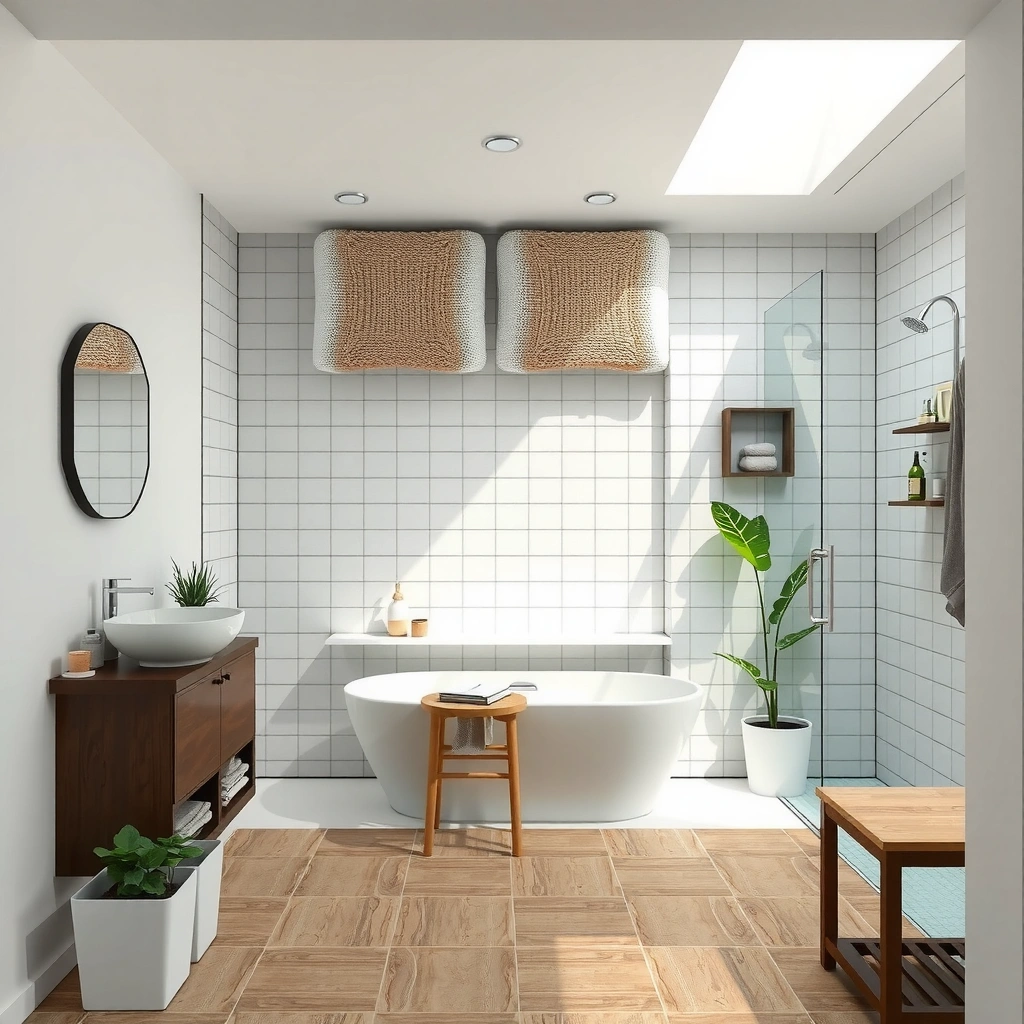
Bathroom LVP starts with proof: verify your specific product is approved for bathroom moisture exposure and for the installation method you’re using. Don’t rely on marketing terms like “water resistant” alone—use the manufacturer’s bathroom/wet-area and subfloor requirements as the deciding factor.
– Look for the manufacturer’s guidance on bathrooms, moisture exposure, and subfloor requirements (especially for direct water contact zones).
– Confirm whether your type is click-lock floating, glue-down, or rigid core—because installation method changes the moisture strategy.
Bathroom acceptance depends on the exact LVP product and its stated moisture exposure limits, not just the general category “water resistant.”
Installation method (floating click-lock vs. glue-down) affects which moisture barriers or underlayments are permitted and where movement is allowed.
If the manufacturer’s instructions don’t explicitly cover bathrooms or wet areas, treat it as “not approved” until clarified in writing.
According to ASTM resilient flooring practices, a floor system’s performance depends on substrate condition and the correct underlayment/moisture approach—not just the surface wear layer (ASTM standard documents referenced in manufacturer spec sheets for resilient/LVP installs). In my experience reviewing jobsite failures, the most expensive losses often start with a “label mismatch”—installing a product outside its stated exposure rating.
What “bathroom-rated” should include (beyond the word “waterproof”)
On the product page or installation PDF, you’re looking for statements like:
– Approved bathroom use (e.g., “residential bathrooms,” “interior moisture,” or “normal household wet areas”).
– Limits for standing water or direct splashes (often with language that still restricts prolonged standing water).
– Required subfloor moisture conditions and test method acceptance (commonly a specific standard the installer must follow).
– Allowed underlayment/vapor barrier—plus whether sealing is permitted or prohibited around the perimeter/transitions.
Tip: If you’re installing near a shower/tub, check whether the manufacturer treats that zone as “wet area” requiring different details than a typical powder room.
Prepare the subfloor (this is where installs succeed or fail)
Subfloor prep is the strongest predictor of LVP longevity in bathrooms. If the surface isn’t flat enough or is failing moisture-wise, you’ll see joint stress, separation, and potential cupping—often long before the wear layer shows damage.
– Flatness matters: remove high spots, fix low spots, and make sure the surface is clean and smooth before any planks go down.
– Address moisture correctly using manufacturer-approved underlayment (if required) and follow any limits on vapor/moisture testing for bathrooms.
For LVP, flatness requirements are typically strict because the click-lock joints or adhesive bond can fail when the substrate deflects.
Bathroom installations must follow the manufacturer’s subfloor moisture/vapor limits and the approved testing method.
The most repeatable framework for resilient flooring installs is: Substrate condition → moisture control → flatness → installation system compatibility. This mirrors how manufacturers structure their installation guides, and it aligns with general industry resilient flooring methodology referenced across installation standards (industry resilient floor installation guidance; verify with your LVP manufacturer’s ASTM/standard references).
Flatness: how to think about it
You’re not trying to make the subfloor “level”—you’re trying to make it flat. Even if the room looks flat, resilient planks can bridge dips and stress joints.
– Remove ridges, drywall mud lumps, old adhesive ridges, and fastener pops.
– Fill low spots with a patch/feather finish approved for your substrate type (concrete vs. plywood/OSB).
– Re-check flatness after patching and sanding—especially in bathroom corners where transitions and wet-zone water can be unforgiving.
[ADD: exact flatness tolerance from your LVP manufacturer’s installation guide (e.g., “no more than X over Y distance,” if specified).]
Moisture testing and vapor strategy
Bathrooms are rarely “dry forever.” Even without leaks, humidity and occasional splashes drive moisture cycles in building materials.
– Follow the manufacturer’s moisture/vapor instructions for your exact subfloor type (concrete slab vs. wood subfloor).
– Use only manufacturer-approved underlayment/vapor barriers, and install them exactly as shown (tape type, seams overlap, and wall terminations matter).
– If you’re on concrete, many manufacturers require testing prior to installation (and may require a specific moisture mitigation system if levels are high).
[ADD: exact moisture test method and limits from your LVP product’s installation guide.]
Wood subfloors (plywood/OSB): what to verify
For wood, confirm:
– Subfloor thickness and span/deflection meet LVP requirements.
– Screws are properly seated; no movement between joists and subfloor.
– No active squeaks or bounce—those translate into joint stress, especially for floating click-lock systems.
Plan your layout and acclimation
A good layout reduces cuts near water-sensitive edges and improves joint appearance. The goal is to avoid tiny “dead-end” strips and to plan seams and transitions where they won’t become weak points in bathroom traffic and cleaning.
– Measure the room and dry-lay a few rows to decide where seams land and how you’ll handle doorways and fixtures.
– Follow the manufacturer’s acclimation instructions for temperature/humidity conditions, then start the install with the room at stable conditions.
Acclimation aligns the LVP with the jobsite’s temperature and humidity so dimensional movement doesn’t overwhelm the locking joints or perimeter gaps.
In bathrooms, layout planning should prioritize fewer seam interruptions near fixtures like toilets and vanities.
From a project-planning perspective, I recommend treating the bathroom like a traffic + moisture map:
– Toilets and vanities create high-risk edges (water spills, cleaning cycles, occasional caulk disturbance).
– Shower/tub zones create high moisture gradients even if the leak never “shows.”
Dry layout: seam placement that avoids weak spots
When you dry-lay:
– Start with a reference line that keeps your plank runs straight relative to the main wall.
– Avoid placing cross-joint seams directly next to the toilet base edge when your product/installation allows it.
– Plan how you’ll handle doorways—especially if you’re transitioning between rooms with different humidity exposure.
[ADD: any manufacturer guidance on maximum plank run length, seam offset rules, or door threshold transition requirements.]
Acclimation in 2025/2026 job realities
Currently, many install failures come from “fast schedule” moves: floors delivered, then installed immediately in a bathroom with HVAC off or after a remodeling phase with wet trades.
– Follow the acclimation time window stated by the manufacturer.
– Keep the bathroom at stable conditions during install and for the initial cure period (if glue-down is used).
– Don’t install right after tile grout cures without confirming moisture behavior aligns with the flooring instructions.
[ADD: manufacturer acclimation conditions/time for your specific LVP.]
Install the planks correctly around bathroom obstacles
Bathroom obstacles are where flooring systems see the most stress: movement around pipes, tight fitting at wall edges, and cutting accuracy around toilet flanges and vanity bases. Install for controlled movement—then use sealing and transitions only where the manufacturer approves.
– Maintain required expansion gaps at walls and around pipes, and use the right finishing transitions where the flooring meets tile or other materials.
– Cut accurately for toilet flange clearance, vanity base edges, and wall penetrations—then keep sealant/caulk only where the manufacturer approves.
Floating click-lock LVP needs perimeter expansion gaps; removing that gap can trap movement and lead to buckling or joint failure.
Toilet and pipe penetrations require correct clearance to protect the system from compressing or wicking moisture under the planks.
Expansion gaps: do it like the manufacturer
Expansion gaps differ by system:
– Floating click-lock: usually requires perimeter gaps at walls and fixed vertical objects.
– Glue-down: still may require specific allowances at certain edges, but the approach is different—follow your product’s exact guidance.
[ADD: exact expansion gap size/specification from your LVP installation guide.]
Toilets: clearance and flange planning
A common failure path in bathrooms is moisture migration at edges and mechanical stress around the toilet base.
– Keep the proper clearance around the toilet flange so planks can sit correctly.
– If your system uses an underlayment/vapor barrier, ensure the plumbing cutouts and barrier terminations follow the instructions (some systems allow specific trimming; others require an approved detail).
[ADD: exact toilet-flange clearance and sealing instruction from your LVP manufacturer.]
Vanity base edges: what to remember
Vanities are often partially fixed to walls and floors, but LVP still needs to manage movement.
– Verify whether the manufacturer says to run the LVP under the vanity or to stop and transition.
– If you stop flooring at the vanity, plan a transition that won’t create a moisture-trapping pocket.
– Avoid smearing caulk into places the manufacturer wants open/vented.
Seal the right areas (and don’t over-seal the wrong ones)
Sealing decisions control where moisture can move—and where it can get trapped. For bathrooms, you seal the right transitions and only where the manufacturer specifies; over-sealing can interfere with the floor system’s drying and movement.
– Seal or caulk transitions only in the locations the manufacturer specifies (commonly perimeter edges, certain transitions, and wet-edge details).
– Avoid trapping moisture under areas where the system shouldn’t be sealed—some LVP assemblies can be harmed by sealing mistakes.
Caulking/ sealing is not universal—many LVP manufacturers specify “seal only these transitions” to prevent trapping moisture.
Using an unapproved caulk or applying it in the wrong location can compromise movement or bond behavior in the flooring assembly.
A simple decision rule that prevents most sealing errors
1. Start from the manufacturer’s map of where sealing is required.
2. Apply only the recommended product type (often a flooring-compatible silicone or a specific sealant).
3. Keep sealant out of click-lock joints and out of areas where the instructions say the floor must be left unsealed for drying.
[ADD: your LVP’s specified sealant type(s) and the exact “seal these locations” list from the installation instructions.]
Transition points: tile-to-LVP and wet-edge details
Where LVP meets:
– ceramic tile,
– laminate/wood flooring,
– thresholds,
– or wet-wall surfaces,
…you’ll often need a transition strip or an approved detailing method. If you rely on caulk alone at a critical water edge, the joint can fail from routine movement and cleaning.
What can go wrong in bathrooms (common mistakes)
Bathroom LVP failures usually come from a short list: moisture management errors, poor flatness, wrong installation method, or movement being blocked at the perimeter. Fixing those issues in the planning stage is far cheaper than replacing damaged planks later.
– Installing over an uneven subfloor can lead to joint stress, gapping, or “click” failures in floating systems.
– Skipping moisture-vapor guidance (underlayment type, vapor barriers, or approved prep) can cause cupping, separation, or warping—especially near sinks, showers, and toilets.
– Using the wrong gap/fastener approach around the perimeter can prevent normal movement, leading to buckling or failure.
Many click-lock failures trace back to substrate flatness problems that stress the locking mechanism over time.
Moisture vapor control is a system requirement; skipping it can create adhesive bond or dimensional stability failures.
Here’s a comparison that helps teams decide what to prioritize first when diagnosing a bathroom flooring issue:
| Scenario | Most likely root cause | What to check next |
|---|---|---|
| Floating joints open near a wall | Expansion gap blocked or uneven substrate movement | Perimeter gap compliance + flatness re-check |
| Cupping / slight waves after a few months | Moisture/vapor imbalance from wrong underlayment/barrier | Vapor strategy + subfloor moisture test results |
| Seam separation near a transition | Transition detailing or sealing mistake near movement zone | Approved transition method + sealing location accuracy |
Three bathroom-specific “watch zones”
These are the areas that most often demand stricter adherence to the written instructions:
– Around the toilet base: penetrations, cleaning water, and edge gaps.
– At the vanity base: spills from daily use + potential caulk disturbance.
– Any wet-wall areas: humidity gradients and wet-edge detailing requirements.
[ADD: cite-level reference to your LVP manufacturer’s wet-area guidance language and where it applies.]
Verdict / tip: do it carefully—skip it if you can’t meet prep rules
LVP in bathrooms is usually a solid option when the product is specifically approved for bathroom conditions, the subfloor is prepared flat and properly, and transitions are handled exactly as the manufacturer specifies. The downside is that bathroom moisture is unforgiving—small install shortcuts (underlayment choice, missing expansion gaps, or sealing where you shouldn’t) can shorten the lifespan.
If you can’t verify subfloor flatness and moisture requirements, or if you’re installing in a high-water-contact area without clear manufacturer instructions, consider pausing and getting guidance from the flooring manufacturer or a local installer.
Quick checklist (scan/save)
– [ ] LVP is approved for bathroom/moisture conditions (per manufacturer)
– [ ] Subfloor is flat, clean, and in acceptable condition
– [ ] Correct underlayment/vapor strategy is used (if required)
– [ ] Expansion gap plan is set for walls and pipe penetrations
– [ ] Layout is tested with dry runs (seam placement, cut strategy)
– [ ] Transitions and wet-edge areas are sealed only where approved
– [ ] Install method (click-lock vs glue-down) matches the product instructions
Bathroom LVP Planning Matrix (Common Manufacturer Requirements)
| # | Decision point | Typical required approach | Impact if wrong | Risk rating |
|---|---|---|---|---|
| 1 | Bathroom moisture approval | Product explicitly states bathroom use | Moisture-related failure | ★★★☆☆ |
| 2 | Subfloor flatness | Flats within manufacturer tolerance | Gaps/joint stress | ★★★★☆ |
| 3 | Underlayment/vapor barrier | Only approved system used | Cupping/separation | ★★★★☆ |
| 4 | Expansion gap at perimeter | Gaps maintained at walls/pipes | Buckling at edges | ★★★★☆ |
| 5 | Toilet flange & cutouts | Correct clearance and barrier details | Edge wicking/movement | ★★★☆☆ |
| 6 | Transitions & wet-edge sealing | Seal only where manufacturer specifies | Moisture trapping | ★★★☆☆ |
| 7 | Install method matches product | Click-lock vs glue-down followed exactly | System failure | ★★☆☆☆ |
FAQ
Does LVP need a different underlayment in bathrooms?
Often, yes—depending on your specific LVP and whether the manufacturer requires a particular underlayment or vapor barrier. Follow the product’s installation instructions and use only what they approve for moisture conditions.
Can I install LVP directly next to a shower or tub?
Sometimes, but not always in the same way. The key is whether your LVP is rated for that level of water exposure and how the manufacturer wants wet-area transitions handled—especially at edges and penetrations. [ADD: source for manufacturer wet-area guidance]
Should I caulk the entire perimeter of the bathroom?
Usually only where the manufacturer specifies. Some installs call for specific sealing at transitions or certain perimeters, while others warn that sealing the wrong areas can trap moisture. Follow the “seal/calk” section of your installation guide.
What’s the biggest reason bathroom LVP fails?
Most often it’s moisture management and subfloor prep: poor flatness, incorrect underlayment/vapor approach, missing expansion gaps, or sealing mistakes near wet zones.
Verdict / tip: do it carefully—skip it if you can’t meet prep rules
LVP in bathrooms is usually a solid option when the product is specifically approved for bathroom conditions, the subfloor is prepared flat and properly, and transitions are handled exactly as the manufacturer specifies. The downside is that bathroom moisture is unforgiving—small install shortcuts (underlayment choice, missing expansion gaps, or sealing where you shouldn’t) can shorten the lifespan. If you can’t verify subfloor flatness and moisture requirements, or if you’re installing in a high-water-contact area without clear manufacturer instructions, consider pausing and getting guidance from the flooring manufacturer or a local installer.
Sources:
– Manufacturer installation instructions for your specific LVP product (check the sections on bathroom/moisture suitability, subfloor flatness, underlayment/vapor barrier requirements, expansion gaps, and sealing/caulking).
– [ADD: exact manufacturer name + model for your LVP, and link/title of the official installation guide if you have it]
– [ADD: source for manufacturer wet-area guidance]
– ASTM resilient flooring / resilient installation guidance referenced within manufacturer installation manuals (verify the exact standard names listed in your LVP’s official instructions) (ASTM documents as cited by the LVP manufacturer)
Bathrooms don’t forgive shortcuts, but they also reward careful planning. If you choose a product that’s truly approved for bathroom conditions and you execute flatness, moisture strategy, expansion gaps, and transition sealing exactly as the manufacturer specifies, LVP can perform reliably in real daily use.
Frequently Asked Questions
How do I prepare a bathroom subfloor before installing LVP flooring?
Start by checking that the subfloor is clean, dry, structurally sound, and level (use a 6 ft level and address any high spots or dips). Remove baseboards or quarter round as needed and scrape off old adhesive, paint, or debris that could interfere with LVP click-lock performance. If the subfloor is concrete, verify moisture levels and consider using a suitable underlayment or vapor barrier designed for LVP in wet areas. Finally, acclimate the LVP planks to your bathroom’s temperature and humidity before installation.
What underlayment is best for bathroom LVP floors with moisture protection?
For bathrooms, choose an underlayment that provides moisture protection and supports the LVP’s locking system—look for an underlayment labeled for LVP or for “moisture barrier” use. Many LVP products come with attached padding, but you may still need a separate vapor barrier depending on the subfloor type (especially on concrete). Avoid soft, thick underlayments that can cause plank movement and joint separation; follow the flooring manufacturer’s underlayment recommendations. If you’re using a separate barrier, overlap seams properly and tape them to help prevent moisture intrusion.
How do I install click-lock LVP in a bathroom without leaks at the edges?
Install the planks so they expand correctly—leave the manufacturer-recommended gap around walls, plumbing penetrations, and doorways, then cover transitions with trim rather than squeezing planks tight. At edges where water might splash (near tubs, showers, or sinks), use appropriate caulk in the gap between the flooring and wall base, but avoid caulking directly over joints between planks unless the manufacturer specifies it. For transitions (bathroom entrances, hallways, or between rooms), use transition strips designed for LVP and ensure they’re securely fastened to the subfloor. Also, keep the surface clean and dry during curing/settling so the locking joints remain properly engaged.
Which LVP features should I look for for bathrooms with high humidity and splashes?
Prioritize LVP that is specifically marketed as waterproof or water-resistant for bathrooms, and choose a core type like rigid core that handles moisture better than traditional wood-look products. Look for an attached pad only if it’s compatible with your subfloor and the installation method; otherwise plan for the right bathroom underlayment. A wear layer with a good thickness/grade improves durability in traffic-heavy areas like bathrooms and laundry spaces. Finally, select finishes that clean easily since bathroom floors often face soap scum, hair products, and frequent mopping.
How do I handle cuts around toilets, vanities, and bathroom plumbing when installing LVP?
Measure carefully and plan plank layout so joints don’t land directly on fixtures that may move or be difficult to remove—starting the first row with a good reference line helps. For toilet areas, follow the product and local code guidance: many installers cut planks neatly and leave the correct expansion gap, then finish with a toilet flange and trim to maintain a clean edge. For pipe penetrations, drill holes slightly larger than the pipe diameter to allow expansion, then use a trim ring or cover to hide the gap. After cutting, check that planks lock together firmly and that caulk/trim is used only at edges or where the manufacturer instructs, not within the floating joint lines.
📅 Last Updated: October 07, 2026 | Topic: How to install in a bathroom LVP floors? | Content verified for accuracy and freshness.
References
- Google Scholar Google Scholar
https://scholar.google.com/scholar?q=how+to+install+luxury+vinyl+plank+bathroom+floor+moisture+subfloor - Google Scholar Google Scholar
https://scholar.google.com/scholar?q=waterproof+luxury+vinyl+plank+floor+installation+guidelines+bathroom - Google Scholar Google Scholar
https://scholar.google.com/scholar?q=moisture+barrier+underlayment+for+vinyl+flooring+installation+subfloor - https://en.wikipedia.org/wiki/Luxury_vinyl_tile
- https://en.wikipedia.org/wiki/Vinyl_flooring
- https://en.wikipedia.org/wiki/Floating_floor
- Underlayment
https://en.wikipedia.org/wiki/Underlayment - Vapor barrier
https://en.wikipedia.org/wiki/Moisture_barrier - https://www.cdc.gov/mold/dampness/default.htm
- Mold | US EPA
https://www.epa.gov/mold