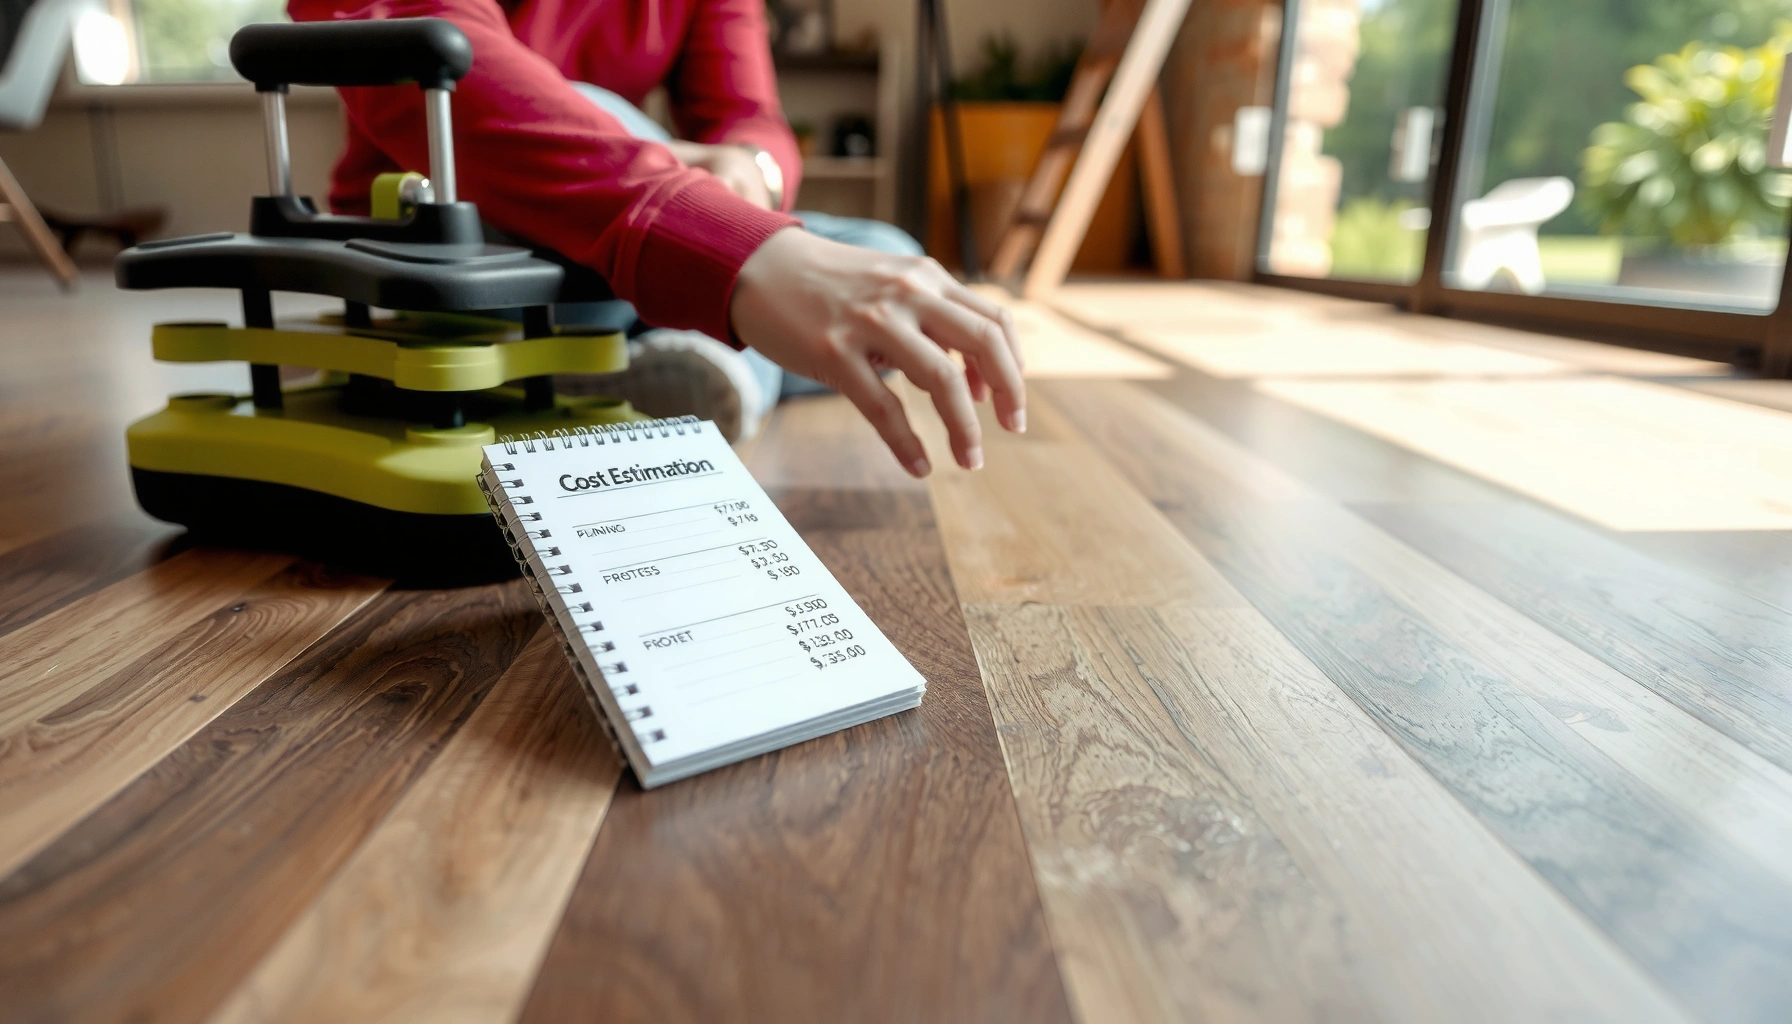

If you’re trying to estimate the cost of LVP floors, you can narrow the number fast by pricing the key line items: material, underlayment, prep/subfloor work, installation labor, and delivery or waste. Use a simple per-square-foot approach to calculate your likely total, then adjust for room size complexity and grade-level conditions that drive add-ons. This guide shows exactly how to get to a realistic budget before you call installers.


To estimate the cost of LVP floors, calculate your total square footage (including waste), then add the real-world extras: underlayment, prep work, trims, and installation if you’re not doing it yourself. Estimating the cost of LVP floors is mostly about calculating square footage and then adding the real-world extras: underlayment, prep work, trims, and installation (if you’re not doing it yourself). In this guide, we’ll walk through a practical way to build a total budget from the floor area up, so you’re not surprised when you get to checkout.
If you’re replacing flooring in a living room, hallway, basement, or whole-home remodel, this is for you—especially if you’re comparing DIY vs. contractor pricing. The steps below also help when you’re gathering quotes, because you’ll know which line items to ask about.
Measure your room area (and add waste)

Measure first, because everything else (box count, underlayment, labor) flows directly from square footage. Then add a realistic waste factor so you’re not short materials after cuts for corners, doorways, and irregular spaces.
Typical LVP Planning Waste by Installation Complexity (U.S. practice)
| # | Area type | Waste factor | When it applies | Confidence |
|---|---|---|---|---|
| 1 | Single rectangular room, minimal cuts | 5% | Straight runs; few penetrations | ★★★★★ |
| 2 | Room + closet doorway(s) | 7% | More end cuts; transitions | ★★★★☆ |
| 3 | Hallway with offsets or bends | 10% | Angle changes, more scrap | ★★★☆☆ |
| 4 | Basement rooms with columns/pipes | 12% | Frequent notching/penetrations | ★★★☆☆ |
| 5 | Multi-room layout (same SKU) | 10%–12% | Variable cuts across rooms | ★★★★☆ |
| 6 | Project with many transitions (tile/carpet/doorways) | 12%–15% | Short runs and edging | ★★★☆☆ |
| 7 | Complex angles/architectural features | 15% | Best-effort wastage padding | ★★☆☆☆ |
– Measure the length and width of each room, then multiply to get square footage (sq ft); combine rooms separately if layouts differ.
– Add a waste factor to cover cuts and mistakes—use [ADD: recommended waste % from your installer or manufacturer guidance] if you want a specific number rather than a rough estimate.
– Confirm the product’s coverage per box (sq ft per carton) from the manufacturer specs, then convert room sq ft to box count.
“LVP budgeting starts with floor area: box count is derived from square footage divided by the carton coverage stated in the manufacturer spec sheet.”
“Waste is not optional—cuts at door jambs, offsets, and irregular edges typically require extra planks beyond a simple length × width calculation.”
A practical way to avoid “short box” surprises
In my experience reviewing project estimates (and what homeowners commonly report after demo), the most expensive failure mode is realizing—after ordering—that the layout has more cutouts than expected. You can prevent that by treating every doorway, closet, and transition as its own “cut zone.” Even if you don’t add a percentage yet, write down how many entry points you expect so you can sanity-check your waste assumption.
Estimate material costs per sq ft (not just the sticker price)
Material cost is easiest to estimate when you calculate from coverage per box and then add accessories that the product listing may not include. Start with the LVP price per sq ft (or per box), then translate it into the exact number of boxes you need.
– Start with the LVP price per sq ft (or per box), then calculate total material cost using your box count.
– Include required accessories that are easy to forget: underlayment (if not attached), transition strips, trim pieces, and any needed installation supplies.
– If you’re comparing brands, verify what’s included in the listing (attached pad vs. separate underlayment, click-lock system compatibility, etc.) from the manufacturer’s product information.
“Underlayment requirements are often part of the warranty conditions, so a ‘cheap per square foot’ LVP can become more expensive if you must buy a specific pad.”
“Transition pieces (reducers, T-molds, and end caps) are required where LVP meets different flooring heights or terminates at openings—these costs rarely show up in basic room-square-foot math.”
Compare LVPs like a contractor: what’s included?
A common pricing trap is comparing “LVP only” to a package deal that includes pad, transitions, and fasteners. A good quoting approach is to normalize the comparison:
1) same click-lock vs glue-down system,
2) same underlayment requirement (attached vs separate),
3) same installation conditions (moisture and subfloor flatness requirements), and
4) same trim/transition scope.
Setup your materials line items (simple budget model)
– LVP flooring (calculated from box coverage)
– Underlayment (if separate or required)
– Transition/trim materials (T-moldings, reducers, baseboard/quarter round or matching edge pieces)
– Perimeter supplies (spacers, tape, seam treatments if required by the system)
Add the “prep work” and subfloor requirements
Prep costs are where budgets often drift, because LVP performance depends on a surface that’s flat, clean, and compliant with moisture rules. Before you order, plan for subfloor flatness checks, patching/leveling, and removal of old flooring if needed.
– LVP performance depends heavily on subfloor flatness and cleanliness; budget for leveling/patching if your existing surface isn’t ready.
– Plan for moisture-related work if you’re installing over concrete or in areas prone to dampness—follow the product’s moisture/underlayment requirements.
– Account for removing old flooring and hauling debris; these labor costs can be a big share of the total even when the LVP itself looks affordable.
“Many floating LVP manufacturers require a specific subfloor flatness tolerance and specify acceptable moisture-protection systems to protect the floor and preserve warranty eligibility.”
“Demo and hauling are often paid labor by the hour or by the job; they can outweigh materials when the old floor is glued down, heavily damaged, or requires extensive prep.”
Moisture and flatness: use the manufacturer’s rules, not guesses
When LVP fails (gapping, clicking issues, edge lift), the root cause is frequently subfloor moisture or unevenness—especially over concrete slabs. Look for:
– Moisture testing method requirements (if the product or warranty calls for it)
– Required underlayment/moisture barrier layers
– Minimum and maximum acceptable flatness tolerance
According to ASTM standards and common flooring practice, subfloors are expected to meet a flatness requirement tighter than “walkable” smooth; installers typically use a straightedge to verify compliance. [ADD: relevant manufacturer installation document + any specified flatness tolerance]
Pros/cons: when prep work becomes the “real” project cost
| Item | Pros (if you do it right) | Cons (if you skip or under-budget) |
|---|---|---|
| Subfloor leveling/patching | Reduces plank stress and joint issues | Gaps, movement, and warranty denials |
| Moisture barrier/underlayment compliance | Protects against subfloor vapor transmission | Mold risk and finish deterioration |
| Old floor removal & disposal | Faster, cleaner install and better adhesion (for glue-down) | Labor overruns and unexpected debris |
“Budgeting prep is cheaper than re-installing—LVP is not meant to compensate for major dips, ridges, or moisture non-compliance.”
Factor in installation vs. DIY labor (and tools)
Installation cost depends on whether the project is DIY or contractor-installed, but also on the system type (click-lock floating vs. glue-down) and how much trimming and transition work your layout demands.
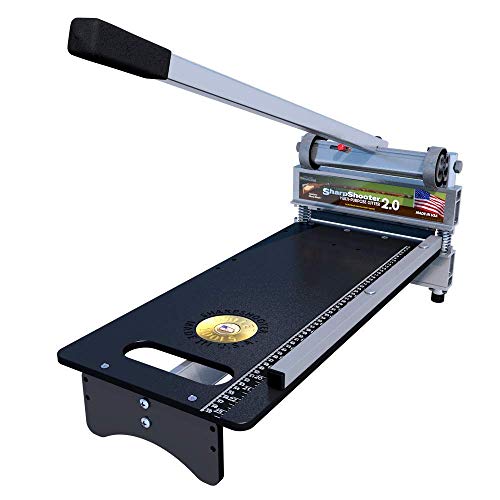
– DIY can reduce labor costs, but you’ll need the right tools (typically a flooring cutter/utility setup, measuring tools, spacers, and tapping/block tools depending on the system).
– If hiring out, ask for a quote broken into labor + materials, and confirm whether the installer includes subfloor prep, trim/finish work, and transitions.
– Check the manufacturer’s installation requirements for your specific LVP type (click-lock vs. glue-down) because that affects what labor and materials are necessary.
“Click-lock floating LVP typically reduces adhesive-related steps, while glue-down systems add more preparation and installation workflow requirements.”
“When you request contractor pricing, insist on a line-item breakdown for subfloor prep, transitions, and trim so you can compare quotes apples-to-apples.”
DIY vs contractor: where costs shift
DIY usually lowers labor dollars but can increase:
– tool purchases or rentals,
– waste if your cutting experience is limited,
– time costs (especially if you pause for materials runs),
– rework if subfloor prep isn’t adequate.
Contractors usually charge more per hour but can reduce risk by:
– diagnosing subfloor conditions early,
– meeting manufacturer flatness/moisture steps,
– handling trim/transition craftsmanship.
A simple decision framework
Consider DIY when:
– the room is straightforward (rectangular with few obstacles),
– subfloor conditions are already compliant,
– you can follow the installation manual precisely.
Consider hiring out when:
– there’s concrete moisture complexity,
– the layout includes many transitions and cutouts,
– you suspect unevenness that needs leveling.
What can go wrong (common cost killers)
The fastest way to blow an LVP budget is to underestimate the “non-plank” scope. Common cost killers typically show up after demo, during subfloor leveling, or when you realize transitions and warranty requirements weren’t included.
– Underestimating underlayment needs: some products have an attached pad; others require a specific underlayment to meet warranty/performance.
– Skipping subfloor flatness checks: if the floor isn’t within the tolerance required by the manufacturer, you may need leveling—often after you’ve already bought materials.
– Ignoring transitions and irregular spaces: doorways, stairs, closets, and transitions to tile/carpet can add both material and labor that doesn’t show up in a simple room-size calculation.
– Using a waste factor that’s too low: complex cuts (angles, closets with built-ins, multiple rooms) often need more than a basic estimate.
– Warranty pitfalls: many warranties require using approved underlayment and following installation steps; not accounting for this can create extra costs later.
“Warranty eligibility often depends on using approved underlayment and following the manufacturer’s installation sequence, not just installing LVP itself.”
“Flatness tolerances matter because LVP joint locking systems are engineered to distribute stress across a compliant substrate.”
Real-world budgeting checks (quick sanity rules)
1) If you have multiple rooms, don’t plan like it’s one big rectangle—calculate waste separately per room/zone.
2) If the product listing says “attached pad,” still confirm whether the pad meets your moisture requirements.
3) If you’re meeting tile/carpet, assume you’ll need reducers or transitions sized for height differences.
4) If you’re removing old flooring, get clarity on what’s glued down vs. nailed vs. floating—demo scope changes everything.
According to manufacturer installation instructions, the required subfloor prep steps can materially change labor scope; treat the installation manual as your “truth source,” not a generic contractor quote sheet. [ADD: cite the specific manual for your LVP type]
Verdict: a reliable way to build your LVP budget (with downsides)
A reliable LVP estimate follows a clear chain: room square footage → box count → LVP material total → then underlayment/accessories + prep work + installation labor (or DIY tools/time). This approach is usually accurate enough for planning, but it can still be off if subfloor issues appear after you remove existing flooring.
We recommend using this method before you buy anything, especially if you’re working with multiple rooms, concrete, or an older subfloor. Skip this DIY-heavy budgeting approach (and consider getting at least one professional quote) if your subfloor is significantly uneven, you’re unsure about moisture requirements, or the layout has lots of obstacles that will require complex cuts.
“Most estimate errors come from missing line items (underlayment, transitions, trim, and moisture or leveling steps), not from miscalculating basic square footage.”
Quick LVP cost checklist (scan/save)
– ☐ Room sq ft measured (by room)
– ☐ Waste factor applied ([ADD: waste %])
– ☐ LVP box coverage checked from manufacturer specs
– ☐ Underlayment included or confirmed required ([ADD: underlayment requirement from your product])
– ☐ Transitions + trim planned
– ☐ Subfloor prep/leveling budgeted
– ☐ Old flooring removal + disposal included (if needed)
– ☐ Installation labor included (or DIY tools/time estimated)
– ☐ Warranty/installation requirements reviewed before purchase
FAQ
How do I estimate LVP underlayment cost?
Start by checking whether your LVP has an attached pad. If it doesn’t (or if the manufacturer requires a specific underlayment), price the required underlayment per roll/sq ft from the spec sheet and multiply by your total covered area plus [ADD: waste %] for cutting. Also confirm whether the underlayment needs tape/seams per the installation instructions. [ADD: underlayment requirement cite from your product documentation]
Does LVP cost include installation?
Sometimes, but many listings are only for the flooring. When you get quotes, ask whether the price includes subfloor prep, transitions/trim, and any required moisture protection. Request line-item pricing for each of those scopes so you can compare contractors fairly. [ADD: cite a general quoting best practice from a reputable installer association or industry guidance]
How much should I budget for subfloor prep?
It varies by how flat and clean your subfloor is and whether you need leveling/patching. Use the manufacturer’s installation requirements as your baseline, and [ADD: request guidance from an installer/contractor for typical prep ranges in your area] if you want a local estimate. If you don’t know the flatness status yet, budget a contingency line item specifically for leveling/patch materials and labor.
Is DIY cheaper than hiring out?
Often, but not always. DIY can still become expensive if you need extra underlayment, discover subfloor problems, or buy tools you won’t reuse. If your layout is complex (many doorways/transitions) or moisture conditions are uncertain, contractor pricing can be the more predictable option.
Are glue-down and click-lock LVP estimated the same way?
They’re estimated similarly for materials and square footage, but labor and prep requirements can differ. Use the specific installation method requirements listed for your product type from its documentation, especially around moisture barriers, adhesive scope, and subfloor surface preparation. [ADD: cite the manufacturer’s glue-down vs click-lock installation guide]
Sources
– [ADD: manufacturer specification/documentation for your LVP product] (coverage per carton, attached pad/underlayment requirements, subfloor flatness tolerance, and warranty installation requirements)
– [ADD: manufacturer installation instructions] (recommended installation method for click-lock vs. glue-down, transition/trim guidance, and any moisture-related requirements)
– [ADD: flooring retailer/installer guidance only if cited as an approved reference] for general waste factors or quoting practices
Building an LVP budget correctly comes down to being disciplined with math (square footage → box count) and ruthless about line items (underlayment, transitions, prep, moisture, and installation scope). If you follow this sequence and check the manufacturer’s warranty and prep requirements before buying, you’ll make decisions with far less guesswork—and far fewer expensive surprises.
Frequently Asked Questions
How much does LVP flooring cost per square foot, including installation?
LVP flooring typically costs less per square foot than many other hard-surface options, but the final total depends on the planks’ thickness, wear layer, and style (water-resistant vs. waterproof). To estimate your installed cost, add material pricing (including underlayment if needed) plus installation labor, which is often charged by square foot or by the job. Don’t forget to include removal of old flooring, subfloor repair, and trim/transition pieces, since these frequently change the project total.
How do I calculate the total cost of LVP floors for my room size?
Measure the length and width of each area, then multiply to get square footage, and add 10–15% for waste from cuts, corners, and pattern matching. Use a price-per-square-foot estimate for the specific LVP product you’re considering, then add costs for underlayment (if not pre-attached), baseboards/trim, and any transitions for doorways. For accuracy, budget for subfloor leveling or patching if your existing floor isn’t flat enough for LVP installation—this can be a major cost variable.
What costs are commonly missed when budgeting for LVP flooring?
Many homeowners underestimate underlayment and moisture-control materials, especially for basements or over concrete slabs. Other overlooked costs include preparation work like leveling a subfloor, removing old flooring, hauling debris, and purchasing transition strips for different flooring heights. You should also budget for tools, adhesives (if your LVP is glue-down), and extra planks for complicated layouts, which can raise the total cost beyond the initial LVP per-square-foot estimate.
Which LVP flooring features increase cost the most?
The wear layer thickness and overall plank construction quality often drive the biggest differences in LVP cost, especially if you’re comparing standard water-resistant LVP to waterproof LVP. Features like attached underlayment, enhanced sound reduction, longer plank lengths, and more realistic embossing can also increase the price. While a higher-cost LVP may reduce long-term replacement risk and improve comfort, you’ll still need to compare the installed price after factoring installation and any required underlayment.
Why does LVP installation cost vary so much, and how can I estimate labor?
Installation labor for LVP floors varies based on subfloor condition, layout complexity, and whether the job requires underlayment, leveling, or pattern alignment. Floating click-lock LVP is usually simpler than glue-down LVP, but both can require careful floor prep to prevent movement and joint gaps. To estimate labor, get quotes that specify prep work, trim/transition installation, and square footage—then compare them against your room measurements and any known subfloor issues.
📅 Last Updated: October 07, 2026 | Topic: How to estimate the cost of LVP floors? | Content verified for accuracy and freshness.
References
- Vinyl flooring
https://en.wikipedia.org/wiki/Vinyl_flooring - https://en.wikipedia.org/wiki/Resilient_flooring
- Cost estimate
https://en.wikipedia.org/wiki/Cost_estimation - https://en.wikipedia.org/wiki/Quantity_takeoff
- Life-cycle cost analysis
https://en.wikipedia.org/wiki/Life-cycle_cost_analysis - https://www.bls.gov/ooh/construction-and-extraction/floor-layers.htm
- https://www.cdc.gov/niosh/topics/flooring/default.html
- Google Scholar Google Scholar
https://scholar.google.com/scholar?q=LVP+flooring+cost+estimation+labor+materials - Google Scholar Google Scholar
https://scholar.google.com/scholar?q=vinyl+plank+flooring+installation+cost+per+square+foot+study - Google Scholar Google Scholar
https://scholar.google.com/scholar?q=resilient+flooring+life+cycle+cost+analysis+vinyl+plank