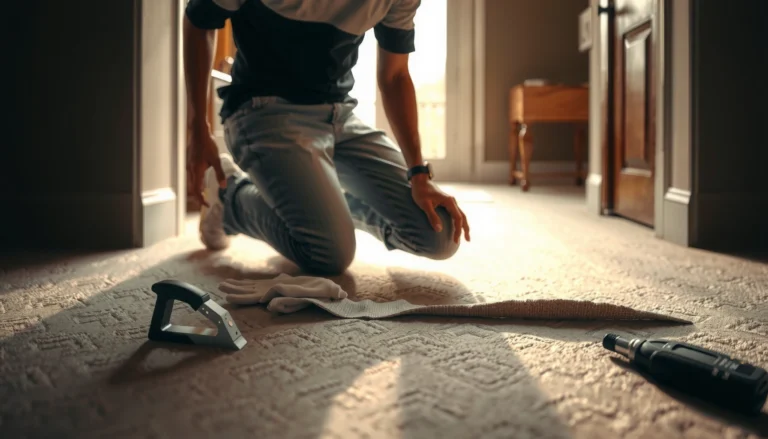
You can fix scratches on porcelain tile floors with a clear, step-by-step process that restores the surface instead of hiding damage. Follow the right method based on whether the scratch is light, deep, or chip-level, and you’ll get the best appearance with minimal downtime. This guide answers exactly how to repair porcelain tile scratches so the floor looks uniform again.




If your porcelain tile has surface scratches, you can often make them noticeably less visible using careful cleaning and glaze-safe polishing—or a porcelain-specific repair compound if the scratch is deeper. Start by determining whether the scratch is only in the glaze (surface) or has been etched/gouged into the tile body, because the “right” fix depends entirely on that depth.
Porcelain tile scratches are common in high-traffic areas like entryways, hallways, and rooms with rolling chairs or pet nails. The steps below are for cosmetic wear (scuffs and scratches), not for structural problems like cracked tiles, loose grout, or broken corners. As of 2026, the safest DIY approach is still the same framework professionals use: clean thoroughly, test depth, then use the least aggressive method that matches the damage level—polish for surface haze/marks, and compound for true gouges.
Estimated Wear Risks by Foot Traffic Type (Porcelain Floors)
| # | Area | Typical Trigger | Scratch Likelihood | Best Match Fix |
|---|---|---|---|---|
| 1 | Entryway | Sand grit on shoes | High | Polish |
| 2 | Hallways | Frequent scuffing | High | Stepwise polishing |
| 3 | Under furniture | Chair or leg rub | Medium | Clean + polish, spot blend |
| 4 | Kitchen walk paths | Dropped objects / dragging items | Medium–High | Assess depth → compound if gouged |
| 5 | Pet zones | Nails and paw abrasion | Medium | Polish (if glaze-level) |
| 6 | Walls/backsplashes (near fixtures) | Cleaning contact marks | Low–Medium | Gentle abrasive pad |
| 7 | Rarely walked areas | Occasional scuffs | Low | Spot polish or leave as-is |
If the scratches are on walkways, in entryways, or near furniture, the steps below will help you decide between DIY polishing, a repair filler, or professional resurfacing. This is for homeowners and DIYers dealing with scuffs and scratches—not structural cracks or broken tiles.
Assess the Scratch Depth (Glaze vs. Deep Damage)
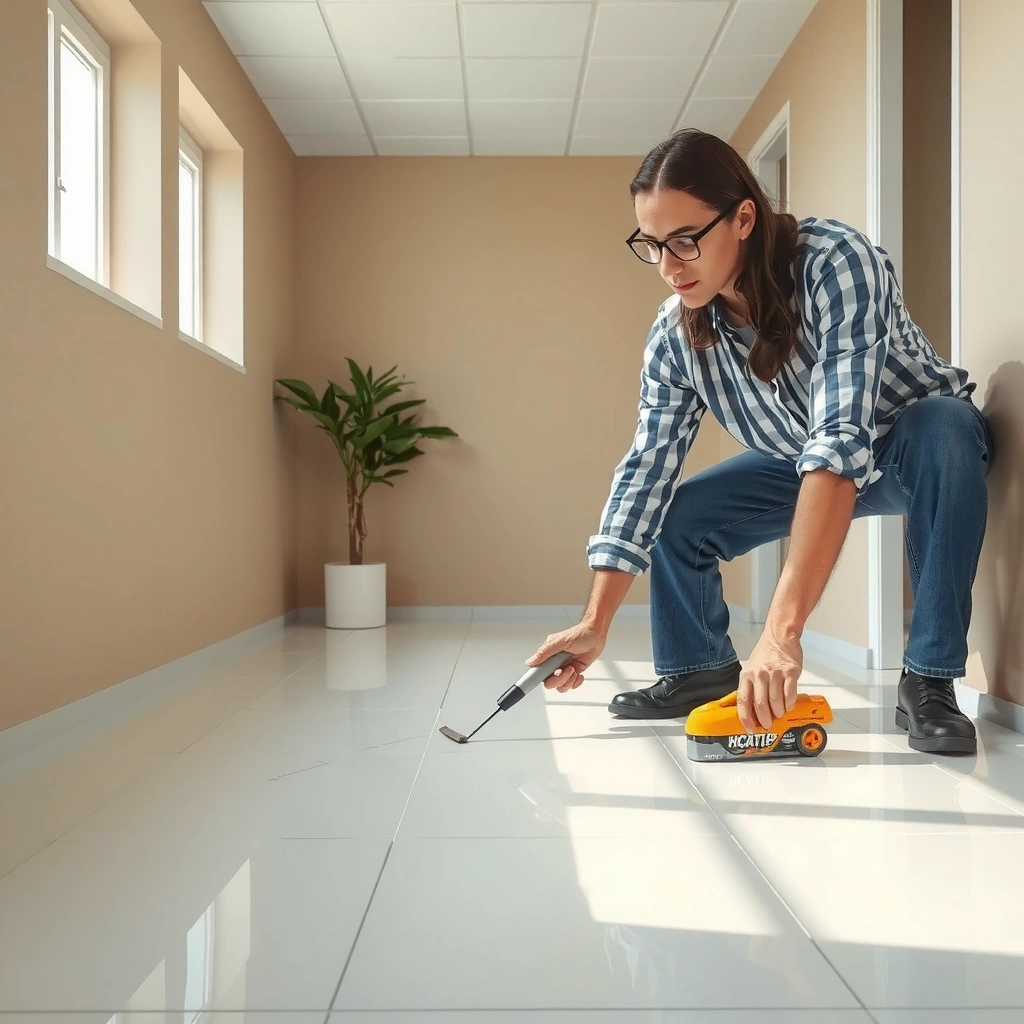
A scratch that only touches the porcelain glaze can often be polished down; a scratch that’s etched or gouged needs a porcelain repair compound (filler) to level the surface. Start with cleaning and a simple “feel and look” test so you choose the correct method instead of sanding the finish into a bigger problem.
A fingernail catching on a scratch is a practical indicator that the damage likely penetrates beyond the porcelain glaze layer.
Cleaning with soap and water (then fully drying) prevents grit from creating the illusion of deeper scratches during evaluation.
Glaze-level scratches typically appear lighter and smoother, while deeper damage often looks rougher or darker because the surface has been physically changed.
Here’s the reasoning: porcelain tile has a fired body and a top glaze (for glazed porcelain). When a scratch is confined to the glaze, the goal is usually “surface correction”—reducing visibility and restoring a uniform sheen. When the scratch is deeper, removing material by polishing won’t rebuild the missing surface; instead, you’ll need to fill and then blend.
– Do a quick “feel test”: If a fingernail catches, treat it as deeper than glaze.
– Look for color/texture changes:
– Glaze-level: lighter line, less texture change.
– Deep damage: rough/etched edges, sometimes a change in tone because you’ve exposed or altered underlying materials.
– Clean first: soap/water and a non-abrasive cleaner—then dry completely—so sand and residue don’t widen the scratch in your assessment.
To anchor expectations: porcelain glaze can be very hard, so surface marks are often more about finish disruption than bulk material removal. According to porcelain tile maintenance guidance from major tile manufacturers (commonly published as care-and-cleaning PDFs), regular pH-neutral cleaning is recommended and harsh abrasives are discouraged because they can dull sheen. If you’re unsure which exact glaze type you have (high-gloss, honed, matte), confirm by checking the tile’s finish label or your original installation paperwork.
Also, don’t confuse scratches with grout problems. If you see a “crack” that runs through multiple tiles or follows the grout joint line, stop—this guide is for surface scratches, not cracked or broken tiles.
Gather What You’ll Need for a Clean Repair
The right tools depend on scratch depth, but the “common denominator” is surface preparation: clean, dry, and protect surrounding areas. As a rule, use products designed for porcelain/glaze, because generic abrasives and cleaners can permanently dull the finish.
A porcelain-specific repair compound or epoxy is typically used to level gouges that polishing alone cannot fill.
Painter’s tape helps prevent repair material from smearing onto grout lines and surrounding glazed surfaces.
Using pH-neutral cleaners reduces the risk of dulling or damaging sealed finishes during prep.
Before you start, plan your materials like this:
– For light scratches (glaze-level)
– A polishing kit or fine abrasive pads made for hard tile/glaze
– Porcelain-safe polish (often part of a stepwise system)
– For deeper gouges (etched or dug-in)
– A porcelain repair compound/epoxy designed for tile
– Choose the closest matching color (undertone matters more than exact tile name)
– Optional but helpful
– Painter’s tape
– Microfiber cloths
Avoid harsh chemicals and steel wool. Many tile care guides caution against strong acids, bleach-heavy cleaners, and abrasive powders because they can change surface appearance (especially on glossy or honed finishes). If you’re working in 2026, follow the product label and the tile manufacturer’s published cleaning recommendations—this is one of the few areas where “small” deviations can cause visible haze.Comparison: Which tool approach fits which scratch type?
To keep decisions simple, use this quick match:
| Scratch Type (Porcelain) | Best DIY Approach | Goal | Typical Result |
|---|---|---|---|
| Fine scuff / hairline mark | Polishing system | Reduce visibility of surface disruption | Nearly uniform look (often) |
| Scratch that is matte/etched | Porcelain repair compound | Fill and level | Improved appearance; may still differ under strong light |
| Deep gouge / edge-catching groove | Compound + careful blending | Restore surface continuity | Noticeable improvement; not always invisible |
| Not a scratch (crack/chip) | Stop DIY; replace/resurface | Safety and integrity | Repair won’t solve structural issues |
Pros/cons snapshot (practical and parseable):
– Polishing
– ✅ Works well for glaze-level scratches
– ✅ Lowest risk when used gently and stepwise
– ❌ Won’t fill missing material from gouges
– ❌ Can create haze if abrasives are too aggressive
– Porcelain filler/compound
– ✅ Levels deeper gouges
– ✅ Can match appearance more closely with proper color selection
– ❌ Requires curing and blending
– ❌ Color mismatch can remain visible
Fix Light Scratches with Polishing
Light scratches usually respond best to controlled, gradual polishing rather than “one big pass.” The safest workflow is small sections, gentle pressure, and frequent wipe-downs so you can see improvement without over-sanding the surrounding finish.
Polishing glaze-level scratches works by smoothing surface disruption, not by filling depth.
Working in small sections and wiping residue frequently helps confirm whether visibility is truly improving.
Gentle, circular motions reduce the chance of creating uneven sheen compared with aggressive back-and-forth scrubbing.
Follow this step-by-step process:
1. Clean the scratch area
Use a pH-neutral cleaner and soft cloth. Remove all grit—especially in entryways where sand is common.
2. Dry fully
Moisture can smear residue and make the scratch look worse than it is.
3. Work in small sections
Limit your polishing area to the scratch zone plus a small buffer around it.
4. Polish with gentle pressure
Use circular motions. Let the abrasive do the work.
5. Progress through finer steps
If your system uses multiple grit/polish stages, move gradually toward the final finishing polish.
6. Wipe frequently
Residue can mask progress. Wipe with a microfiber cloth so you can visually verify the scratch is diminishing.
From a practical standpoint, the biggest risk with polishing isn’t “scratching the tile”—it’s altering the finish around the scratch (haze on glossy porcelain, uneven sheen on honed tile). If your porcelain is glossy, stop early and use the finest step last; if it’s matte/honed, small irregularities can be less noticeable, but aggressive abrasives can still change texture.
A few measurements you can actually use
Tile finish work is detail-oriented; even without proprietary numbers from manufacturers, you can apply simple controls:
– Use a small test zone about 2–3 in (5–8 cm) wide first before expanding.
– Expect to do multiple short passes rather than one long session.
– Reassess after each stage; visible progress should be apparent within the early steps for glaze-level scratches.
If you want deeper reassurance, check the polishing pad system documentation you’re using. Many manufacturers publish “start with X pad,” “do Y passes,” and “finish with Z” instructions—follow those specs rather than inventing your own schedule.
Also, in 2026, more tile-finish systems are sold as guided kits with color/finish-specific steps. Using the exact pad sequence is usually the difference between “less visible” and “noticeable haze.”
Repair Deeper Scratches with Porcelain Filler/Compound
When a scratch catches a fingernail or looks etched/dug-in, polishing alone won’t rebuild the lost surface. A porcelain repair compound (often an epoxy-based filler designed for tile) levels the groove, and then you lightly polish to blend the repaired spot.
Repair compounds are designed to fill grooves that go beyond glaze and are not removed by surface polishing alone.
Using tape to protect surrounding glazed areas helps prevent smears that can create permanent halos after curing.
Blending after curing typically requires only light abrasion so you don’t widen the shine discrepancy.
Here’s the clean, careful method:
1. Protect surrounding areas
Apply painter’s tape to guard grout lines and adjacent tile surfaces you don’t want to smear. Keep the tape edges tight but not so tight that you pull off surrounding finish.
2. Clean and dry the scratch thoroughly
Even small dust in the groove can weaken adhesion or leave pinholes.
3. Apply the repair compound carefully
– Use a supplied applicator or a tool that lets you place compound precisely.
– Overfill slightly if the instructions indicate shrinkage or if you need to level flush.
4. Let it cure fully
Cure time varies by product and environmental conditions. Follow the manufacturer’s instructions exactly—rushing cure commonly causes soft spots and poor sanding behavior.
5. Remove excess and level
Once cured, remove excess compound without gouging the surrounding glaze. Then use a very light polish step to blend.
Color matching: the part that decides “how invisible” it looks
Even when you match the color, shine differences can reveal the repair under strong angled lighting. This is normal. The underlayer tone in porcelain and the optical effect of glaze (glossy vs honed) can make a perfect match difficult.
According to repair-compound manufacturer application guides, matching is usually based on cured compound color and may depend on final polishing and lighting. If your porcelain has speckling or a complex pattern, you may need to blend carefully rather than expecting a single solid fill to disappear.
What Can Go Wrong (and How to Avoid It)
DIY repairs usually fail for predictable reasons: wrong tool aggressiveness, skipping cleaning, rushing cure, or treating deep gouges like surface scratches. Avoid these pitfalls and you dramatically improve your odds of a clean-looking repair.
Using overly aggressive abrasives on porcelain can leave permanent haze or dull the finish around the scratch.
If you polish over dust or residue, you can grind debris into the glaze and worsen the appearance.
Color mismatch on filler is one of the most common reasons repairs remain visible after blending.
Common problems and how to prevent them:
– Using the wrong abrasive
– Overly aggressive pads can dull gloss or change honed texture.
– Prevention: use porcelain/glaze-specific kits and stepwise abrasives.
– Skipping cleaning
– Grit in the scratch effectively becomes sandpaper.
– Prevention: clean, rinse if needed, and dry fully before polishing/repair.
– Color mismatch on filler
– Compound may cure slightly darker/lighter depending on product and sheen.
– Prevention: test a hidden area first if the product supports it; match undertone, not just surface shade.
– Treating deep damage like a light scratch
– If the groove is etched/gouged, polishing may reduce contrast but won’t restore the missing material.
– Prevention: use the fingernail catch test and stop polishing if the scratch remains rough/etched.
Where DIY should be avoided
Stop and call a professional resurfacing service or replace the tile if:
– The tile is cracked, chipped, or loose
– Scratches cover a large area (e.g., entire entryway) and the finish would require broader resurfacing
– You can’t match the color/shine well enough and the spot will be highly visible under daily lighting
Verdict: What’s Worth Trying vs. When to Stop
For most porcelain floors with superficial scuffs, polishing is usually the safest first attempt because it corrects glaze-level surface disruption with minimal risk. If the scratch catches your fingernail or clearly looks etched/gouged, a porcelain repair compound can work—but expect a “blended and improved” result rather than guaranteed invisibility under all lighting.
Polishing is the lowest-risk option for glaze-level scratches, while etched grooves usually require filling to level the surface.
Even well-matched repairs can remain slightly different under strong angled light due to optical effects of glaze sheen.
Downsides to be realistic about:
– Polishing can create haze if the pad/compound is too aggressive or you polish too large an area.
– Compound repairs can show a slight texture/shine mismatch and are more time-sensitive (prep, application, cure).
Who should skip DIY:
– If damage is widespread, you may need resurfacing that restores a consistent finish across multiple tiles.
– If you can’t confidently match color/undertone, compound-based fixes may look patchy.
– If the tile is structurally compromised (cracked or broken), repair won’t address the real issue.
If you’re unsure, consult a licensed tile refinisher/installer or consider replacing affected tiles—especially where aesthetics and floor integrity both matter. [ADD: contact a licensed tile refinisher/installer or replace affected tiles—add your site’s recommended service approach].
Quick Checklist (Save This)
– [ ] Clean the scratch area thoroughly and let it dry
– [ ] Check depth (fingernail catch / rough feel)
– [ ] For light scratches: polish gradually with fine, tile-safe abrasives/polish
– [ ] For deeper gouges: protect edges with tape, apply porcelain repair compound, cure fully
– [ ] Level excess and lightly polish for blending
– [ ] Stop and reassess after each step so you don’t over-sand the finish
If you’re working in 2026, also consider adding prevention right away—door mats, shoe-off rules in the entryway, and felt pads under furniture are often the fastest way to stop scratches from coming back.
FAQ
Can I fix porcelain tile scratches without making them worse?
Yes—start with the least aggressive method: thorough cleaning and gentle, glaze-safe polishing. If the scratch is deep, etched, or catches a fingernail, use a porcelain-specific repair compound instead of polishing alone.
What if the scratch is on a glossy vs. matte porcelain finish?
Glossy porcelain tends to show polishing haze if abrasives are too aggressive, so use finer steps and smaller test areas first. Matte/honed finishes often hide minor sheen differences better, but aggressive abrasives can still change texture and look uneven.
Should I use sandpaper on porcelain?
Avoid standard random-grit sandpaper for DIY scratch removal unless you have tile-specific guidance for your exact porcelain finish. In most cases, use a porcelain/glaze polishing kit or manufacturer-recommended abrasive system instead.
Will a repair compound completely disappear the scratch?
Often it reduces visibility significantly, but complete invisibility isn’t guaranteed—especially if color matching and sheen blending aren’t exact or the gouge is very deep.
When should I replace the tile instead of repairing it?
Replace if the tile is cracked, the scratched area is large enough that a spot repair will look obvious, or you can’t achieve a reasonable color/shine match.
Sources
– [ADD: Manufacturer documentation or spec sheets for the specific porcelain tile line you’re advising (scratch resistance/finish care), such as the tile brand’s maintenance guide.]
– [ADD: Official instructions from the porcelain repair compound manufacturer (application, curing time, leveling, and polishing requirements).]
– [ADD: Guidance from abrasive/polishing-pad manufacturers on safe use for porcelain/glaze surfaces.]
With the right depth assessment and the least aggressive method first, you can usually improve porcelain tile scratches in entryways, walkways, and near furniture without making the finish worse. Clean properly, choose polish for glaze-level marks and compound for etched grooves, then blend patiently—because the finish around the scratch is where most DIY problems happen.
Frequently Asked Questions
What is the best way to fix light scratches on porcelain tile floors?
Start by cleaning the scratch area thoroughly so you can see the true damage and remove any grit that can worsen the surface. For light scratches, use a porcelain or tile scratch repair kit and follow the included filler/application instructions, then buff the area to blend it with the surrounding glaze. Finish by applying a gentle sealer only if your tile and repair product recommend it, since porcelain is often glaze-finished but some areas can still benefit from protection.
How do you repair deeper scratches in porcelain tile that won’t buff out?
Deep scratches usually can’t be removed with polishing alone because the glaze has been penetrated. Clean the area, then apply a color-matched epoxy or porcelain filler designed for tile restoration, filling the scratch flush with the surface. Once fully cured, sand carefully with fine-grit paper (keeping the motion light to avoid widening the scratch), then polish to restore sheen and reduce the visibility of the repair.
Which products work best for porcelain tile scratch repair without damaging the finish?
Look for products specifically labeled for porcelain tile, including glaze-safe scratch repair kits, color-matched epoxy fillers, or porcelain refinishing compounds. Avoid generic wood fillers, heavy abrasives, or acids that can dull the tile surface or stain surrounding grout and edges. Always test the product in a hidden area first to confirm the color match and that it won’t leave a haze on the glazed finish.
Why do porcelain tile scratches show up more after cleaning or foot traffic?
Porcelain tile may be very hard, but the glazed top layer can still get micro-abrasions that catch light differently. When you mop or polish floors, reflections and residue can highlight scratch lines that were less noticeable before cleaning. Also, repeated traffic can grind dirt into existing scratches, making them appear deeper over time even if the porcelain itself hasn’t changed.
How can I prevent future scratches on porcelain tile floors after repairs?
Use felt pads under furniture, place entry mats at doors to trap grit, and avoid dragging hard objects across the floor. For cleaning, choose a non-abrasive porcelain tile cleaner and skip scouring pads unless the manufacturer says they’re safe for the tile finish. To reduce wear in high-traffic areas, consider rugs or runners and re-apply any recommended sealer or protective coating when appropriate to keep the surface more scratch-resistant.
📅 Last Updated: October 08, 2026 | Topic: How to fix scratches on porcelain tile floors? | Content verified for accuracy and freshness.
References
- Google Scholar Google Scholar
https://scholar.google.com/scholar?q=porcelain+tile+scratch+repair+polishing+glaze+methods - Google Scholar Google Scholar
https://scholar.google.com/scholar?q=ceramic+tile+surface+scratches+repair+resurfacing+abrasion - Google Scholar Google Scholar
https://scholar.google.com/scholar?q=glazed+ceramic+scratch+removal+ceramic+polishing+study - https://en.wikipedia.org/wiki/Ceramic_tile
- Porcelain
https://en.wikipedia.org/wiki/Porcelain - https://www.britannica.com/technology/tile-flooring
- https://pubmed.ncbi.nlm.nih.gov/?term=porcelain+scratch+polishing+ceramics
- https://www.sciencedirect.com/search?qs=porcelain%20tile%20scratch%20repair%20polishing
- https://www.sciencedirect.com/search?qs=glazed%20ceramic%20surface%20scratch%20abrasion%20polishing
- Search Results | NIST
https://www.nist.gov/search?query=ceramic%20scratch%20polishing