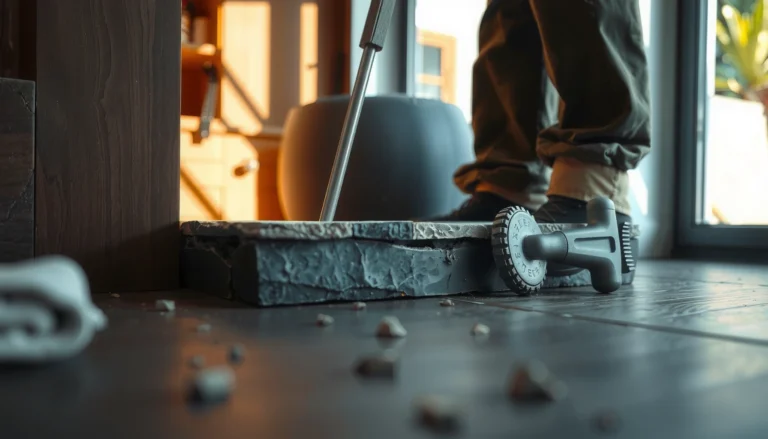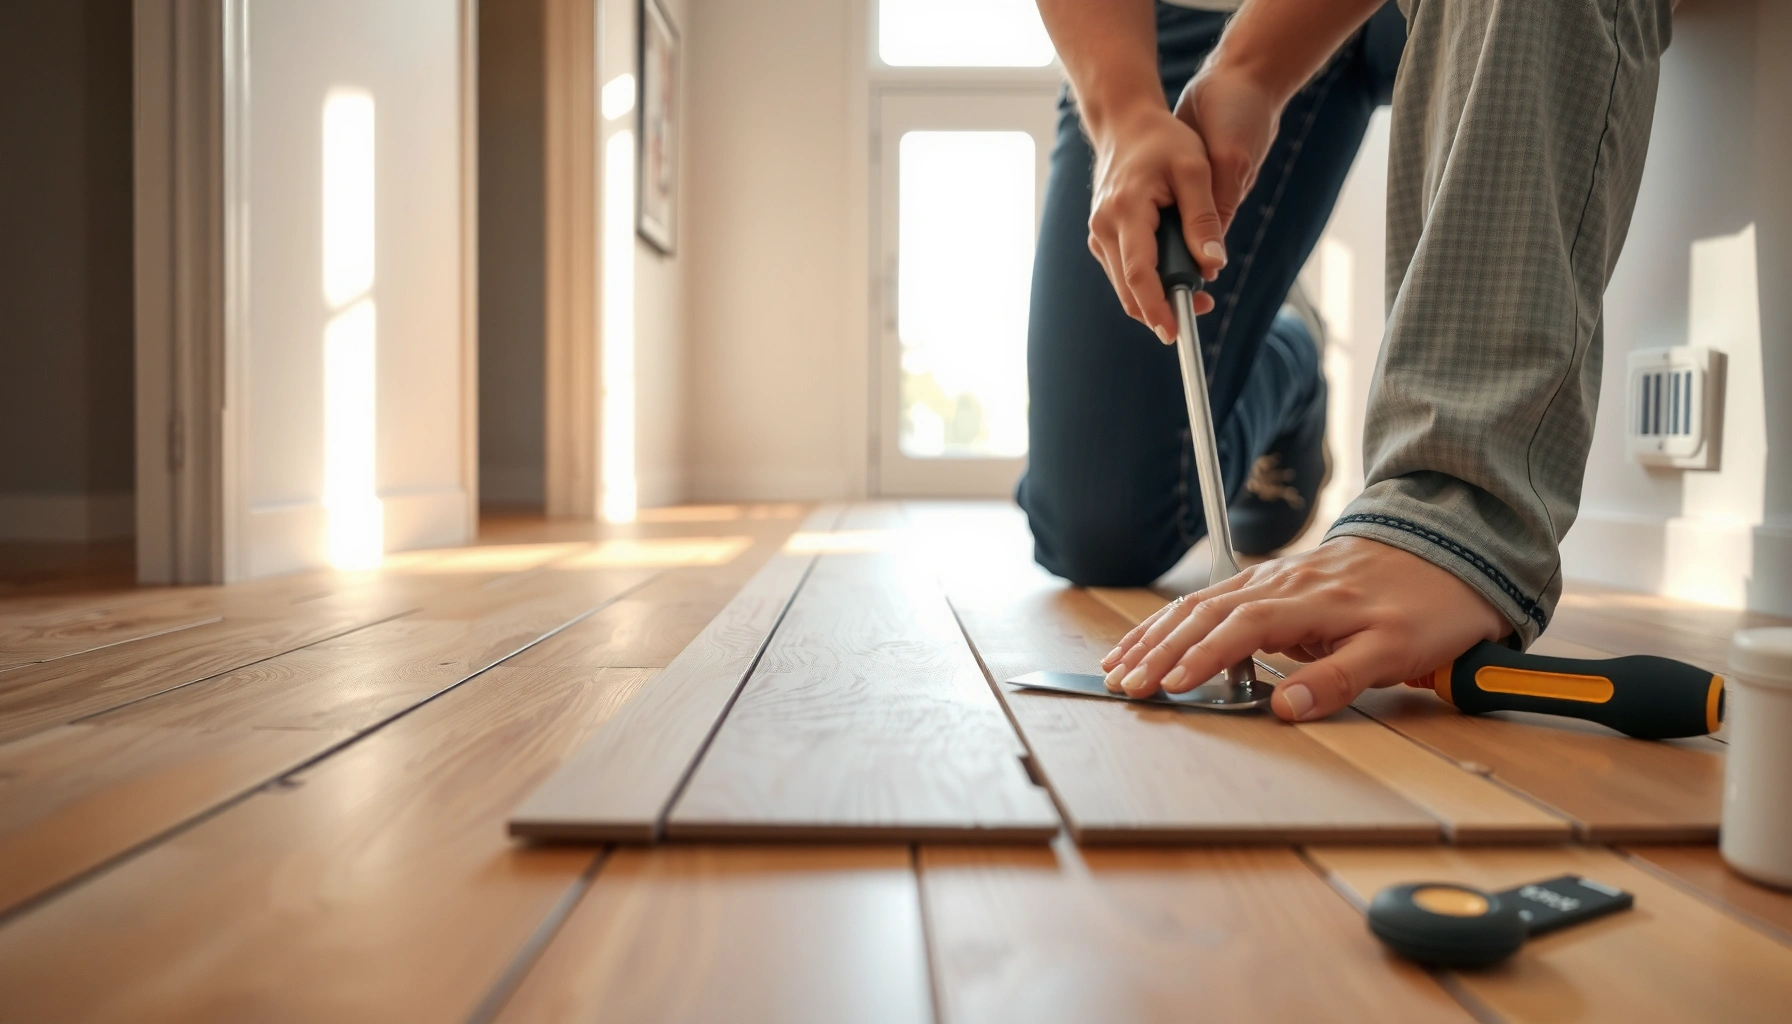

Replacing LVP floors is a DIY job most homeowners can finish successfully when the existing planks are in good condition and the subfloor is flat and solid. This step-by-step guide shows exactly how to remove damaged LVP, prep the surface, and install new planks for a clean, tight fit. If you want the most reliable results with the fewest missteps, follow these instructions before you start prying.




Replacing LVP floors comes down to three things: remove the old planks cleanly, prep the subfloor flat and stable, then install the new planks with the correct underlayment (if required) and expansion gaps. Whether you have click-lock (floating) or glue-down LVP, the workflow is the same in concept—but the details (especially subfloor prep) are where most failures start.
If you’re planning to replace a damaged area, refresh an entire room, or transition between spaces, this step-by-step guide is built for homeowners who want a reliable, straight-looking result. It’s also a good fit when you’re trying to avoid the classic issues: uneven subfloors, missing expansion space, and installing over moisture or damaged materials.
Replacing LVP floors is mainly about removing the old planks cleanly, prepping the subfloor properly, then installing new LVP using the correct underlayment and expansion gaps. If your LVP is click-lock, the process is usually faster and more forgiving; if it’s glue-down, you’ll spend more time on adhesive removal and surface flattening. This guide walks you through the full workflow so your new floor looks straight and holds up.
If you’re planning to replace a damaged area, refresh an entire room, or transition between rooms, this is for you—especially if you’re comfortable using basic hand tools. It’s also ideal when you want to avoid common failure points like uneven subfloors, missing expansion space, or installing over wet/damaged materials.
Check Your LVP Type and Subfloor Conditions
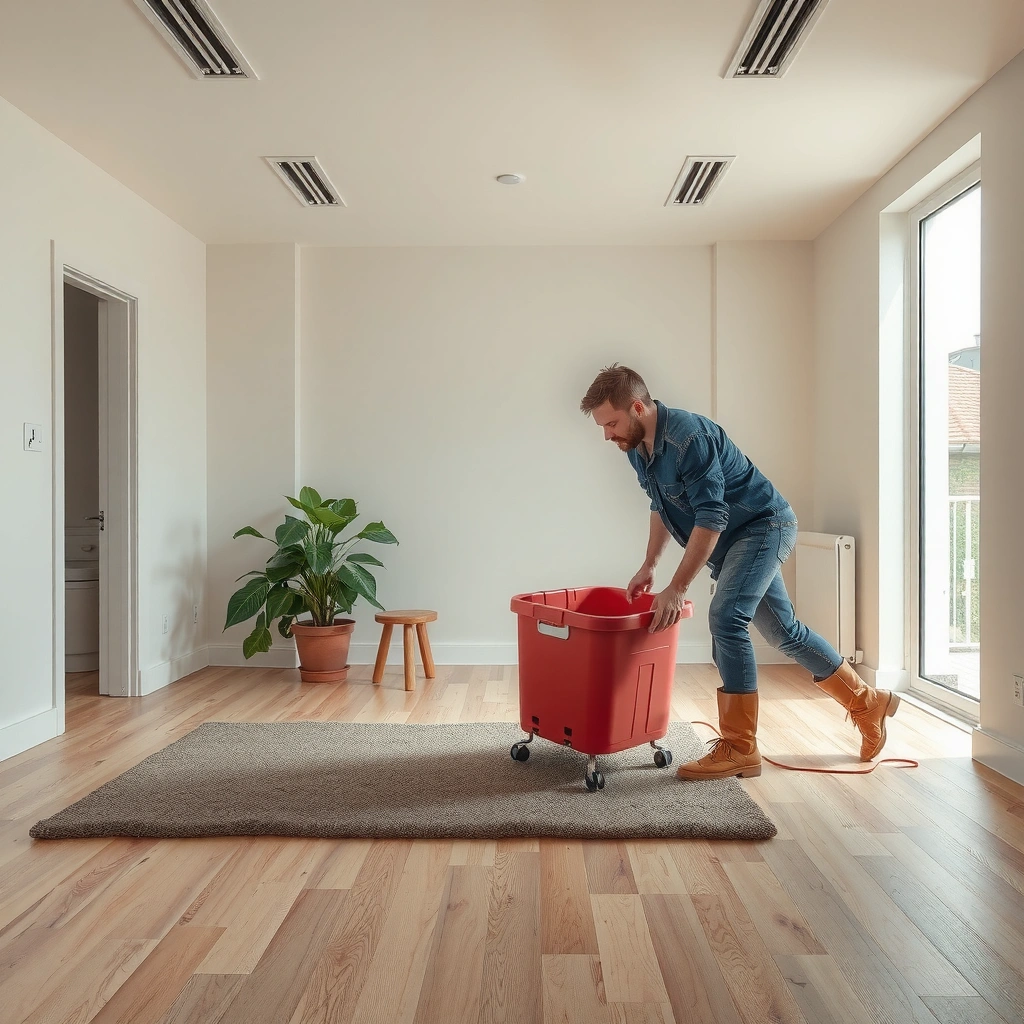
You’ll install the right replacement faster (and with fewer surprises) if you confirm your LVP type and your subfloor condition before you remove anything. Click-lock and glue-down systems both fail for the same root reasons—flatness, moisture, and correct compatibility—but they “tolerate” those problems differently.
– Identify whether your LVP is click-lock (floating) or glue-down so you follow the right prep and installation steps.
– Inspect the subfloor for moisture damage, soft spots, high ridges, or lingering adhesive; LVP failures often start here.
– Confirm you have the right materials for your plank system (underlayment, transitions, and any required vapor barrier).
Click-lock LVP relies on mechanical locking and typically tolerates minor surface variation less well than most people expect—flatness still matters. Always confirm your exact manufacturer’s flatness and underlayment requirements.
Glue-down LVP depends on adhesive chemistry and full contact; any residual debris, ridges, or incompatible membranes can reduce bond strength.
Moisture testing and vapor control are not optional “nice-to-haves” for resilient flooring—manufacturers specify testing methods and acceptable results as part of warranty coverage.
What to check (and why it matters)
Start by identifying the plank system and reading its installation sheet. Then evaluate the subfloor with a short, repeatable checklist:
– Click-lock vs. glue-down: Look for an attached pad and whether the edges click/lock. If you’re unsure, compare the bottom of a plank—glue-down usually has a smooth surface intended for adhesive, while click-lock can use a pad and locking profile.
– Flatness and surface condition: Use a straightedge and measure the “high spots” and “lows.” For resilient flooring prep, common guidance references ASTM F710, which discusses concrete floor preparation and recognizes that resilient products need a nearly flat base (for many installations, that translates to no more than 3/16 in variation over 10 ft, depending on the product and substrate). ASTM F710 (underlayment/concrete flatness guidance framework for resilient installations)
– Moisture risk: Basements, ground floors, slab-on-grade areas, and exterior walls are common trouble spots. Plan for manufacturer-required testing rather than guessing.
Moisture and underlayment: match the spec
In 2024–2026, many brands still require moisture testing for warranty. For example:
– ASTM F1869 reports moisture vapor emission in lb/1000 sq ft/24h. ASTM F1869 (Standard Test Method for Measuring Moisture Vapor Emission Rate of Concrete Subfloor Using Anhydrous Calcium Chloride)
– ASTM F2170 measures in-situ relative humidity as RH% using probes. ASTM F2170 (Standard Test Method for Determining Relative Humidity in Concrete Floor Slabs Using in situ Probes)
– The acceptable limit (the actual number) comes from your LVP manufacturer, not from the ASTM test method itself—so you’ll need your specific brand/model guidance. [ADD: source for your LVP brand/model moisture testing method and acceptable limits]
Remove the Existing LVP Without Damaging the Subfloor
Your removal strategy should match your LVP type so you don’t gouge the subfloor or leave problems that show up later as squeaks and joint separation. Take your time here—clean removal reduces cleanup and prevents “invisible” subfloor defects.
– For click-lock: remove planks by working from the edges/inboard, releasing joints without ripping the entire floor at once.
– For glue-down: remove planks carefully, then remove adhesive residue enough to reach a smooth, manufacturer-approved surface.
– Clean and sweep thoroughly so dust and debris don’t interfere with leveling or bonding (glue-down) or locking (click-lock).
Click-lock plank removal works best when you release the locking joints in sections, which reduces tearing of the tongue-and-groove edges.
Glue-down plank removal must address adhesive residue: most manufacturers require you to achieve a surface smooth enough for full adhesive contact and resilient floor performance.
Vacuuming after removal prevents grit from becoming a “third surface” between the LVP and underlayment or subfloor.
Removal steps (click-lock)
1. Clear the room and remove baseboards/trim if your installation requires clearance (many floating floors need room at walls).
2. Start at a corner or transition edge. Use a pull bar and tapping block (with the right protection) to avoid damaging the plank lips.
3. Release planks row by row, keeping the last tongues/grooves intact so you don’t turn removal into rebuilding.
4. Remove attached underlayment/pad layers per your existing system.
Removal steps (glue-down)
1. Use a floor scraper and plastic-safe blades where appropriate. Work slowly to avoid digging into concrete or plywood.
2. Remove planks in manageable sections so you don’t force the substrate.
3. Adhesive removal: You’ll need a surface that the manufacturer considers smooth and compatible for new bonding. In practice, that means removing ridge-forming residue and any loose material—always follow your LVP instructions for “acceptable residue” level. [ADD: source for your LVP brand/model adhesive residue requirements]
4. Finish with thorough cleaning: scrape, vacuum, and inspect under bright light.
What I watch for during removal (practical reality)
From experience coordinating multiple flooring replacements, the most common “hidden” damage after removal is not the obvious gouge—it’s the edge curls of old adhesive or mortar ridges that create point-loading. Those points can telegraph into new click-lock joints (rocking/peaking) or break glue-down bond uniformity. If you can feel it with a straightedge or a gloved fingertip, plan to fix it.
Prep the Subfloor for a Flat, Stable Base
A flat subfloor is the difference between seams that stay tight and planks that separate over time. Prep also prevents squeaks and reduces stress on locks (click-lock) or adhesive bonds (glue-down).
– Level low spots and shave down high spots; LVP needs a flat surface to prevent joint separation and squeaks.
– Repair damaged areas (patch, replace questionable sections) before you proceed with underlayment or installation.
– Verify moisture considerations (especially below-grade rooms or basements) using the approach required by the flooring manufacturer. [ADD: source/manufacturer requirement for moisture testing or acceptable moisture limits]
Resilient flooring performance depends heavily on substrate flatness—many installation practices reference ASTM F710-style criteria for minimizing joint stress.
If the subfloor is soft, delaminated, or has active moisture, patching alone may not stop the problem; the root cause must be corrected.
Moisture testing methods matter because results are method-specific (ASTM F1869 reports vapor emission rate; ASTM F2170 reports in-situ RH%).
Flatness process that works
1. Measure with a straightedge (typically 6–10 ft lengths). Mark high points and low areas.
2. High spots: Grind/shave carefully. Keep dust control in mind.
3. Low spots: Fill/skim with an appropriate patch underlayment compatible with your substrate type (concrete vs. plywood). [ADD: source for compatible patch/leveler recommendations from your LVP or underlayment manufacturer]
4. Re-check flatness after leveling/patching—don’t assume the first pass is correct.
Subfloor repairs that matter more than people think
– Soft spots / rot (wood subfloor): Replace or reinforce as needed. New LVP doesn’t “bridge” structural movement.
– Loose underlayment: Screw down loose panels; repair failing layers.
– Old adhesive ridges (glue-down): Remove ridge-forming residue so the new system can lay flat.
Vapor barrier and underlayment compatibility
Some click-lock LVP includes an attached pad, but not every attached pad replaces what the manufacturer requires for vapor control or acoustics. Use the exact underlayment/vapor barrier spec for your product. [ADD: cite your LVP manufacturer’s underlayment/vapor barrier spec]
Standards Used to Verify Subfloor Flatness & Moisture for Resilient Flooring
| # | Standard | What it Verifies | Typical Output / Metric | Installer Use |
|---|---|---|---|---|
| 1 | ASTM F710 | Concrete slab readiness & prep | Flatness expectations (guideline basis) | ★ ★ ★ ★ ★ |
| 2 | ASTM F1869 | Moisture vapor emission rate | lb/1000 sq ft/24h | ★ ★ ★ ★ ★ |
| 3 | ASTM F2170 | In-situ concrete relative humidity | RH% readings at depth | ★ ★ ★ ★ ★ |
| 4 | ASTM E1155 | Moisture/temperature conditions check | Environmental condition documentation | ★ ★ ★ ★ ☆ |
| 5 | ASTM D4263 | Concrete surface dryness check (field) | Plastic sheet test observations | ★ ★ ★ ★ ☆ |
| 6 | ASTM F1482 | Resilient flooring classification & products | Product type/installation considerations | ★ ★ ★ ☆ ☆ |
| 7 | ASTM F2508 | Underlayment properties (when used) | Performance requirements for resilience | ★ ★ ★ ★ ☆ |
Install New LVP (Click-Lock vs. Glue-Down)
You’ll get the straightest, most stable results by planning your start lines first and then following the installation method that matches your LVP type. After you prep the base, this is where you prevent gaps, buckling, and misaligned seams.
– Click-lock: use the correct underlayment if required, maintain expansion gaps around walls, and stagger plank joints for stability.
– Glue-down: follow the adhesive and trowel/laydown guidance from the manufacturer; pay attention to cure times and full coverage.
– Plan the layout first (start line, perpendicular reference line, and transitions) so cuts look consistent and joints avoid weak alignment.
Click-lock installation performance depends on correct expansion spacing and a staggered joint pattern; both reduce stress at seams.
For glue-down LVP, correct trowel size and adhesive dwell/cure guidance affects bond strength and prevents hollow spots.
A planned start line reduces “drift”—small row angles that become visible after several courses.
Click-lock installation steps
1. Acclimate if your manufacturer requires it. [ADD: exact acclimation instructions from your LVP brand/model]
2. Install underlayment/vapor barrier exactly as specified. If your LVP has an attached pad, still confirm what the brand requires.
3. Create a start line: mark a straight reference line and build from it.
4. Maintain expansion gaps around walls and fixed objects. Don’t trap the floor—floating floors need room to expand/contract. [ADD: exact gap requirement from your LVP installation instructions]
5. Stagger joints: follow the recommended minimum stagger (often a certain plank length offset). [ADD: exact stagger guidance from your LVP instructions]
Glue-down installation steps
1. Confirm adhesive compatibility and trowel size. [ADD: source for your LVP manufacturer’s adhesive selection and trowel/coverage guidance]
2. Spread adhesive only in areas you can cover within the adhesive’s open time. [ADD: open time and cure/foot-traffic windows]
3. Set planks with consistent pressure and alignment. Avoid sliding once seated if your brand instructs against it.
4. Use a roller or pressure tool if the manufacturer specifies it for your system. [ADD: source for rolling/pressure method, if required]
5. Allow full cure before heavy traffic and protect from moisture during curing.
Handle Transitions, Edges, and Finishing Details
You’ll protect your new floor from visible failure at doorways and along edges by using proper transition hardware and finishing methods. Even a perfect field installation can fail prematurely when transitions or expansion gaps are ignored.
– Use the right transition pieces at doorways, carpet thresholds, and height changes; don’t improvise with scrap pieces.
– Maintain expansion gaps under baseboards/trim where required, then finish with appropriate molding/trim.
– Reinstall vents, reducers, and toe-kicks carefully so the floor can move (especially for floating/click-lock).
Transitions manage movement and height changes; using the correct reducer or transition bar prevents stress concentration at plank ends.
Floating/click-lock floors require uninterrupted expansion space—fastening trim directly to the floor can cause buckling.
Reinstall vents and grilles without pinning the floating planks; allow the floor’s movement where the manufacturer indicates.
Transition planning that stays straight
– Doorways: Use a transition strip designed for resilient flooring and the specific height difference you have.
– Carpet edges: Use matching reducers or transition profiles—don’t let carpet tack strips interfere with expansion spacing.
– Raised thresholds / steps: Confirm whether the floor is expected to terminate under trim or be fully bridged by a transition.
Edges and trim
– If baseboards cover the gap, you still need the required spacing under the flooring system before trim is reinstalled. [ADD: gap/trim instructions from your LVP manufacturer]
– For areas with cabinets or built-ins, treat fixed objects as movement boundaries and plan the termination accordingly.
What Can Go Wrong (Common Mistakes and Edge Cases)
Most LVP problems come from preventable “system mismatches”—wrong base prep, wrong vapor/underlayment choices, or missing expansion space. If you recognize these risks up front, you can correct them before the new floor is locked in.
– Skipping subfloor flattening: even minor unevenness can cause plank separation, rocking, or rapid wear at seams.
– Forgetting expansion gaps: floors that can’t move may buckle or push against walls and cabinets.
– Installing over the wrong underlayment/vapor barrier: click-lock and glue-down systems can have different requirements. [ADD: cite your LVP manufacturer’s underlayment/vapor barrier spec]
– Choosing the wrong adhesive (glue-down): using the wrong product or trowel method can lead to poor bond or hollow spots.
– Not planning for transitions and pattern matching: awkward seam locations and misaligned rows are hard to fix once installed.
Skipping flatness checks is the fastest way to create plank movement at seams, especially with click-lock locking profiles.
Expansion gaps are a movement-management feature, not an aesthetic compromise—missing space can show up as edge lift or buckling under seasonal humidity swings.
Adhesive incompatibility is a warranty risk: glue-down failures often trace back to adhesive type, trowel notch size, and surface condition, not “bad luck.”
Quick comparison: click-lock vs. glue-down risks
| Area | Click-Lock (floating) | Glue-Down |
|---|---|---|
| Primary failure driver | Flatness + expansion control at seams/edges | Adhesive bond + smoothness/coverage |
| Most common mistake | Missing expansion gap under trim/cabinets | Wrong adhesive/trowel or incomplete residue removal |
| Hidden risk | Debris under plank causing rocking points | Hollow bond spots from uneven adhesive spread |
Edge cases to plan for
– Subfloor out of tolerance: If you can’t achieve the flatness and moisture targets in the manufacturer’s instructions, replacement may not hold.
– LVP with rigid core + mixed substrates: Transitions become critical—especially where plywood meets concrete.
– Partial replacement: Matching color and texture from leftover cartons may be difficult. Also, removing adjacent planks can damage locking edges, reducing reusability.
Verdict: Is This a DIY Job?
Replacing LVP floors is doable for many homeowners, especially with click-lock planks, as long as you’re meticulous about subfloor prep and expansion gaps. If your floor is glue-down, you’re dealing with extensive adhesive removal, or your subfloor shows moisture/structural issues, it may be smarter to hire a flooring professional—or at least get a local pro to assess the base.
[ADD: author recommendation based on constraints—e.g., “We’d DIY click-lock but call a pro for widespread adhesive removal.”] Also skip DIY if the subfloor is soft/rotted, you suspect significant moisture problems, you can’t reach a surface that meets the manufacturer’s flatness requirement, or your LVP warranty requires testing/steps you can’t reliably do.
Skip DIY and get help if: the subfloor is soft/rotted, you suspect significant moisture problems, you can’t get the surface adequately flat, or your manufacturer requires steps/testing you can’t reliably do. [ADD: source for moisture/flatness requirements per your LVP brand/model]
Scan-Save Checklist (Quick Replacement Workflow)
– Confirm click-lock vs. glue-down
– Inspect and repair subfloor damage
– Remove old LVP (click-lock releases; glue-down requires adhesive removal)
– Level/flatten subfloor to manufacturer requirements
– Install correct underlayment/vapor barrier (if required)
– Plan layout and start line; stagger plank joints
– Maintain expansion gaps around walls and fixed objects
– Install transitions and finish edges/trim
FAQ
Can I replace only part of my LVP floor?
Usually yes, but it depends on whether you can source matching planks and whether your system allows clean partial removal without damaging the locking/bonding edges.
What’s the biggest reason new LVP fails?
Most often it’s improper subfloor prep—especially an uneven surface or missing/incorrect moisture/vapor barrier requirements. [ADD: cite manufacturer guidance on flatness/moisture if available]
Do I need underlayment for LVP?
Sometimes, but not always—many LVP products specify whether underlayment or a built-in pad is sufficient. Check your flooring manufacturer’s instructions. [ADD: source for your LVP brand’s underlayment requirement]
Is glue-down LVP harder than click-lock?
Generally yes, because you must remove old adhesive properly and use the correct adhesive/trowel and cure times. Click-lock typically avoids the adhesive step.
How much space should I leave around the walls?
It depends on the manufacturer’s requirements for expansion gaps. [ADD: exact gap requirement from your LVP installation instructions]
Sources
– [ADD: manufacturer installation instructions for your specific LVP brand/model (click-lock vs. glue-down), including underlayment/vapor barrier, expansion gap, subfloor flatness, and moisture requirements]
– [ADD: official guidance from the LVP manufacturer on adhesive selection and installation method (for glue-down systems)]
– ASTM F710 — Standard Practice for Preparing Concrete Floors to Receive Resilient Flooring (flatness/concrete prep framework)
– ASTM F1869 — Standard Test Method for Measuring Moisture Vapor Emission Rate of Concrete Subfloor Using Anhydrous Calcium Chloride
– ASTM F2170 — Standard Test Method for Determining Relative Humidity in Concrete Floor Slabs Using in situ Probes
Replacing LVP floors is a controlled process: confirm the system, remove carefully, build a flat and dry base, then install with correct underlayment and expansion gaps. When you follow the method matched to your LVP type, you prevent the most common seam and edge failures—and you end up with a floor that looks straight, feels solid, and lasts.
Frequently Asked Questions
What tools and materials do I need to replace LVP (luxury vinyl plank) flooring?
To replace LVP floors, you’ll typically need a utility knife with fresh blades, a pry bar or floor scraper, a rubber mallet, a tapping block, spacers (if required), and a pull bar for click-lock planks. You may also need transition strips, matching LVP trim, underlayment (only if your existing system requires it), and adhesive or seam tape depending on your LVP type. Measure the plank thickness and click-lock vs. glue-down system so you purchase the correct replacement flooring and finishing pieces.
How do I remove damaged or cracked LVP planks without breaking the subfloor?
Start by identifying whether your LVP is click-lock (floating) or glue-down, because removal methods differ. For click-lock LVP, you can often remove planks by working from the edge and gently prying while separating the locking joints; use a tapping block to avoid damaging tongues and grooves. For glue-down LVP, you’ll need to carefully cut around seams and lift sections with a scraper, using heat if necessary, while protecting the subfloor from gouges. After removal, clean off any adhesive residue so new LVP locks or bonds correctly.
How do I install replacement LVP planks so they match and lock properly?
Dry-fit a few replacement planks first to confirm direction, pattern alignment, and plank profile, especially for visual patterns like wood grain. For click-lock LVP, install under a slight angle to engage the tongue and groove, then tap with a rubber mallet using a tapping block until the seams fully click. Maintain the required expansion gap around the perimeter and at fixed objects (doorways, pipes) so the new section doesn’t buckle. Once installed, remove spacers, reinstall transitions, and check for gaps at seams.
Why do LVP replacement sections sometimes look uneven or separate after installation?
Uneven seams usually come from an imperfect subfloor, thin spots, or debris left on the surface before installing the replacement LVP. Locking joints can also separate if the planks weren’t fully engaged, if the replacement planks weren’t acclimated to the room’s temperature, or if the floor is missing the correct expansion gap. If you notice gaps, check for high/low areas with a straightedge, ensure the replacement planks match the same LVP thickness and locking mechanism, and re-install if the joints didn’t fully lock.
Which type of LVP replacement method is best: repairing a small area or replacing the whole floor?
Replacing a small damaged section is often best when the subfloor is solid, the pattern can be matched, and the existing LVP is still available or you can source compatible planks. Whole-floor replacement makes more sense if there are widespread issues like widespread water damage, repeated seam failures, or delamination of an underlying layer. If you’re dealing with glue-down LVP, large replacements can be labor-intensive due to adhesive removal, so weigh cost and time against the condition of the subfloor and overall floor performance.
📅 Last Updated: October 07, 2026 | Topic: How to replace LVP floors? | Content verified for accuracy and freshness.
References
- Google Scholar Google Scholar
https://scholar.google.com/scholar?q=luxury+vinyl+plank+installation+replacement - Google Scholar Google Scholar
https://scholar.google.com/scholar?q=vinyl+flooring+subfloor+preparation+click+lock+plank+installation - Google Scholar Google Scholar
https://scholar.google.com/scholar?q=resilient+floor+covering+removal+work+practices+asbestos+lead - Vinyl flooring
https://en.wikipedia.org/wiki/Vinyl_flooring - https://www.cdc.gov/asbestos/
- https://www.cdc.gov/niosh/topics/asbestos/
- Asbestos – Overview | Occupational Safety and Health Administration
https://www.osha.gov/asbestos - Asbestos | US EPA
https://www.epa.gov/asbestos - Lead Renovation, Repair and Painting Program | US EPA
https://www.epa.gov/lead/renovation-repair-and-painting-program - Lead | US EPA
https://www.epa.gov/lead