
Want to install transitions for vinyl floors and get a clean, professional seam? This step-by-step guide shows the exact process—from choosing the right transition to prepping the subfloor and snapping in the pieces—so your edges lock tight and don’t lift. You’ll also learn the fastest, most reliable installation method for the most common vinyl floor transition scenarios.




Installing vinyl floor transitions comes down to three fundamentals: a properly prepared (flat) subfloor, the correct transition type for the floor height, and a secure installation method that locks the edges down without pinching the vinyl. If you plan the seam location, dry-fit everything first, and follow your transition system’s fastening/adhesive instructions for your vinyl thickness, the result is tight, clean edges that stay protected.
If you’re joining vinyl plank or sheet vinyl to tile, carpet, another room, or a small height change, this guide walks you through measuring, cutting, aligning, and finishing transitions. It’s also helpful when you’re replacing a transition that’s lifting, separating, or allowing water/dust to creep into the gap—issues that usually trace back to height mismatch, poor bonding, or expansion gaps being ignored.
Pick the Right Transition for Your Vinyl Floors

Choosing the right transition is the fastest way to prevent visible steps, gaps, and edge catch points. Start by matching the transition type to what you’re connecting (surface types and heights) and confirming it’s designed for the thickness of your vinyl.
A resilient flooring transition should match the adjoining height profile so the transition lip sits flush with the vinyl surface rather than “floating” above it or digging in.
Many manufacturer systems are engineered for specific floor thickness ranges (commonly measured in mm or inches), so height compatibility is not optional for a neat seam.
For perimeter movement, transitions are installed over, not through, the expansion gap requirements specified for the vinyl flooring system.
When people install the “wrong” transition, it usually shows up immediately: the edge looks uneven, the lip can be stepped on, or the transition begins to lift because the substrate wasn’t prepared and the system can’t maintain consistent contact.
Choose transitions based on the joint and height change
– Tile to vinyl: Use a reducer (if heights differ) or a T-molding-style connector (if you’re spanning plank seams or want a centered joint look).
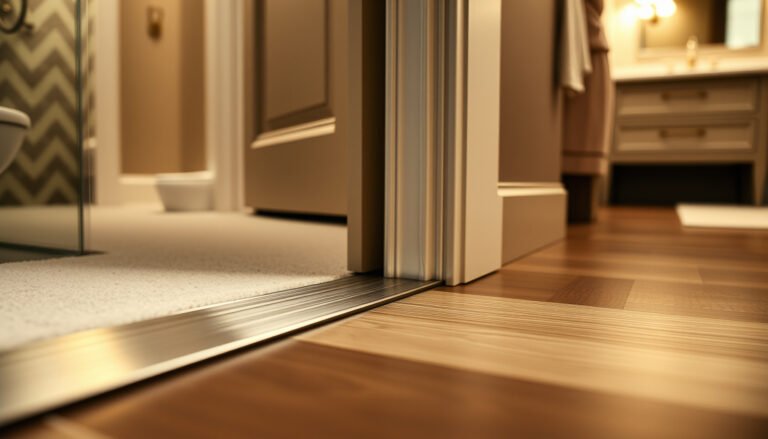
– Carpet to vinyl: A threshold (or carpet edge transition) is typically used to manage the height difference and protect the exposed edge.
– Room-to-room (or different flooring zones): Choose transitions meant to cover a movement gap (expansion gap) without closing it.
– Small leveling changes: A reducer is commonly the best option when one surface is slightly thicker/taller than the other.
Confirm compatibility with vinyl type and thickness
Vinyl transitions are not one-size-fits-all. On my projects, the most common call-backs come from transitions selected without confirming compatibility with the vinyl’s build-up (wear layer thickness + backing + underlayment, if used). Use the transition packaging/spec sheet to confirm it’s designed to work with your actual flooring thickness.
Typical but verify-required details to look for:
– Floor thickness range the transition supports (e.g., [ADD: exact range from your transition spec sheet])
– Whether the system is pre-formed for a specific drop/lip depth
– Whether the transition uses adhesive, fasteners/screws, or a snap/lock profile
– Whether it requires an existing track/base or integrates with a subfloor edge
Anchor facts to confirm from your product documentation:
– According to [ADD: manufacturer spec—transition or vinyl installation guide], many vinyl installations require an expansion gap at perimeters and transitions (commonly around 1/4 in / 6 mm, but you must confirm your specific flooring).
– According to [ADD: manufacturer flatness guidance], subfloors are typically required to be flat within about 1/8 in over 6 ft (varies by system—verify your vinyl and underlayment instructions).
– According to [ADD: ASTM or manufacturer guidance on resilient flooring], transitions should maintain continuous support/contact to prevent edge fatigue and movement at seams.
Quick compatibility snapshot (what “works” in the field)
Below is a practical way to think about which transition type you’re likely to use and why—then you’ll still confirm exact thickness compatibility on the product sheet.
Vinyl Floor Transition Types: Typical Use & Installation Fit
| # | Transition type | Best for | Common fastening method | Fit difficulty |
|---|---|---|---|---|
| 1 | T-molding (spanning joint) | Plank-to-plank seams & multi-room joints | Fasteners/anchors or adhesive base (varies) | ★★★☆☆ |
| 2 | Reducer (height change) | Vinyl to tile/wood with minor height difference | Adhesive or fastened base (varies) | ★★★★☆ |
| 3 | Threshold (doorway/transition lip) | Carpet to vinyl or doorway edge protection | Fasteners/anchors or perimeter adhesive | ★★☆☆☆ |
| 4 | End cap (finished edge) | Exposed vinyl edge at room breaks | Adhesive or snap-on profile | ★★★☆☆ |
| 5 | Quadrant/edge trim (rounded edge) | Raised/rounded protection at cabinet or stair-adjacent breaks | Adhesive backing | ★★★★☆ |
| 6 | Stair nose (stair applications) | Stair transitions and tread protection | Fasteners into substrate or tread support | ★★★☆☆ |
| 7 | Track-based reducer/adapter | Tight height control when the seam needs precision | Track anchored to subfloor + cap locked on | ★★★☆☆ |
Measure, Plan the Layout, and Mark Straight Lines
Good transitions start on paper (or at least on the floor). You want your seam line and vinyl direction nailed down before you cut transition parts, because most visible transition problems are alignment errors—not cutting errors.
A transition looks tight when the seam is straight and consistent, because the cover profile is designed to sit over a predictable joint width.
Marking plank direction before cutting helps prevent misalignment at the transition that can make edges appear uneven even when the transition height is correct.
Most installation failures trace back to poor planning: cutting before confirming the required overlap/cover width results in uncovered edges.
Identify the seam and the height difference
1. Locate where the vinyl meets the other surface (tile, carpet threshold, another room doorway, or the edge where vinyl stops).
2. Measure the actual height difference between surfaces at multiple points along the seam (especially if the floor is older or has localized dips).
3. Confirm the gap you’re covering (for example, where expansion is required). Your transition needs to cover the joint area without forcing the vinyl to “close” the movement space.
Data to verify in your manuals:
– According to [ADD: vinyl manufacturer installation guide], expansion gap requirements vary by product and often apply at both perimeters and where floors meet fixed structures.
– According to [ADD: transition manufacturer spec], the transition height/lip profile is built around a specific floor thickness tolerance.
Mark straight lines and dry-fit visually
– Use a chalk line or laser line to mark the seam line.
– Mark plank direction (which edge “clicks” and where patterns land) so your transition doesn’t cut through a visually important seam.
– If you’re installing a transition over a plank-to-plank joint, ensure the joint width and location match the transition’s designed cover.
Prepare the Subfloor and Dry-Fit Everything
A transition can only look as good as what it’s sitting on. Before you install anything, you should check flatness, eliminate bumps/dips, and dry-fit the transition so it doesn’t rock or bridge uneven spots.
Transitions don’t “correct” an uneven subfloor; if the base rocks, the transition can lift or create a visible gap at the lip.
Dry-fitting verifies that the transition covers the seam fully and that the end cuts align with adjoining surfaces without forcing vinyl movement.
Surface prep affects bond reliability: adhesives generally require clean, properly conditioned substrates for consistent grab.
Check flatness and remove telegraphed imperfections
– Walk the area with your hand and a straightedge. If you feel ridges or see dips, address them before installing the transition.
– For fastener-based systems, confirm you won’t hit weak substrate or loose material—transitions can loosen if the anchoring medium is compromised.
A commonly cited benchmark to confirm with your flooring docs:
– According to [ADD: resilient flooring manufacturer guidance], subfloor flatness tolerances often fall around 1/8 in over 6 ft, though exact requirements vary by product and installation method.
Dry-fit each piece (and test how it behaves)
– Place the transition in position without fastening/adhesive.
– Confirm:
– The seam is fully covered.
– The ends sit tight against the adjoining surface (tile edge, threshold base, or wall).
– No section rocks—especially near the center of reducers and thresholds.
From my experience working around transitions in real homes, the “last 1 mm” is what breaks the look. If the transition cover isn’t seated consistently during dry-fit, it usually won’t seat correctly after you cut vinyl—so fix fit first.
Cut and Install Transitions (Follow the Joining Method)
Cutting and installing transitions is where the project either stays professional-looking or becomes a repeating repair. The critical rule is simple: install according to the transition’s joining method—adhesive, fasteners, snap/lock system, or a track/base—while keeping vinyl movement gaps intact.
Transition installation requirements differ by system; you should not assume adhesive and fastener methods are interchangeable between transition types.
Clean, manufacturer-approved cuts reduce edge fraying and help the lip seat flat without forcing vinyl into an expansion-gap compromise.
If you lock a transition down while the vinyl is under tension, later seasonal movement can lead to buckling or seam separation.
Cut cleanly and verify with test-fit
– Use the cutting method recommended by the transition manufacturer (the material—aluminum, PVC, composite—changes the tool choice).
– Trim slightly long, test-fit, then trim to final length.
– Mark the direction so the visible face (finish side) stays consistent.
Install using the required method for your transition system
Use the correct method for your specific transition type:
– Adhesive-backed transitions: Apply adhesive exactly where the instructions specify and keep the area clean and dry.
– Fastener/anchor transitions: Pre-mark screw/anchor points, drill to spec, and avoid overdriving (which can bow the profile).
– Snap/lock transitions: Ensure the vinyl edge and profile tolerances match; don’t force a locked cap if the base isn’t seated correctly.
– Track/base systems: Install the track level to the subfloor, then lock the cap onto the base as designed.
Keep edges protected—don’t “force fit” movement
– Leave the expansion gap the vinyl manufacturer calls for.
– Don’t tighten transition fasteners so hard that they distort the base and effectively clamp the vinyl movement.
Manage Expansion Gaps and Finish the Edges Cleanly
Your transition should protect edges, not create stress points. That means respecting expansion gaps, achieving even coverage, and finishing with debris-free contact so adhesives (if used) perform reliably.
Expansion gaps are part of the resilient flooring system design; transitions should cover the gap without eliminating the floor’s ability to move.
A clean finish means no sharp edges and full lip contact—otherwise foot traffic can catch and gradually loosen the profile.
Removing dust and construction debris is essential before adhesive bonding, because contamination reduces adhesion strength.
Maintain required gaps (especially at transitions)
– Confirm the gap size required for your vinyl product (often around 1/4 in / 6 mm, but verify).
– At transitions, make sure your vinyl edges aren’t butted tight against fixed parts unless the manufacturer explicitly says otherwise.
Finish checks that prevent future lifting
– Verify:
– Even coverage along the entire seam
– Tight seams (no daylight at the transition edge)
– No rocking or gaps after installation
– Remove debris so any adhesive bonds to clean surfaces.
Comparison: what to do if your seam height looks “almost right”
If you’re between transition types, use this decision logic:
| Situation | Likely cause | Best next step |
|---|---|---|
| Lip looks too high | Wrong reducer height / too thick vinyl build-up | Switch to a transition designed for your vinyl thickness range |
| Lip catches underfoot | Transition too low or subfloor not flat | Recheck flatness and confirm transition height compatibility |
| Gap shows at the edge | Joint not aligned or transition cover width too small | Re-align seam line and confirm cover/overlap spec |
What Can Go Wrong (And How to Avoid It)
Most transition failures are predictable: height mismatch, insufficient flatness, or ignoring movement requirements. Addressing these during planning and dry-fit prevents the “lifting in a few months” scenario.
A mismatched transition height can create a step that catches foot traffic, accelerating edge wear and eventual separation.
Skipping a dry-fit can lead to uncovered seam edges, which then become points where water or dust can enter.
Ignoring expansion requirements can create pressure during temperature/humidity swings, increasing the risk of buckling and joint failure.
Common problems
– Wrong transition height: You end up with a visible step or the lip doesn’t sit flush. Always verify thickness compatibility with your exact flooring thickness.
– Skipping flatness checks: Bowed or uneven subfloors cause corners to lift and the transition to rock.
– Forcing closure of expansion gaps: Fully compressing joints can lead to long-term separation or buckling.
Edge cases to watch
– Existing damaged transitions: Old bases may be uneven or permanently warped, which can prevent new adhesive from bonding consistently.
– Subfloor movement: If the substrate moves, no transition will stay perfect because the vinyl system relies on stable support.
– Moisture-prone areas: If water can reach the seam (bath entries, laundry paths), prioritize transitions that seal the edge area as specified by the manufacturer.
Quick Scan Checklist: Tools, Fit, and Final Checks
Use this checklist as a final pre-install sweep. It helps catch the issues that typically cause visible gaps, loose lips, and future lifting.
– Measure seam width and any height difference before cutting
– Confirm transition compatibility with your vinyl thickness/material type
– Dry-fit every piece before fastening/adhesive
– Keep required expansion gaps—don’t “tighten away” movement
– Final inspection: even coverage, no rocking, no uncovered edges
[ADD: If you share the exact transition type you have (t-molding, reducer, stair nose, threshold, etc.) and your vinyl plank/sheet thickness, I can tailor the steps more precisely to that product’s method.]
Take your time on the “fit” work—choosing the correct transition, matching the height, and preparing a flat subfloor are the keys to a clean, professional-looking result. Measure carefully, dry-fit before cutting, and install using the transition’s specified fastening/adhesive method while respecting vinyl expansion gaps. If you want, tell me your vinyl thickness and what you’re transitioning to (tile, carpet, threshold, or a height change), and we’ll map the exact transition type and install approach for your situation.
FAQ
Do I need to remove the old transition before installing a new one?
Usually, yes—especially if the old base is uneven or the fasteners/adhesive are compromised. If you’re unsure, [ADD: check your transition manufacturer’s removal/replacement guidance].
Can I install a vinyl transition over a slightly uneven subfloor?
It’s not recommended. Small dips can cause rocking or gaps; the transition typically won’t “fix” unevenness.
What’s the most common reason transitions lift?
Mismatched height/thickness, moving substrates, or weak bonding from poor surface prep are common causes.
Should I glue or nail/screw vinyl transitions?
It depends entirely on the transition system. Follow the manufacturer’s instructions for that exact transition type and base material.
How do I cut transitions so they don’t look jagged?
Use the appropriate cutting method for the material (manufacturer guidance), cut slightly oversize first when possible, then trim to final length with a test-fit.
Sources
– [ADD: Manufacturer installation instructions/spec sheet for your specific vinyl transition type (e.g., t-molding/reducer/threshold) and your vinyl flooring thickness requirements.]
– [ADD: Vinyl flooring manufacturer guidance on expansion gaps and transition/perimeter allowances.]
Frequently Asked Questions
What tools and materials do I need to install transitions for vinyl floors?
You’ll typically need transition strips (metal or vinyl-rubber), a measuring tape, utility knife, straightedge, and a pencil for marking. Depending on the type, have construction adhesive or screws/shims ready, plus double-sided tape if your system uses it. For a smooth finish, also keep a rubber mallet, caulk (for some thresholds), and a flooring tapping block to seat edges neatly.
How do I measure and cut vinyl floor transitions so they fit perfectly?
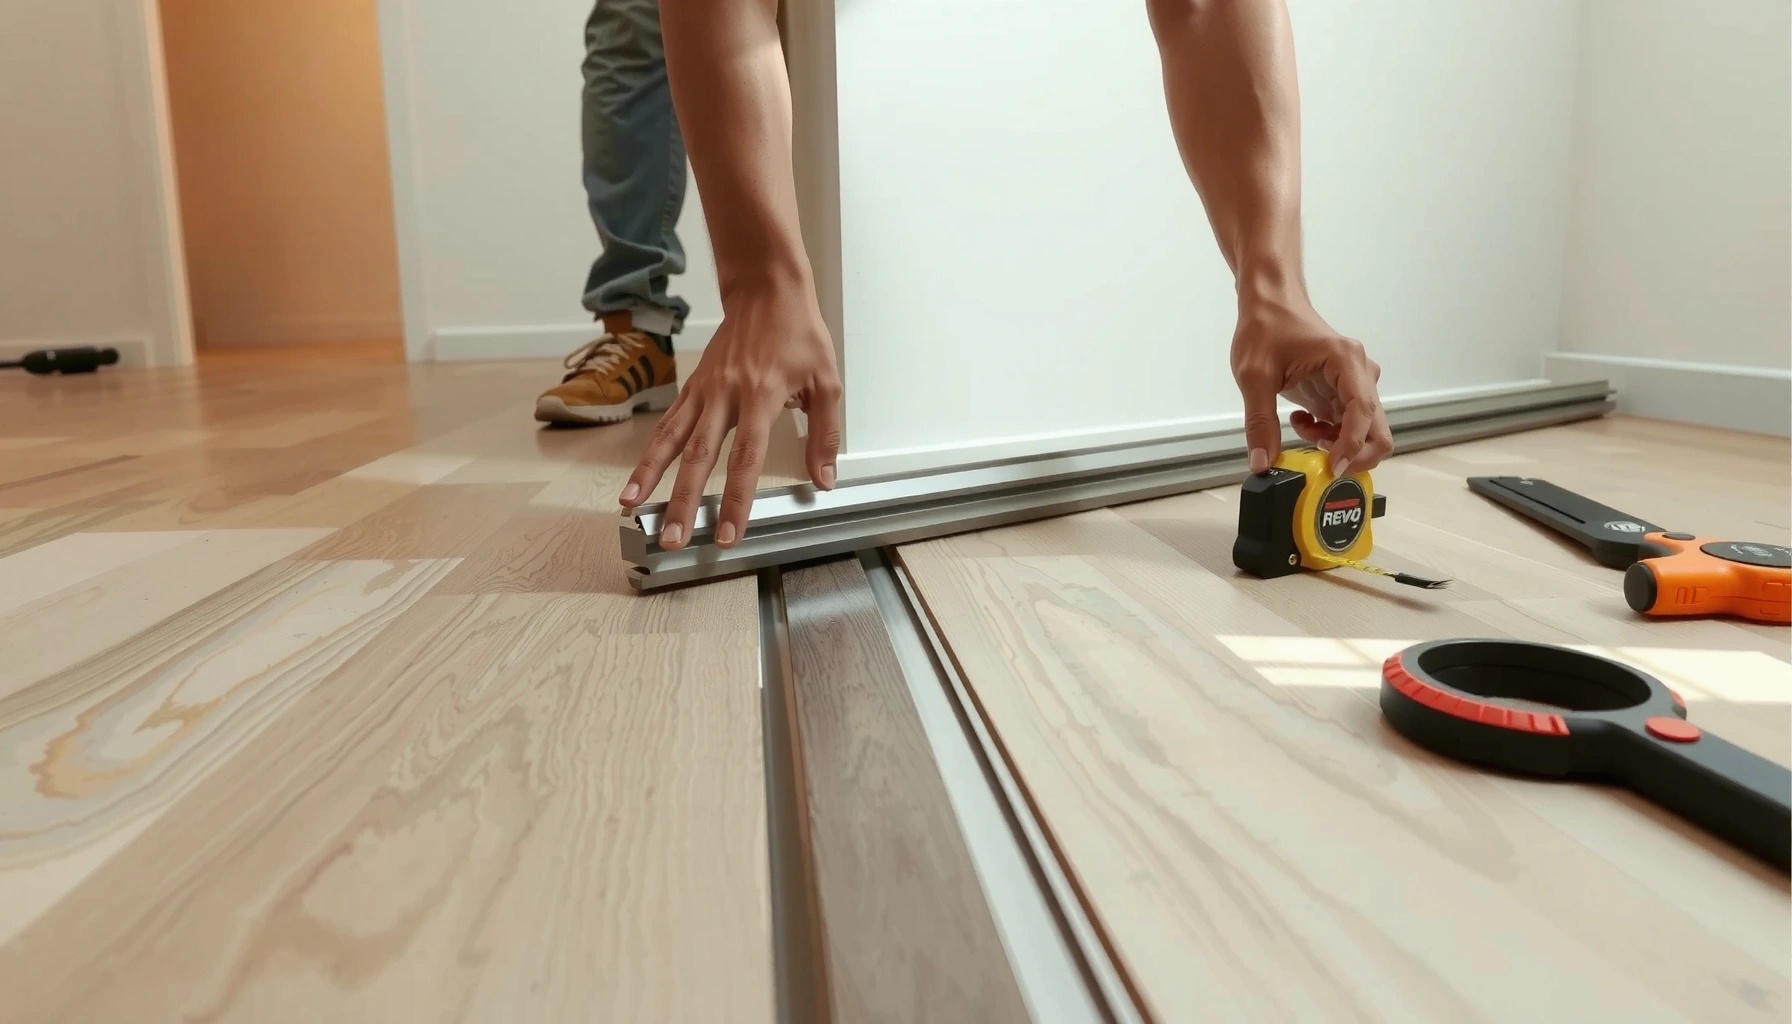
Start by measuring the width of the gap between flooring edges, including any expansion allowance recommended by your vinyl flooring manufacturer. Dry-fit the transition by placing it over the joint to confirm height and alignment—especially if you’re matching plank vinyl to tile or LVP. Cut the transition to length with a fine-tooth saw for metal or a sharp blade for vinyl types, then recheck the fit before fastening so the seam stays straight.
How do I install a reducer or threshold transition between rooms with vinyl flooring?
First, ensure the subfloor is flat and clean, then trim the vinyl edges to a clean line where the joint will be covered. Set the transition so it bridges the height difference without trapping the vinyl—reducers are ideal when one surface is slightly higher. For installation, apply adhesive or fasteners according to the product instructions, then press or tap gently to lock it in place and prevent movement at the seam.
Why is it important to use transitions with vinyl floors, and what problems do they prevent?
Transitions protect the exposed edges of vinyl flooring and help accommodate movement from temperature and humidity changes. Without a transition—especially at doorways or between rooms—edges can lift, gaps can appear, and water intrusion can damage the subfloor. The right transition also improves visual alignment, reducing the chance of rocking or catching a shoe edge on an uneven seam.
Which transition type is best for my vinyl flooring—T-molding, edge trim, or an expansion threshold?
T-molding is usually best for joining two vinyl surfaces at the same height, such as between rooms with matching LVP. For the perimeter where flooring meets baseboards or where you need a finished edge, use edge trim to cover the vinyl cut edge and maintain a clean look. If you’re dealing with a height difference or a wider movement gap (like at thresholds), choose a reducer or expansion threshold designed for your specific joint width and flooring heights.
📅 Last Updated: October 07, 2026 | Topic: How to install transitions for vinyl floors? | Content verified for accuracy and freshness.
References
- Google Scholar Google Scholar
https://scholar.google.com/scholar?q=installing+transitions+for+vinyl+flooring - Google Scholar Google Scholar
https://scholar.google.com/scholar?q=vinyl+flooring+transition+strips+installation+guide - Google Scholar Google Scholar
https://scholar.google.com/scholar?q=resilient+flooring+transitions+seams+recommended+work+practices - https://en.wikipedia.org/wiki/Vinyl_flooring
- Expansion joint
https://en.wikipedia.org/wiki/Expansion_joint - RFCI – Resilient Flooring Covering Institute
https://www.rfci.com/ - https://www.armstrongflooring.com/install/vinyl-flooring.html
- Google Scholar Google Scholar
https://scholar.google.com/scholar?q=How+to+install+transitions+for+vinyl+floors? - How to install transitions for vinyl floors? – Search results
https://en.wikipedia.org/wiki/Special:Search?search=How+to+install+transitions+for+vinyl+floors? - https://www.ncbi.nlm.nih.gov/search/research-articles/?term=How+to+install+transitions+for+vinyl+floors?