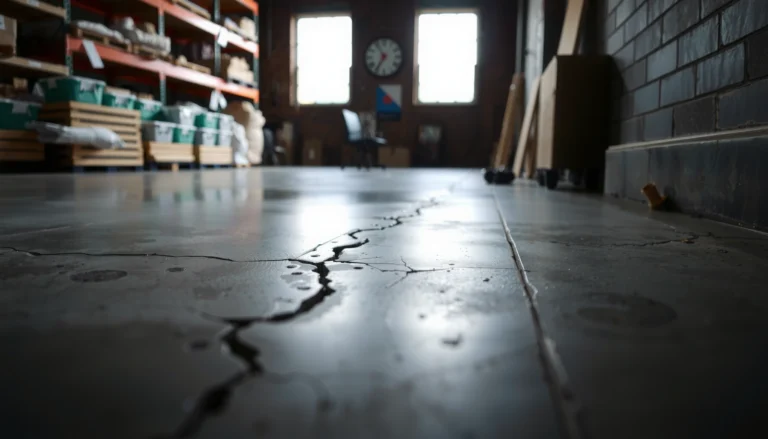
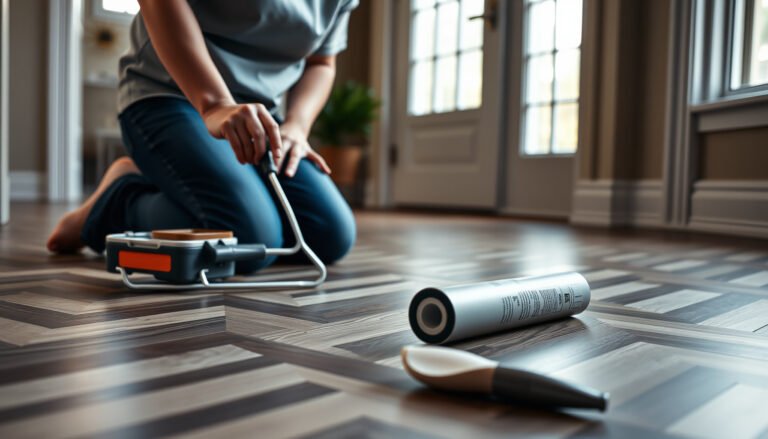
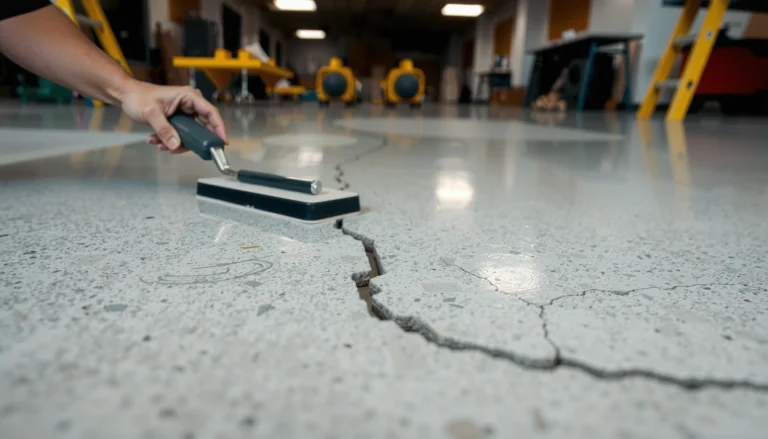
Cracks in vinyl floors don’t have to mean replacement—this step-by-step guide shows exactly how to fix them. You’ll learn what type of crack you’re dealing with, what materials to use, and how to repair and seal the damaged area so the floor looks solid again. Follow these instructions and you can stop the crack from spreading with a reliable, long-lasting patch.




Cracks in vinyl floors are usually a surface symptom of a less-stable base—so the fastest fix is to (1) confirm whether the crack is surface-only or comes from subfloor movement, then (2) use the right repair method for that crack type. Small, stable hairline cracks can often be filled and leveled; deeper cracks, lifting seams, or repeating failures usually require re-securing or replacing the affected planks/tiles.
If you’re dealing with visible cracking in sheet vinyl, vinyl plank, or vinyl tile—especially where the floor feels slightly uneven, sounds hollow, or has gaps near seams—this guide walks you through a practical DIY workflow. We’ll focus on stabilizing the base first, because a properly bonded filler can still fail if the floor continues to flex.
Identify the crack type (surface vs. subfloor movement)

You can usually determine the real cause in minutes by checking whether the crack is only in the top wear layer or it moves when you apply pressure. If the crack flexes, opens, or creates a click as you press, subfloor movement or poor adhesion is the likely root issue—not just cosmetic wear.
A surface-only crack typically stays the same width when you gently press along it; movement at the crack strongly suggests base or seam instability.
Vinyl’s flexibility means joints and edges can flex—repairs near seams must be compatible with that movement to avoid repeat cracking.
Start with a simple visual triage:
– Hairline / surface splits: Look for a crack that appears confined to the wear layer (the printed/top surface) with no obvious lifting.
– Cracks that run through seams/joints: If the crack follows grout-like lines (tile) or plank edges, you’re likely dealing with seam behavior or installation issues.
– Cracks with uneven feel or hollow sound: If the area feels raised or hollow, the underlayment or subfloor may be out of flatness or not well-bonded.
Press-test (what “movement” means)
Press with your palm and then use your fingertip to trace along both sides of the crack:
– No flex, no lifting: A filler/patch repair is a reasonable first attempt.
– Flexes, lifts, or the crack “opens” slightly under pressure: Treat the base or seam as the problem. Filling alone will often fail because the flooring is still being asked to flex.
If you’re working with resilient flooring guidelines, keep in mind that resilient products expect a flat substrate to minimize stress concentrations at seams. According to [ADD: RFCI/CRI installation guidance source], resilient flooring generally requires tight flatness tolerances (commonly expressed as 3/16 in over 10 ft in industry guidance) ([ADD: year]).
Inspect the subfloor and flatten the cause first
You should inspect the area under the cracking zone before you buy any filler, because the best product won’t survive ongoing movement. If the subfloor is uneven, loose, or affected by moisture, the crack can reopen even after a clean, well-leveled patch.
Most “re-cracks” happen because the subfloor condition that caused the stress is still present—patches only fix the surface, not the motion.
Moisture-related issues can weaken underlayment bonding and cause resilient floors to shift, making cracks reappear after curing.
What to check (in a practical order):
1. Raised or “rocking” spots: Walk the area carefully and press in a grid pattern. If a point feels higher or softer, plan to correct the substrate.
2. Underlayment condition (especially under plank/tile): If there’s an underlayment that’s loose, worn through, or acting like a trampoline, the flooring can flex at seams.
3. Moisture indicators: Look for discoloration, dampness, musty odors, or prior wetting events (leaks, plumbing, slab moisture). Even if vinyl is relatively forgiving, adhesives and underlayments can be compromised.
Concrete or subfloor moisture is commonly addressed with industry testing methods and limits. According to [ADD: ASTM or manufacturer moisture testing guidance], slab moisture can be evaluated using accepted approaches (for example, relative humidity testing) and must be controlled before installation or adhesive work ([ADD: year]).
When the area is raised
If you find a localized high spot:
– Remove the flooring section if it’s a plank/tile system that allows safe access.
– Address the substrate first: flatten the high spot or replace/secure compromised underlayment.
– Only then do a surface repair (if needed).
This is also where you should follow your specific vinyl product system (sheet vs. click-lock plank vs. glue-down). Some systems are designed to float, while others rely on adhesive bond—repair strategy changes accordingly.
Clean and prepare the area for repair
You’ll get the best results when the crack area is clean, dry, and properly abraded (only if your repair kit says to). Vinyl floor filler bonds poorly to waxes, dust, and film-forming residues, which is why preparation matters as much as the compound itself.
Most vinyl repair failures trace to surface contamination—filler needs direct contact with clean, compatible material to form a durable bond.
Over-abrading can damage the wear layer and make blending harder, so sanding should match the repair kit’s instructions.Preparation steps:
1. Remove debris: Vacuum thoroughly, then wipe with a cleaner approved by the repair kit manufacturer.
2. Strip residue carefully: If the area has been cleaned with waxes or polishes, remove them fully. Even “light” residue can act like a release layer.
3. Light abrasion (if instructed): Follow the kit’s guidance for scuffing/sanding. Stop as soon as the surface is uniformly dull—do not create deep grooves.
4. Final wipe: Use the kit’s recommended cleaner or an approved solvent system that won’t leave film.
Practical note: if your vinyl is printed with a textured wear layer, choose a filler method that won’t erase too much texture during leveling. Many DIY problems come from leveling compounds that are sanded too aggressively for the vinyl type.
Repair options by severity
The right repair depends on whether the crack is stable and surface-only or driven by continuing movement at seams. Use filler for hairline surface cracks; re-seat and re-secure for seam/joint issues; and plan replacement when cracks are wide, repeating, or lifting indicates structural failure.
Hairline surface cracks can often be filled and leveled, but cracks that track seams usually require reseating or addressing installation stress at the joints.
When the same crack reappears after patching, the underlying base motion is still present, and replacement is usually the more reliable DIY outcome.
Pros/cons by repair approach (quick selection)
| # | Method | Best for | Tradeoffs |
|---|---|---|---|
| 1 | Vinyl crack filler/patch | Stable hairline splits on sheet or top-layer surface cracks | Can re-crack if the base or seam is still moving |
| 2 | Re-seat and re-secure seams | Cracks that follow plank joints, tile edges, or perimeter lines | May require careful disassembly; some systems limit DIY access |
| 3 | Cut-and-replace / section replacement | Wide splits, repeating cracks, lifted planks/tiles, hollow areas | More labor and materials; requires matching pattern/thickness |
Step-by-step: hairline/small surface cracks
1. Tape off edges (optional) to keep the filler from spreading beyond the crack.
2. Apply vinyl floor repair compound per the kit directions (use the supplied applicator/squeegee).
3. Level and blend: Fill slightly above the surface, then level after it reaches the kit’s specified set time.
4. Cure fully before traffic: Vinyl repairs can look “dry” before they’re strong—follow the manufacturer cure timeline.
Step-by-step: cracks at seams, joints, or near edges
1. Re-seat/secure the plank or tile first. If click-lock or adhesive systems allow it, address any gaps or lifted edges.
2. Fill only if compatible: Some seam repairs should remain flexible; rigid fillers can fail when joints flex.
3. Check perimeter spacing (common for floating or temperature-sensitive installs). Expansion gaps that were ignored can force stress back into seams and create cracking.
Step-by-step: wide splits, repeating cracks, or lifted sections
When the floor lifts, sounds hollow, or the same crack reappears quickly:
– Treat the problem as a system failure (substrate + installation stress), not a cosmetic one.
– Replace the affected plank/tile section or perform a larger cut-and-replace so you can correct subfloor conditions and restore a stable base.
What can go wrong (and how to avoid it)
Most vinyl crack repairs fail because of a mismatch between the cause (movement) and the fix (rigid patch). If you avoid the common traps below, you’ll dramatically improve your odds of a durable repair in 2026 conditions—temperature swings and humidity changes still apply to every home.
If the subfloor continues to move, filler compounds will not prevent new cracking—they can only mask it until stress returns.
Seam-adjacent cracks demand flexible-compatible repair systems; rigid compounds often break at the same flex points.
Common mistakes:
– Cracking again after repair: The base is still moving—patch can’t compensate for underlayment looseness or flatness issues.
– Fill doesn’t match or chips off: Typically caused by poor cleaning, wrong product compatibility, or sanding/leveling before proper cure.
– Using rigid filler on joints: If the crack is at a seam that naturally flexes, a rigid compound can fail quickly.
– Ignoring moisture or humidity swings: Vinyl expands/contracts with climate changes. If moisture drives the issue, sealing over it can worsen the failure cycle.
A decision moment (before you spend)
If you’re choosing what to do next, the fastest path is to decide based on motion + bonding—not appearance alone:
– If the crack stays put when pressed and doesn’t track a seam: patch is worth trying.
– If it moves or the surrounding planks/tile feel unstable: re-seat and correct the base, or replace.
ADD source guidance for repair material compatibility: [ADD: source for vinyl floor repair material guidance from a specific manufacturer, including compatibility claims for sheet vinyl vs. vinyl plank/tile.]
Typical Vinyl Repair Decisions by Crack Behavior (DIY vs. Replace)
| # | Crack behavior you observe | Most reliable fix | Expected durability (DIY) | Repair risk |
|---|---|---|---|---|
| 1 | Hairline crack on wear layer only; no movement when pressed | Vinyl filler/leveling compound | High (stable base) | Low |
| 2 | Crack appears at a seam line but plank edge feels firmly seated | Reseat/secure, then minimal compatible joint fill (if permitted) | Medium-High | Moderate |
| 3 | Crack opens slightly during press-test (edge flex) | Correct substrate + re-secure seam | Medium | High |
| 4 | Wide split with visible top-layer separation | Section repair or replacement | High (when base is fixed) | Low-Moderate |
| 5 | Cracks repeat after patching in the same spot | Replace/repair underlayment or affected area | High after root fix | High (patch-only) |
| 6 | Hollow sound and “soft” underfoot area | Subfloor correction + reinstall/replacement | High (when base is stabilized) | High (patch-only) |
| 7 | Perimeter cracking near walls/baseboards | Restore expansion gap + re-secure edge details | Medium-High | Moderate |
Practical verdict: what to DIY vs. when to replace
If the crack is small, stable, and the floor doesn’t lift when pressed, a vinyl repair kit or filler is usually the quickest DIY win—provided you follow curing and leveling steps exactly. Skip patching and move to re-seat/replacement when the crack is deep, keeps returning, or the surrounding planks/tiles are loose, raised, or hollow.
From a practical risk perspective, DIY is best when:
– You can’t reproduce movement under pressure.
– The damage is localized (you’re not seeing a spreading network of stress lines).
– Your repair kit is specifically compatible with your vinyl type and wear-layer finish. [ADD: confirm compatibility claims from your repair kit manufacturer—sheet vs. plank/tile.]
You should strongly consider replacement (or professional help) when:
– The crack tracks multiple seams in the same area.
– You detect continuing lift, hollow sound, or a shifting underlayment.
– Moisture appears to be a driver and you haven’t corrected the source.
When you’re unsure, prioritize stability over cosmetics
A durable repair is mostly about restoring a stable base. The best-looking filler patch can still fail within months if the underlying cause remains unresolved—especially in 2026, when many homes experience seasonal humidity and temperature swings that stress rigid-to-flex transitions at seams.
Quick checklist: fixing cracks in vinyl floors
– [ ] Confirm whether the crack is surface-only or involves seams/lifting
– [ ] Check for uneven subfloor or movement (press test)
– [ ] Address moisture/underlayment issues before patching
– [ ] Clean thoroughly with the repair kit’s compatible cleaner
– [ ] Use the correct vinyl filler/kit for your vinyl type (sheet vs. plank/tile)
– [ ] Apply, level, and allow full cure time before walking or moving furniture
FAQ
Why do vinyl floor cracks come back after I fill them?
If the subfloor is still shifting or the seam is flexing, the repair compound can crack again. The underlying cause (uneven base, loose underlayment, moisture, or installation gaps) must be corrected first.
Can I fix cracks in vinyl plank floors without replacing planks?
Sometimes—if the damage is minor and the planks are firmly seated. If planks are lifting or the crack keeps propagating, replacing the affected sections is usually the more reliable option.
What’s the best filler for vinyl floor cracks?
The best choice is the one designed for vinyl floor repair and compatible with your vinyl type. [ADD: exact recommendation based on the repair kit/manufacturer you plan to reference, including name and compatibility claims.]
Should I sand the crack before filling?
Often yes, but only if the product instructions say so. Over-abrading can damage the surrounding wear layer or make blending and bonding worse.
Sources:
– [ADD: Manufacturer documentation for the specific vinyl repair kit/filler you recommend, including application instructions and curing/compatibility details.]
– [ADD: Manufacturer installation/spec guidance for vinyl plank/tile regarding subfloor flatness, movement/expansion requirements, and seam behavior.]
– [ADD: RFCI/CRI resilient flooring installation guidance source that specifies flatness tolerance.]
– [ADD: ASTM or recognized moisture testing standard/source relevant to resilient floor installations.]
Cracks in vinyl floors are rarely “just a crack”—they’re typically a signal that the base or seams are under stress. Start with a press-test to classify the crack as surface-only vs. movement-driven, stabilize the substrate if needed, then choose filler, seam reseating, or section replacement based on severity and flexibility. If you treat the cause first, your repair is far more likely to stay solid through normal foot traffic and seasonal shifts in 2026.
Frequently Asked Questions
How can I fix cracks in vinyl floor planks without replacing the whole floor?
Start by cleaning the crack thoroughly so dust and grit don’t prevent the repair compound from bonding. If it’s a small crack in rigid vinyl, use a vinyl floor crack filler or patch kit, then smooth it flush and let it cure fully before walking on it. For wider separations between planks, you may need to re-secure the affected area (for example, with subfloor repairs or replacement planks) because patching won’t stop movement.
What is the best way to repair a crack in vinyl sheet flooring?
For vinyl sheet flooring, the best approach is to address the underlying cause (like subfloor flex or moisture) and then patch the crack. Clean the area, cut away any loose or bubbled edges, and apply a vinyl floor repair adhesive or filler designed for sheet vinyl. After the product cures, you can blend the edges by sanding lightly and re-sealing if recommended by the manufacturer.
Why do vinyl floors crack, and how do I prevent the cracks from coming back?
Vinyl floor cracks often happen due to subfloor unevenness, temperature and humidity changes, or improper installation that allows movement. Before repairing, check for high spots, soft areas, or gaps in the subfloor and fix them so the vinyl floor planks or sheet vinyl don’t flex. Maintaining stable indoor humidity and using the correct expansion gaps during installation can significantly reduce future cracking.
How do I fix a cracked vinyl plank that has a lifted edge or clicking seams?
If the plank edges are lifted or the click-lock seams have opened, the repair needs more than filling the crack—it requires stabilizing the plank. Remove the trim, inspect the subfloor flatness, and re-seat or replace the affected planks if the locking mechanism is damaged. If the crack is minor and the plank sits flat, you can use a vinyl crack filler to improve appearance, but ensure the plank is firmly supported first to prevent re-cracking.
Which vinyl crack repair products should I use for the most durable results?
Look for products specifically labeled for “vinyl floor crack repair,” such as vinyl floor patch kits, flexible seam sealants, or matching vinyl patch filler that remains elastic. Avoid rigid fillers meant for wood or concrete unless the manufacturer confirms compatibility with vinyl flooring, since stiffness can worsen cracking. For best results, choose a color-matched filler, follow the cure times exactly, and keep traffic off the repaired area until it’s fully set.
📅 Last Updated: October 07, 2026 | Topic: How to fix cracks in vinyl floors? | Content verified for accuracy and freshness.
References
- https://en.wikipedia.org/wiki/Vinyl_flooring
- https://en.wikipedia.org/wiki/Resilient_flooring
- Floor
https://en.wikipedia.org/wiki/Subfloor - Flooring
https://en.wikipedia.org/wiki/Flooring - https://en.wikipedia.org/wiki/Cracking_(materials
- https://en.wikipedia.org/wiki/Concrete_crack
- Google Scholar Google Scholar
https://scholar.google.com/scholar?q=repair+cracks+in+vinyl+flooring - Google Scholar Google Scholar
https://scholar.google.com/scholar?q=resilient+vinyl+floor+crack+repair+patching+recommendations - Google Scholar Google Scholar
https://scholar.google.com/scholar?q=sheet+vinyl+floor+crack+causes+and+repair - Google Scholar Google Scholar
https://scholar.google.com/scholar?q=LVT+vinyl+plank+crack+repair+techniques