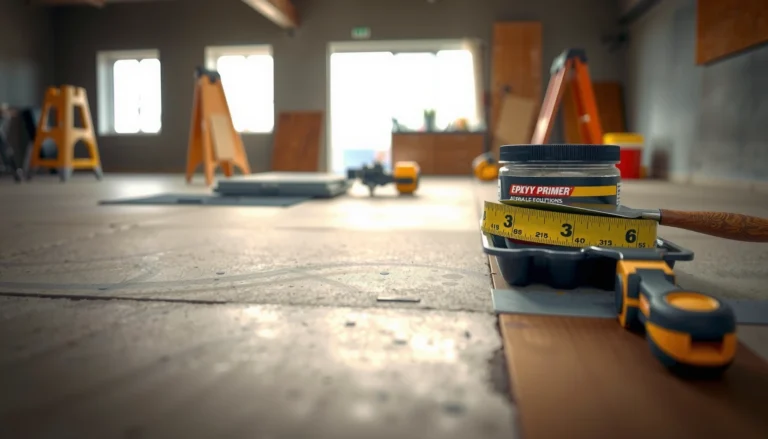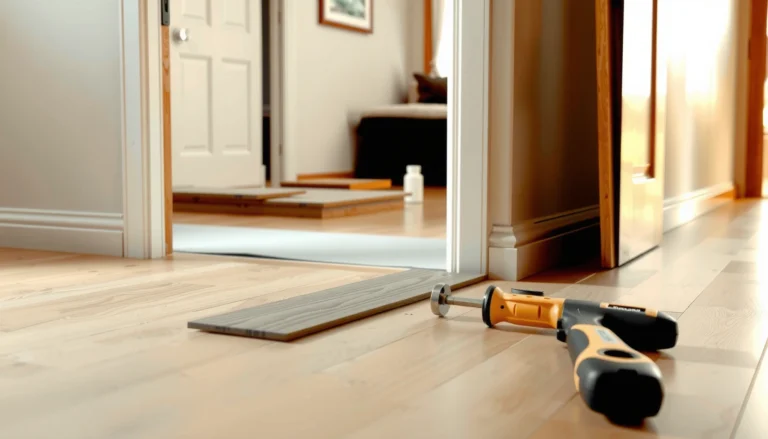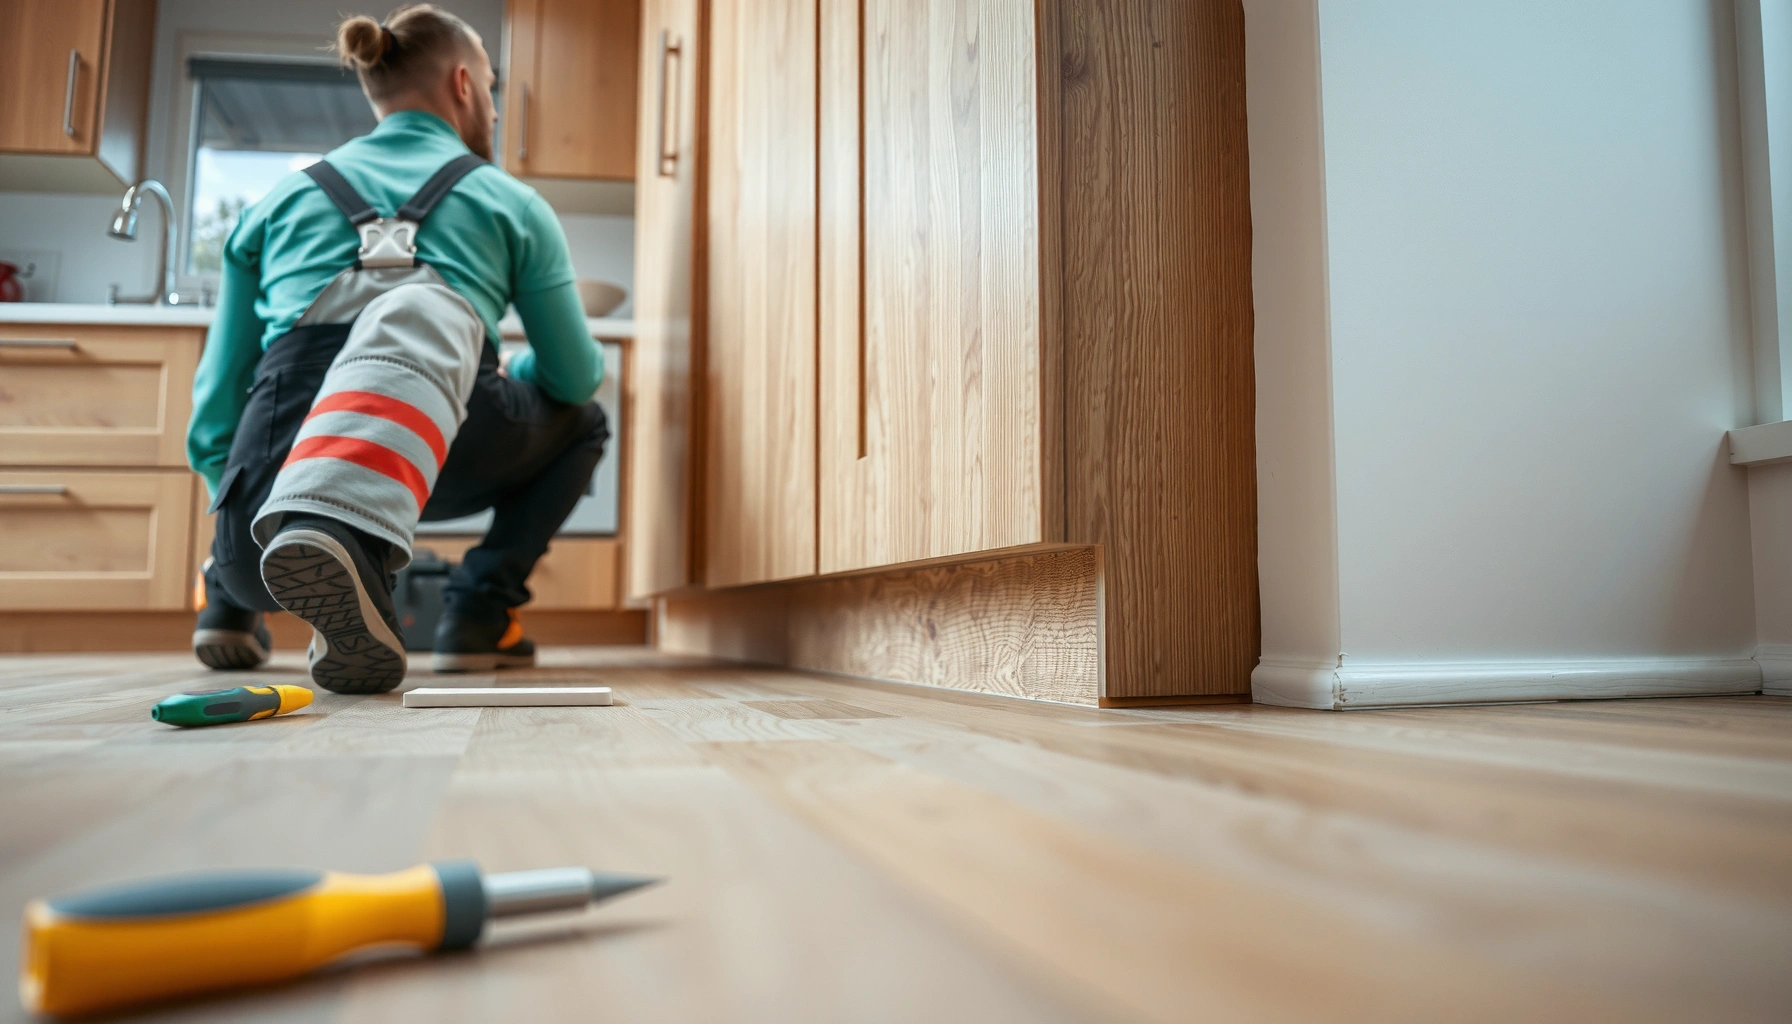

Install around cabinets with laminate flooring the right way by using a scored-and-fit method that lets the planks slide cleanly under the cabinet toe-kick lines. If you can lift the toe-kick or work around a removable cabinet base, this approach gives the tightest seams and the best expansion gap compliance. This guide answers exactly how to cut, undercut, and lock laminate boards around cabinets so the floor looks seamless and performs for years.




When you install laminate flooring around fixed cabinets, plan to either slide planks under the toe-kick (when clearance allows) or cut and fit around the cabinet bases/legs without lifting the entire run. In both cases, your success depends on maintaining a consistent expansion gap at walls and fixed obstructions and avoiding any “pinching” where the floor can’t float.
This guide is for homeowners installing laminate in kitchens or rooms with built-in cabinetry—especially where the cabinets don’t move and you can’t start the floor from the cabinet base. If your cabinets are directly on the subfloor (no toe-kick clearance) or you suspect uneven floors, jump to the “What can go wrong” section first.
Plan the layout before you cut
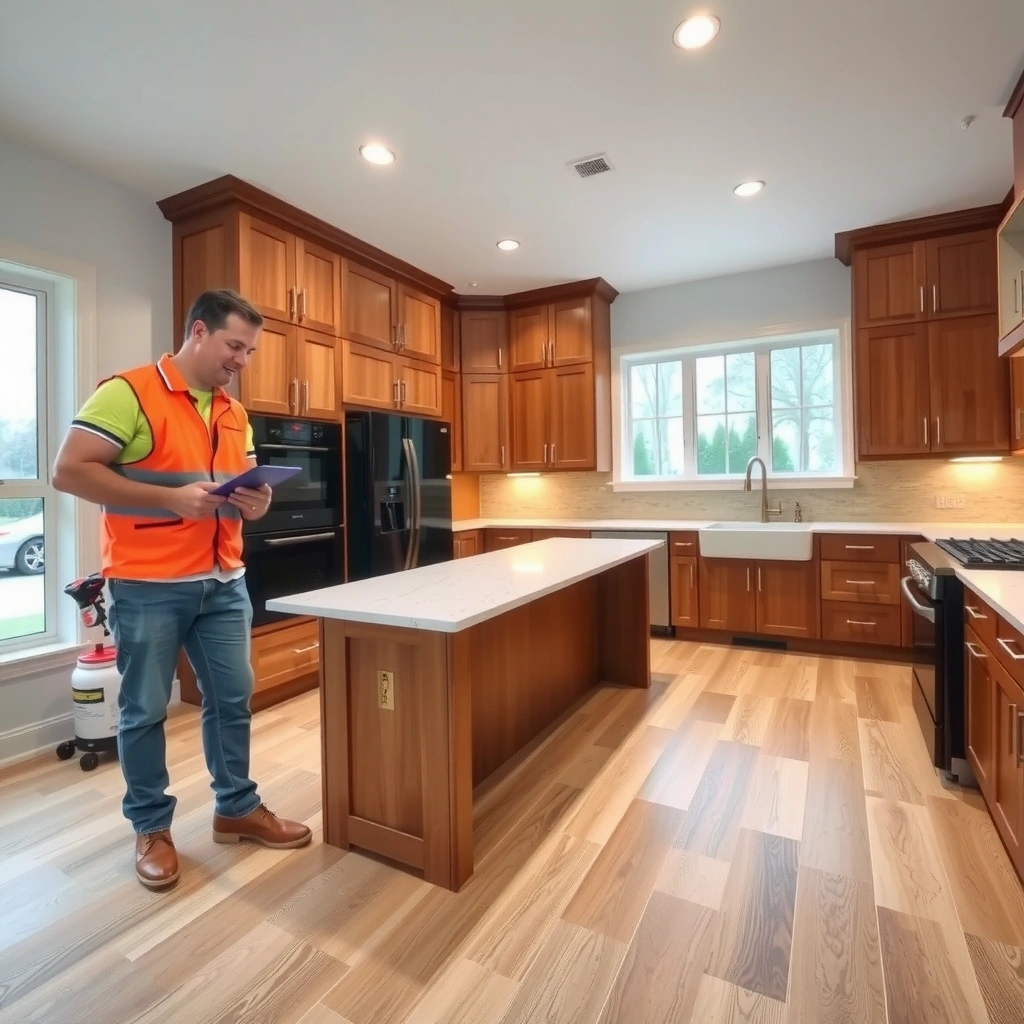
Plan your cabinet-area cuts before you touch a saw: the cleanest results come from starting in the right place and assigning seam locations intentionally. Here the goal is to reduce tight, un-lockable joints near cabinet corners and keep the laminate able to move as humidity changes.
– Decide your direction (usually based on the longest, straightest run) so plank seams land where they look best and don’t stack awkwardly near cabinet corners. In cabinet-heavy rooms, direction also affects where your “end cuts” fall along the toe-kick line versus the wall line.
– Measure the gap you must leave around walls and fixed features; laminate typically needs expansion room, and that requirement should follow your specific product’s instructions. Many manufacturers specify an expansion gap range in the neighborhood of 6–10 mm (about 1/4–3/8 in) for floating floors, but you must confirm the exact figure in your laminate manual.
– Identify whether you can slide planks under the toe-kick (common) or whether you’ll need to cut the planks to fit around cabinet bases (sometimes required). If you’re unsure, check the actual clearance between the cabinet toe-kick and the subfloor—paint/build-up and older leveling compounds can reduce the gap.
Laminate “floating” systems must keep an expansion gap at walls and fixed objects so the floor can expand/contract without buckling.
Seam placement matters near cabinets because end joints often become the hardest-to-lock areas when space is tight.
If you can slide planks under a toe-kick, you generally avoid complex contour cuts and reduce visible irregularities.
Quick layout math to prevent surprises
A simple way to plan: dry-lay one full course (row) without locking it, then mark (with painter’s tape) where the cabinet toe-kick line intersects your plank pattern. After that, re-measure your expansion gap requirements at:
1) the exterior wall ends, 2) the cabinet perimeter edge (where applicable), and 3) any interior fixed poles/columns or threshold transitions.
Get the right prep and tools
Preparation is what turns a tricky cabinet-room install into a predictable one. For cabinet areas, the “right” prep is mostly about access (trim and toe-kick clearance) and surface stability (flatness plus correct underlayment/moisture barrier).
– Remove or loosen moldings/trim that block your access; if you can’t remove the toe-kick, you may need more detailed cut-outs instead of under-the-cabinet installs. If you expect to re-install baseboards later, score caulk lines carefully so you don’t chip finish paint.
– Use spacers for the expansion gap, a tapping block for click-lock/plank engagement (if your laminate uses it), and a saw suitable for laminate edging (often a fine-tooth blade). For cabinet-area planks, a fine-tooth blade helps reduce chipping along visible face edges.
– Check subfloor flatness and clean the area thoroughly; laminate relies on stable, even support around cabinet runs. As a rule of thumb used in many laminate standards, subfloor variation over short spans is a primary risk for joint gaps—confirm your laminate brand’s flatness tolerance in mm/in.
Common Expansion-Gap Targets for Floating Laminate (US)
| # | Nominal Gap | Metric | Best For | Fit Consistency |
|---|---|---|---|---|
| 1 | 1/4 in | 6.35 mm | Most residential floating installs | ★★★★☆ |
| 2 | 5/16 in | 7.94 mm | Moderate climate swings | ★★★★☆ |
| 3 | 3/8 in | 9.53 mm | Wider manufacturer gaps | ★★★☆☆ |
| 4 | 7 mm | 0.276 in | Manufacturers using metric specs | ★★★★☆ |
| 5 | 8 mm | 0.315 in | Large fixed perimeters | ★★★★☆ |
| 6 | 10 mm | 0.394 in | High-expansion risk zones | ★★★☆☆ |
| 7 | Variable (per manual) | Varies | Always follow brand specs | ★★★★★ |
After you install, these gaps disappear behind baseboards, toe-kick covers, or transitions—but only if you keep them consistent during the floating phase. According to common floating-floor installation principles used across North American laminate brands, the required gap is typically in the 1/4–3/8 in range, but confirm against your exact flooring manual. [ADD: source for typical laminate expansion-gap range; cite your manufacturer installation guide]
Surface prep details that matter specifically near cabinets
Laminate needs stable support where it “bridges” cabinet edges. If you have old patchwork or sanding ridges near toe-kicks, your click joints can show stress even when the rest of the room looks flat. Clean debris (dust, drywall shims, underlayment fragments) because those can create localized high spots.
Install with the “under the toe-kick” method (best when possible)
Slide planks under the toe-kick when you have clearance and your cabinet design allows it—this is typically the most direct path to a tight, professional-looking perimeter. It also lets you keep a continuous plank run, which reduces the number of end-joint stress points near fixed cabinetry.
– Lift and slide the first row (or the appropriate section) under the toe-kick, then continue locking planks in sequence toward the cabinet run. Treat the cabinet toe-kick line like a “shadow gap”: you’re creating a controlled underlap while the floor remains floating.
– Cut the last plank in each section so it leaves the required expansion gap at the wall/edge and doesn’t bind against the cabinet as the floor moves. Measure with the plank in its “installation height,” not hanging mid-air—underlayment thickness changes the final fit.
– Keep plank seams aligned and avoid forcing joints—around cabinets, it’s easy to create tight spots that prevent proper floating. If a plank won’t fully engage, stop and re-check the previous row’s alignment and the subfloor’s flatness.
Under-toe-kick installs work best when you can slide planks without scraping or forcing joints into a compressed space.
Cut every cabinet-edge plank to maintain the same expansion gap you leave at walls, not a “close enough” gap.
Never “tighten” a floating laminate run against fixed cabinets—forcing joints can create future seam separation.
Typical workflow (practical, repeatable steps)
1) Dry-fit one or two planks to verify you can actually slide them under the toe-kick without bumping the subfloor.
2) Install the underlayment and moisture barrier (if your product specifies one).
3) Begin the row farthest from the cabinet obstruction so you maintain consistent pressure for locking joints.
4) Cut only what you must at the cabinet line; if possible, keep most cuts on the wall side rather than around cabinet corners.
Moisture barrier and underlayment near toe-kicks
In kitchens, the underlayment/moisture system becomes part of your long-term risk management. Many manufacturers require specific vapor barrier placement or overlap strategies; follow those requirements exactly. [ADD: cite manufacturer’s underlayment/vapor barrier instructions]
Install by cutting around cabinet bases/legs (when sliding isn’t possible)
Cut-and-fit becomes necessary when you can’t slide planks under the toe-kick—either because there’s no clearance, the cabinets sit directly on the subfloor, or the toe-kick blocks safe plank movement. The key is precision plus maintaining the floating behavior: you don’t “lock” the perimeter into place.
– Measure the cabinet obstruction carefully, then cut planks to fit the contour while still leaving the product’s required expansion gap around the fixed perimeter. For these cuts, think in terms of clearance, not just shape.
– Leave the floor “floating” where required—don’t hard-fasten laminate to the subfloor unless your laminate manufacturer explicitly allows it. If you screw or glue down planks near cabinets, the floor can’t compensate for movement and can generate buckling and seam failure.
– Use transition strips or matching trims at the cabinet edge only if your flooring system calls for it; otherwise, keep the visual lines clean with proper caulk/gap handling methods your product recommends. Many manufacturers restrict caulking to expansion-gap hiding only after installation steps are complete and only in approved locations.
When you can’t slide laminate under cabinets, you must create clearance cuts so the floor still has room to expand/contract.
Hard-fixing laminate near cabinets is usually prohibited unless the manufacturer states otherwise.
Contour cuts should preserve consistent gap width, because uneven gaps can cause localized seam stress.
Pros/cons: under-toe-kick vs cut-and-fit
| Method | Pros | Cons / Risk |
|---|---|---|
| Slide under toe-kick | Fewer contour cuts; fewer end-joint stress points; cleaner visual lines. | Requires real clearance and careful underlayment setup. |
| Cut around bases/legs | Works when clearance is limited; can be precise with templates. | More measurement error risk; harder to keep gaps consistent at multiple legs. |
What can go wrong (and how to avoid it)
These issues usually happen because laminate needs space to float but gets “captured” by cabinets, walls, or uneven subfloor areas. If you protect the expansion gap and verify flatness early, you’ll prevent most cabinet-perimeter failures.
– No expansion gap: if the laminate is tight against cabinets/walls, it can buckle or separate seams when humidity changes. Always confirm the gap size from your laminate’s documentation ([ADD: exact expansion-gap requirement from your laminate manufacturer]). According to common floating-floor guidance, expansion gaps are often in the 6–10 mm range, but manufacturer requirements are definitive. [ADD: cite manufacturer installation guide]
– Forcing click joints: around cabinet corners, uneven subfloor or mismeasured cut-outs can prevent full engagement—check fit dry before locking. If you must “push harder,” the problem is usually geometry (flatness/spacing), not the locking mechanism.
– Uneven subfloor near cabinet bases: laminate often telegraphs imperfections; if the floor area is out of plane, address the flatness issue before installing. Many floor systems cite tight tolerances for levelness over short distances; use your manufacturer’s published spec. [ADD: cite subfloor flatness tolerance spec from your product manual]
– Removing the wrong trim: if you remove too much, you may lose the finish you need later—protect your baseboards/moldings or plan ahead for replacements. Also note: removing trim can change the visible gap hiding strategy, especially if you re-caulk later.
– Moisture issues: kitchens can run damp. Follow your underlayment/moisture barrier requirements and don’t skip the vapor barrier if the manufacturer requires it ([ADD: your product’s moisture barrier/underlayment specs]). In climates with seasonal humidity shifts, the wrong underlayment strategy can amplify movement and seam issues.
The fastest way to damage floating laminate is to eliminate expansion space at fixed cabinets or walls.
If a click joint won’t fully engage near cabinets, stop and re-check flatness and measurements before forcing it.
Uneven subfloor support is a primary cause of joint gapping in laminate within the first heating/cooling season.
Verdict / tip
If your toe-kick provides clearance, sliding planks under the cabinets while keeping an expansion gap is usually the most straightforward way to get a clean, professional look. If you can’t slide planks, cutting around cabinet bases can still work well—but precision matters, and you must avoid hard-locking or tightening the floor against fixed cabinets.
Skip this DIY approach (or get help) if your subfloor is significantly uneven near the cabinets, you’re unsure your laminate can be floated in that area, or your manufacturer’s instructions are unclear about gap/fastening around cabinets ([ADD: link/reference to your laminate installation guide if available]).
Quick scan checklist (save this)
– [ ] Confirm your laminate’s required expansion gap around fixed objects and walls: [ADD: gap size]
– [ ] Check subfloor flatness and clean/prepare the surface
– [ ] Decide: slide under toe-kick OR cut around cabinet bases/legs
– [ ] Use spacers to maintain the gap during installation
– [ ] Dry-fit tricky pieces near cabinets before locking joints
– [ ] Use trims/transitions only as allowed by the laminate instructions
FAQ
Can laminate flooring go under existing cabinets?
Usually yes—if there’s enough toe-kick clearance and your laminate system allows a floating install in that configuration. If you can’t slide planks underneath, you’ll likely need to cut and fit around the cabinet base.
Do I need an expansion gap around cabinets too?
Yes, laminate typically needs expansion space around walls and fixed structures. Check your specific manufacturer’s installation instructions for the exact gap size ([ADD: exact figure from product documentation]).
Should I remove cabinet toe-kicks to install laminate?
Only if your installation plan and the toe-kick design make it safe and practical. If removal isn’t possible or would cause floor/tooling problems, plan to cut around the toe-kick area instead.
What trim should I use at the cabinet edge?
Use the transition/trim method recommended by your laminate manufacturer. If you’re not sure, follow the finishing guidance in your installation manual ([ADD: trim/finisher requirement from the manual]).
What if my laminate won’t click together near cabinets?
Common causes are poor subfloor support, miscut pieces, or joints not fully engaged. Re-check measurements and ensure you’re not forcing joints that are binding against the cabinet footprint.
Sources
– Manufacturer installation instructions for your specific laminate flooring (especially expansion gap requirements, underlayment/vapor barrier requirements, and guidance for cabinets/toe-kicks): [ADD: product name/model + official installation guide reference]
– General laminate “floating floor” installation principles from flooring industry guidance (use your product manual as the final authority on gap/fastening): [ADD: specific official guidance source if you have one]
In closing, installing laminate around fixed cabinets is less about fancy cuts and more about engineered freedom: keep the floor floating, maintain the expansion gap everywhere it’s required, and choose the under-toe-kick approach when clearance makes it feasible. If you hit binding points during dry-fit, treat them as a measurement or flatness signal—not something to muscle through—because that’s where long-term seam failures start.
Frequently Asked Questions
How do I install laminate floors around kitchen cabinets that are not removable?
Start by removing the baseboards and underlayment stops as needed, then plan to slide the laminate planks under the cabinet toe-kick if you have clearance. Use a jigsaw to cut the last row so it fits tight to the cabinet base while leaving the required expansion gap around the perimeter. Dry-fit the boards first, then install underlayment and laminate, fastening only where recommended by the flooring manufacturer to avoid trapping the floor.
What is the best way to transition laminate flooring around cabinet toe-kicks and uneven walls?
Use a consistent expansion gap along the cabinets and walls, then cope or cut the plank edges to match the profile of the toe-kick. For uneven walls, measure the gap height at multiple points and scribe the plank shape before cutting to ensure a clean fit. Install a transition strip or molding at doorway thresholds, since laminate can shift slightly and requires movement at edges.
Why do I need an expansion gap when installing laminate floors around cabinets?
Laminate flooring expands and contracts with temperature and humidity, even if it’s installed tightly around obstacles like cabinets. If you eliminate the gap at cabinet edges, planks can buckle, separate at the seams, or create lifting over time. Maintain the manufacturer-specified expansion gap (often about 1/4 inch) behind the toe-kicks and along any wall-contact edges that won’t be covered by trim.
How do I cut laminate planks for cabinets and ducts without ruining the click-lock edges?
Measure carefully from the installed underlayment and mark plank lines while accounting for the expansion gap at cabinet sides and any fixed objects. Use a fine-tooth blade (or a laminate-rated blade) to reduce chipping, and support the plank fully while cutting. If you need to notch around door jambs or pipes, cut slowly and dry-fit the piece before locking the click joint, then seal any exposed gaps with the appropriate matching repair/caulk solution if your flooring system allows it.
Which underlayment and under-cabinet approach works best for laminate floors in kitchens?
Choose an underlayment compatible with your laminate flooring type and the room conditions, especially if moisture is a concern in kitchens. If you’re sliding planks under cabinets, use the thinnest approved underlayment thickness to prevent toe-kick interference and keep the floor level. In areas where planks can’t slide under (like fully raised cabinet bases), plan to cut around the cabinet footprint and finish with matching trim to cover the expansion gap neatly.
📅 Last Updated: October 07, 2026 | Topic: How to install around cabinets laminate floors? | Content verified for accuracy and freshness.
References
- Laminate flooring
https://en.wikipedia.org/wiki/Laminate_flooring - Floating floor
https://en.wikipedia.org/wiki/Floating_floor - Google Scholar Google Scholar
https://scholar.google.com/scholar?q=installing+laminate+flooring+around+cabinets - Google Scholar Google Scholar
https://scholar.google.com/scholar?q=laminate+flooring+installation+expansion+gap+around+walls+and+cabinets - Google Scholar Google Scholar
https://scholar.google.com/scholar?q=undercut+cabinet+toe+kick+laminate+flooring+installation - https://www.britannica.com/technology/flooring
- https://www.floridahealth.gov/environmental-health/indoor-air-quality/docs/iaq-floors.pdf
- https://www.cdc.gov/homeandrecreationalsafety/floors/index.html
- Google Scholar Google Scholar
https://scholar.google.com/scholar?q=How+to+install+around+cabinets+laminate+floors? - https://en.wikipedia.org/wiki/Special:Search?search=How+to+install+around+cabinets+laminate+floors?