
Installing a vapor barrier under laminate floors is straightforward and worth doing—this step-by-step guide shows you the exact process with the right placement and overlap so moisture can’t migrate into the planks. If you’re dealing with a concrete slab or a damp crawlspace, you’ll learn how to choose the correct underlayment type and lay it correctly for a tight, protected install. Follow these steps and you’ll avoid warping, buckling, and warranty headaches.



Installing a vapor barrier under laminate floors comes down to three actions: lay overlapping moisture barrier sheets over the subfloor, tape the seams, and keep everything flat so the floating floor has consistent support. If your laminate system has an attached underlayment, you must follow the manufacturer’s instructions—double layering or sealing in the wrong way can create moisture-trapping conditions that shorten floor life.
If you’re planning a laminate floating floor (common in living rooms, hallways, and basements) and your subfloor is near a moisture-risk area, a vapor barrier can be a key step. The right method can vary based on your laminate’s backing and your subfloor type (concrete vs. wood), so check the product instructions alongside this walkthrough.
What you need before you start (and what to confirm first)
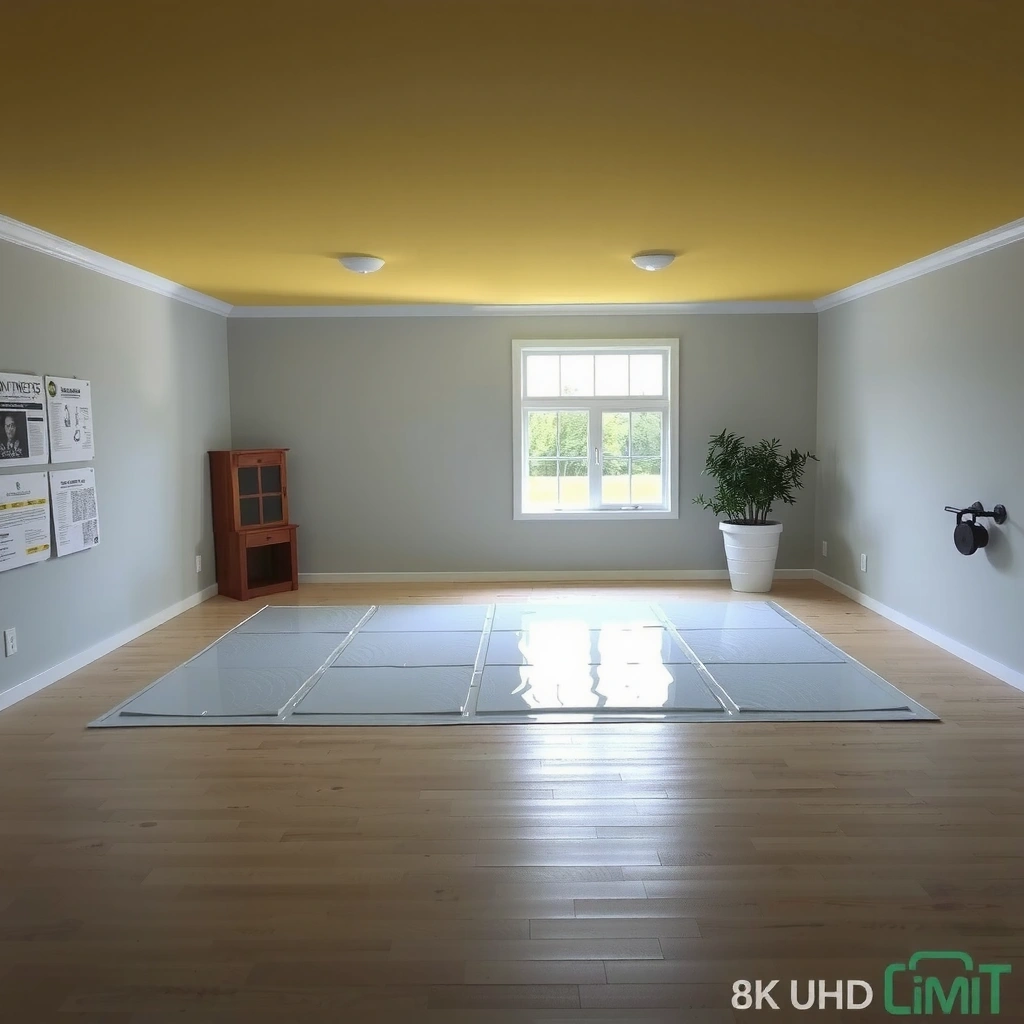
You don’t want to buy extra materials blindly—your laminate’s installation manual determines whether a separate vapor barrier is allowed or required. Start by confirming whether your laminate already includes an attached underlayment layer, because that single detail changes the correct build-up beneath your planks.
If your laminate has an attached underlayment/vapor layer, many manufacturers still allow (or explicitly disallow) an additional separate sheet barrier—always defer to the laminate instructions.
A vapor barrier’s core job is to reduce moisture migration through the subfloor by treating the subfloor surface as a “sealed” boundary.
Before you open the plastic, confirm these items:
– Check your laminate flooring instructions for whether it already includes an attached underlayment/vapor layer.
Look for terms like attached pad, integrated underlayment, vapor barrier, or moisture barrier. If it’s present, the manual often specifies whether additional polyethylene is needed.
– Gather materials:
– Vapor barrier sheeting (commonly 6-mil polyethylene, unless your manufacturer specifies otherwise).
– Data point: 6-mil = 0.006 inch = ~0.1524 mm (based on 1 mil = 0.001 inch).
– Seam tape compatible with polyethylene vapor barriers (barrier tape designed to seal plastic overlaps).
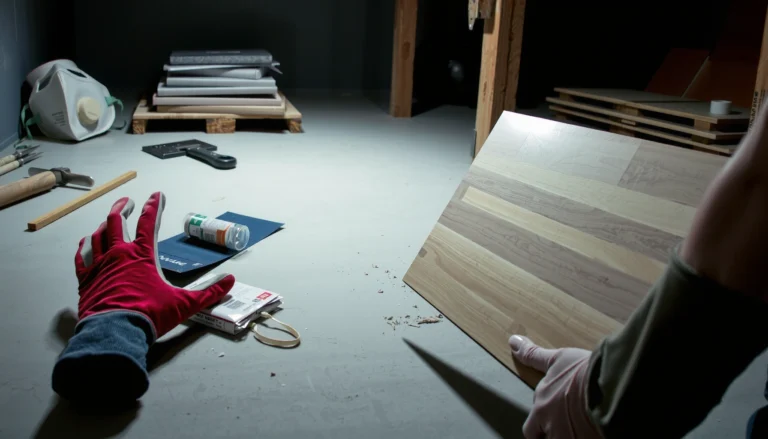
– Tools for trimming and layout: utility knife/blades, straightedge, measuring tape, seam roller (optional but helpful), and painter’s tape for temporary positioning.
– Confirm your subfloor type (concrete slab vs. wood subfloor). Moisture behavior differs, and the correct vapor barrier strategy should match the substrate conditions.
– Identify obstacles: doorways, plumbing penetrations, fireplace hearths, and any floor transitions. Those areas are where loose edges and gaps often appear if you don’t plan cuts and sealing.
According to ASTM-related installation practices for moisture control, vapor barrier installation is about sealing continuity (reducing pathways at seams and edges), not merely laying down a sheet. [ADD: Source for ASTM/industry guidance emphasizing taped seams for polyethylene vapor barriers]
Prep the subfloor for flat, clean coverage
Your vapor barrier won’t perform well if the subfloor is dirty, uneven, or has protrusions that prevent full sheet contact. Prep is what turns a “sheet on the ground” into a continuous moisture boundary under a floating laminate system.
Laminate performs best on a smooth, firm substrate because irregularities telegraph upward through planks and can undermine locking joints over time.
Before adding any moisture barrier, remove grit, drywall mud, and fastener heads so the plastic lies flat without punctures or tenting.
Prep steps that matter:
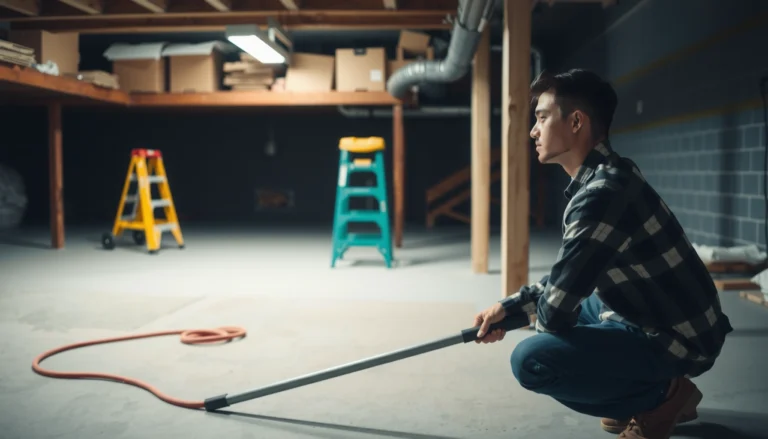
– Remove debris, dust, and any protrusions.
Sweep thoroughly, then vacuum. Feel for:– wood splinters or nail heads
– concrete ridges or sharp trowel marks
– old adhesive crumbs or paint runs
– high spots that “lift” the plastic in wave-like patterns
– Check flatness and handle leveling per manufacturer guidance.
If your subfloor is out of tolerance, the vapor barrier can’t fix it. For laminate, unevenness often shows up as:
– clicking in the joints
– gapping
– premature wear at edges and locking mechanisms
– Address moisture or leveling concerns first—before the barrier goes down.
If you already have visible dampness, odor, or known moisture issues (especially over concrete), the correct sequence matters: fix the moisture source and follow the flooring manufacturer’s moisture requirements before you “seal over” the problem.
– Protect the barrier from damage during prep.
Once the vapor barrier is down, you’ll walk on it. Use careful foot placement, and avoid dragging tools across the plastic.
Practical note: I generally treat vapor barrier prep like “final staging for a seal.” If the subfloor isn’t ready to be sealed, the barrier becomes a thin membrane over an imperfect surface—more prone to wrinkles, punctures, and seam failure.
Lay the vapor barrier correctly (direction, overlap, and spacing)
Correct placement is what makes the barrier continuous. Your goal is a flat, overlapping moisture barrier layer that prevents vapor pathways at sheet joints without interfering with laminate expansion requirements.
Overlapping seams are necessary because moisture can migrate through joint lines if the barrier sheet edges do not overlap and seal.
Keeping the barrier flat prevents localized support issues that can show up as joint stress once laminate planks lock together.
When laying the sheets:
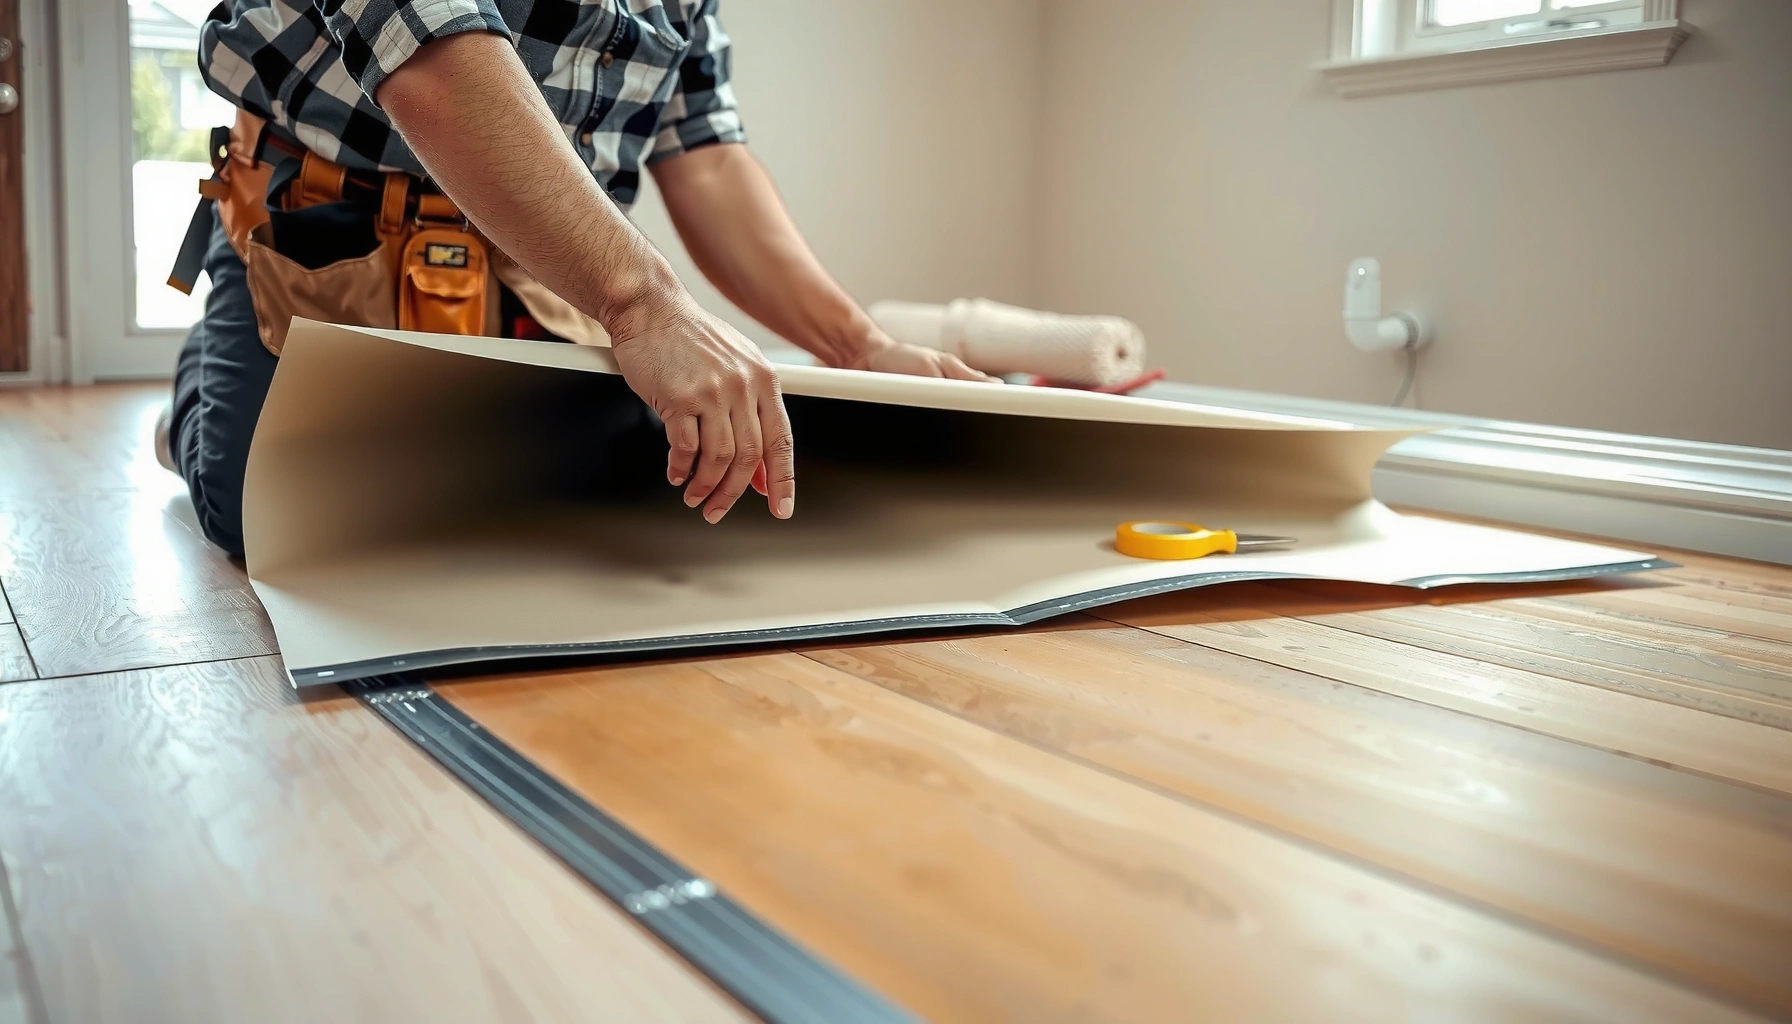
– Roll out the barrier across the room so it lies flat.
Start with the side that’s easiest to stage. If a sheet wants to spring up, you can:
– let it acclimate briefly (if it’s been stored cold)
– reposition before tape is applied
– avoid stretching the plastic to “make it fit”
– Plan sheet layout to minimize seams.
Fewer seams can mean fewer opportunities for gaps. Still, overlap is required wherever two sheet edges meet.
– Overlap seams by the amount your flooring/manufacturer guidance specifies.
Many installations use a consistent overlap width (often several inches), but the exact value depends on the vapor barrier system and what your laminate manufacturer allows. Follow the instructions that apply to your specific barrier and flooring build-up.
– Extend the barrier to the recommended height at walls (where instructed).
The perimeter is a common bypass route. If your system calls for the barrier to turn up the wall, do it cleanly and consistently.
– Do not treat the barrier like underlayment.
The vapor barrier is a moisture boundary layer. It’s not designed to cushion. If you need an underlayment for acoustic performance or plank comfort, use the product layer specified by the laminate system.
Quick durability detail: polyethylene tears easily when it’s under tension. Try to cut and fit rather than “pulling it tight” to remove slack.
Seal seams and edges so moisture can’t migrate
A vapor barrier is only as good as its seams. Taping overlapping joints creates the continuity that reduces moisture migration through the floor system—without sealed seams, overlaps alone may still behave like tiny pathways.
Taping vapor barrier seams is a primary control measure because overlapping plastic without an adhesive seal can still leave microscopic gaps.
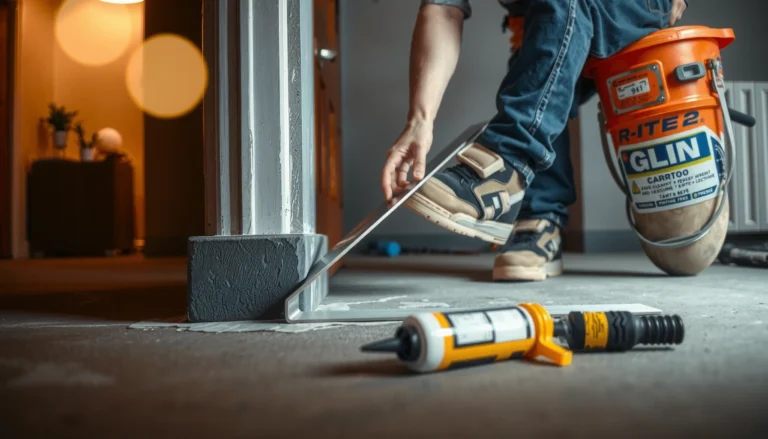
Around penetrations like pipes, the correct approach is to make neat cuts and seal per instructions instead of leaving loose openings.
Seam sealing best practices:
– Tape all overlapping seams with the appropriate barrier tape.
Work slowly so tape edges fully contact the plastic. Press firmly along the overlap line. The goal is no “lift” after taping.
– Check for gaps after taping.
Walk the seam line (carefully) and visually inspect:
– sections where tape didn’t fully bond
– wrinkles that opened a seam
– lifted overlap edges at corners
– Be deliberate around penetrations (pipes/columns).
Cut neatly, then seal as directed by:
– the vapor barrier/tape instructions
– the laminate manufacturer’s moisture barrier guidance
If you’re tempted to “fill the hole with whatever,” pause—unapproved sealants or foam can interfere with floating floor movement or create adhesion where you don’t want it.
– Handle edges cleanly at the perimeter.
Where the barrier meets walls, do not block the expansion gap. The vapor barrier should help manage moisture, but laminate still needs room to expand and contract.
– Avoid punctures during installation.
Once sealed, treat the barrier as a finished layer—no dragging tools across it, and avoid high-traffic foot traffic patterns if possible.
According to building envelope best practices for polyethylene vapor barriers, seam integrity and perimeter continuity are the key variables that determine whether the barrier performs as intended. [ADD: Source for building-envelope guidance on polyethylene vapor barrier installation quality]
Install laminate on top without trapping problems
After sealing, you can install the laminate—but the install still needs to respect float mechanics and expansion gaps. The most common “gotcha” at this stage is bridging the perimeter gap or adding incompatible layers that trap moisture.
A laminate floating floor relies on a controlled perimeter expansion gap; sealing or bridging that zone can create buckling or joint failure.
If your laminate system requires a specific underlayment order, follow it exactly to avoid moisture-trapping or excess cushioning that stresses locking joints.
Do this next:
– Keep the barrier from shifting.
Once seams are taped, proceed carefully so the plastic doesn’t slide under the underlayment and planks. If you taped perimeter edges, ensure they remain aligned.
– Install underlayment (if required) and then laminate—exactly per your laminate system.
Some laminate products allow a separate vapor barrier and require a distinct underlayment layer above it (for comfort/acoustics). Others specify an integrated system where adding layers is unnecessary or harmful.
– Maintain required expansion gaps at walls and fixed objects.
Don’t bridge the expansion gap with barrier material, tape, or caulk. If your barrier is turned up a wall, keep it out of the path where the flooring needs clearance.
– Respect transitions and thresholds.
At doorways and floor transitions, make sure the flooring can move and isn’t pinched by trim installation practices.
Moisture-trap warning: If you place two moisture-retarding layers with a trapped moisture film between them, that trapped moisture may not dry out readily. The direction and permissiveness of each layer matter, which is why the laminate manufacturer’s instructions are crucial.
What can go wrong (and how to avoid it)
Most laminate failures traced to moisture control aren’t caused by vapor barriers themselves—they’re caused by incorrect layering, poor seam sealing, or blocking movement. Here are the most frequent failure pathways and how to prevent them.
Doubling up moisture barriers can reduce drying potential, turning a manageable moisture condition into a longer-term problem for laminate assemblies.
Unsealed overlaps create vapor pathways at sheet joints, which undermines the entire moisture-control strategy under a floating floor.
Common issues to avoid:
– Using the wrong layer / double-barring
– Some laminate systems specify no separate barrier if an attached underlayment already provides the required moisture control.
– If you double up without confirmation, you may trap moisture in the assembly.
– Skipping seam tape
– Overlapped plastic without sealed seams can still allow vapor movement.
– Tape is the continuity mechanism—use tape compatible with the barrier and approved by the installation instructions.
– Wrinkles and poor flatness
– Wrinkles can become movement points under planks.
– That movement can stress click-lock joints, leading to gapping or clicking sounds during normal foot traffic.
– Confusing subfloor types
– Concrete and wood subfloors behave differently when it comes to moisture migration and drying.
– Follow manufacturer direction for your substrate rather than applying the same setup everywhere.
– Blocking expansion gaps
– If you tape or seal in a way that interferes with floating movement, the floor can buckle or separate at seams.
To help you think about a “barrier thickness tradeoff” that installers often discuss, here’s a quick reference of common polyethylene thickness levels and how installers typically rate moisture-blocking capability (higher thickness generally offers more mechanical durability during installation).
Common Polyethylene Vapor Barrier Thicknesses (Conversions & Install Durability)
| # | Polyethylene Thickness | Equivalent (mm) | Install Durability Trend | Moisture Blocking Confidence |
|---|---|---|---|---|
| 1 | 3-mil (0.003 in) | 0.0762 | Lower (more prone to punctures) | ★★☆☆☆ |
| 2 | 4-mil (0.004 in) | 0.1016 | Low–moderate | ★★★☆☆ |
| 3 | 6-mil (0.006 in) | 0.1524 | Moderate (common choice) | ★★★★☆ |
| 4 | 8-mil (0.008 in) | 0.2032 | Moderate–high | ★★★★★ |
| 5 | 10-mil (0.010 in) | 0.2540 | High (more tear resistance) | ★★★★★ |
| 6 | 12-mil (0.012 in) | 0.3048 | High | ★★★★★ |
| 7 | 15-mil (0.015 in) | 0.3810 | Very high | ★★★★★ |
Verdict / tip
If your laminate instructions require (or recommend) a separate vapor barrier, install it with taped overlaps and a flat lay—those two details most strongly influence whether moisture control works as intended. The downside is that mistakes (like doubling up with an attached underlayment or sealing incorrectly around expansion gaps) can create moisture-trapping conditions or interfere with float movement.
The best-performing barrier is the one your laminate manufacturer actually permits for your specific assembly and subfloor type.
Flatness and seam tape are the practical “make-or-break” steps that installers can control on-site.
Skip or pause and verify guidance if your flooring has an attached underlayment, if you’re unsure about your subfloor moisture conditions, or if your manufacturer specifies a different barrier type/overlap method.
Pros/cons snapshot (decision clarity):
| Choice | Pros | Cons / Risks |
|---|---|---|
| Add separate vapor barrier (allowed by manual) | Better seam-controlled moisture management if installed correctly | Can conflict with attached pad systems if layering isn’t permitted |
| Rely only on attached underlayment (if manual allows) | Cleaner assembly; fewer layers to seal correctly | Not enough if the manual requires additional moisture protection for your substrate |
| Skip seam tape | Faster install | Overlaps can still leak; increased moisture pathways |
| Seal perimeter in a way that blocks expansion | Can reduce moisture bypass at edges | Can prevent needed floor movement and lead to buckling/gapping |
Quick checklist (scan before you roll)
– [ ] Confirm whether your laminate has an attached vapor barrier/underlayment
– [ ] Subfloor is clean, smooth, and flat
– [ ] Vapor barrier is laid flat with correct orientation
– [ ] Seams overlap by the required amount
– [ ] All seams taped (no gaps)
– [ ] Barrier handled correctly at walls/edges and around penetrations
– [ ] Expansion gaps left unobstructed for floating floor movement
FAQ
Do I need a vapor barrier under laminate if it has an attached pad?
Often you don’t—but it depends on the specific laminate model and its instructions. Check the manufacturer guidance for whether they allow skipping a separate vapor barrier.
Should the vapor barrier go up the wall?
Sometimes yes, based on the flooring and barrier instructions. Follow the required height/edge treatment so moisture can’t bypass the barrier at the perimeter.
What if my vapor barrier gets wrinkled before the planks go down?
Try to keep it flat during placement; wrinkles can create uneven support. If it’s significantly wrinkled or bunched, adjust/re-lay before installation rather than forcing laminate over it.
Can I tape the seams with any tape?
Use seam tape recommended for vapor barriers (or specifically approved by your flooring/underlayment instructions). Regular household tape may not hold up or may not create a reliable vapor seal.
What’s the most common mistake during vapor barrier installation?
Failing to tape seams properly and leaving gaps at overlaps is one of the most common issues, because it allows moisture to travel through the joints.
Sources
– [ADD: manufacturer installation instructions/spec sheet for your specific laminate flooring model, including underlayment/vapor barrier requirements]
– [ADD: vapor barrier manufacturer guidance on recommended overlap and seam-taping method]
– [ADD: applicable building science guidance on polyethylene vapor barrier installation/overlap (e.g., from an official code commentary or building envelope organization), if you use one in your final article]
A correctly installed vapor barrier is less about “covering the floor” and more about creating a continuous, sealed boundary while still allowing the laminate to float properly. If you follow your laminate manufacturer’s layering rules, keep the plastic flat, and tape seams so there are no open pathways, you’ll reduce moisture risk and help prevent premature laminate failures.
Frequently Asked Questions
What vapor barrier should I use under laminate flooring?
For most laminate installations, use a 6-mil polyethylene (plastic) vapor barrier or a manufacturer-recommended underlayment with an integrated moisture barrier. Look for overlapping seams and a clear “vapor barrier” rating; many products include a specific coverage guideline in square feet. If your subfloor is concrete, a plastic sheet is commonly recommended to help prevent moisture-related swelling and cupping.
How do I install a vapor barrier under laminate floors step-by-step?
Start by cleaning the subfloor so it’s dry and smooth, then check for existing moisture issues. Roll out the vapor barrier with the smooth side up, overlap seams by about 6–8 inches, and tape the overlaps with vapor-barrier tape to seal gaps. Trim the plastic around doorways and edges, run it up against the wall slightly if needed, and then install your laminate underlayment (if required) and laminate planks according to the flooring instructions.
Why is a vapor barrier important under laminate on concrete?
Concrete can release moisture vapor that travels upward and can damage laminate floors, causing swelling, buckling, or joint separation. A properly installed vapor barrier under laminate reduces moisture transmission, helping stabilize the floor over time. This is especially important in basements, ground-level rooms, or areas with seasonal humidity swings.
What’s the best way to overlap seams and seal edges for a vapor barrier?
Overlap vapor barrier seams by 6–8 inches and tape every seam so moisture can’t pass through the joints. Make sure the plastic lies flat with no wrinkles, because trapped air pockets can create uneven support points. Along perimeter edges, seal or tuck the barrier as directed by the underlayment plan, then leave the required expansion gap so the laminate can float without being constrained.
Which underlayment is best to pair with a vapor barrier for laminate flooring?
If you use a standalone plastic vapor barrier, choose a separate underlayment that matches your laminate’s needs for cushioning and sound reduction while still allowing moisture protection. If your laminate has an attached underlayment with a built-in vapor layer, you may not need additional plastic—verify the manufacturer’s specifications before adding more materials. When in doubt, follow the flooring manufacturer’s guidance to avoid double-layer underlayments that can reduce performance or void warranties.
📅 Last Updated: October 07, 2026 | Topic: How to install a vapor barrier under laminate floors? | Content verified for accuracy and freshness.
References
- Google Scholar Google Scholar
https://scholar.google.com/scholar?q=vapor+barrier+under+laminate+floor+installation - Google Scholar Google Scholar
https://scholar.google.com/scholar?q=moisture+barrier+under+laminate+floor+concrete+slab - Google Scholar Google Scholar
https://scholar.google.com/scholar?q=laminate+floor+underlayment+vapor+barrier+humidity+guidelines - Vapor barrier
https://en.wikipedia.org/wiki/Vapor_barrier - https://en.wikipedia.org/wiki/Laminate_flooring
- https://www.epa.gov/indoor-air-quality-iaq/moisture-and-mold
- https://www.energy.gov/energysaver/crawlspace-ventilation-and-vapor-barriers
- https://www.cdc.gov/mold/default.htm
- https://pubmed.ncbi.nlm.nih.gov/
- Google Scholar Google Scholar
https://scholar.google.com/scholar?q=How+to+install+a+vapor+barrier+under+laminate+floors?