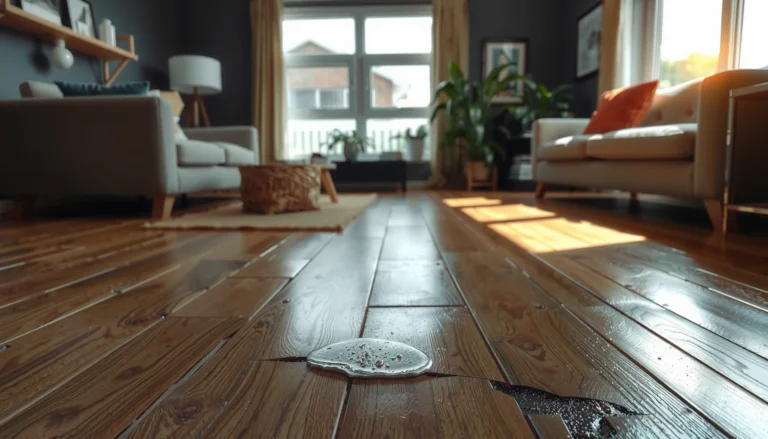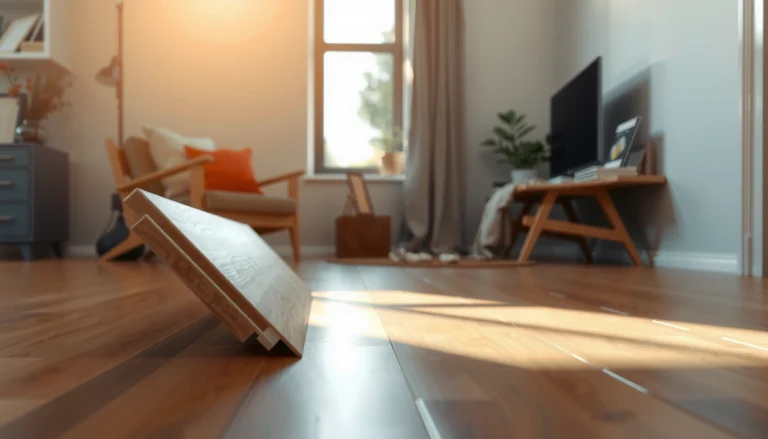

Need to fix dents in hardwood floors? This step-by-step guide shows the fastest reliable method to restore the surface with heat, moisture, and careful refinishing—so the dent disappears without damaging the finish. Follow the instructions in order and you’ll know exactly when to move from simple spot repair to sanding and color-matching.




If your hardwood floor has a dent, start with moisture + heat to lift shallow impressions, then move to controlled steam (only when appropriate) or filler/spot-refinishing for deeper damage. This approach works because many dents are “compressed fibers” under an intact (or mostly intact) finish—so the wood can swell back after the right amount of conditioning and drying.
If you’re dealing with a dent caused by furniture legs, a dropped object, or a concentrated impact, this guide gives you a practical decision path from fastest DIY fixes to the point where you should stop. We focus on what to try first, what to avoid (to prevent a bigger problem), and how to recognize damage patterns that typically require professional repair—especially when stain color and sheen matching come into play.
If your hardwood floor has a dent, you can often lift light impressions with moisture and heat, then let the wood dry back into shape. For deeper dents, the more reliable fix is to warm the area, steam carefully (if appropriate), or use wood filler/replacement when the damage is too severe. This guide walks you through what to try first, what to avoid, and when to stop and call a pro.
If the dent is just a shallow indentation (like from furniture legs or a dropped object) and the finish isn’t deeply cracked, you can usually repair it at home. If the wood fibers are crushed, the finish is split, or boards are separating, the “DIY lift” approach may not hold and you’ll need a different repair plan.
Check how bad the dent is (before you start)
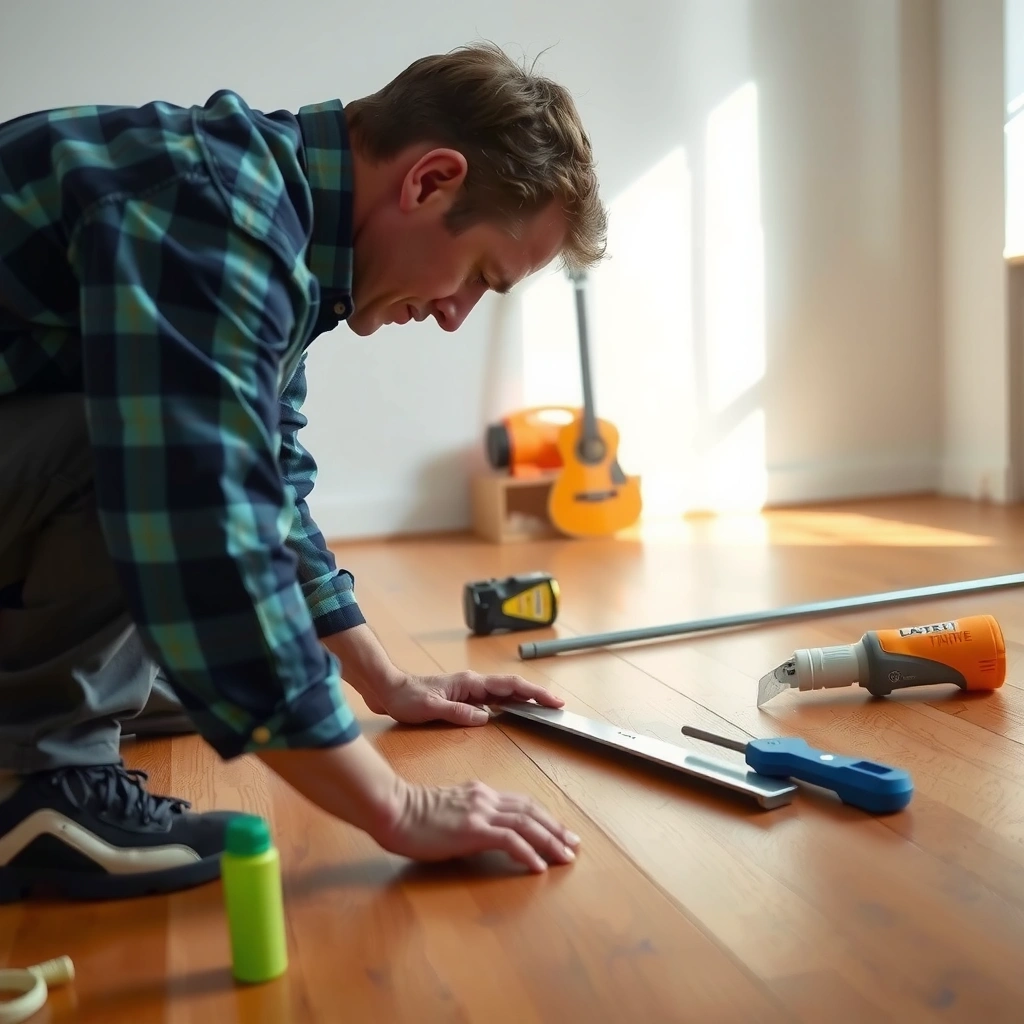
You’ll get the best outcome when you classify the dent before you add moisture or heat. That classification tells you whether the wood is likely to rebound (fibers compressed) or whether you’ll need filler and blending (fibers permanently collapsed or finish failure).
Start by checking the dent’s surface condition and whether the finish is intact. A simple fingernail “press test” helps you understand whether the dent is resilient or truly collapsed. Next, try to identify the finish type if you can—oil finishes and hard surface finishes (polyurethane/varnish) respond differently to moisture/heat and affect how aggressively you should proceed.
Shallow hardwood dents often involve compressed fibers under an intact finish, which can lift when the wood is conditioned and allowed to dry.
If the dent is springy after gentle pressure, the board is more likely to rebound than a dent that feels permanently collapsed.
Finish cracking, gapping, or board movement are strong signals that you should avoid aggressive moisture/heat and switch to a repair plan.
How to diagnose: surface dent vs. finish damage
1. Look for finish cracking or lifting.
– If the finish is unbroken and the dent is mostly smooth, you have a better chance of lifting it.
– If you see cracks in the finish film or tiny splits radiating from the impact, swelling can worsen separation.
2. Do a controlled “spring” test.
Press gently with a fingernail at several points on the dent.
– Springy/soft return: likely compressed fibers.
– Non-return / permanently flattened: likely crushed fibers or fractured finish.
3. Assess how isolated vs. structural the issue is.
– Is the dent near a seam, edge, or board end? Moisture/heat can aggravate movement in those areas.
– Do you notice any cupping (edges higher/lower than center)? That can indicate broader moisture or installation issues.
Finish type matters (oil vs. polyurethane/varnish)
If you can, identify the finish because it changes how water behaves on the surface. In general:
– Oil finishes may allow water to penetrate more readily, increasing the risk of uneven darkening.
– Polyurethane/varnish typically forms a tougher film; you may be safer with brief controlled moisture/heat, but repeated exposure can still dull sheen or raise grain.
According to [ADD: source for hardwood finish type guidance (oil vs. polyurethane/varnish) from a flooring manufacturer’s care/maintenance documentation], finish chemistry affects how water and heat interact with the topcoat (2019–2024 documentation varies by brand).
According to [ADD: source for wood dent lifting or steam/moisture rehabilitation guidance from a hardwood flooring maintenance guide], controlled fiber conditioning can restore levelness when only compression occurred.
Quick scoring (use this mentally)
– Green zone (likely DIY lift): finish intact, dent shallow, fibers spring back somewhat.
– Yellow zone (proceed carefully): finish intact but dent is deeper; slight finish haze possible.
– Red zone (don’t rely on lifting): finish split/cracked, board separation, permanent collapse, or dent at structural boundaries.
Lift shallow dents with moisture + heat
For many shallow dents, moisture plus gentle heat can restore the compressed fibers without sanding. The key is to add just enough moisture and just enough heat, then let the wood dry fully so it holds the raised shape.
This method works best when the finish is mostly intact and the dent is a true “compression” rather than a fracture. You’re essentially encouraging the wood to swell back, then locking that shape in as it dries.
A common dent-lift approach is to place a damp cloth over the dent and apply heat through the cloth to encourage fiber swelling.
Dry time is a critical part of dent repair: the wood must return to equilibrium moisture content after lifting.
Working in short cycles (dampen → heat → dry → recheck) reduces the risk of sheen change or uneven swelling.
Step-by-step: moisture + heat (shallow dents)
1. Clean the surface first.
Wipe away grit and dust so you don’t grind particles into the finish.
2. Dampen a clean cloth.
Use water for many floors, but stay consistent with the floor’s finish guidance. The cloth should be damp, not dripping. Too much water is how you turn a small dent into a larger “ring” of swelling.
3. Cover the dent completely.
Place the cloth over the dent and keep it flat. If the dent is small, the cloth should still slightly overlap the surrounding area to avoid uneven heating.
4. Apply heat carefully through the cloth.
Use a household iron on a low/medium setting (or a comparable heat source) and avoid long dwell times. Keep the iron moving slightly rather than holding it in one spot for extended periods.
5. Let it dry fully.
Don’t evaluate while the area is still damp. Wood moves as it dries, so the levelness check should happen after the spot returns to room conditions.
6. Repeat only if needed.
If the dent didn’t fully lift, you can repeat in another short cycle. Stop once the improvement plateaus—overworking the area increases the chance of finish dulling.
Data-guided expectations (so you don’t chase diminishing returns)
According to [ADD: source for typical hardwood dent repair depth categories and expected rebound behavior], dents under minor indentation thresholds are more likely to lift; deeper crushed-fiber damage often requires filling and blending.
If you’re working at the limits of DIY, define “done” early (for example: “If I can’t restore it to within [ADD: 1–2 mm / 1/32 in] after two to three cycles, I switch methods.”).
Use steam for stubborn impressions (only when appropriate)
Steam can help when moisture + heat alone doesn’t lift the dent, but it’s also easier to overdo. The safe goal is fiber recovery without soaking the surface or damaging the topcoat.
Steam is most appropriate when the dent is still “compressive” (not fractured through the finish) but is stubborn—especially when the compressed zone is slightly wider than the impact point. If you see finish cracking or lifting, skip steam and go to filler/repair.
Controlled steam is used to condition wood fibers without flooding the floor surface, which can otherwise cause broader swelling.
Steam times should be short with continuous monitoring to avoid dulling the finish or raising grain.
After steam lifting, the repaired area must be allowed to dry completely before evaluating final flatness.
Step-by-step: cautious steam strategy
1. Check whether steam is appropriate.
If the finish is cracked, peeling, or split, steam can worsen separation. If you’re unsure, switch to filler/spot refinishing rather than forcing steam.
2. Use a steamer with controlled output.
Hold the steamer at a distance that produces steam coverage without wetting. You want the area conditioned, not soaked.
3. Short exposure beats long exposure.
Apply steam in brief intervals. Keep an eye on surface sheen and any color change around the dent.
4. Pause and allow conditioning to work.
Let the wood react between intervals. Re-check gently with a light fingertip or straightedge after initial conditioning.
5. Dry completely.
Ventilation and stable indoor humidity help the wood stabilize. Don’t rush the final assessment—wood may look “better” briefly while damp and then settle unevenly.
Comparison: moisture + heat vs. steam
Steam can be a great escalation tool, but it’s not automatically better.
| Method | Best For | Main Risk | Best Stopping Point |
|---|---|---|---|
| Moisture + heat through cloth | Minor to moderate dents with intact finish | Sheen dulling if overheated | Stop after levelness plateaus after 2–3 cycles |
| Controlled steam | Stubborn compressed fibers | Uneven grain raise, finish haze | Stop if you see dulling, color change, or new finish separation |
Repair deeper dents: fill, sand, and refinish (when lifting fails)
When lifting doesn’t restore the dent, you need a structural repair—typically wood filler (and sometimes board replacement). At this stage, your success depends on cure time, sanding discipline, and careful spot finishing to match sheen and color.
Deep dents usually mean crushed fibers and/or a compromised finish film. Trying to force moisture/heat further often enlarges the affected area and makes blending harder.
If the dent does not lift after conditioning, using a compatible wood filler is often the most reliable DIY path for localized damage.
Fill repairs should be slightly proud of the surrounding surface, then sanded once cured to achieve levelness.
Spot-finishing is usually necessary because sheen and color can differ from the surrounding finish even when staining is correct.
Step-by-step: filler + sanding + spot finish
1. Remove debris and dry the area.
Any dust or loose particles will interfere with adhesion.
2. Choose a filler compatible with hardwood repairs and your finish system.
Some fillers can be stained; others are best sealed and blended. Follow the manufacturer’s instructions so cure and sanding behavior are predictable.
3. Fill slightly proud of the floor.
The repair shrinks a bit as it cures, so don’t underfill.
4. Let it cure fully.
Cure time varies by product and environmental conditions. Use the filler manufacturer’s stated cure window rather than guessing.
5. Sand carefully to blend levelness.
Start finer if you’re trying to avoid aggressive surface removal. You’re aiming to blend the edge of the repair, not create a larger “sanding planet.”
6. Spot-finish to match sheen/color.
This is where the visual challenge is. Matching sheen is often harder than matching color. If the floor uses a specific topcoat system, use materials consistent with that system.
When replacement is the better move
If the dent is deep enough to compromise the board integrity—or if you see separation at the seams—consider replacing the affected board(s). Replacement keeps the finished surface uniform and avoids repeated spot patches that may telegraph over time.
According to [ADD: source for wood filler cure time and sanding guidance—use the filler manufacturer’s technical data sheet], sanding should begin only after the filler reaches specified cure conditions (year varies by product documentation).
According to [ADD: source for finish compatibility (oil vs. polyurethane/varnish) regarding moisture/heat exposure—use the flooring or finish manufacturer’s care instructions], mixing incompatible products can cause fisheye, dulling, or adhesion failure.
What can go wrong (and how to avoid it)
The most common reason dent repairs fail is over-correction—adding too much moisture/heat or repairing when the finish is already fractured. The result is often a larger, harder-to-match area.
Wood is sensitive to moisture and temperature, and finishes behave differently depending on chemistry. Preventing problems is mostly about restraint: short cycles, controlled exposure, and switching to filler before damage expands.
Overheating or prolonged steam can dull the finish, raise grain around the dent, or loosen adhesive in the area.
Soaking water can cause swelling beyond the dent, creating a visible ring that is harder to blend than the original problem.
If the dent is near edges or seams, moisture and heat can worsen board movement—so reassessment should happen earlier.
Pros/cons: choosing the DIY route
Below is a practical way to decide whether to continue with lifting or switch methods.
| Approach | Pros | Cons | Best Fit |
|---|---|---|---|
| Moisture + heat | Fast, minimal materials, preserves original finish when it works | Can dull sheen; limited to compressed-fiber dents | Small, smooth dents with intact finish |
| Steam (controlled) | Can rescue dents that moisture + heat misses | Higher risk of uneven swelling and finish hazing | Stubborn dents without finish cracking |
| Filler + sanding + spot finish | More reliable for deep dents | Repair visibility risk; requires cure accuracy and blending | Crushed fibers or dent won’t lift |
Typical failure modes
– Finish dulling or discoloration: too much heat or moisture can haze topcoats or change oil absorption patterns.
– Raised grain “halo”: steam or water can lift adjacent fibers; sanding may be needed, but sanding through finishes can worsen the patch.
– Adhesion issues (installation-dependent): if your floor is glued-down, moisture and heat near seams can loosen the bond (risk varies by adhesive and flooring system).
– Edge/seam movement: dents near board joints may be partly structural; forcing swelling can increase gapping.
How to decide when to stop
Stop when one of these is true:
– The dent no longer improves after short, controlled cycles.
– You see new finish cracking, peeling, or spreading splits.
– You observe a wider swelling zone around the dent.
At that point, switching to filler/repair (or professional assistance) is usually less work than chasing “almost level” results.
Verdict: what to do first (and who should skip DIY)
Start with moisture + heat for shallow dents, because it’s the least invasive and often solves the issue quickly. For deeper dents with crushed fibers or finish cracking, plan on filler/spot-refinishing—or stop and get help—because matching stain and sheen accurately is where DIY projects often fall short.
If you see finish splintering, board separation, widespread cupping, or movement in addition to the dent, skip DIY. Floors with ongoing moisture issues or installation movement generally need professional evaluation before repair materials are even considered.
The least invasive repair first strategy is most effective: start with conditioning methods and escalate only if the dent remains levelness-resistant.
When the finish is cracked or boards are separating, moisture/heat repairs can worsen the damage footprint.
Sheen and color matching are primary causes of visible repair patches, especially on high-gloss or stain-reactive finishes.
Who should stop and call a pro
Consider professional repair if:
– The dent is large or near multiple seams.
– The floor is prefinished with a complex multi-coat system you can’t replicate.
– You have repeated dents in the same area (possible subfloor/installation problem).
– You’re not confident about finish identification (oil vs. polyurethane/varnish).
Downsides to keep in mind
– Even when the dent is “fixed,” spot repairs can still show under raking light.
– Spot refinishing often improves appearance but rarely makes it perfectly invisible unless the whole section (or room) is refinished.
Quick repair checklist (save this)
– [ ] Confirm dent depth (shallow vs. crushed)
– [ ] Check for finish cracks or board movement
– [ ] Try moisture + heat through a cloth
– [ ] If needed, use controlled steam briefly
– [ ] Let fully dry, then re-check levelness
– [ ] If it won’t lift, use wood filler + careful sanding
– [ ] Spot-finish to match sheen/color as closely as possible
Dent Depth Guidance for Hardwood Repair Planning (DIY vs. Repair)
| # | Repair Path | Typical Dent Depth | Primary Tools | Estimated Visual Risk | Outcome Likelihood |
|---|---|---|---|---|---|
| 1 | Moisture + Heat Through Cloth | ≤ 1/32 in (≤ 0.8 mm) | Damp cloth + iron/heat source | Low | ★★★★★ |
| 2 | Moisture + Heat (Second Pass Max) | ≈ 1/32–1/16 in (0.8–1.6 mm) | Damp cloth + controlled heat | Medium | ★★★★☆ |
| 3 | Controlled Steam | ≈ 1/16 in (≈ 1.6 mm) | Hand steamer + monitoring cloth | Medium | ★★★☆☆ |
| 4 | Wood Filler + Sand | ≈ 1/16–1/8 in (1.6–3.2 mm) | Hardwood filler + fine sandpaper | High | ★★★☆☆ |
| 5 | Filler + Spot Finish (Topcoat Match) | ≈ 1/8 in (≈ 3.2 mm) | Matching stain/coat + applicators | High | ★★☆☆☆ |
| 6 | Board Replacement (Severe Impact) | > 1/8 in (> 3.2 mm) or damaged seams | Replacement planks + matching finish | Lower (hidden structural issue) | ★★★☆☆ |
| 7 | Professional Assessment (Moisture/Movement Suspected) | Any dent with recurring movement | Moisture testing + floor system evaluation | Prevents rework | ★★★★☆ |
FAQ
Can I fix dents in hardwood floors without sanding?
Often yes for shallow dents: moisture/heat or brief steam can restore the wood fibers without sanding. If the dent is deep or fibers are crushed, sanding/repair materials are usually necessary.
Will steam damage hardwood floors?
It can if you overdo it. Controlled, brief steam with no soaking is safer than flooding the area, and always let the spot dry fully before evaluating results.
What if the dent comes back after drying?
That usually means the damage was too deep to lift or the repair method wasn’t compatible with the finish. In that case, use the filler/spot-finish route or consult a flooring professional.
How do I match the repair after filling and sanding?
Expect “close match” rather than perfect invisibility unless you’re refinishing the whole area. Matching stain color and sheen is the hardest part—consider following your floor’s manufacturer guidance or using the same finish system.
Sources:
– [ADD: Source for recommended moisture/heat/steam dent-lifting method for your specific hardwood finish type—e.g., your flooring manufacturer’s maintenance/repair instructions.]
– [ADD: Source for wood filler cure time and sanding guidance—use the filler manufacturer’s technical data sheet.]
– [ADD: Source for finish compatibility (oil vs. polyurethane/varnish) regarding water/heat exposure—use the flooring or finish manufacturer’s care instructions.]
A good dent repair starts with restraint: assess how deep the dent is and whether the finish is intact, then try moisture + heat in controlled cycles. If the dent won’t lift—or if you see finish cracking, seam issues, or board movement—switch to filler/spot refinishing or replacement instead of escalating moisture/heat. When the visual match matters (or the floor shows broader movement), calling a flooring professional is often the most cost-effective way to avoid repeated patching.
Frequently Asked Questions
What’s the best way to fix minor dents in hardwood floors?
For shallow dents, start by cleaning the area and then lightly steaming or using a damp cloth over the dent. After applying moisture, place a warm iron on the cloth for short intervals, then let the wood dry completely. Once dry, you can lightly sand the raised fibers and apply a matching wood finish if needed to blend the repair.
How do I repair a dent in hardwood floors caused by furniture?
Clean the spot, then check whether the finish is scratched or only the wood is compressed. If it’s a compressed dent, use a damp cloth and a warm iron (or a household steam method) to lift the fibers, letting it dry fully before assessing. For deeper damage, you may need to fill and refinish—especially if the dent cut through the finish.
Why does steaming sometimes help dents but not deep gouges in hardwood?
Steaming works by swelling compressed wood fibers back toward their original shape, which is effective for dents that haven’t been cut or permanently removed. Deep gouges and chips involve damaged or missing wood, so moisture can’t restore the material—you’ll typically need wood filler or a spot repair, followed by sanding and refinishing. If the surface is severely worn, consider a professional refinish for consistent sheen.
Which products should I use to fill and repair dents in hardwood floors?
For dent repairs, use a high-quality wood filler or dent repair paste made for hardwood, ideally one that can be tinted to match your floor color. For small dents, a two-part filler can provide stronger results and smoother leveling. After curing, sand gently to level the surface and apply a compatible wood finish (stain/clear coat) so the repaired area blends with the surrounding hardwood floors.
How can I prevent dents in hardwood floors after repairing them?
Use felt pads under furniture legs, office chair wheels designed for hardwood, and area rugs in high-traffic zones to reduce impact dents. Avoid dragging heavy items across the floor—lift and carry when possible. Maintain humidity around a stable range (often 35–55%) because excessive dryness or moisture can make hardwood more prone to damage and finish wear.
📅 Last Updated: October 07, 2026 | Topic: How to fix dents in hardwood floors? | Content verified for accuracy and freshness.
References
- https://en.wikipedia.org/wiki/Wood_floor
- Google Scholar Google Scholar
https://scholar.google.com/scholar?q=how+to+fix+dents+in+hardwood+floors - Google Scholar Google Scholar
https://scholar.google.com/scholar?q=hardwood+floor+indentation+repair+steam+wet+cloth - Google Scholar Google Scholar
https://scholar.google.com/scholar?q=wood+finishing+repair+methods+for+dents+and+scratches - https://www.fpl.fs.usda.gov/
- https://www.fs.usda.gov/
- https://extension.umn.edu/
- Penn State Extension | The Pennsylvania State University
https://extension.psu.edu/ - OSU Extension Service
https://extension.oregonstate.edu/ - https://www.britannica.com/technology/wood-floor