
If you need to seal commercial floors, the fastest path to a long-lasting finish is a proper prep-and-apply process: clean to remove contaminants, repair cracks, then choose a sealer matched to your floor type and traffic conditions. This guide lays out the exact steps that produce consistent coverage and shows the mistakes that cause peeling, hazing, or early wear. Follow the best practices for timing, temperature, and curing to lock in protection without costly rework.




Sealing commercial floors comes down to three things: thorough surface prep, selecting a sealer that matches the floor and chemicals/traffic it will face, and following the manufacturer’s cure/recoat schedule so the coating fully bonds and resists abrasion. If you treat prep as the main job and you keep traffic and moisture off the slab until the sealer reaches full cure, you can dramatically reduce peeling, hazing, staining, and premature wear.
Sealing is also not “one product fits all.” Concrete, terrazzo, and tile/grout all behave differently—especially regarding moisture movement, surface energy, and how the sealer interacts with existing coatings. In 2026, facilities increasingly expect easier maintenance and better appearance retention (even under carts, mops, and daily chemical cleaning), which makes a jobsite-ready, specification-driven approach essential.
This guide walks through a practical process used in commercial maintenance planning—plus the most common failure points you can avoid.
This is for facility managers, contractors, and maintenance teams sealing concrete, terrazzo, tile, or other commercial floors where you need stronger stain/chemical resistance and easier day-to-day cleaning. It’s especially relevant if the floor is exposed to heavy foot traffic, carts, or routine mopping, and you want a plan that reduces peeling, hazing, or premature wear.
Choose the right sealer for your floor and use
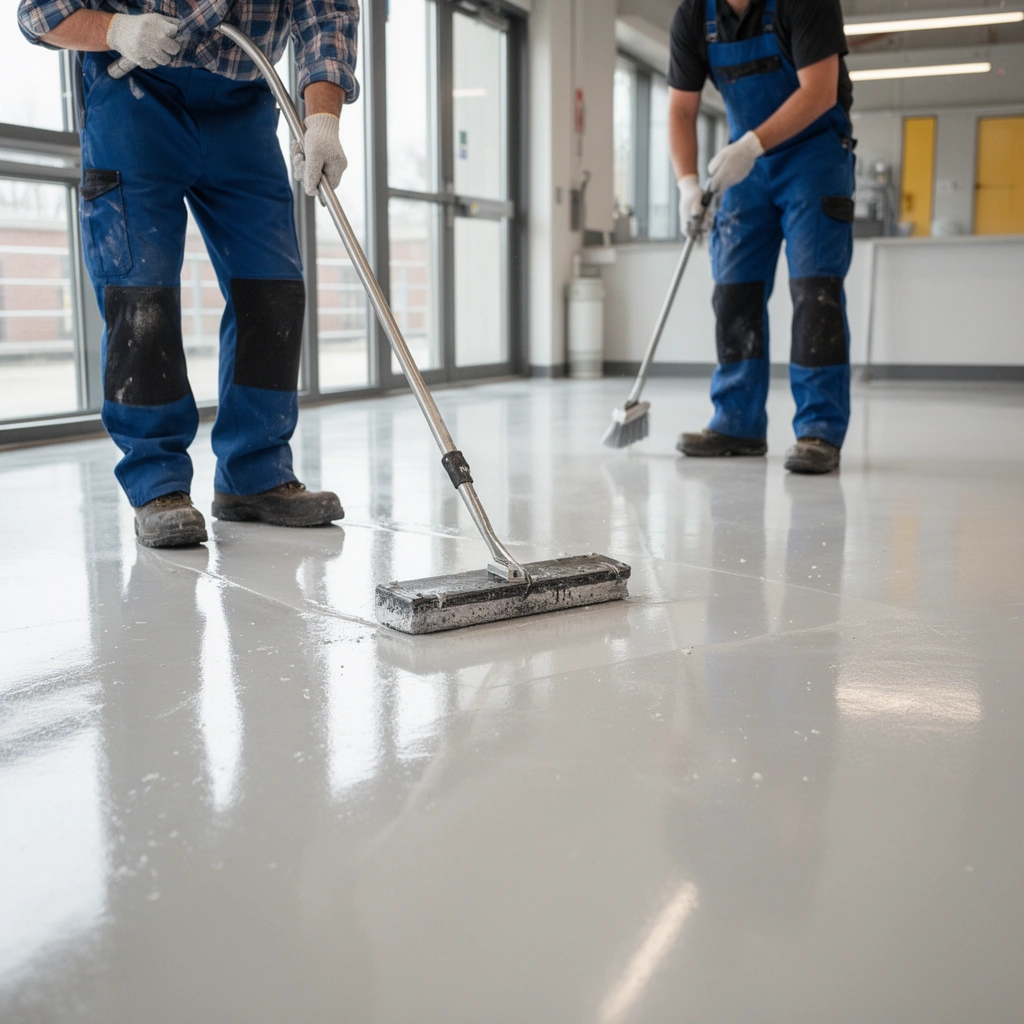
The best sealer choice is the one that matches the floor material and the protection target (stain blocking, chemical resistance, or abrasion resistance). Here’s why: bond performance and long-term appearance depend on chemistry compatibility and how the sealer is designed to work with that specific substrate.
“Matching sealer chemistry to the floor material is a primary predictor of whether the coating bonds and resists abrasion under maintenance cleaning.”
“Applying an incompatible sealer over an existing film-forming coating can create weak intercoat layers that fail as peeling or flaking.”
Start with identifying what you’re sealing:
– Concrete (including densified or hardened concrete): Often needs either penetrating silane/siloxane systems (for vapor-related and stain resistance) or film-forming urethanes/epoxies depending on traffic and chemical demand.
– Terrazzo: Requires attention to surface voids, cement binder exposure, and how the sealer handles fine aggregate abrasion.
– Tile and grout: The “floor” you’re really sealing is often the grout network plus any surface porosity at the edges of tile bodies. Film-forming coatings may behave differently than penetrating products depending on grout type and prior treatments.
– Previously sealed/coated floors: This step prevents compatibility surprises. Some systems require stripping or specific primers before new material will bond reliably.
Also align the sealer to the conditions:
– Traffic type: foot traffic vs. cart/wheel traffic changes abrasion stress.
– Chemical exposure: routine alkaline/neutral cleaners are different from strong acids, detergents, or disinfectants.
– Water exposure: wet mopping, spills, and cleaning cycles influence whitening/hazing risk and curing success.
Finally, check the current surface finish:
– Polished or densified concrete changes absorption and surface energy.
– Textured finishes affect coverage and can trap streaks if you overload product or use the wrong application method.
A quick comparison: common commercial sealer outcomes
Before you pick a product, plan for outcomes you can verify on day one (appearance, cure speed, and traction) and day thirty (cleanability and stain resistance).
| Sealer selection signals you can check during site review | |||
|---|---|---|---|
| Floor signal | What it implies | What to look for | Why it matters |
| High-polish concrete | Lower porosity and harder-to-bond surfaces | Need for profile/mechanical prep (per TDS) | Ensures mechanical interlock and adhesion |
| Grout that absorbs quickly | Uneven uptake and potential darkening | Multiple coats only if specs allow | Prevents patchy appearance and weak film |
| Visible residue layers | Chemical bond failure risk | Confirm full detergent removal + dry time | Contamination breaks adhesion |
Get the surface prep right (this is where most failures start)
The most reliable way to prevent sealing failures is to control surface prep—cleaning, profiling (if specified), and repairs—before you ever open the sealer pail. If the substrate is contaminated, wet, or damaged, the sealer can’t form a durable bond, even if the product is “the right type.”
“Most peeling and flaking starts with inadequate removal of oils, waxes, floor finish, or residues that block adhesion.”
“Repairing cracks and spalls before sealing prevents the sealer from locking in defects and reflecting failures through the coating.”
Follow these prep steps like a checklist, because commercial floors often have hidden obstacles:
1. Deep clean to remove contamination
– Use the correct detergent/degreaser for the residue you have: oils/grease, waxy floor finish, rubber marks, or chemical build-up.
– Thoroughly remove detergents and residues—then allow the floor to dry to the point specified by the sealer documentation.
– If there’s an unknown chemical residue, do more cleaning, not less. Sealer adhesion depends on what remains after you stop scrubbing.
2. Remove failing residues and loose coating
– If prior coatings are still present, they must be identified (film-forming vs. penetrating vs. topical wax) and handled per compatibility guidance.
– Do not assume “it looks clean” means “it’s bond-ready.”
3. Profile when the sealer system requires it
– Some systems rely on surface chemistry only; others require mechanical abrasion to create micro-profile for bonding.
– Profiling can be as simple as light mechanical abrasion or as involved as more aggressive surface preparation—use the sealer manufacturer’s specification.
4. Repair damage before sealing
– Cracks, spalls, and damaged joints should be repaired using compatible patch materials.
– The goal is not only appearance; it’s to stop movement and leakage pathways that undermine the coating.
Common documentation gaps to avoid
– Many teams skip the dry-time requirement after cleaning. Dry time is often where failures begin—especially in humid climates or winter storage conditions.
– Do not “improvise” profiling unless the TDS (technical data sheet) allows it. Wrong prep can reduce adhesion and increase fisheyes.
“Surface preparation specifications in a sealer TDS are not optional details; they define the adhesion mechanism the product is engineered to use.”
Test small areas before you commit
The safest move is to run a small-area compatibility and performance test before sealing the whole space. This step tells you whether you’ll get proper bonding, the intended sheen level, acceptable cure speed, and traction.
“A short compatibility test can prevent large-area darkening, fisheyes, peeling, or sticky residue that appears after cure.”
“Traction needs to be verified after sealing—especially where the floor is mopped wet or experiences wheel traffic.”
When you test, verify multiple outcomes after the product’s stated cure time:
– Bond/film integrity: Is there peeling at edges or after light abrasion?
– Appearance: Does the sealer haze, whiten, or darken unevenly?
– Texture and slip risk: If sheen increases, traction may drop—confirm with spot tests in entry zones.
– Recoat readiness: If your system requires primer or multiple coats, confirm that the surface state matches the recoat window.
Also, document your test location:
– Use an area representative of the whole floor (same finish, similar contamination level, comparable traffic exposure).
– If you see problems in one zone, don’t “force” the whole project—fix the cause (cleaning, profiling, compatibility, or product selection).
Real-world risk framing (with data you should confirm for your site)
According to a slip-resistance/traction testing approach commonly used in flooring safety programs, friction can change after surface treatments; confirm values for your product and floor finish using your chosen standard test method. [ADD: source for slip-resistance or coefficient of friction guidance] (Provide the exact standard and target threshold your facility requires.)
According to ASTM abrasion testing methodologies for coatings, abrasion resistance is highly dependent on system build and surface prep; you should follow the manufacturer’s system design and test procedures for comparable results. [ADD: source for ASTM coating abrasion test methodology] (Provide the relevant year or standard designation.)
According to manufacturer cure documentation, bonding depends on curing conditions (temperature/humidity/airflow), so schedule work to match the stated environmental requirements. [ADD: source for cure-condition impact from a manufacturer spec] (Provide TDS year/version.)
Apply the sealer correctly (tooling, timing, and coverage)
Proper application is what turns a good sealer and good prep into durable performance. Even with correct prep, uneven tooling, wrong timing, or missed recoat windows can create lap marks, soft cure, and early wear in high-traffic areas.
“Respecting recoat windows is critical because intercoat bonding is time-dependent and can weaken if you apply outside the specified range.”
“Environmental conditions during curing (temperature, humidity, airflow) directly affect whether the sealer achieves full hardness and chemical resistance.”
Use these application controls:
1. Use the specified tools and method
– Roller/brush/squeegee/sprayer choices depend on sealer chemistry and film thickness requirements.
– Follow the manufacturer’s coverage guidance so you don’t under-apply (weak protection) or over-apply (soft cure, hazing).
2. Maintain environmental conditions
– If the TDS calls for specific temperature/humidity or curing airflow, plan logistics around it.
– Avoid sealing when the space can’t hold stable conditions—especially in 2026 when many facilities run HVAC schedules tied to occupancy.
3. Apply evenly
– Streaks and lap marks typically come from uneven loading, poor edge management, or applying too slowly relative to pot life/flash time.
– Work in planned sections so you can maintain uniform wet-edge technique.
4. Respect cure and recoat windows
– Many projects fail because maintenance staff walk or move equipment onto the floor before full cure.
– Protect from water exposure as directed—some systems are more sensitive during early curing phases.
Application responsibility you can standardize
Facilities that get the best consistency often adopt a “system log”:
– floor ID / sealer lot number
– prep method completed (cleaner type, profiling, repairs)
– batch/mix details (for multi-component systems)
– temperature/humidity range
– start/end times for each coat
– cure-protection window before reopening
This also helps if you need warranty discussions later.
What can go wrong (and how to prevent it)
Commercial floor sealing fails for predictable reasons: contamination and moisture, incompatible systems, wrong cure conditions, and traction/finish choices that don’t fit the maintenance reality. If you plan for these failure modes up front, you can reduce rework and downtime.
“Peeling, flaking, and bubbling are strong indicators of contamination, moisture intrusion, or incompatibility with the existing coating.”
“Sticky cure and soft spots usually trace back to incorrect mixing, excessive thickness, or not following the cure schedule.”
Here are the most common issues and what to do instead:
1) Peeling, flaking, bubbling
Typical causes
– Contamination left in place (oils, wax, floor finish fragments)
– Moisture problems in the slab
– Applying an incompatible product over an existing coating
Prevention
– Confirm compatibility and remove incompatible layers when required by the TDS.
– Test small areas and visually inspect after cure.
– If moisture is suspected, don’t guess—request guidance before sealing.
2) Hazing/whitening or uneven sheen
Typical causes
– Excess humidity or cold during curing
– Incomplete drying after cleaning
– Uneven application thickness
Prevention
– Control environment and drying time per the sealer documentation.
– Apply within recommended coverage and avoid overloading.
3) Sticky or slow cure
Typical causes
– Incorrect mixing ratios (for multi-component systems)
– Excess film thickness
– Skipping cure schedule steps
– Applying too late between coats
Prevention
– Follow mixing procedures exactly.
– Maintain recoat windows.
– Use adequate airflow if the manufacturer requires it.
4) Slipperiness after sealing
Typical causes
– Too much sheen or the wrong finish level for the environment
– Lack of traction testing after curing
– Wet-cleaning surfaces that become slick
Prevention
– Choose a sealer designed for slip resistance when required.
– Test traction in entrances, corridors, and wet-cleaned zones.
5) Early wear at edges and high-use zones
Typical causes
– Uneven coverage at transitions, edges, drains, or door thresholds
– Abrasion from carts and wheel traffic
– Inconsistent application technique
Prevention
– Plan edge work and transitions as dedicated tasks.
– Consider product systems designed for heavy abrasion.
Pros/cons snapshot you can use in planning
- Film-forming sealers (often for strong abrasion/chemical protection)
- Pros: High surface durability, often strong chemical resistance.
- Cons: Can show peeling/hazing if substrate prep is weak; sheen can increase slipperiness.
- Penetrating sealers (often for stain blocking with less surface film)
- Pros: Reduced film wear patterns, often easier day-to-day cleaning.
- Cons: Not always ideal for heavy chemical exposure; still sensitive to prep and moisture conditions.
Verdict: a practical recommendation (plus who should skip it)
Sealing is usually a smart commercial maintenance step when you need stronger stain/chemical resistance and easier cleaning—but only if you treat prep as the main workstream and follow the product’s surface-prep and cure requirements exactly. If slab moisture is unknown, existing coatings can’t be identified, or the slab shows widespread structural cracking/spalling, pause and get guidance from a floor coating professional or the sealer manufacturer before sealing.
“If you can’t verify compatible surface conditions and you can’t control curing conditions, sealing is more likely to fail than to perform.”
Who should consider outsourcing or seeking professional guidance:
– You suspect slab moisture issues or you can’t confirm dryness/conditions.
– You inherited an unknown existing coating system.
– There are widespread structural problems (broad cracking, active spalling, settlement movement).
– You can’t realistically keep traffic and mopping off the floor until full cure.
Downsides to weigh:
– Even strong sealers can wear in high-abraded zones (doorways, loading areas).
– Some systems can change sheen and therefore traction, requiring additional slip-resistance planning.
– Reapplication schedules depend on traffic and chemical cleaners; you may still need maintenance cycles.
Visual summary: “most common failure modes” at a glance
Common Commercial Floor Sealing Failure Modes vs. Preventability (Field-Planning View)
| # | Failure mode | Primary driver | How preventable | Bond reliability impact |
|---|---|---|---|---|
| 1 | Peeling between coats | Missing recoat window | High (★5) | ★★★★☆ |
| 2 | Fisheyed or “orange peel” texture | Residual contamination | Medium-High (★4) | ★★★☆☆ |
| 3 | Sticky/soft cure patches | Overbuild or wrong mix | Medium (★3) | ★★☆☆☆ |
| 4 | Hazing/whitening | Cure conditions off-spec | Medium-High (★4) | ★★★☆☆ |
| 5 | Premature edge wear | Uneven coverage at transitions | High (★5) | ★★★☆☆ |
| 6 | Peeling over existing coating | Incompatible prior system | Low-Medium (★2) | ★☆☆☆☆ |
| 7 | Slip risk after sealing | Sheen/finish mismatch | Medium (★3) | ★★☆☆☆ |
Note: This table is a planning perspective, not a substitute for manufacturer-specific cure/adhesion data.
Quick checklist for sealing commercial floors
The fastest way to keep a sealing job on track is to follow a short checklist you can assign to separate roles (prep crew vs. sealing crew vs. QA). When you complete each item in order—and document it—you reduce the chances of peeling, hazing, soft cure, and traction surprises.
“If you can’t keep traffic off the floor for the full cure period, plan on delays or additional risk.”
“A small-area compatibility test is cheap insurance compared to replacing or redoing a full project section.”
– Identify floor type and check what’s already on it (existing sealer/coating)
– Deep clean to remove oils/grease/wax/floor finish residues
– Repair cracks/spalls and match prep method to the sealer instructions
– Do a small-area compatibility test (bond + appearance + cure result)
– Apply evenly using the recommended tools and follow recoat/cure windows
– Protect from traffic and water until fully cured
– Verify traction in entryways and wet-cleaning zones
FAQ
How long does it take to seal commercial floors?
It depends on the product system and the conditions during application. Use the manufacturer’s specified recoat interval and full cure time as your schedule; many failures come from foot/cabinet traffic before full cure. [ADD: example cure schedule from a specific manufacturer TDS, if you want this to be exact.]
Can I seal concrete that already has a previous sealer on it?
Sometimes, but not always. You’ll need to determine compatibility—some systems require stripping or mechanical prep to remove failing/film-forming layers before new sealer will bond.
What’s the biggest mistake when sealing commercial floors?
In most cases it’s inadequate surface preparation—leaving residues, skipping repairs, or ignoring required profiling—so the sealer can’t form a durable bond.
Do sealed floors need regular reapplication?
Many systems wear over time due to abrasion and chemistry. Plan reapplication based on observed performance (staining, scuffing, loss of cleanability) and the manufacturer’s maintenance guidance.
Will sealing affect slip resistance?
It can. Some sealers increase sheen and reduce traction. Always test traction in the areas that see the most foot traffic and wet cleaning, and choose a product designed for the required slip-resistance level when needed.
Sources
– [ADD: manufacturer instructions/spec sheets for the specific sealer system you plan to use, including surface preparation, compatibility/priming requirements, recoat windows, and cure times]
– [ADD: manufacturer guidance for any primer or cleaner used, especially directions on residue removal and drying requirements]
– [ADD: any official standard guidance related to slip resistance for sealed floors if you’re targeting a specific safety requirement]
– [ADD: ASTM or ANSI standard(s) your facility uses for adhesion/traction verification, if applicable—cite the exact designation]
Sealing commercial floors works best when you treat it like a controlled coating system project—not a quick “protective coat.” Choose the correct sealer for the floor type and exposure, invest heavily in cleaning/profiling/repairs, and follow the manufacturer’s cure and recoat windows so the coating bonds and performs under real traffic.
Frequently Asked Questions
What is the best way to prepare commercial floors before sealing?
Start by cleaning thoroughly to remove dust, oils, grease, curing compounds, and previous coatings using an appropriate commercial floor cleaner and degreaser. Repair cracks, spalls, and uneven areas with the correct patching compound, then mechanically abrade or grind the surface to improve adhesion for a commercial floor sealer. Afterward, confirm the floor is fully dry and meet any required moisture limits, since trapped moisture can cause whitening, bubbling, or early coating failure.
How do you choose the right commercial floor sealer for concrete, terrazzo, or tile?
The best sealer depends on the floor material, existing finish, and the level of traffic and chemicals the space sees. For concrete, penetrating sealers or film-forming sealers like epoxy or urethane may be suitable based on the desired look and stain resistance; for terrazzo and polished surfaces, a compatible clear sealer is often preferred. If the floor is exposed to heavy moisture, fats, oils, or cleaning chemicals, choose a commercial floor sealer with strong chemical resistance and confirm it’s designed for the specific substrate.
How do you apply a commercial floor sealer step-by-step without streaks or bubbles?
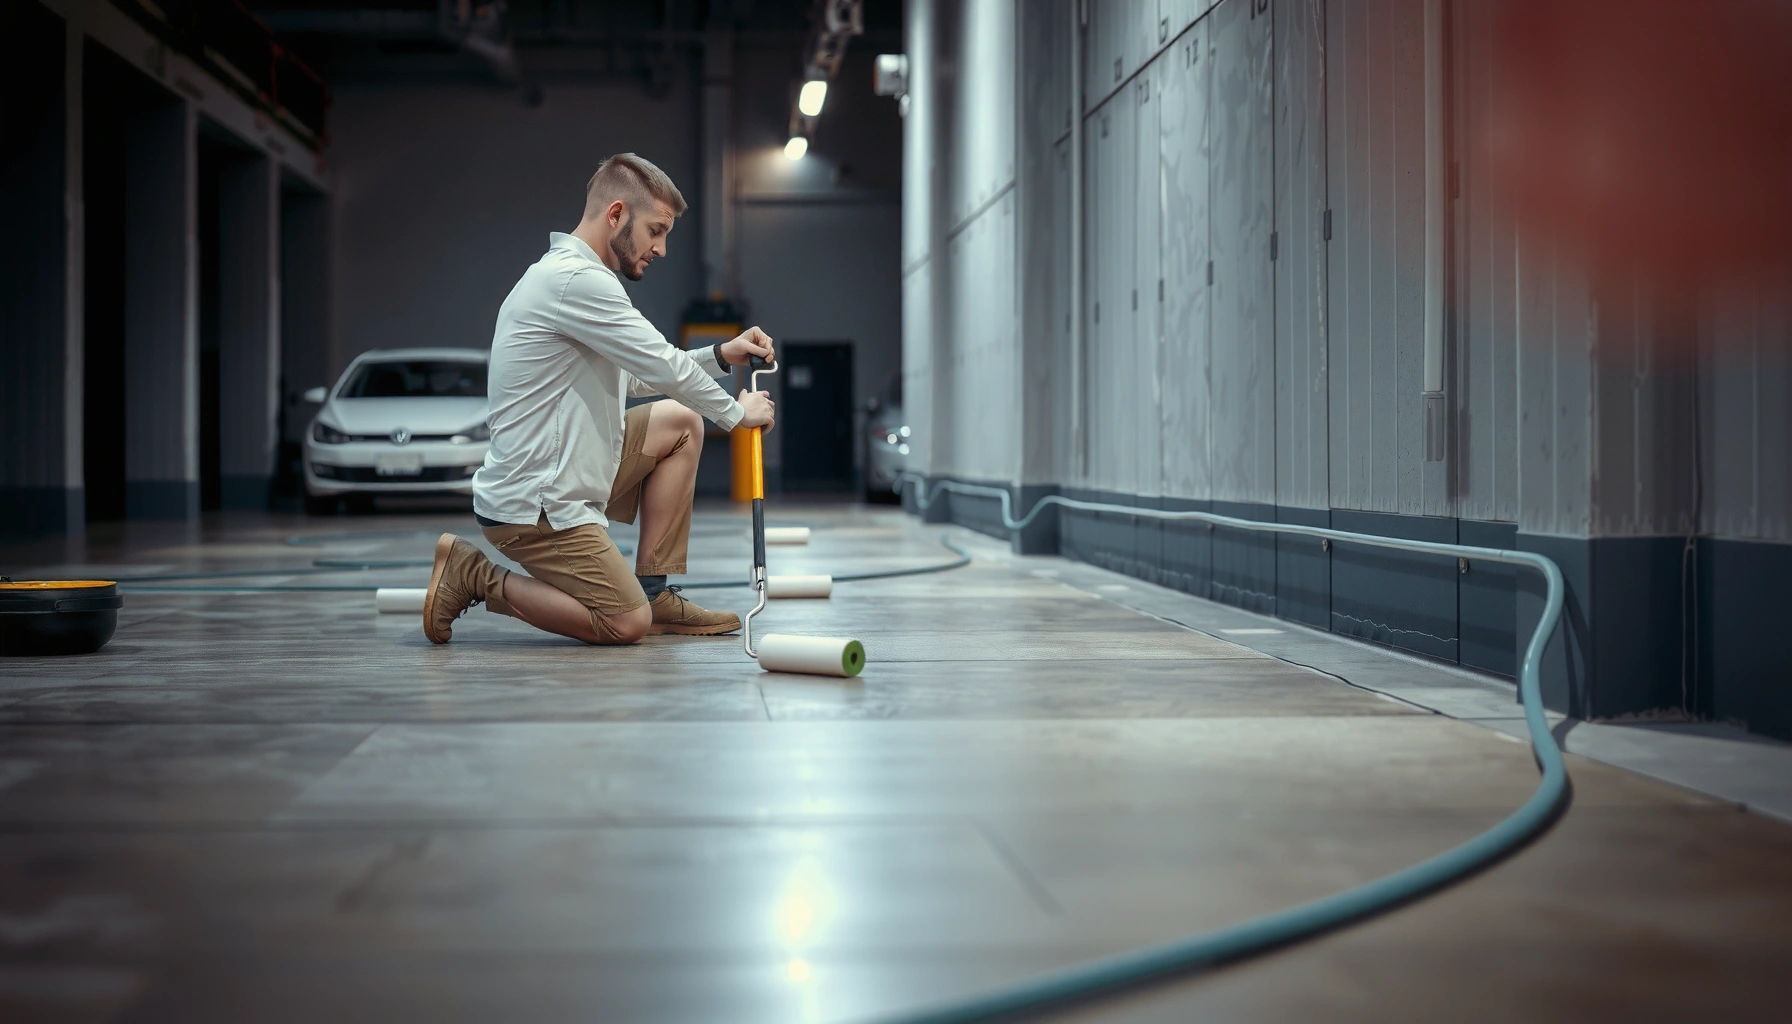
Apply sealer after prep is complete: mask edges, then use a roller, squeegee, or sprayer designed for your product, keeping a wet edge to prevent lap marks. Work in manageable sections, apply at the recommended coverage rate, and allow proper dwell/flash times between coats if you’re doing multiple layers. If bubbles appear, it’s often due to trapped air, applying too thick, or applying in high humidity—use the manufacturer’s temperature and humidity guidelines to prevent defects.
Why do commercial floors peel or fail after sealing, and how can you prevent it?
Peeling and early failure usually come from inadequate surface prep, applying over contaminants, or sealing when moisture or hydrostatic pressure is present. Using the wrong chemistry—such as applying a coating to an incompatible surface—can also cause adhesion failure. To prevent problems, follow the manufacturer’s prep requirements, use the correct primer when specified, and verify moisture conditions before applying a commercial floor sealer.
Which application method is best for sealing large commercial spaces: roller, sprayer, or squeegee?
Roller application is common for consistent coverage on many commercial floor sealers, especially when you want controlled thickness and fewer airborne overspray risks. Sprayers can be faster for large areas but require careful masking and consistent technique to avoid puddling and uneven sheen. Squeegees help with even distribution for some film-forming systems; regardless of method, always follow product-specific coverage rates, allow proper curing times, and plan for pedestrian or vehicle traffic restrictions.
📅 Last Updated: October 12, 2026 | Topic: How to seal commercial floors? | Content verified for accuracy and freshness.
References
- https://en.wikipedia.org/wiki/Concrete_sealant
- Google Scholar Google Scholar
https://scholar.google.com/scholar?q=how+to+seal+concrete+floors+commercial - Google Scholar Google Scholar
https://scholar.google.com/scholar?q=concrete+floor+sealer+surface+preparation - Google Scholar Google Scholar
https://scholar.google.com/scholar?q=epoxy+floor+coating+installation+concrete+moisture+testing - https://pubmed.ncbi.nlm.nih.gov/?term=concrete+sealer+surface+preparation
- https://pubmed.ncbi.nlm.nih.gov/?term=penetrating+concrete+sealer+mechanism+water+repellency
- https://www.sciencedirect.com/search?qs=concrete%20floor%20coating%20installation%20surface%20preparation
- https://www.sciencedirect.com/search?qs=epoxy%20floor%20coatings%20moisture%20vapor%20transmission
- https://extension.psu.edu/sealing-concrete
- https://www.cdc.gov/niosh/topics/silica/concrete.html