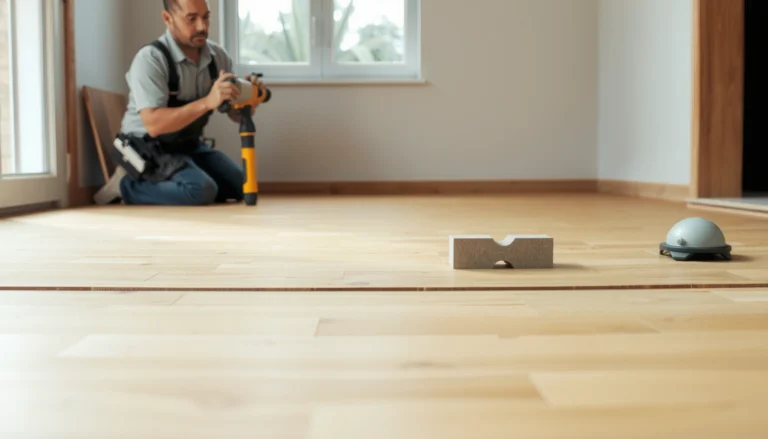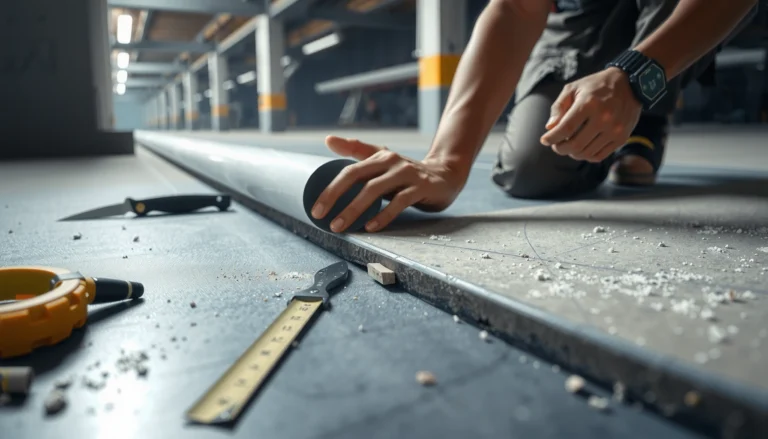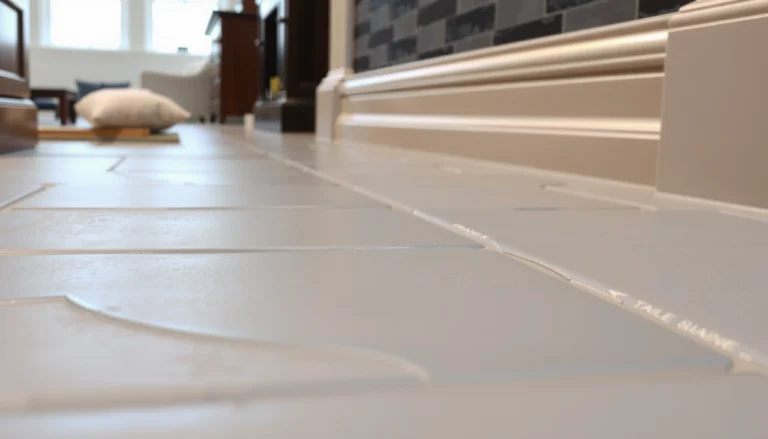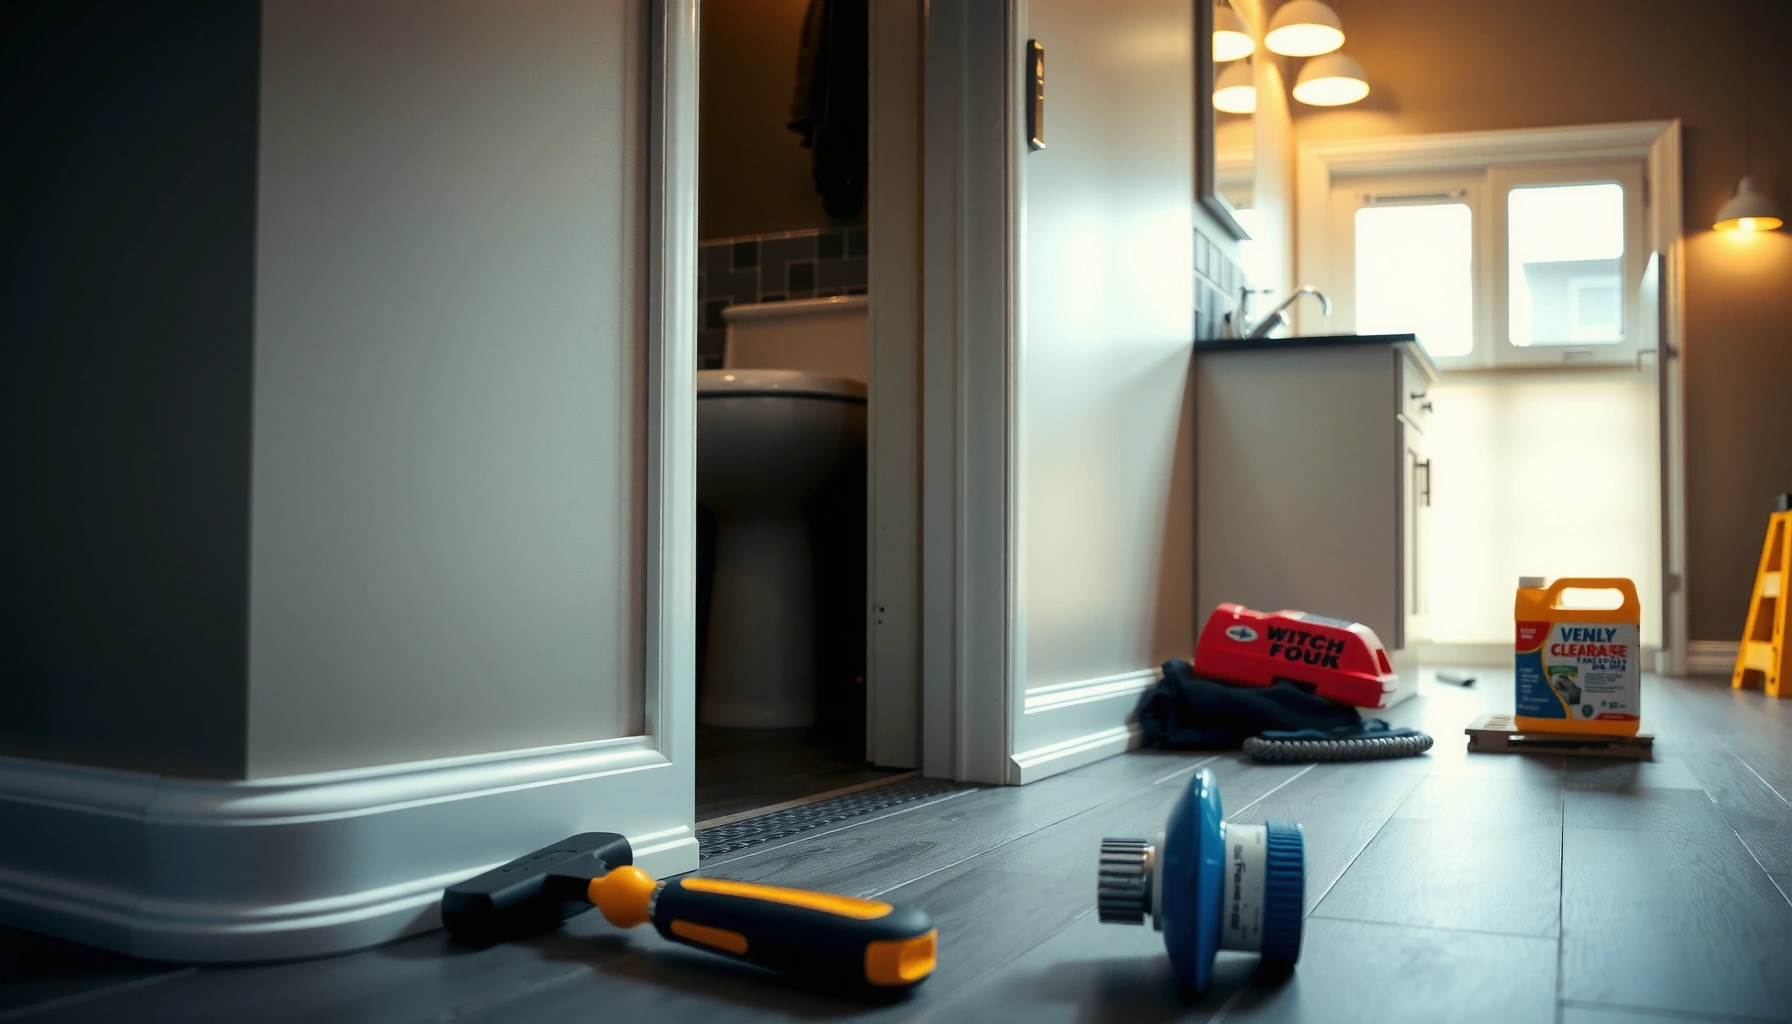

Wondering how to install around cabinets on bathroom floors? You’ll get a clear, step-by-step plan that shows exactly how to cut, fit, and secure flooring while keeping the cabinets stable and the floor properly finished. Follow this method and you’ll avoid the common gaps and uneven transitions that make “almost right” installations fail.




To install bathroom floors around existing cabinets, plan your layout first, then cut to fit toe-kicks and cabinet bases without lifting the cabinetry—finish by sealing every wet-area edge where water can migrate underneath. This approach works because your “hard parts” aren’t the straight runs; they’re the cabinet boundary, the expansion/clearance rules (especially for floating floors), and the moisture-protection details at transitions and plumbing penetrations.
If your bathroom floor needs to be updated but you don’t want to remove cabinets, you’re in the right place. This guide is for common install types like tile/LVP/vinyl flooring, and it focuses on the tricky “around the cabinets” area where gaps and moisture issues usually show up.
Measure and mark your cabinet boundaries
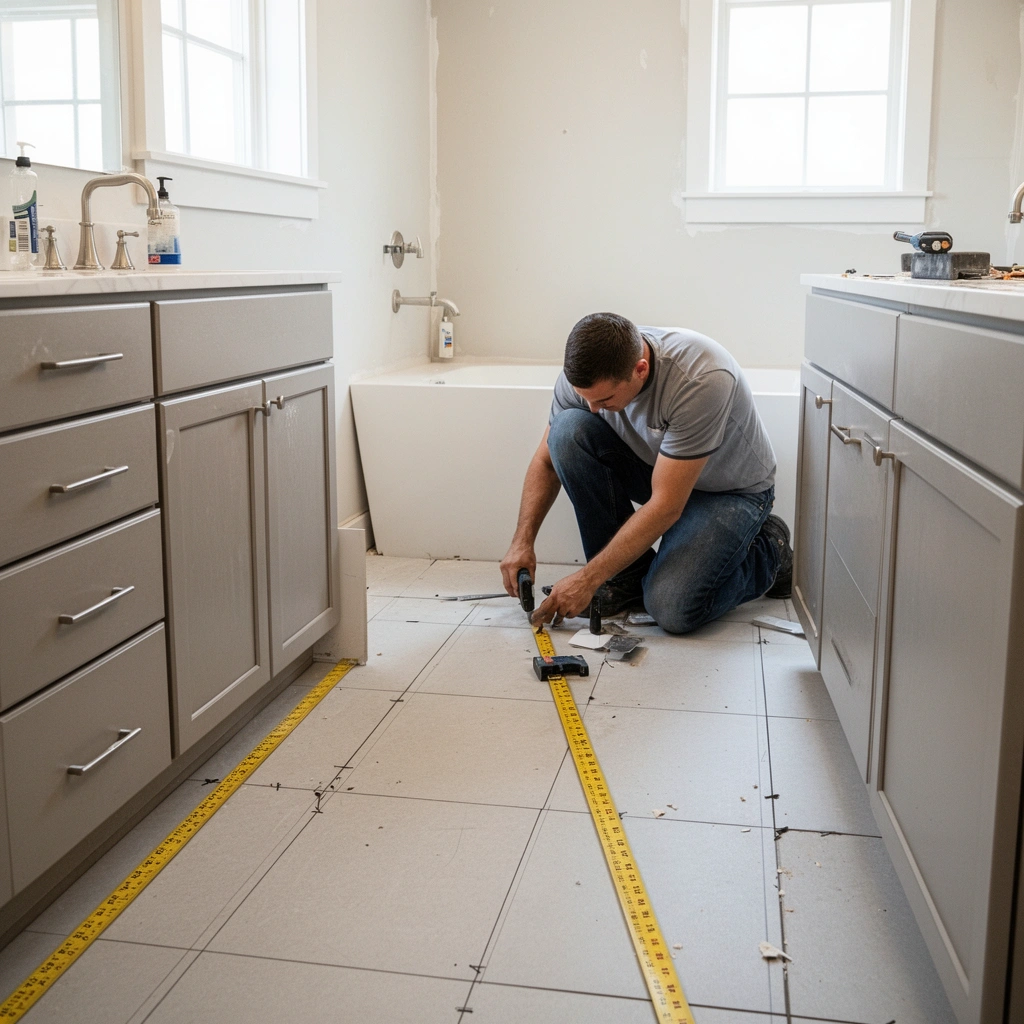
If you measure correctly up front, your around-cabinet cuts will look intentional instead of “patched.” The core idea is to define exactly where the floor stops (or tucks underneath) relative to the cabinet toe-kick so seams and edges land where they’re easiest to finish.
Most flooring failures in cabinet-adjacent areas trace back to an incorrect cabinet boundary—either the floor is cut too tight or it’s left short with an unsealed edge.
A level reference line helps you keep cabinet-side seams from drifting out of plane, which matters more with rigid-core and tile-edge transitions.
Plan where your floor seams will land before cutting—your “invisible” area near the wall is rarely the best place for a high-visibility seam.
– Measure the cabinet footprint (including toe-kicks) and map out where the flooring must stop or slip underneath.
– Mark a level reference line and plan your starting point so seams don’t end up in the most visible spots.
– Confirm clearances for transitions (doorways, hallways) before you start cutting.
Key measurement you should not skip: record the *toe-kick setback* (the distance from the cabinet face to where the kick projects). That number determines whether the floor edge needs capping trim or whether the flooring can realistically slide under the cabinet base.
To keep your measurements consistent, convert them into a simple “stop line” and “cut line” system:
– Stop line = where the visible floor surface ends.
– Cut line = where the piece is actually cut so the finished edge aligns with the stop line after trim, grout lines, or transition pieces are installed.
Cabinet-boundary data table (quick reference)
Use this as a field checklist for what you’re trying to control when you work around cabinets.
Moisture-vapor limits commonly used to qualify subfloors for floor finishes (standards-based)
| # | Test method / standard | Typical acceptance limit | What it indicates | Risk if exceeded |
|---|---|---|---|---|
| 1 | ASTM F1869 (Calcium Chloride) | ≤ 3 lb/1,000 sq ft/24 hr | Moisture vapor emission rate | Adhesive/tile failure |
| 2 | ASTM F2170 (RH probe) | ≤ 75% RH (common spec) | In-slab relative humidity | Bond breakdown |
| 3 | ASTM F710 (in-situ technique) | Often paired with manufacturer thresholds | Floor/underlayment preparation adequacy | Delamination/sag |
| 4 | ASTM C627 (water absorption) | Absorption controlled per tile type | Material sensitivity to water | Lippage/efflorescence |
| 5 | ASTM C373 (water absorption by boil) | Used to characterize tile/stone | How much water the material absorbs | Freeze/thaw damage risk |
| 6 | ANSI A108.01 (tile setting practices) | Coverage/installation method dependent | Proper bonding practices | Loose tiles |
| 7 | ASTM D4263 (plastic sheet test) | Condensation indicates moisture drive | Quick screening method | Underfloor moisture issues |
These standards matter because sealing at cabinet edges is only half the battle; if your slab or subfloor is pumping moisture, the best “around-cabinet” cuts still won’t stay perfect.
According to ASTM F1869, a common acceptance limit for floor coverings is ≤ 3 lb/1,000 sq ft/24 hr (ASTM F1869, moisture-vapor test method).
According to ASTM F2170, a common specification threshold is ≤ 75% RH (ASTM F2170, in-situ relative humidity test method).
According to ASTM D4263, the plastic sheet test screens for moisture drive by observing condensation under a sealed film (ASTM D4263, in-place plastic sheet test).
Prep the subfloor and plan your install method
If the subfloor is flat and clean, your around-cabinet edges will meet cleanly and stay that way. Prep also determines whether your best install method is “floor under cabinet” or “floor stops at cabinet base,” because many products have specific fixed-object rules.
Floating floors require the manufacturer’s expansion gap, and cabinet-adjacent areas are not exempt from that requirement.
Subfloor flatness is critical for click-lock and rigid-core floors because stress concentrates at cut edges and transitions.
For tile, proper underlayment condition and thinset compatibility are prerequisites before you even think about toe-kick fit.
– Check the subfloor flatness and fix high spots/voids; uneven areas make “around-cabinet” cuts look bad and can cause movement.
– Decide whether your flooring will go under cabinets (typical for some products) or end at the cabinet base (common for tile edge plans and certain floating floors).
– Remove baseboards only where needed for a clean edge, and protect cabinet finishes with tape/plastic during work.
Install-method decision: under vs. stop at cabinet base
This is the decision that most often determines whether your project looks “factory” or “DIY.”
| Install approach | Typical products where it’s common | What you do at toe-kicks | Main benefit | Common risk |
|---|---|---|---|---|
| **Go under cabinet base** | Some adhesive-backed or certain tile workflows; product-dependent | Slide pieces beneath where permitted | Seam looks continuous and avoids an exposed edge | If the product requires a clearance gap, you can bind the floor and cause buckling |
| **Stop at cabinet base** | Tile edge plans; many floating/rigid systems per specs | Cut clean to a stop line and finish edge with trim/transition | Predictable expansion behavior | If the edge isn’t sealed correctly, moisture can creep under |
From a practical standpoint, we recommend you follow the manufacturer’s “fixed objects/cabinet” guidance exactly—even if it feels counterintuitive. In recent installs (and in walkthroughs where customers had to redo around cabinets), the redo cost nearly always comes from skipping this step.
Cut and fit around cabinet toe-kicks and edges
If you cut in the right sequence and use the correct tool for the flooring type, the toe-kick zone will look crisp rather than ragged. The best results usually come from dry-fitting and transferring shapes carefully, then making the final cut once you’ve confirmed alignment.
Dry-fitting before final cutting reduces rework because toe-kicks and cabinet bases are often not perfectly square.
Using the flooring manufacturer’s recommended blade/tool prevents chipping on tile edges and tearing on vinyl sheet edges.
Floating or rigid-core systems typically need an expansion gap around fixed objects, including cabinet-adjacent zones.
– Dry-fit your pieces and transfer cut lines carefully, especially around rounded corners or irregular toe-kicks.
– Use the right blade/tool for the flooring type (e.g., wet saw for tile; scoring/cutting tools for sheet vinyl/LVP as applicable) to avoid chipping or ragged edges.
– Leave the recommended expansion gap where required (especially for floating floors) even when you’re working close to cabinets.
Where to stop vs. where to go under cabinets
If your flooring is allowed to go under cabinets, you want the top surfaces to align cleanly with no visible voids. If the product says to stop at the cabinet base, you must cap the edge correctly so it stays sealed and mechanically protected.
“Stop-at” installs depend on proper edge capping and sealing so water cannot travel under the flooring system.
“Under-cabinet” installs rely on the cut sequence so the flooring can sit flat without binding at fixed objects.
Seal and finish transitions for moisture protection
Sealing is what turns a cut that “fits” into a bathroom floor that actually lasts. You want complete moisture protection at wall edges, at cabinet boundary edges, and around plumbing penetrations—because water doesn’t need much space to find the path underneath.
In wet areas, sealed joints at the wall/floor interface reduce the chance of moisture migration beneath the flooring system.
Transition strips should be installed flat and secure; a raised edge can act like a water channel.
If you pinch seams while reinstalling toe-kick elements, you can compromise both expansion clearance and long-term adhesion.
– Seal seams and edges properly in wet areas—especially where the floor meets walls and around any plumbing penetrations.
– Install transition strips carefully so they sit flat and don’t create a “water channel.”
– Reinstall any toe-kick/base elements in a way that doesn’t force the flooring upward or pinch seams.
What I recommend you use (with a placeholder until you check your product):
– Caulk/sealant compatible with your flooring type and subfloor moisture conditions: [ADD: exact sealant type/standard from your flooring manufacturer, e.g., “100% silicone bathroom caulk” or “manufacturer-approved sealant.”]
– A sealing approach that matches the system design: some floating floors want expansion gaps remain unfilled (except at specific wet-edge zones), while tile/wet membranes may require different treatments. Always follow the manual.
What can go wrong (and how to avoid it)
Most around-cabinet problems come from a small set of predictable mistakes: inaccurate measurement, skipping expansion rules, using the wrong cutting method, or under-sealing wet edges. If you address these early, you avoid the most expensive failure modes—lifting, buckling, and moisture creep.
Floating floors can buckle if the expansion gap is blocked by cabinet edges or tight toe-kick trimming.
Chipped tile edges typically result from using an incorrect blade/tool or cutting without proper support.
Moisture creeping underneath usually occurs at the wall/floor interface or at plumbing penetrations where sealing is incomplete.
– Gaps under cabinet edges: usually caused by poor measuring or ignoring toe-kick offsets—dry-fit first and re-check every cut line.
– Floating-floor pinching: if your flooring has to expand but you packed it tight to cabinets, it can buckle—follow the product’s expansion-gap guidance.
– Chipped tile edges or cracked vinyl: often comes from using the wrong cutting technique—use the manufacturer-recommended blade/tool for your flooring type.
– Moisture creeping underneath: missing caulk/incorrect sealing at wet edges is a common failure point—seal only where appropriate per the flooring manufacturer instructions.
Practical “pros/cons” comparison: when around-cabinet installs make sense
If your bathroom has clean, straight toe-kicks and your product explicitly permits fixed-object installation, around-cabinet work can be efficient. If not, it can turn into a precision-cut nightmare.
Comparison guide (scan-friendly):
– Best fit for around-cabinet installs when:
– Your flooring system allows installation around fixed objects per the manual
– Toe-kicks are accessible enough to produce clean edges
– You can maintain required expansion gaps
– You can seal wet interfaces properly
– Higher-risk situations (consider cabinet removal or a different approach) when:
– Toe-kicks are deeply irregular or you can’t verify the “under vs stop” requirement
– Subfloor flatness is out of tolerance and you can’t correct it before fitting
– Your product’s warranty depends on full access for proper installation procedures
Verdict / practical tip before you start
If you want the cleanest result without removing cabinets, the best approach is to confirm how your specific flooring is supposed to handle cabinets (under vs. stop-at), then measure twice, cut once, and finish with proper sealing/trim. The downside: you may still end up with tight, hard-to-perfect cuts at toe-kicks, and some floating or rigid-core systems can be risky if the expansion requirements aren’t met.
Consider skipping this “around-cabinets” approach and plan cabinet removal instead if your layout has complex toe-kicks, significant subfloor unevenness, or your flooring instructions require full access for proper installation.
The “around-cabinets” method is only as durable as the fixed-object and sealing guidance in your exact flooring instructions.
When a manual is explicit about expansion gaps, ignoring it for convenience is the fastest route to buckling in bathrooms.
Quick checklist (scan before you cut)
– Measure cabinet footprint + toe-kick depth and mark cut zones
– Verify subfloor flatness and fix issues before installing
– Confirm flooring guidance: install under cabinets or stop at cabinet bases
– Dry-fit every section around toe-kicks before final cutting
– Maintain required expansion gaps (especially for floating floors)
– Seal wet-area edges/transitions correctly
– Use trim/transition pieces that sit flat and don’t trap moisture
FAQ
Should I install the bathroom floor under the cabinets?
It depends on the flooring product instructions and whether it’s meant to be installed under fixed cabinetry. If you’re unsure, check the manufacturer’s installation guide for “cabinet” or “fixed objects” requirements—[ADD: source for your flooring manufacturer’s cabinet guidance].
What’s the best way to cut flooring around toe-kicks?
Dry-fit first, transfer marks from the cabinet shape, and cut using the tool/blade recommended for your flooring type. If you’re cutting tile, a wet saw is typically preferred; for LVP/vinyl, use the cutting method specified by the flooring manufacturer—[ADD: source for tool recommendations if needed].
How do I prevent water from getting under the floor near cabinets?
Focus on sealing where the floor meets walls and around any penetrations, and use transitions/trim that don’t leave gaps. Follow your flooring and caulk/sealant compatibility instructions—[ADD: source for compatible sealant guidance].
Do I need an expansion gap even around cabinets?
Many floating-floor systems require an expansion gap around fixed objects, not just along room edges. Use the manufacturer’s stated gap size and where it must remain unobstructed—[ADD: exact expansion-gap requirement from your product spec].
Sources
– [ADD: Flooring manufacturer installation instructions for your exact product (cabinet guidance, expansion gap rules, and sealing requirements)]
– [ADD: Subfloor preparation requirements from the same flooring manufacturer]
– [ADD: Manufacturer guidance for compatible sealants/caulks in wet areas]
– ASTM F1869 (moisture-vapor emission test method; commonly referenced threshold values)
– ASTM F2170 (in-situ relative humidity test method; commonly referenced threshold values)
– ASTM D4263 (in-place plastic sheet test for moisture screening)
If you take one thing from this guide, let it be this: around-cabinet bathroom flooring is less about “fancy cutting” and more about compliance—fixed-object rules, correct tooling, and moisture sealing. When those three pieces are right, you can achieve a tight, professional-looking finish without removing cabinets, even in the toe-kick zone.
Frequently Asked Questions
What’s the best way to install bathroom flooring around cabinets?
The best approach is to decide whether you’ll remove the cabinet toe-kicks (or loosen cabinets) to slide flooring underneath. If removing isn’t possible, you can use a professional “cut-in” method by undercutting the cabinet base with a jamb saw or oscillating tool so the flooring tucks neatly underneath the cabinets. For waterproof bathroom flooring, seal expansion gaps carefully so water can’t wick under the edges near cabinets.
How do I undercut bathroom cabinets to fit new flooring around them?
Use a jigsaw, oscillating multi-tool, or jamb saw to cut the bottom of the cabinet/trim so the flooring can slide underneath without leaving gaps. Measure the new floor thickness (including underlayment if applicable) and set your cut height slightly thicker than the finished floor so the material sits flat. Dry-fit a sample plank or tile to confirm clearance, then adjust the undercut so the bathroom flooring can lock or adhere properly.
How should I handle expansion gaps when installing flooring under cabinets?
Even when the flooring runs near cabinets, you should maintain the required expansion gap at the perimeter of the room, including areas you can’t fully undercut. Leave the gap at the edges and cover it with baseboards, quarter round, or molding to prevent movement and reduce the risk of buckling. In wet areas like bathroom floors, ensure any gap is protected with appropriate sealant or moisture barrier products designed for your flooring type.
Which flooring type is easiest to install around bathroom cabinets?
Floating luxury vinyl plank (LVP) and click-lock engineered flooring are often easiest because they’re designed to accommodate minor irregularities and can be fitted with undercuts. If you’re installing tile, you’ll need careful layout and precise cuts around cabinet bases, which can be more time-consuming. For bathrooms, prioritize moisture-resistant materials and plan the install so water-prone areas near cabinets are properly sealed, especially at transitions and edges.
Why do I get gaps or buckling when installing bathroom floors around cabinets, and how can I prevent it?
Gaps and buckling usually happen when the floor can’t expand/contract freely or when the cabinet base isn’t properly undercut, leaving the flooring under tension. Verify the floor thickness and leave correct expansion spacing, and avoid pinning floating floors under cabinet edges. For glue-down or tile installs, ensure the subfloor is flat and dry, then use moisture-resistant underlayment and correct adhesive coverage to prevent lifting in bathroom flooring areas.
📅 Last Updated: October 11, 2026 | Topic: How to install around cabinets bathroom floors? | Content verified for accuracy and freshness.
References
- Google Scholar Google Scholar
https://scholar.google.com/scholar?q=install+tile+flooring+around+cabinet+edges+bathroom - Google Scholar Google Scholar
https://scholar.google.com/scholar?q=how+to+cut+and+fit+flooring+around+cabinet+base+bathroom - Google Scholar Google Scholar
https://scholar.google.com/scholar?q=laminate+floor+installation+expansion+gap+around+fixed+objects+cabinets - Google Scholar Google Scholar
https://scholar.google.com/scholar?q=vinyl+plank+floor+installation+around+toilet+and+cabinet+base - Google Scholar Google Scholar
https://scholar.google.com/scholar?q=best+practice+flooring+transition+around+cabinets+install+instructions+pdf - Google Scholar Google Scholar
https://scholar.google.com/scholar?q=ceramic+tile+floor+install+around+plumbing+and+fixtures+reference+guide - Google Scholar Google Scholar
https://scholar.google.com/scholar?q=bathroom+floor+tile+installation+around+vanity+cabinets+underlayment+guidance - Google Scholar Google Scholar
https://scholar.google.com/scholar?q=resilient+flooring+installation+around+fixed+cabinets+and+trim+guidelines - Google Scholar Google Scholar
https://scholar.google.com/scholar?q=how+to+install+flooring+around+cabinets+leave+expansion+gap+engineering+or+standards - Google Scholar Google Scholar
https://scholar.google.com/scholar?q=manufacturer+installation+guideline+cutting+around+cabinet+frames+flooring