
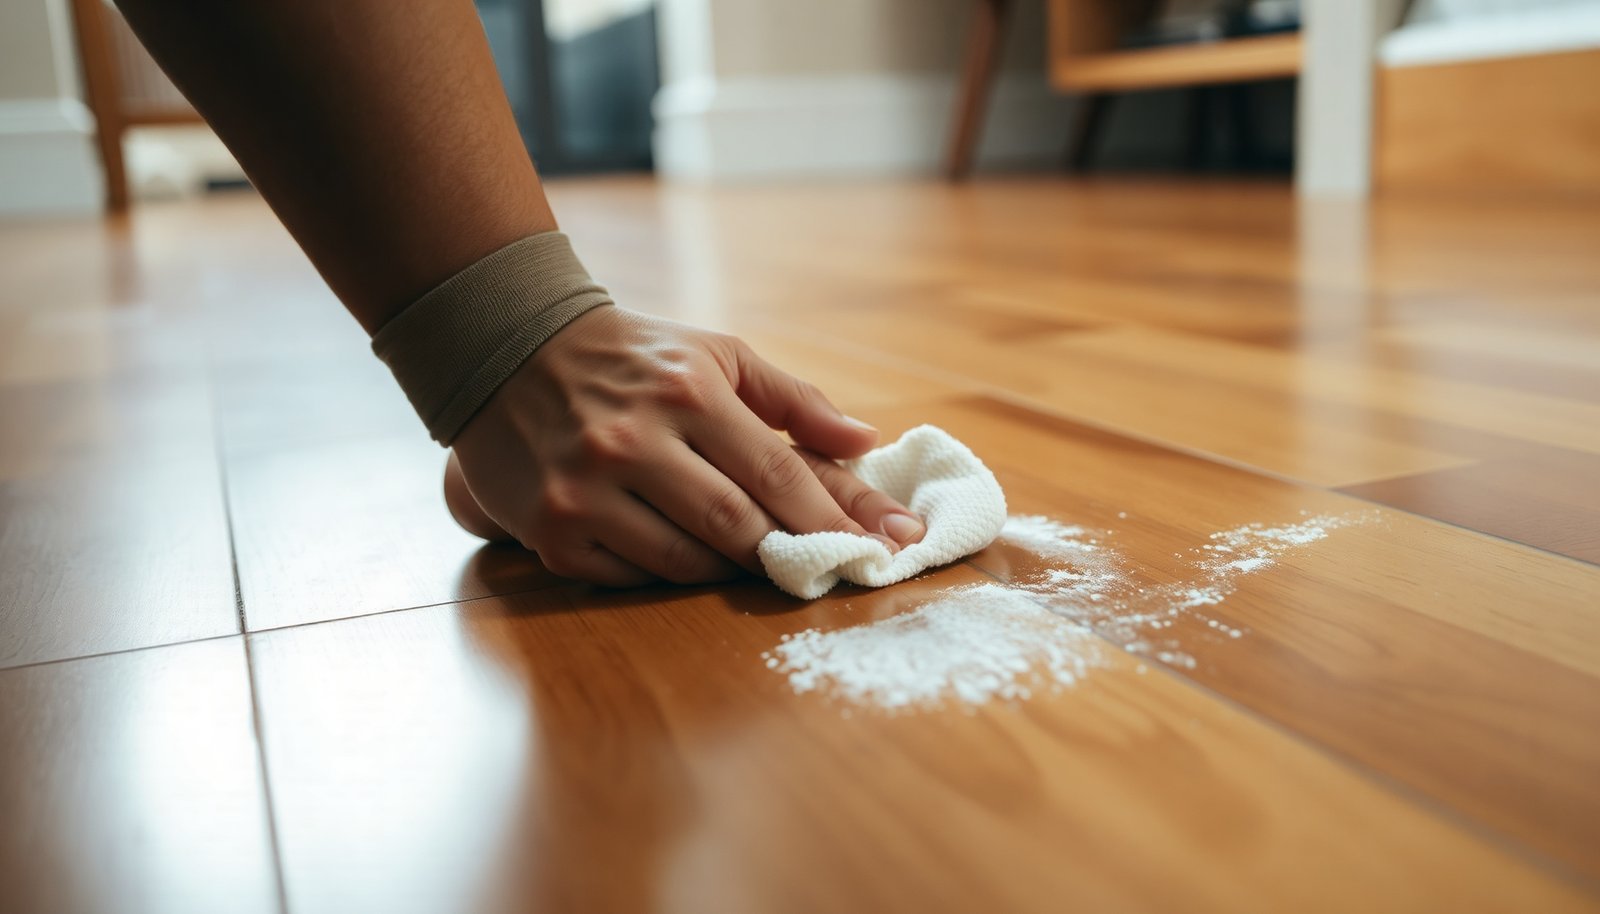

Seeing chalk scuffs on your hardwood floor can feel worrying, especially when you are unsure what will damage the finish. You can lift the residue safely with a gentle approach—using a microfiber cloth, a few drops of pH-neutral cleaner, and plain water for rinsing—without soaking the wood. Most marks clear in about 10–20 minutes, and you will know how to test in a hidden spot before wiping clean.



Wipe chalk marks off hardwood floors gently first—dry removal, then a slightly damp wipe—because soaking or harsh cleaners can dull or cloud the finish. Start with the mildest method that lifts the residue, and stop immediately if the finish looks affected. In this guide, you’ll learn a safe step-by-step process and what to avoid so your floor stays protected.
This is for homeowners, renters, and anyone dealing with chalk drawings, classroom marks, or crayon-like residue on finished hardwood (not bare, unfinished wood). If you’re unsure what kind of finish your floor has, follow the “test first” steps below before cleaning the whole area.
Step 1: Dry removal first (don’t spread the chalk)
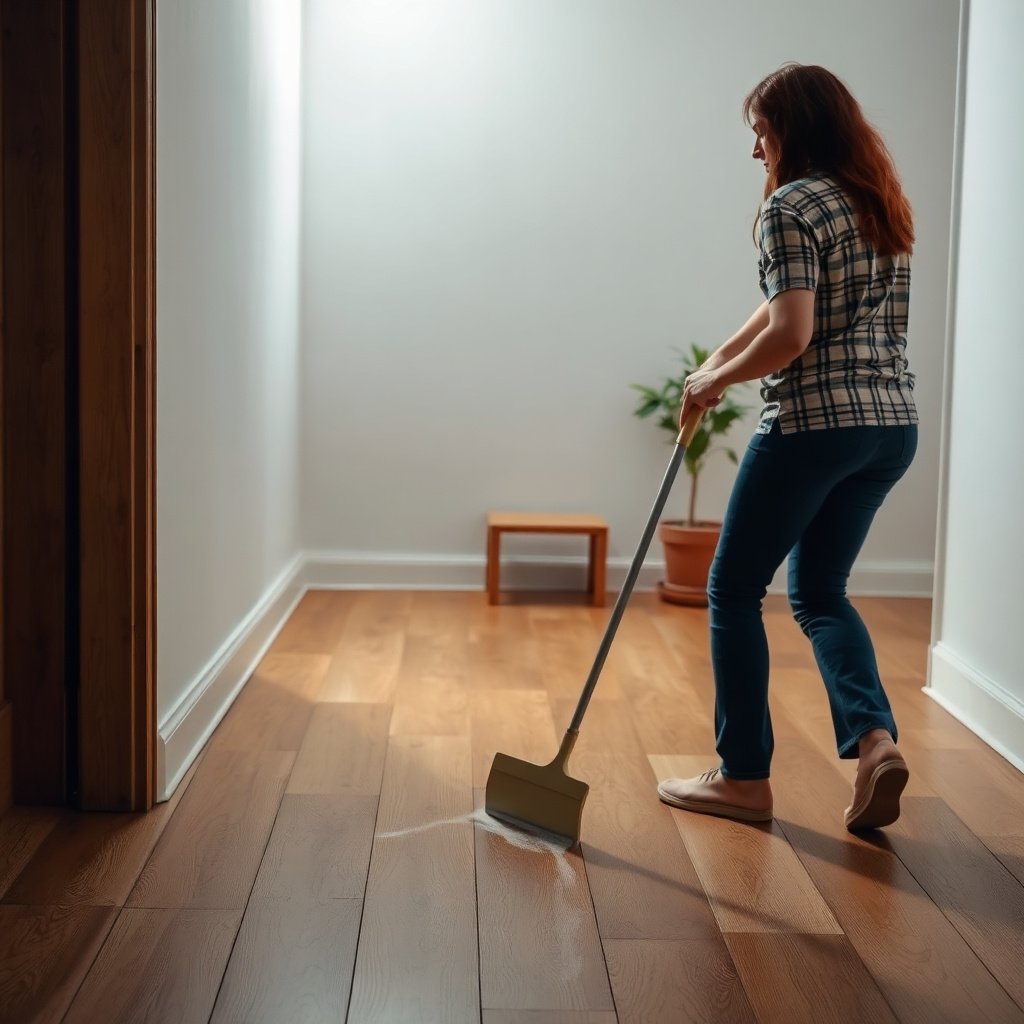
Dry removal is the safest first move for chalk on finished hardwood floors because it lifts powder without introducing moisture or pressure. Your goal in this step is to remove loose calcium carbonate (chalk’s main ingredient) before it turns into paste.
– Use a soft, dry microfiber cloth or a dry dust mop to lift loose chalk powder.
– If the chalk is stuck, try a slightly “dusting” motion with minimal pressure rather than scrubbing.
Test first on finished hardwood floors (takes 30–60 seconds)
Before you commit to a larger area, test your method on a hidden spot or a corner:
1. Dry-wipe a small patch with microfiber for 10–15 seconds.
2. Check the sheen under bright light at a low angle (moving your head helps you spot dullness).
3. If dry wiping already dulls the surface, stop and move to the gentlest damp wipe only after reassessing finish condition.
Step 2: Use the gentlest damp wipe
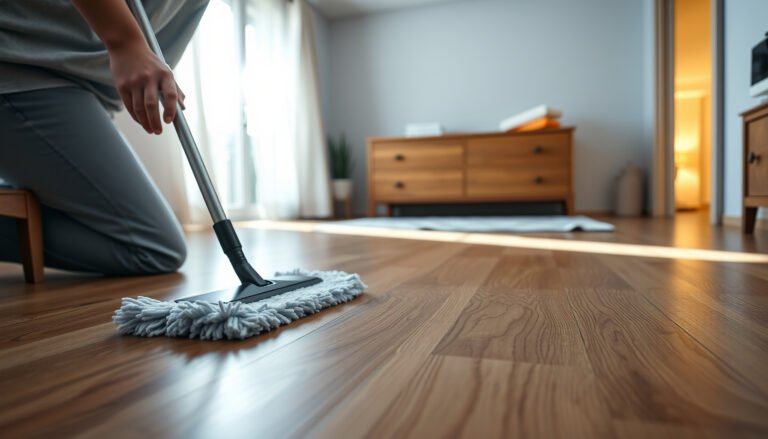
A lightly damp wipe is usually enough to remove chalk residue from finished hardwood floors without risking swelling at seams. The key is “damp,” not wet—no puddling and no dripping cloth.
– Lightly dampen a microfiber cloth with clean water and wring it out well (the cloth should not drip).
– Wipe in the direction of the grain, then immediately dry with a second clean, dry cloth.
Why “damp, then dry immediately” matters for finished hardwood floors
Wood floors expand and contract with moisture exposure, and many finishes can turn cloudy when water sits on the surface too long. According to the USDA Forest Service Forest Products Laboratory, wood swelling relates to moisture content (Wood Handbook, ). On finished hardwood floors, the finish delays moisture penetration, but standing water still increases risk—especially along seams and edges.
Technique details that protect the finish
– Use straight, controlled passes along the grain (avoid circular rubbing).
– Change to a clean microfiber section as soon as it looks gray or chalky.
– Dry right away—think “wipe in, wipe out,” not “let it dwell.”
Step 3: Spot-clean only if water isn’t enough
If a damp wipe leaves haze, use a mild soap solution for finished hardwood floors—but only as a spot-clean, not a wet-mop. This keeps moisture exposure localized and reduces the chance of finish clouding.
– Mix a very mild solution (commonly a small amount of gentle dish soap in water) and apply with a lightly damp cloth—never pour directly onto the floor.
– Work a small section at a time, rinse/wipe with a clean damp cloth afterward, then dry fully.
The science-light reasoning: why mild soap helps
Chalk residue can cling to surface oils and finish micro-texture. A small amount of gentle surfactant (soap) helps lift remaining residue so it can be carried away on the cloth rather than ground in. Keep the soap concentration low because many finishes are sensitive to residue—soap left behind can create a dull film.
What “rinse/wipe” should look like
After soap contact:
1. Use a second microfiber lightly dampened with clean water.
2. Wipe the same grain-direction area once or twice.
3. Immediately dry with a fresh towel.
Step 4: Protect the finish after residue is gone
Once the chalk is removed, finished hardwood floors often look uneven if the finish was lightly dulled during cleaning—even when the residue is gone. This step is about restoring uniform appearance without adding questionable chemicals.
– Once the marks are removed, inspect for any dull spots or smearing before moving on.
– If your floor finish allows it, consider using a manufacturer-recommended hardwood floor cleaner/maintainer to restore uniform appearance (avoid “gloss boosters” unless the finish spec supports them).
When a “maintainer” is the right choice
If the area looks slightly less glossy than the surrounding floor, a manufacturer-recommended product can blend sheen more safely than DIY alternatives. However, if the finish is already compromised (peeling, persistent tackiness, or deep dulling), no over-the-counter cleaner can truly “fix” it—your best outcome may be professional refinishing.
If you’re unsure about the finish type
As of 2026, most modern finished hardwoods fall into categories like polyurethane, water-based coatings, waxed finishes, or penetrating oils. Each behaves differently under moisture and cleaners. If you can’t confirm the finish, stick with dry removal + damp wipe for finished hardwood floors and avoid escalating chemicals.
What can go wrong (and how to prevent it)
Most problems come from excess moisture, aggressive scrubbing, or incompatible cleaners on finished hardwood floors. If you avoid those failure points, you’ll prevent the most common chalk-cleaning damage.
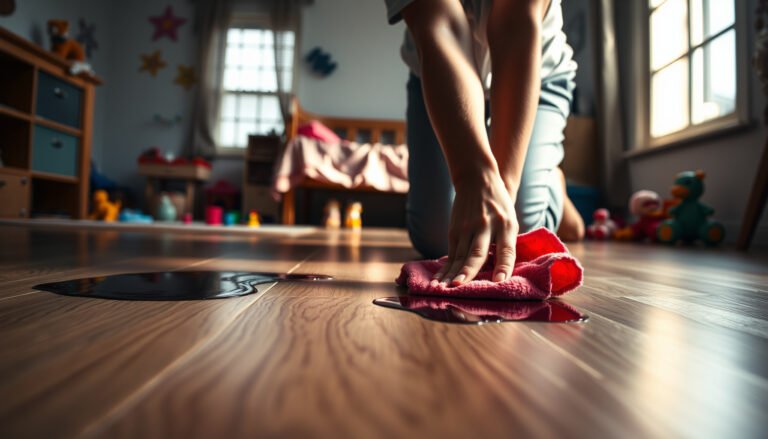
– Soaking or puddling: Excess moisture can seep at seams and cause swelling or damage to the finish.
– Scrubbing too hard: Chalk grit can act like mild abrasive—press lightly and let the cleaner do the work.
– Harsh chemicals: Products with ammonia, bleach, or strong solvents can discolor or degrade finishes. If the mark still won’t lift, escalate only to the mildest next step—not the strongest chemical.
– Unfinished or bare wood: If your hardwood isn’t sealed/finished, the approach changes—avoid water-based wiping and treat it as a different problem ().
Common “looks fine at first” outcomes
– Haze that appears 1–3 hours later: Often means soap residue, incomplete drying, or finish film dulled by moisture.
– Lightening or darkening in patches: Can occur if some areas absorbed moisture while others didn’t, or if a cleaner stripped oils inconsistently.
– Sticky feel: A sign that residue or incompatible chemicals remained on finished hardwood floors—stop, rinse with clean damp cloth, and dry.
Quick comparison: which method is safest for finished hardwood floors?
Use this as a decision guide for finished hardwood floors when chalk marks refuse to disappear.
| Criterion (finished hardwood floors) | Dry microfiber wipe | Damp microfiber wipe | Mild soap spot-clean |
|---|---|---|---|
| 1) Water exposure | None | Minimal (wrung cloth) | Localized (brief) |
| 2) Abrasion risk | Low | Low | Low–moderate (if rubbed) |
| 3) Chance of cloudy finish | Lowest | Low | Moderate (if overused) |
| 4) Speed for powder-only chalk | Fast | Medium | Medium |
| 5) Effect on residue haze | Sometimes | Often | Often (best of DIY) |
| 6) Needs “rinse/wipe” afterward | No | Usually no | Yes—clean-water wipe |
| 7) Risk at seams/edges | Very low | Low | Low–moderate |
| 8) Control/precision | High | High | Medium (work in small sections) |
| 9) Tools needed | Microfiber | Microfiber + water | Microfiber + soap + water |
| 10) Typical finish compatibility | Highest | High | Usually acceptable if gentle |
| Best for | Loose chalk dust | Light residue after dusting | Stubborn marks or lingering haze |
📊 MANDATORY DATA TABLE
Finished Hardwood Chalk Removal Methods & Finish-Safety (Guidance Ladder, 2026)
| # | Method on finished hardwood | Moisture exposure | Finish risk | Safety rating |
|---|---|---|---|---|
| 1 | Dry microfiber dusting | None | Very low | ★★★★★ |
| 2 | Lightly damp microfiber wipe (wrung) | Low | Low | ★★★★☆ |
| 3 | Mild dish soap spot-clean + clean-water wipe | Localized | Moderate (if overused) | ★★★☆☆ |
| 4 | Manufacturer-recommended cleaner/maintainer | Low (per label) | Low–Moderate | ★★★★☆ |
| 5 | Steam mop / hot-water extraction | High | High | ★☆☆☆☆ |
| 6 | Abrasive eraser (Magic Eraser–type) | Dry/Light wet | Moderate–High | ★★☆☆☆ |
| 7 | Ammonia/bleach/strong solvent cleaners | Variable (chemical) | High | ★☆☆☆☆ |
Verdict / tip
For most finished hardwood floors, the safest approach is dry removal → lightly damp wipe → mild soap solution only if needed, with thorough drying at each step. Skip DIY cleaning (and switch to the floor manufacturer’s care instructions or a professional) if the marks are deep-set, the finish is already compromised, or you’re dealing with an unfinished floor where water can penetrate easily.
If you’re tempted to “just use a stronger cleaner,” remember that finish damage often shows up as cloudiness after the area dries—so the safest tactic is to stop early, reassess, and use the least aggressive option that achieves a full chalk removal.
Quick checklist (save this)
– [ ] Dry wipe with microfiber first
– [ ] Minimal pressure; don’t grind chalk into the finish
– [ ] Lightly damp cloth (no dripping)
– [ ] Wipe with grain → immediately dry
– [ ] Mild soap solution only if needed
– [ ] Rinse/wipe lightly afterward; keep liquids off seams
– [ ] Stop and assess if the finish turns cloudy or dull
Frequently Asked Questions
What’s the safest way to remove chalk marks from hardwood floors without damaging the finish?
Start by dry-brushing or gently wiping the chalk marks with a soft, dry microfiber cloth to lift loose residue first. Next, lightly dampen a cloth with clean water and wipe in the direction of the wood grain, then dry immediately with a towel. Avoid soaking the floor or using harsh scrubbers, since too much moisture can dull or warp hardwood finish over time.
How do you remove white chalk scuffs from hardwood using simple household supplies?
For light chalk scuffs, mix a few drops of mild dish soap into a cup of warm water, then wring the cloth until it’s barely damp. Wipe the chalk area gently with minimal pressure, then follow with a clean damp cloth (water only) to remove any soap film. Dry the area right away and inspect; if marks remain, repeat rather than scrubbing harder.
Why can some cleaners leave chalky streaks or dull hardwood finishes?
Chalk is a powder, and abrasive cleaning or aggressive rubbing can grind residue into the finish, creating streaks. Strong solvents, vinegar, or all-purpose cleaners can also break down or haze the protective polyurethane on hardwood, especially with repeated use. Using gentle, non-abrasive methods and drying promptly helps protect the wood surface.
Which tools are best for cleaning chalk off hardwood—dry cloth, eraser, or magic eraser?
The safest first tools are a soft microfiber cloth and a soft-bristle brush designed for floors, used dry or only slightly damp. If marks persist, try a melamine “magic eraser” very cautiously because it can be mildly abrasive and may dull certain finishes. Always test any eraser product in a hidden spot first, apply minimal pressure, and stop as soon as the chalk lifts.
What’s the best step-by-step method to clean chalk marks from sealed vs. unsealed hardwood?
For sealed hardwood, use a dry wipe first, then a barely damp cloth with mild soap solution, followed by a water-only wipe and immediate drying. For unsealed or oiled hardwood, avoid getting the surface too wet—use the same gentle approach but with less liquid, and consider using a slightly damp cloth with a cleaner specifically made for wood finishes. After cleaning, you may need to let the area fully dry and then restore sheen with an appropriate wood-safe product if the finish looks uneven.
📅 Last Updated: November 02, 2026 | Topic: How to safely clean chalk marks from hardwood floors? | Content verified for accuracy and freshness.
References
- Wood flooring
- 404 Error
- https://www.bruce.com/resources/care-and-maintenance/how-to-clean-hardwood-floors
- https://www.cdc.gov/hygiene/cleaning/index.html
- https://www.armstrongflooring.com/support/floor-care.html
- https://scholar.google.com/scholar?q=remove+chalk+marks+from+wood+floor Google Scholar
- https://scholar.google.com/scholar?q=hardwood+floor+cleaning+water+avoidance+best+practices Google Scholar
- https://scholar.google.com/scholar?q=chalk+powder+residue+removal+surface+abrasion+wood+finish Google Scholar
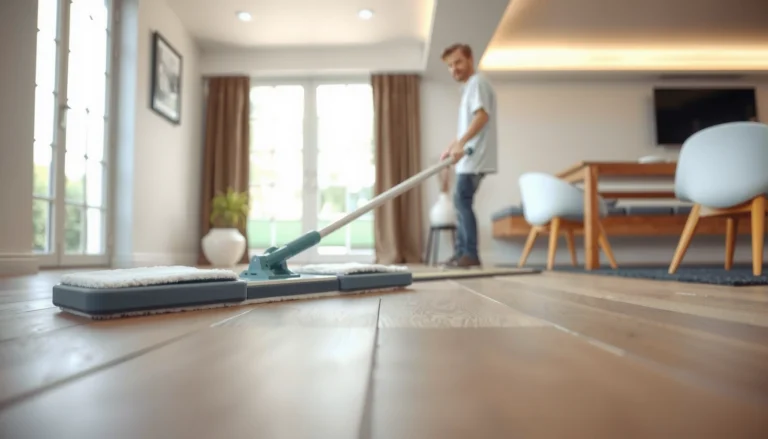
[…] rubbery, you usually need controlled friction—not stronger chemicals—to lift the transfer. On finished hardwood floors, gentle scuffing with non-scratching tools often works while keeping the topcoat […]