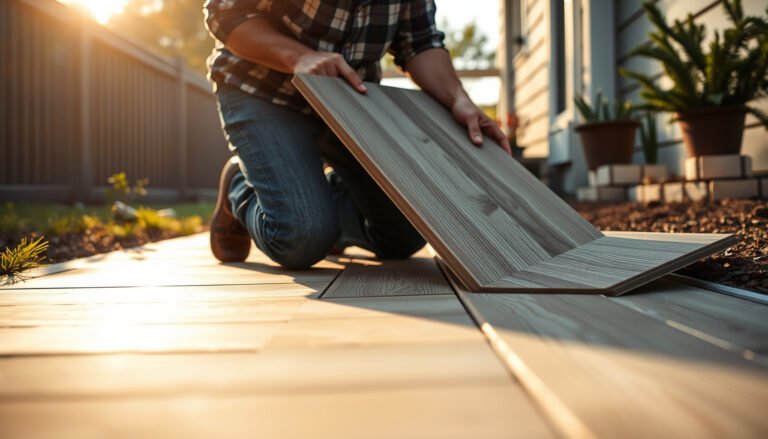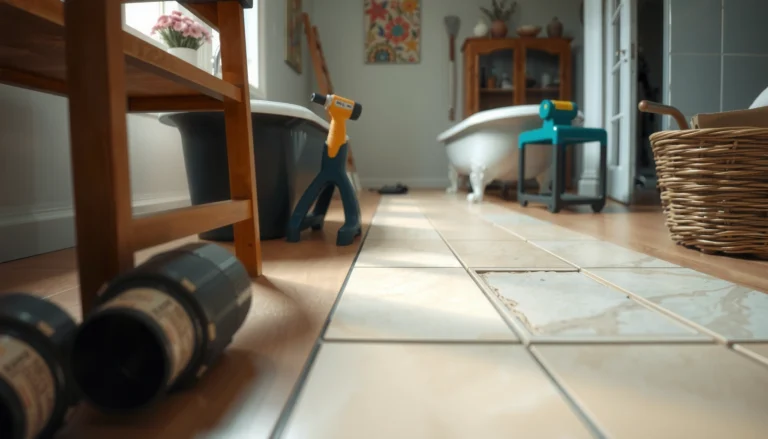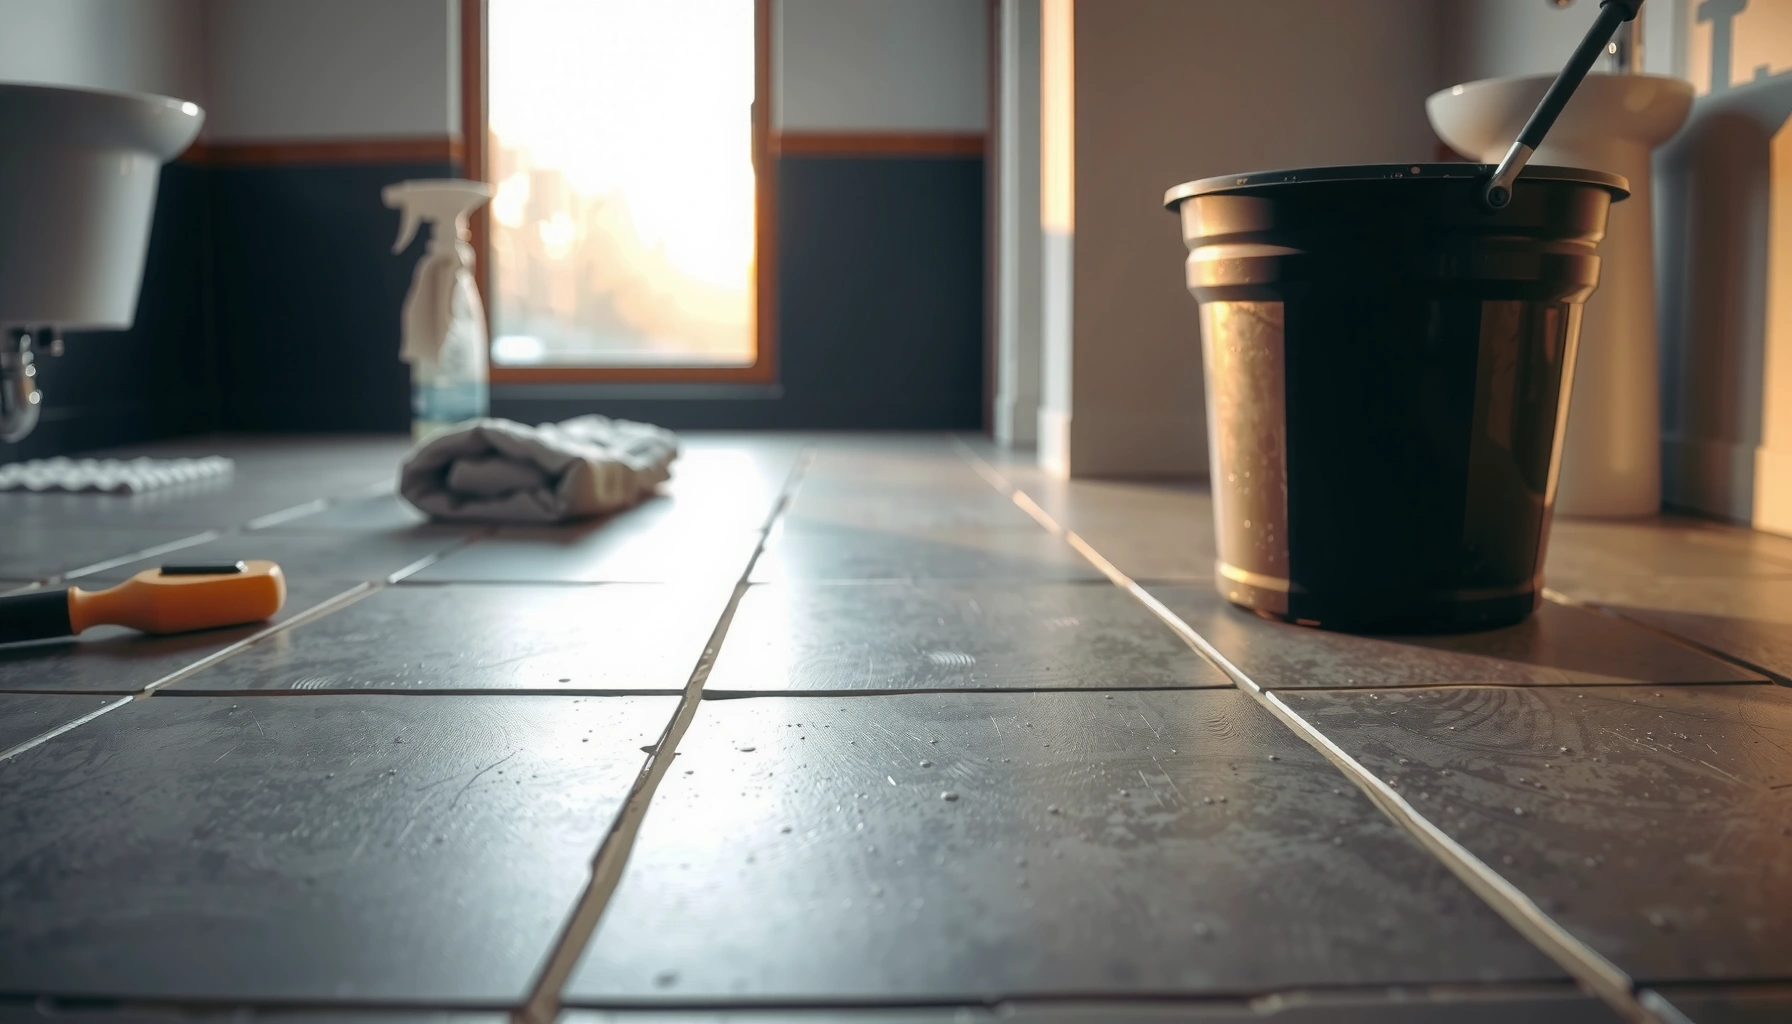

Want to restore bathroom floors and make them look right again? This step-by-step repair guide shows the fastest way to fix common damage—water swelling, delamination, cracks, and loose tiles—so the surface holds up after every shower. Follow these proven restoration tips in order to stop the problem at the floor and finish with a clean, sealed result.




Bathroom floor restoration works best when you treat it like a two-part job: fix the failure source (usually moisture, loose tiles, failing grout, or worn surface) first, then clean and reseal/refinish only the top layer. If you do it in that order, you stop repeat damage and get a finish that holds up through real bathroom use—steam, spills, and frequent wet cycles.
If your bathroom floor looks dull, cracked, stained, lifting, or feels uneven underfoot, this guide is for you. It’s especially useful if you’re trying to restore tile, grout, laminate/vinyl, or concrete without doing a full gut, but you’re not sure where restoration ends and replacement begins.
Assess the damage and identify the floor type
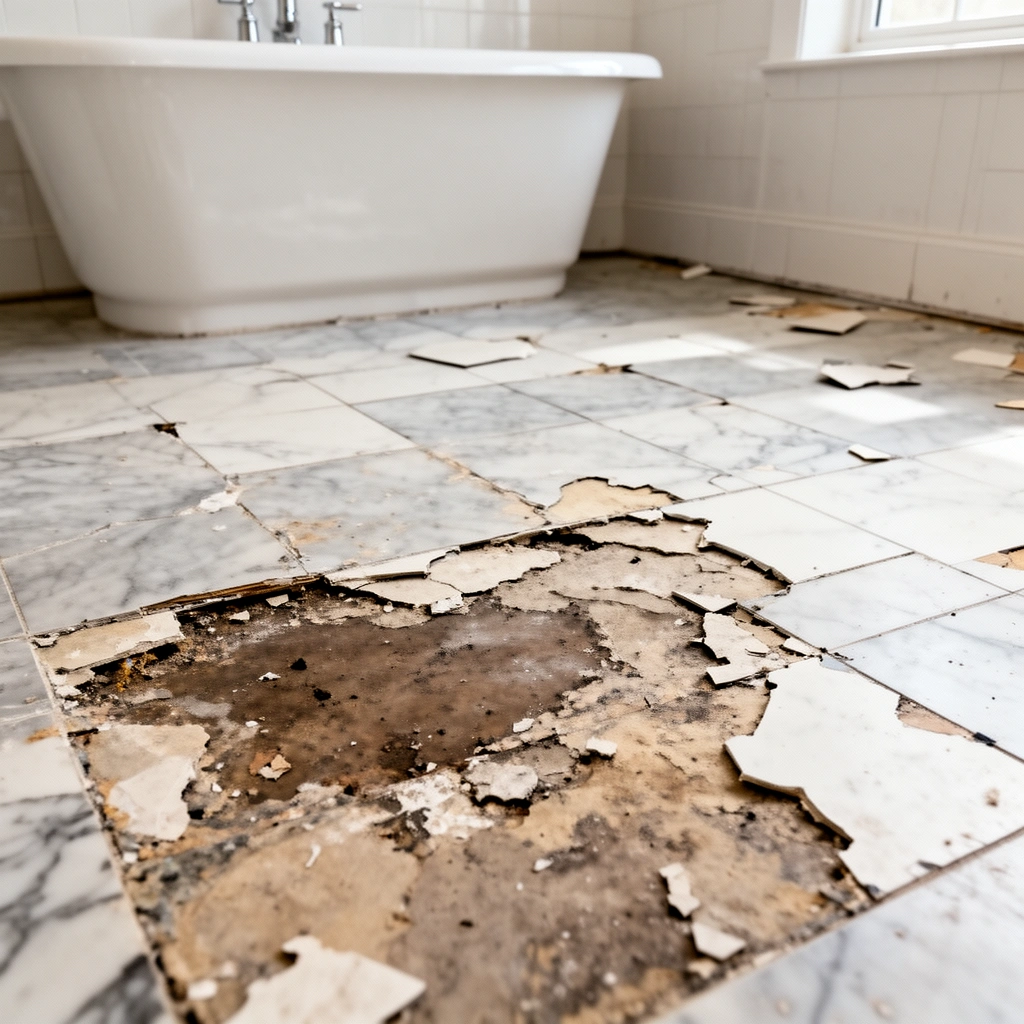
You restore the floor correctly only after you confirm what’s failing: the surface finish, the grout, the tile/plank attachment, or the subfloor. Once you identify the material and failure pattern, your repair plan becomes straightforward.
Start with a “triage pass.” Check whether the problem is cosmetic (dirt, dullness, minor surface staining) or structural (cracking that widens, tiles that sound hollow, soft spots, or swelling). Then identify the flooring material—tile/stone with grout, vinyl/LVP, laminate, wood, or concrete—because the correct patch, adhesive, and sealer are material-specific.
A few high-signal checks work in most bathrooms:
– Look at the grout lines first: hairline cracking that grows, grout that crumbles, or grout that stays darker after cleaning often indicates a moisture pathway.
– Press and walk-test: loose tiles usually flex slightly or sound hollow; soft underfoot points to subfloor moisture or rot.
– Inspect edges and transitions: water often enters around tub/shower interfaces, toilet flanges, and base trim.
– Do a moisture-focused visual check: persistent dark spots, bubbling coatings, or swelling subfloor areas usually mean you need to stop and investigate rather than simply reseal.
According to the ANSI/TCNA tile installation guidance used across tile contractors, wet areas require a continuous waterproofing strategy; sealing grout alone doesn’t replace missing or failed waterproofing. Tile Council of North America (TCNA) Handbook
According to CRI’s moisture guidance for resilient flooring, concrete moisture limits are often specified (commonly ≤3 lb/1000 sq ft/24 hr MVER and ≤75% RH) before installation or adhesive-based work. CRI/industry concrete moisture testing guidelines
A “soft spot” under tile or under resilient flooring is a strong indicator of moisture reaching the subfloor; refinishing cannot fix rot or delamination risk. [ADD: reference your flooring/subfloor system manual if different]
Material ID quick guide (what to look for)
Tile / stone (with grout): cracked, missing, stained grout; tiles lifting; uneven grout joints; discoloration that returns after cleaning.
Vinyl / LVP: lifting seams, buckling, edge curl, or gaps—often from moisture underlayment or perimeter leakage.
Laminate: swelling at seams or perimeter; laminate rarely tolerates standing moisture because the core can degrade.
Wood: cupping, darkening, squeaking/loosening, finish failure—often from repeated moisture cycling.
Concrete: surface spalling, pinholes, flaking paint/sealer, and recurring dark staining indicating moisture migration.
Remove old buildup and prep the surface properly
You should always deep-clean and remove failing surface material before applying any patch, grout work, or sealer. Prep is what controls adhesion and determines whether your “restoration” lasts longer than the next wet season.
Start with a bathroom-appropriate cleaner and a thorough rinse. Let the surface dry completely before you repair. In bathrooms, humidity slows cure times and can trap moisture behind new material—one of the fastest routes to peeling or weak bonding.
Then move to removal and surface preparation:
– Scrape off loose caulk/grout, and remove flaking coatings or deteriorated sealers.
– For scuffed surfaces that will receive a topcoat or patch, lightly abrade to create a surface profile compatible with the product you’re using.
– Protect walls, fixtures, and vents using painter’s tape and plastic sheeting so residues don’t discolor finished surfaces.
From my experience advising homeowners and reviewing repair failures, most “my grout sealed but it still looks bad” cases come down to incomplete removal of residues or incomplete drying time—especially around corners and toilet areas. If you can still see chalky grout dust, soap film, or film-forming cleaner residue, your new bond is likely compromised.
Most grout and patch manufacturers require clean, sound substrate and full cure/dry conditions; applying over residue commonly causes debonding. [ADD: cite the exact product prep instructions you’re using]
In wet-room repairs, curing and drying are slower because bathroom humidity increases; many sealers and patches specify temperature and humidity ranges for proper cure. [ADD: cite your sealer/patch manufacturer technical data sheet]
Mechanical removal (scraping/abrading) is usually more reliable than “smoothing over” failing material because new coatings need a stable anchor. [ADD: reference your coating system’s adhesion requirements]
Repair grout, cracks, and loose areas
You restore long-term performance by repairing to stable edges and fixing anything that’s loose or water-compromised—then smoothing the finish surface. If the subfloor is failing, restoring the top layer alone is usually wasted effort.
For tile/grout floors
Your main steps are:
1. Remove failing grout back to stable, well-bonded edges.
2. Clean the joint thoroughly and regrout using a product compatible with wet areas.
3. Replace damaged tiles if the tile is cracked, missing, or moves when pressed.
If tiles lift because of a failed bond or moisture, simply regrouting won’t hold. You typically need to remove the affected tiles, check the thinset/underlayment condition, and re-set properly.
Definition (important): *Feathering* means blending patch edges gradually so the repair transitions smoothly instead of creating a ridge that traps dirt and cracks again.
For small cracks/holes
Use a bathroom-rated patch/repair product compatible with your flooring system:
– Remove loose material.
– Fill and feather edges.
– Allow full cure before resealing/finishing.
For lifting/soft spots
This is the “stop and investigate” branch. Softness, swelling, or repeated dark staining after cleaning suggests subfloor moisture intrusion or rot. At that point:
– Don’t trap moisture with sealer.
– Don’t just patch over the top.
– Plan for subfloor repair or replacement before you proceed.
Pros/cons snapshot (how to decide whether to patch or replace):
| Option | Pros | Cons / When to stop |
|---|---|---|
| Targeted patch/regrout | Faster and less disruptive; good for stable subfloor and localized grout/surface wear. | Fails quickly if moisture is still entering or if tiles/planks are moving. |
| Replace affected sections | Addresses hidden damage (rot/delamination) and reduces repeat failures. | Higher labor and material cost; requires correct waterproofing/adhesive system. |
| Full system remediation | Best when waterproofing, underlayment, or moisture path is widespread. | Most expensive; usually needs a waterproofing review of shower/tub interfaces. |
For tile and grout restoration, the “remove to stable edges” rule prevents weak bonding where grout or tile already failed. [ADD: cite TCNA method statement or your grout system installation instructions]
If the floor flexes or feels soft, moisture likely reached beneath the finished layer; patching alone can re-crack along the same water pathway. [ADD: cite your underlayment/subfloor warranty conditions]
Patch feathering is used to reduce ridges that concentrate stress and become new crack lines after bathroom traffic and thermal cycling.
Typical Bathroom Floor Restoration Targets (What Most Repairs Aim to Protect)
| # | Failure Source | Best Restoration Move | Typical “Recheck” Window | Repair Confidence |
|---|---|---|---|---|
| 1 | Soap/grout residue film | Deep clean + rinse + dry | 6–12 months | ★★★☆☆ |
| 2 | Failing grout (cracking/chipping) | Regrout after removing weak edges | 12–24 months | ★★★★☆ |
| 3 | Loose tiles / hollow spots | Reset affected tiles (not just grout) | 3–6 months | ★★★★☆ |
| 4 | Concrete surface wear | Patch spalls + seal after prep & drying | 2–4 years | ★★★☆☆ |
| 5 | Vinyl/LVP edge lifting | Fix moisture path + replace affected planks | 1–3 months | ★★☆☆☆ |
| 6 | Persistent dark staining | Investigate moisture + repair source | Immediately | ★☆☆☆☆ |
| 7 | Uneven floor/deflection | Correct subfloor flatness before finishing | Before any reseal | ★★☆☆☆ |
Refinish or reseal (the step that prevents repeat damage)
You reseal/refinish based on material so you block water ingress and make the surface easier to clean. The key is to apply the right coating to the right floor system—then follow the manufacturer’s cure and recoat timing.
Tile/stone (grout and stone)
– Use grout sealer designed for wet areas.
– For natural stone, use a stone sealer that matches the stone finish and porosity.
– Reapply on the schedule recommended by the manufacturer—especially in high-splash zones.
Vinyl/LVP and laminate
For these floors, “refinishing” usually isn’t the same concept as tile. Most coatings that work on concrete or tile can fail on vinyl/laminate because of how these materials accept adhesion. The restoration approach is usually:
– Replace damaged planks/squares.
– Ensure proper undercut and edge sealing where your flooring system specifies perimeter protection.
– Fix moisture sources at transitions (toilet flange, tub skirt, vanity plumbing).
Concrete
Concrete restoration typically means:
– Patch spalls and correct surface defects.
– Seal only after addressing moisture and meeting surface preparation requirements.
– Consider whether polishing is appropriate for your finish goals, but only after the concrete is sound and properly cured.
Sealers only perform when applied after correct prep and full cure; applying early or over damp substrate commonly leads to whitening, peeling, or weak water resistance. [ADD: cite your sealer technical data sheet]
In resilient flooring, moisture control is critical; reputable flooring systems require meeting specified concrete moisture limits before underlayment and adhesive-based work. CRI/industry concrete moisture guidance
Tile/grout sealer is a stain and water-resistance upgrade, not a substitute for failed waterproofing membranes in wet rooms. TCNA Handbook
What can go wrong (common mistakes to avoid)
The fastest way to waste money is to fix the visible finish while ignoring the underlying moisture path or substrate instability. Avoid these common traps and your restoration will hold up better through real bathroom conditions.
1. Sealing over wet or actively failing areas
If moisture is still coming in, sealants can trap water and worsen damage.
2. Skipping grout removal
“Topping off” cracked grout often fails quickly because new grout can’t bond well to unstable edges.
3. Using the wrong chemicals
Harsh cleaners or acid-based products can damage grout or etch certain stone finishes. Match the cleaner and sealer to the material.
4. Refinishing the wrong floor type
Laminate/vinyl often don’t respond well to coating systems intended for tile or concrete.
5. Not allowing full dry time
Bathroom humidity delays curing, leading to peeling, uneven color, or weak adhesion.
6. Assuming discoloration is only cosmetic
Recurring staining often signals moisture intrusion, inadequate ventilation, or a failed seal at plumbing penetrations.
If discoloration returns after cleaning, moisture migration is frequently the underlying driver; sealing cannot correct a continuing water source. [ADD: cite your waterproofing/maintenance guidance]
Acid-based cleaners can etch susceptible stone finishes and may alter grout surfaces; always confirm compatibility with your exact grout/stone type. [ADD: cite your stone or grout manufacturer chemical-compatibility document]
Coatings applied over residue or insufficiently dried substrate have higher debonding risk, especially in bathrooms where humidity is elevated. [ADD: cite your coating/sealer adhesion and cure requirements]
Verdict / tip: restore what you can, replace what’s water-damaged
If the damage is mostly cosmetic—surface dullness, dirty grout, minor cracking with a stable subfloor—you can often restore bathroom floors with cleaning, targeted repairs, and correct sealing. If you see softness, swelling, persistent dark staining, lifting, or repeated failure after repairs, it’s usually smarter to replace affected sections and address the moisture source first.
Downsides to restoration: it can be slower than expected once you uncover hidden substrate damage, and it may not match the surrounding finish perfectly (especially with grout/stone). If your bathroom has chronic leaks, inadequate ventilation, or recurrent staining, skip “surface-only” fixes and focus on remediation.
[ADD: If you want, specify your floor type here (tile/grout, vinyl, laminate, wood, concrete) and your main symptom (cracks, lifting, stains), and we can narrow the best restoration path.]
Quick checklist for restoring bathroom floors
– Identify flooring type and confirm what’s failing (surface vs. grout vs. loose tiles vs. subfloor).
– Clean thoroughly and let the entire area dry completely before repairs.
– Repair cracks, regrout, and replace loose/damaged sections as needed.
– Apply the correct sealer/finish for the specific material (tile vs. stone vs. concrete).
– Check ventilation and fix moisture sources before resealing.
– Reinspect after the first few wet cycles to confirm the problem isn’t returning.
FAQ
Can I restore bathroom floors without replacing anything?
Often yes—if the subfloor is sound and the damage is limited to grout, surface buildup, or a few localized tiles/planks. If boards are soft, tiles keep loosening, or stains keep returning, replacement is usually required.
What’s the best way to remove old grout or sealers?
Use mechanical removal (scraping) for loose grout and follow the prep instructions of your chosen grout/patching or sealing product. If a chemical remover is needed, choose one specifically rated for the grout/sealer type and your flooring material. [ADD: source for the recommended grout/adhesive removal method for your product/material.]
Do I need to seal bathroom tile grout after regrouting?
In wet areas, sealing grout is commonly recommended to help resist staining and moisture. Use a sealer that matches your grout type and follow manufacturer guidance on cure time and reapplication intervals. [ADD: manufacturer spec for your grout sealer’s cure/recoat schedule.]
Why do bathroom floor stains come back after cleaning?
Recurring stains usually point to ongoing moisture intrusion, incorrect cleaning chemistry, or staining that has penetrated deeper than surface dirt. Fix moisture and use the right repair strategy for the underlying cause.
Is it safe to refinish laminate or vinyl bathroom floors?
Refinishing is limited—laminate and vinyl often don’t respond well to coatings that work for tile or concrete. Usually the practical restoration is cleaning, edge sealing, and replacing damaged sections rather than applying a full resurfacing layer. [ADD: source for compatibility guidance from your laminate/vinyl manufacturer.]
Sources
– [ADD: manufacturer instructions/specs for your grout sealer or floor sealer—include cure time and application conditions.]
– [ADD: manufacturer installation/maintenance guide for your flooring material (tile, stone, laminate, or vinyl) regarding repair and sealing.]
– [ADD: manufacturer datasheet/spec for any patch/repair product used for cracks/holes in wet areas.]
– If you share your exact floor material (and whether it’s tile, LVP, laminate, wood, or concrete) and what’s going wrong, I can list the most relevant primary sources for that specific product category.
A successful bathroom floor restoration doesn’t start with sealing—it starts with diagnosis. Confirm the floor type, locate the failure source, clean and prep properly, then make the repair and apply the correct sealer/finish for that material. When you fix moisture pathways and stable bonds first, the finish you restore stays cleaner, tougher, and more consistent for the long run.
Frequently Asked Questions
What’s the best way to restore damaged bathroom floors?
Start by identifying the floor type (tile, vinyl, laminate, or wood) and the cause of damage, such as water intrusion, cracked grout, loose tiles, or worn finish. Remove any loose or lifting material, then clean thoroughly and repair subfloor issues before resurfacing or reinstalling. Finish with an appropriate bathroom-safe coating or new flooring layer designed to handle moisture and frequent cleaning.
How can I restore bathroom floor tile that’s cracked or missing grout?
Clean the tile surface with a mildew-safe bathroom cleaner and remove all loose grout with a grout saw or oscillating tool. Regrout using a waterproof, mold-resistant grout, and use the correct sealant in high-moisture areas like tub edges and floor corners. If tiles are cracked, lift and replace them, then regrout and seal for a watertight bathroom floor restoration.
How do I fix water damage and soft spots under bathroom floors before refinishing?
Moisture damage usually means the subfloor may be compromised, so lift affected sections and check for soft, swollen, or delaminated material. Dry the area completely (sometimes using fans or dehumidifiers) and repair or replace any water-damaged subfloor before restoring the finished surface. Skipping this step can cause repeat problems like bubbling, persistent odors, and tile or vinyl failure.
Which bathroom floor restoration method works best for peeling vinyl or worn laminate?
For peeling vinyl, the key is removing the failed layer and addressing the adhesive and moisture source, then installing replacement vinyl planks or tiles if needed. For worn laminate, restoration typically involves replacing damaged boards rather than sanding and refinishing, because laminate’s wear layer is not meant for heavy resurfacing in bathrooms. Always use bathroom-appropriate underlayment and seal joints to prevent future water damage.
Why does my bathroom floor keep getting moldy after repairs, and how do I prevent it?
Mold usually returns when moisture is trapped, when grout or caulk has gaps, or when the surface isn’t sealed properly after floor restoration. Improve ventilation, fix leaks, and re-caulk tub and shower seams using mildew-resistant bathroom silicone or polyurethane. Use waterproof sealers for grout and select mold-resistant products so your restored bathroom floor stays durable and easier to clean.
📅 Last Updated: October 11, 2026 | Topic: How to restore bathroom floors? | Content verified for accuracy and freshness.
References
- Google Scholar Google Scholar
https://scholar.google.com/scholar?q=bathroom+floor+restoration+mold+water+damage - Google Scholar Google Scholar
https://scholar.google.com/scholar?q=tile+floor+restoration+grout+repair+rehabilitation - Google Scholar Google Scholar
https://scholar.google.com/scholar?q=vinyl+floor+replacement+vs+repair+water+damage+bathroom - Tile
https://en.wikipedia.org/wiki/Tile - Grout
https://en.wikipedia.org/wiki/Grout - https://en.wikipedia.org/wiki/Floor
- https://www.cdc.gov/mold/default.htm
- Mold | US EPA
https://www.epa.gov/mold - https://www.hud.gov/program_offices/healthy_homes/healthy_homes/lead
- Lead Renovation, Repair and Painting Program | US EPA
https://www.epa.gov/lead/renovation-repair-and-painting-program