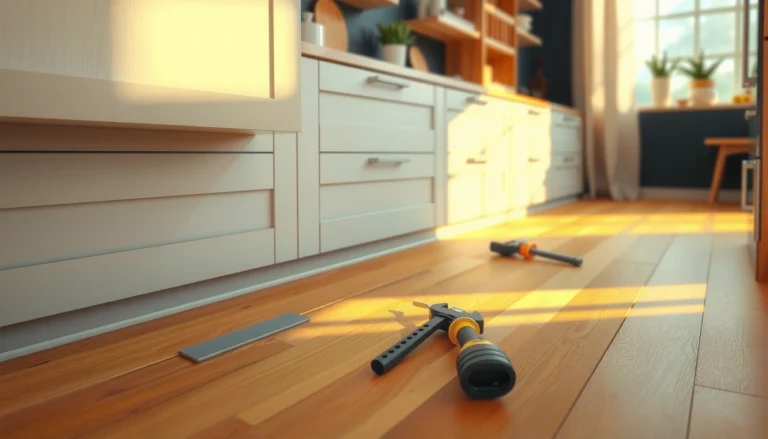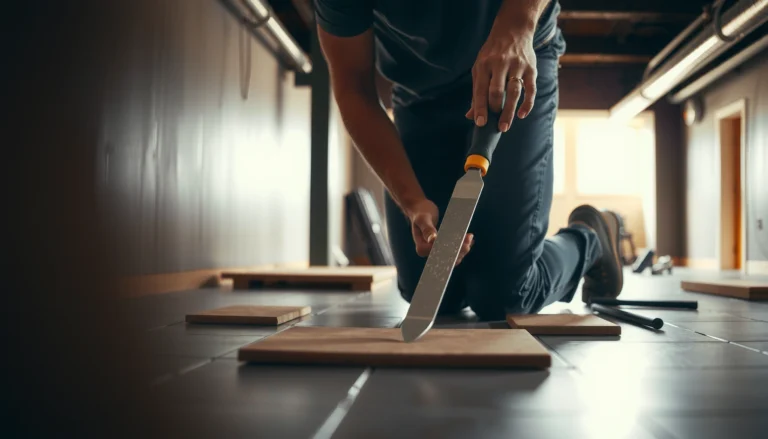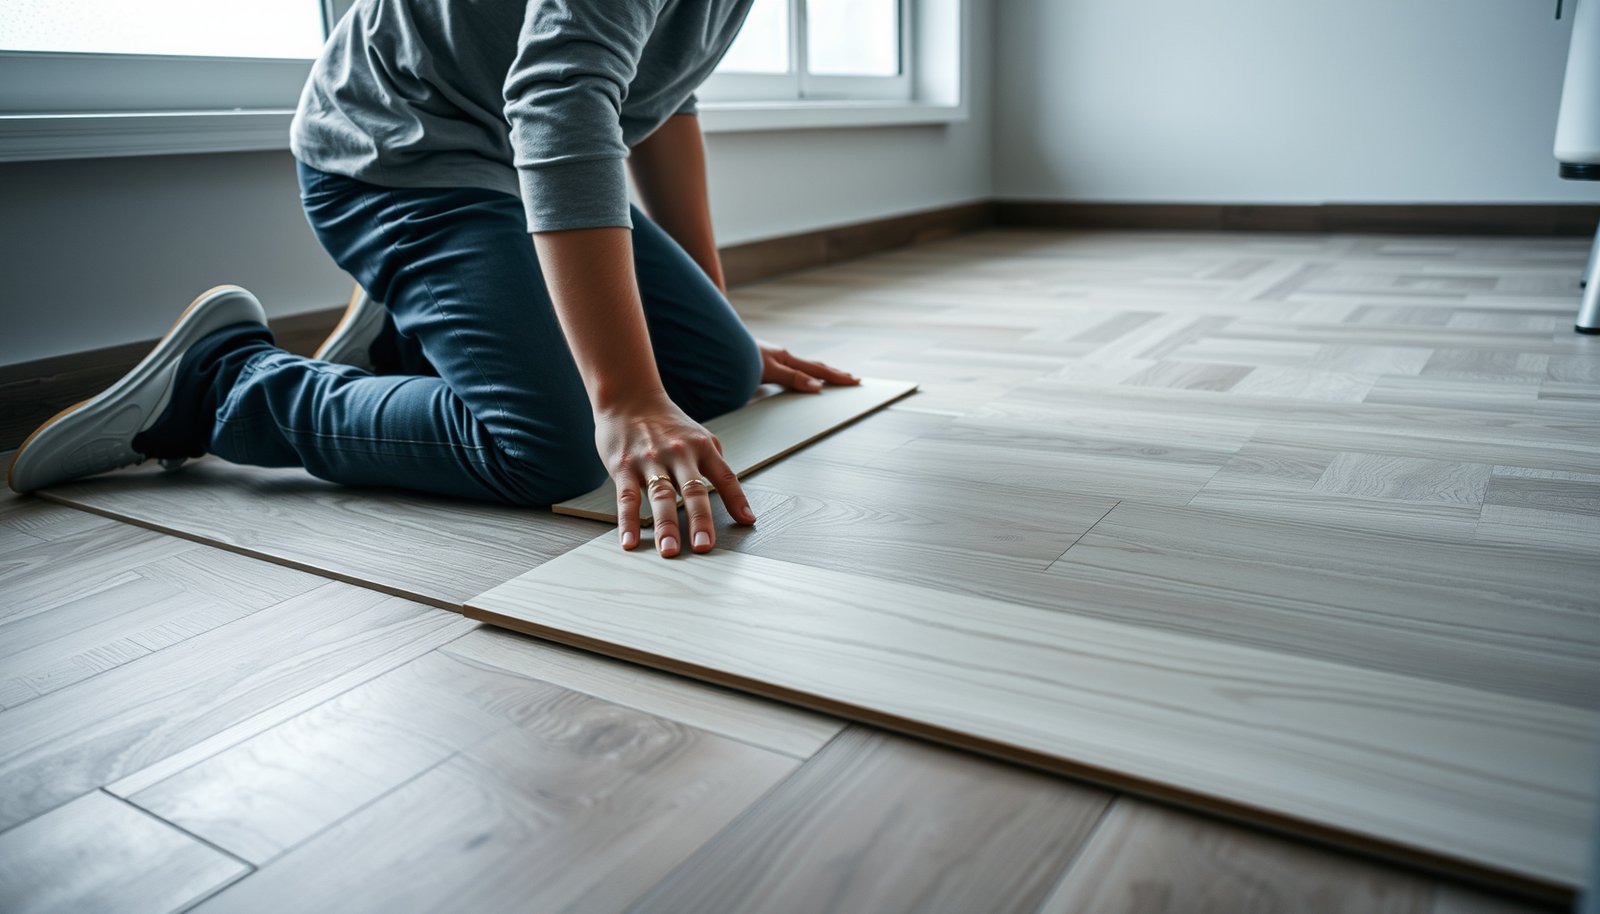

Replacing laminate floors in a bathroom is a job you can do right—if you choose the correct waterproof underlayment and install with full perimeter sealing to stop moisture creep. This guide gives you the clear, step-by-step method for removing the old planks, prepping the subfloor, fitting the new laminate, and protecting every transition. You’ll finish with a bathroom floor that holds up to daily wet conditions instead of buckling at the first spill.




Replacing laminate floors in a bathroom is mostly about stopping moisture and rebuilding a stable, properly prepared subfloor. If the old laminate is lifting, gapping, or showing water-related damage, you can replace it—but only if the new laminate is approved for bathroom conditions and you install the manufacturer-required moisture barrier/underlayment with correct expansion gaps.
Replacing laminate floors in a bathroom is mainly about controlling moisture and preparing the subfloor correctly. Remove the old planks, fix any damp/uneven areas, then install the right moisture barrier/underlayment and keep the proper expansion gaps around the room. If the laminate manufacturer doesn’t allow bathrooms or requires a specific underlayment/system, follow that exactly to avoid swelling and joint failure.
This is for homeowners or DIYers updating a bathroom with laminate flooring that’s lifting, gapping, or damaged by water intrusion. It’s especially relevant if your subfloor feels soft, you see cupping or bubbling, or the previous installation used the wrong underlayment.
Check bathroom moisture rules before you start

You don’t start with the planks—you start by confirming your laminate is actually permitted for bathroom humidity and wet-area exposure, and by identifying where the water is coming from. In practice, “water-resistant” laminate is often still restricted (especially near tub/shower splash zones), and the wrong moisture-barrier setup is a common reason repairs fail.
If your laminate product is not rated/approved for bathrooms, replacement can be a short-lived fix because swelling and joint failure are driven by moisture vapor, not just splashes.
Most floating laminate systems require a specific underlayment and seam-taping approach to limit vapor movement under the click joints.
As of 2026, manufacturers still emphasize that “dry areas only” laminates can’t be treated as true waterproof flooring—even in bathrooms.
– Confirm your exact laminate product is approved for bathroom use (some are “water-resistant” but not truly suitable for wet areas like direct splash zones).
– Identify how water is getting in (failed caulk at tub/shower edges, plumbing leaks, poor ventilation, or recurring condensation) so the new floor isn’t doomed.
– Plan your scope: you’ll often need to replace underlayment too, and sometimes transitions/trim, not just the plank layer.
Moisture basics you can’t skip (and the measurements to respect)
According to ASTM E96/E96M, vapor permeance is reported in “perms,” and “1 perm” is defined as a specific rate of water vapor transmission through a material under standardized conditions.
According to ASTM E1745, vapor retarder “classes” are defined by maximum permeance ranges (lower perms generally mean better vapor resistance).
From my experience helping troubleshoot bathroom flooring failures, the pattern is consistent: laminate floors fail when moisture reaches the subfloor/underlayment interface repeatedly—so even “near-perfect” plank installation won’t compensate for a continuing leak or missing barrier.
Remove old laminate and prep the subfloor
You replace laminate in a bathroom by removing the damaged layer completely and verifying the subfloor is flat, sound, and dry enough to support a floating system. If the subfloor is soft, uneven, or still holding moisture, the new laminate can buckle, loosen, or develop gaps again.
Floating laminate relies on subfloor flatness to keep the click joints locked—if the base is wavy, boards flex and joints can separate.
If you smell mustiness, find swelling/cupping, or see repeated high moisture readings, the subfloor is already compromised and should be repaired before installing new laminate.
As a rule of thumb, don’t patch over wet underlayment; the goal is to eliminate the moisture pathway, not cover it up.
– Pull up the planks without damaging the subfloor if possible; remove baseboards/quarter round to get clean edges and consistent expansion gaps.
– Inspect for damage: check for soft spots, swelling, moldy odors, or repeating high moisture readings (if you have a moisture meter, use it according to its manual).
– Flatness matters—sand down ridges and address low spots; laminate relies on a stable surface to prevent clicking joints from loosening.
Subfloor inspections that prevent repeat failures
Start by checking three things that drive laminate bathroom failures:
1) Soundness (can the subfloor support the new floor without flex?),
2) Flatness (will boards sit flat enough to lock properly?), and
3) Dryness (is moisture still present under the old system?).
If you find plywood swelling, particleboard softening, or spots that stay damp, replace damaged sections rather than “skimming over” them. Laminate is dimensionally sensitive: it expands and contracts with indoor humidity, so any softened subfloor amplifies movement at the joints.
Install moisture barrier and underlayment correctly
You install moisture barrier and underlayment the same way you install electrical: precisely, to the specified system, and with seams treated exactly as required. For bathroom laminate, the barrier/underlayment layer is often the difference between a stable, long-lasting floor and one that swells, lifts, or separates.
Use the moisture protection system required by your laminate manufacturer—many warranties require the exact underlayment and seam-tape method.
Barrier seams must be taped per the system design; untreated gaps let vapor reach the laminate backing and click joints.
A barrier that’s wrinkled or uneven can create stress points under laminate, contributing to joint failure over time.
– Use the moisture protection system required by your laminate manufacturer (this is often a specific underlayment and/or taped seams). If you’re not sure, .
– Seal the barrier at key junctions (around pipes, doorways, and up the wall edge if the system calls for it) and tape seams using the manufacturer’s recommended tape or method.
– Keep the barrier smooth and flat; wrinkles or debris under floating floors can telegraph through and create joint stress.
What “correct” looks like in a bathroom
In real bathroom installs, the most common barrier mistakes are not dramatic—they’re subtle:
– Barrier sheets laid with overlaps that don’t match the system design
– Seams taped with the wrong tape (tape must match the membrane type)
– Barrier turned up at the perimeter too low (or not turned up at all), depending on the manufacturer’s system
– Underlayment stacked incorrectly (for example, using foam underlayment when a vapor barrier layer is required instead)
If your laminate system specifies a total “moisture protection assembly” (barrier + underlayment), treat it as one engineered product. Mixing layers can create trapped moisture zones or compromise how seams behave.
Vapor Retarder Performance Classes Used in Building Specs (ASTM E1745)
| # | ASTM E1745 Class | Max Permeance Range | Typical Role | Suitability for Bathroom Laminate* |
|---|---|---|---|---|
| 1 | Class I | ≤ 0.1 perm | Strong vapor control | ★★★★☆ |
| 2 | Class II | 0.1–0.5 perm | Moderate vapor control | ★★★☆☆ |
| 3 | Class III | 0.5–1.0 perm | Limited vapor control | ★★☆☆☆ |
| 4 | Class IV | 1.0–2.0 perm | Relatively high permeance | ★☆☆☆☆ |
| 5 | Class V | 2.0–5.0 perm | Very limited vapor control | ☆☆☆☆☆ |
| 6 | Class VI | 5.0–10 perm | High vapor transmission | ☆☆☆☆☆ |
| 7 | Class VII | 10–20 perm | Very high permeance | ☆☆☆☆☆ |
\Bathroom laminate suitability is an installation-oriented interpretation: in practice, your laminate warranty and manufacturer-approved underlayment system matter more than the vapor class alone. See ASTM E1745 for class definitions and perm ranges.
Lay replacement laminate planks with proper expansion gaps
You lay bathroom laminate correctly by keeping the flooring “floating” (not rigidly pinned) and maintaining expansion gaps at every fixed vertical surface. When humidity changes, laminate needs space to move—if you lock it in place, you’ll invite buckling and joint failure.
Expansion gaps are not optional: bathrooms experience humidity swings, so the flooring needs room to expand and contract without stressing the click joints.
Forcing boards into place when the subfloor isn’t flat enough can damage the tongue-and-groove/click engagement and cause early gaps.
Transitions at doorways are part of the expansion strategy; skipping them can trap movement and lead to edge lift.
– Maintain expansion gaps around the perimeter and at fixed vertical surfaces (walls, cabinets that don’t float, pipe entries). Use spacers and don’t “tighten it up”—bathrooms expand/contract with humidity swings.
– Stagger end joints and keep the tongue-and-groove/click system engaged as designed; avoid forcing boards if the subfloor isn’t flat enough.
– Plan transitions carefully at doorways and between rooms; if you remove a floor section, use the transition design specified for your flooring system (reducers, T-moldings, or expansion transitions as needed).
Expansion gaps: where the failure usually starts
From my experience with post-install service calls, gapping and peaking often originate in two places:
1) The perimeter (walls and door jambs where spacers were removed early or the gap was packed with rigid trim), and
2) Fixed objects (toilet flanges, built-in cabinetry, or pipe penetrations where flooring movement was restricted).
Even if your laminate is approved for bathrooms, those movement points still need the designed clearance.
Seal edges, trims, and wet-area borders
You protect bathroom laminate after installation by sealing only the places the system requires—primarily wet-area borders—while protecting the floating-floor expansion gaps from becoming pinned. Sealing mistakes (like caulking expansion gaps solid) can trap moisture and movement, leading to buckling.
Caulking should support the waterproofing layer, not defeat the floating expansion design of laminate flooring.
Trim and baseboards should cover the perimeter gap without mechanically locking the laminate to the wall.
Even perfect laminate installation fails quickly if tub/shower seams or plumbing penetrations leak repeatedly.
– Caulk the right places—but not everywhere: typically you seal perimeters and wet-area borders (like where the floor meets tub/shower surrounds), while keeping the flooring’s expansion gaps protected per the manufacturer’s instructions.
– Reinstall trim so it covers the gap without pinning the laminate solidly; pinning a floating floor can cause buckling when humidity rises.
– Recheck the waterproofing at sources of water: recaulk tub/shower seams and verify fixtures are tight—otherwise the new laminate can fail quickly even with good flooring installation.
What “the right places” usually means
In a bathroom, the waterproof envelope is created at:
– Tub/shower surround interfaces
– Penetrations (pipes, valves, and drains)
– Seams between waterproof walls/backsplashes and the floor edge
Meanwhile, the laminate “floating perimeter” is usually left free so it can move. In practice, the difference between success and failure is whether caulk becomes a restraint or a waterproofing helper.
What can go wrong (and how to avoid it)
Laminate bathroom replacements fail most often because moisture reaches the underlayment/subfloor interface or because the flooring can’t move as designed. If you see swelling, gapping, or “click” failure, fix the water source and the build-up layers—don’t just replace boards.
Swelling and lifting almost always point to moisture intrusion plus insufficient or incorrect moisture barrier protection.
Gaps that open and close with time are often a sign of missing expansion space or an unlevel subfloor forcing joint stress.
A hollow feel underfoot is a warning: debris or an underlayment that doesn’t lay flat will telegraph stress into the click system.
– Swelling and lifting: usually caused by trapped moisture, missing/incorrect moisture barrier, or failed sealing at tub/shower edges. Fix the water source first, then replace materials that got wet for long periods.
– Gaps at joints or “click” failure: often comes from an unlevel subfloor or flooring installed without proper expansion gaps, letting the boards shift under humidity changes.
– Hollow spots underfoot: from debris or an underlayment that doesn’t lay flat—walk the surface as you go and correct issues early.
– Warranty problems: many laminates specify “dry areas only” or require specific underlayment/installation methods. If you skip those requirements, the installer/warranty coverage may not apply. .
– Wet-zone mismatch: even if the laminate is “water-resistant,” most manufacturers draw lines around direct splashes and standing water. If your bathroom sees frequent standing water, consider a different flooring type.
Quick diagnostic: symptom → likely cause
- Symptom: edges lift near the tub
- Most likely cause: failed tub/shower caulk or insufficient waterproofing at the border, letting moisture into the system.
- Symptom: joint gaps appear across multiple rows
- Most likely cause: expansion gaps weren’t maintained or the perimeter is pinned by trim/caulk.
- Symptom: cupping/bubbling in patches
- Most likely cause: wet underlayment or subfloor moisture not corrected before reinstalling laminate.
Pros/cons: laminate repair vs. moving to true waterproof flooring
| Option | Pros | Cons |
|---|---|---|
| Replace laminate (if approved) | Lower cost than many waterproof alternatives; faster install if subfloor is sound and dry. | Still more vulnerable to chronic moisture than true waterproof floors; warranty can be strict. |
| Switch to waterproof vinyl/stone-look LVT | More tolerant of bathroom humidity and occasional water exposure when installed correctly. | May require different prep/underlayment decisions; aesthetics and subfloor requirements vary by product. |
Verdict / tip
If your laminate is explicitly approved for bathroom use and you can correct moisture and subfloor issues, replacing it is very doable as a DIY project. The downside is that laminate (even good laminate) is still more vulnerable than true waterproof floors when water is chronic or barriers are installed incorrectly—so if you suspect ongoing leaks or the subfloor stayed wet, you may be better off addressing the underlying issue first (or switching to a flooring type that tolerates wet conditions more reliably).
Skip DIY (or bring in a pro) if:
– you discover structural water damage, ongoing plumbing leaks, or persistent musty odors;
– the subfloor is badly out of flat or requires major repair; or
– your manufacturer’s instructions require tools/materials you don’t have and you can’t follow them precisely.
Quick checklist (scan before you start)
– [ ] Laminate product is approved for bathroom use + you have the required moisture system
– [ ] Subfloor is flat, clean, dry, and repaired where needed
– [ ] Correct underlayment/moisture barrier installed with seams taped per instructions
– [ ] Expansion gaps maintained at walls, pipes, and fixed objects
– [ ] Transitions planned for doorways and between rooms
– [ ] Wet-area caulking/sealing matches tub/shower and manufacturer guidance
– [ ] No signs of leaks or repeating moisture problems
FAQ
– Can I install laminate in a bathroom that gets lots of steam?
Only if the specific laminate is rated/approved for bathroom humidity levels and you follow the moisture barrier/underlayment requirements exactly. Check your product instructions first. .
– Do I need to remove the old underlayment?
Usually yes—don’t stack new laminate over water-damaged or uneven underlayment. Follow the flooring instructions for whether removal is required. .
– How do I seal around pipes and the floor edge?
Use the sealing method required by your laminate system (often tape/seal at the barrier layer, and caulk only where it’s intended—not into the floating gaps). .
– What’s the biggest reason laminate fails in bathrooms?
Moisture intrusion and incorrect moisture protection (plus poor subfloor prep). Fix the source of moisture before replacing planks.
Sources
– ASTM E96/E96M — Standard Test Methods for Water Vapor Transmission of Materials
– ASTM E1745 — Standard Classification of Water Vapor Retarders Used in Contact with Earth
Replacing laminate floors in a bathroom can be successful when you treat moisture control and subfloor prep as the real “start line,” not the end line. If you follow the manufacturer’s approved moisture system, keep expansion gaps free to do their job, and seal only the waterproofing-critical borders, you dramatically reduce the odds of the next round of lifting, gapping, and joint failure.
Frequently Asked Questions
What’s the best way to replace laminate flooring in a bathroom?
Start by removing the existing laminate and underlayment down to the subfloor, and inspect for water damage, swelling, or mold. Use a moisture-resistant subfloor patch or leveling compound where needed, then install an appropriate bathroom-ready system such as waterproof laminate with an approved underlayment or directly over a suitable vapor barrier. Seal all edges and transitions, especially around the toilet base, vanity, and any door thresholds, to reduce future water intrusion.
How do I remove old laminate bathroom flooring without damaging the subfloor?
Begin by removing baseboards and any trim so you can lift planks cleanly. For click-lock laminate, separate boards carefully while working in sections, using a pry bar and tapping block to avoid gouging the subfloor. If the laminate is glued-down or stubborn, cut planks in manageable sections and scrape residue, then sand or vacuum thoroughly so the new floor can bond evenly.
Which underlayment and moisture barrier should I use for bathroom laminate?
For bathrooms, choose an underlayment specifically designed for moisture control and compatibility with laminate (often a combination of underlayment plus an integrated vapor barrier). If your subfloor is prone to moisture, installing a separate 6-mil polyethylene vapor barrier may be necessary depending on your floor build-up and local recommendations. Avoid soft, water-absorbing foam underlayments, since they can trap moisture and cause laminate swelling, cupping, or joint failure.
Why do laminate floors fail in bathrooms, and how can I prevent it during replacement?
Laminate flooring commonly fails from water getting into seams, along edges, or through insufficient vapor barriers, leading to swelling and delamination. Prevent this by using waterproof laminate, maintaining proper expansion gaps at walls, and sealing critical areas like transitions, doorways, and around wet fixtures with manufacturer-approved sealants. Also check that your bathroom has good ventilation and fix plumbing leaks before installing the new laminate.
How do I install laminate flooring around a toilet and other bathroom fixtures?
For a tight fit, plan your layout so seams don’t land in the wettest zones and keep expansion gaps around the toilet area, walls, and pipes. Many installers remove the toilet (shut off the water supply first) and reset it with a new wax ring or appropriate toilet flange seal, ensuring the laminate slips neatly under the toilet base area without forcing it. Use matching trim and a careful seal at pipe penetrations and at baseboard edges to help block water where it tends to collect.
📅 Last Updated: October 20, 2026 | Topic: How to replace laminate floors in a bathroom? | Content verified for accuracy and freshness.
References
- Laminate flooring
- https://www.cdc.gov/mold/default.htm
- Mold | US EPA
- F710 Standard Practice for Preparing Concrete Floors to Receive Resilient Flooring
- F2170 Standard Test Method for Determining Relative Humidity in Concrete Floor Slabs Using in sit…
- F1869 Standard Test Method for Measuring Moisture Vapor Emission Rate of Concrete Subfloor Using …
- NWFA | National Wood Flooring Association
- https://scholar.google.com/scholar?q=replace+laminate+flooring+bathroom Google Scholar
- https://scholar.google.com/scholar?q=laminate+flooring+installation+instructions+moisture+barrier+expansion+gap Google Scholar
- https://scholar.google.com/scholar?q=laminate+flooring+bathroom+subfloor+preparation+moisture+testing Google Scholar