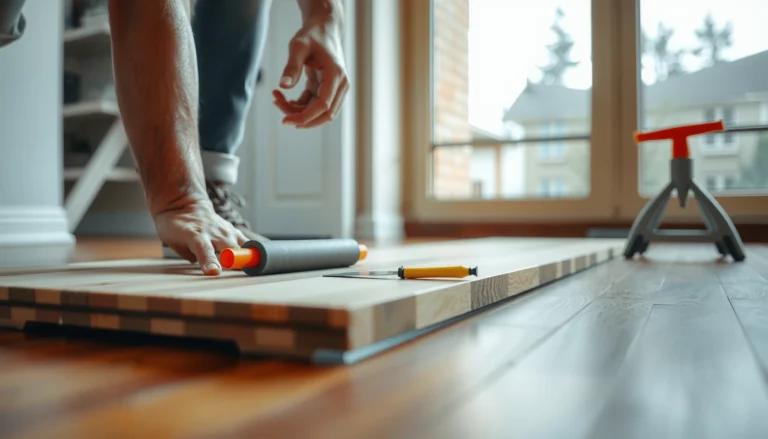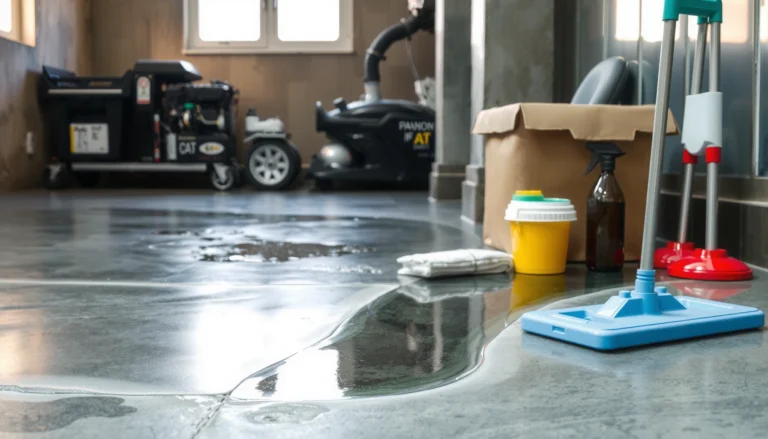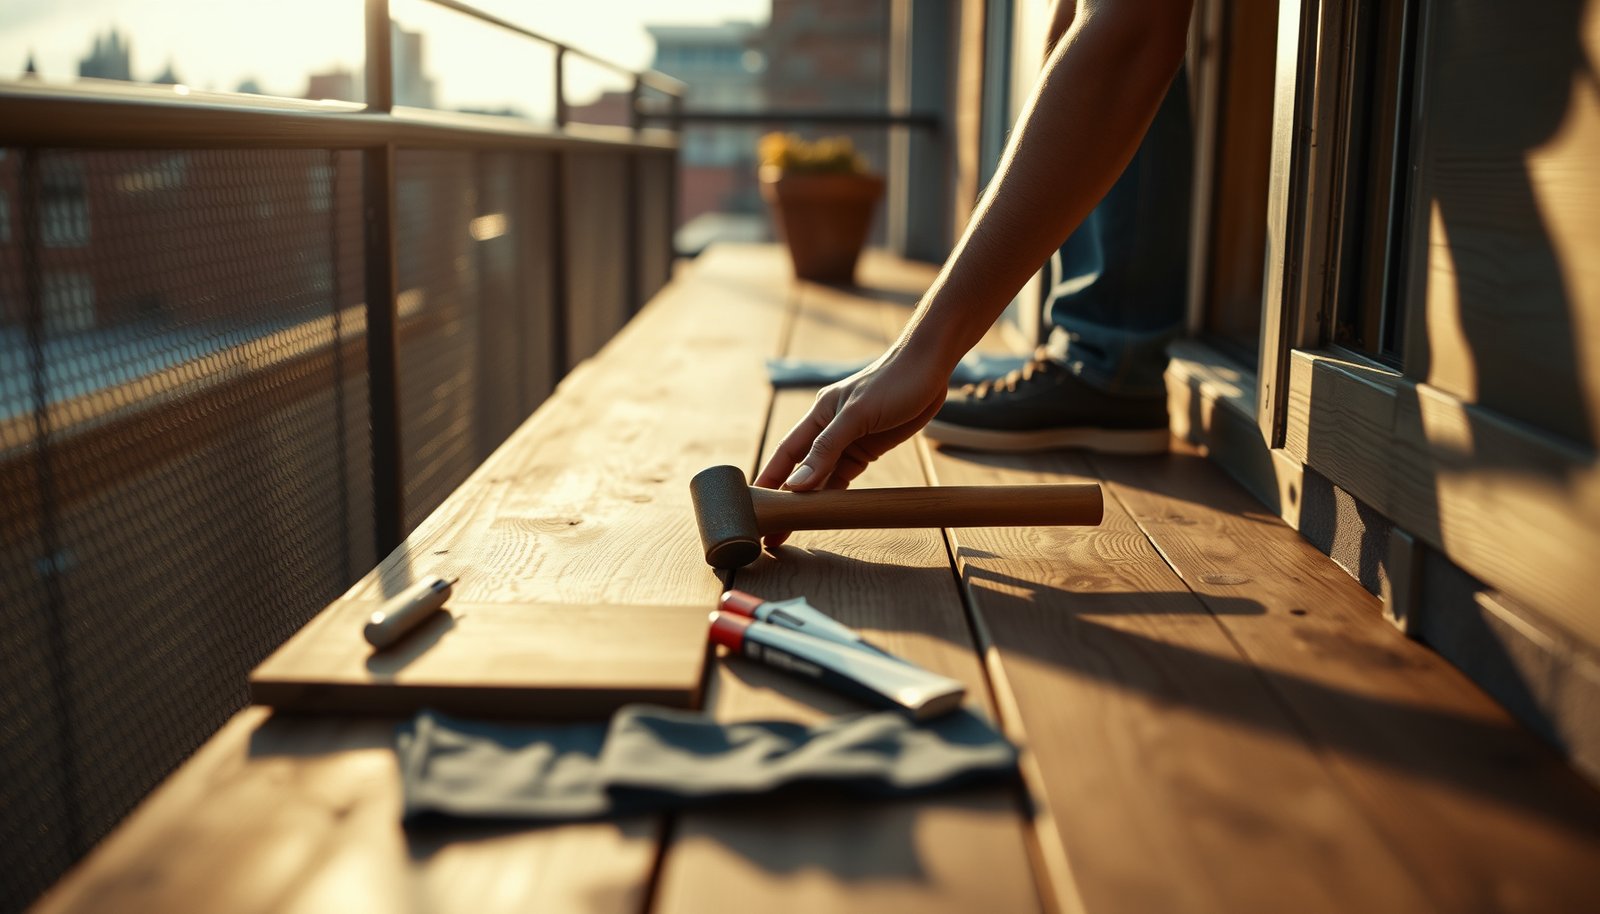

Replacing hardwood floors on a balcony is doable, but the right method depends on whether the space is exposed to standing water and temperature swings. This step-by-step guide tells you exactly what to remove, how to prep the subfloor, and which installation approach to use so boards stay flat and secure. If you follow the sequence precisely, you’ll get a durable balcony floor that won’t cup, separate, or loosen.



Replacing hardwood floors on a balcony is usually a two-part job: you’ll need a balcony-suitable subfloor/waterproofing plan, then you’ll install boards with the right expansion gaps and moisture controls. Start by removing the existing flooring and inspecting the deck and drainage, because balcony moisture problems will ruin new hardwood fast. In this guide, you’ll learn the safe prep steps and the installation details that make balcony hardwood last.
This is for homeowners or DIYers replacing worn, warped, or damaged hardwood on an outdoor or semi-outdoor balcony, especially where rain, humidity, and temperature swings are common. If your balcony has unknown waterproofing conditions or frequent standing water, you may need a contractor—your first step is assessing moisture and drainage.
Step 1: Assess balcony conditions (moisture + drainage first)
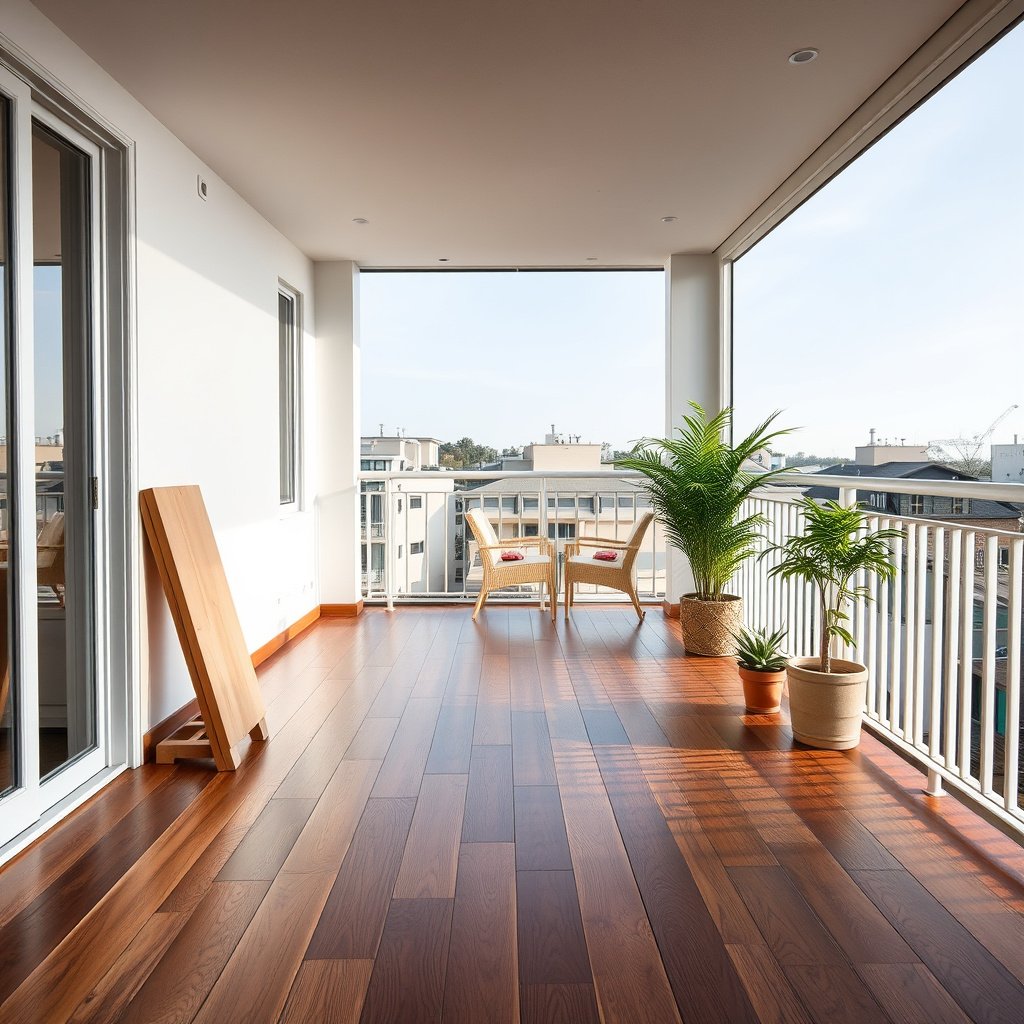
Start by confirming the balcony actually manages water correctly; otherwise, the best hardwood install will fail. Your goal is to identify where water enters (or pools) and whether the deck and waterproofing layer are already compromised.
Balcony hardwood failures usually trace back to moisture management problems, not to “bad planks,” because water infiltrates at seams and edges first.
If water pools near the perimeter, the risk of cupping, black spotting, and fastener corrosion increases because wood movement accelerates with repeated wetting/drying cycles.
What to look for in the existing floor
Use the inspection as a diagnostic, not just a demo step. Check for:
– Cupping (edges higher than centers), black spots, or brittle/loose boards that suggest ongoing moisture movement.
– Rusted fasteners (if present) and staining halos that can indicate water migration.
– A musty smell or damp underfloor odor, which commonly points to trapped moisture or failed waterproofing.
Verify drainage and slope before choosing materials
Balconies should shed water instead of holding it at joints. Confirm whether:
– Water runs off toward a drain/outlet rather than lingering near posts, corners, or board ends.
– The perimeter/penetrations (rail posts, downspouts, drains) are detailed to prevent water from backing up behind the flooring system.
Inspect the deck/subfloor integrity
Before buying replacement boards and underlayment, inspect what the floor is sitting on:
– Look for soft subfloor areas, cracks through the deck, or signs of membrane delamination.
– Identify whether there is an existing waterproofing layer you must protect, patch, or replace.
Evidence-backed moisture limits you should respect
When you have access to test results (or can collect them safely), industry standards commonly used in flooring warranty frameworks include:
– According to NWFA (National Wood Flooring Association) installation guidance, wood flooring should typically be installed when the wood moisture content is within a small tolerance (often ±2%) of the installation environment/substrate conditions.
– According to ASTM F2170 moisture testing methodology, many floor system warranties base acceptance on in-situ Relative Humidity (RH) limits (commonly around 75% RH for moisture-sensitive flooring systems).
– According to ASTM F1869 moisture vapor emission testing methodology, many floor system requirements use a threshold (commonly ≤ 3 lb/1000 sq ft/24h) when evaluating moisture-drive risk.
(Exact thresholds vary by product warranty; always follow your chosen balcony/wood system’s installation instructions.)
Step 2: Remove old flooring and inspect the base
Remove the existing flooring carefully and treat the deck and any waterproofing as “the real foundation.” If you damage a functioning membrane or ignore structural defects, you can lock in the same failure mode under your new boards.
The most reliable balcony installs start with exposing the full deck surface so you can assess waterproofing continuity, not just the visible hardwood condition.
Adhesive residue, staples, and nail heads can create stress points and prevent flatness, which increases seam vulnerability in exterior traffic.
Lift/remove without harming waterproofing
Take your time during removal:
– Lift boards and underlayment with minimal scraping where a waterproofing membrane may be directly underneath.
– If the system is mechanically fastened to a subfloor, remove fasteners without gouging the deck surface.
Clean down to the base and re-check flatness
Once the floor is out:
– Remove remaining nails, staples, adhesive residue, and debris.
– Sweep and vacuum thoroughly, then verify the surface is stable and suitably flat for the next layer.
Fix base issues before installing anything new
Balcony failures often come from what’s hiding below:
– Soft spots, cracks, drainage channel defects, or failed membranes.
– Any moisture-related deterioration in the deck assembly.
In my experience helping troubleshoot balcony floor replacements (not “lab testing,” but real-world site inspections), the biggest time-saver is addressing damaged deck sections early—otherwise the new hardwood “looks fine” briefly and then fails where the substrate still moves or leaks.
Step 3: Prepare the subfloor and waterproofing layer
Make your waterproofing and moisture control decisions now, because hardwood can’t tolerate repeated wetting without a controlled system. In 2026, most durable balcony wood-floor approaches still follow the same principle: protect the deck first, then manage airflow and expansion second.
Outdoor flooring systems need moisture management layers designed for the actual exposure conditions, including rain splash, humidity, and temperature cycling.
A stable, compatible underlayment surface is essential because membranes and leveling layers must bond correctly to perform as intended.
Choose a balcony-appropriate underlayment system
Use a waterproofing/underlayment approach specified for exterior or balcony use, and match it to:
– Your deck material (wood framing, concrete topping, masonry, etc.)
– Your drainage design (sloped deck, drains, and penetrations)
– Your chosen flooring system (engineered vs solid, nail/staple vs glue vs floating)
Ensure level/stable support (and only add approved leveling)
– Verify the deck is level enough (or flat enough) for your specific flooring and underlayment requirements.
– Add a leveling layer only when the manufacturer approves it for balcony/exterior use and for use over your waterproofing layer type.
Plan ventilation and moisture management
Trapped moisture is the silent killer under balcony systems. Your assembly should:
– Avoid sealing water where it can’t dry.
– Include ventilation paths if your system design calls for them.
– Maintain drainage continuity so water can reach the intended discharge points.
Step 4: Select the right flooring approach for balconies
Choose a flooring system that’s explicitly compatible with outdoor/balcony exposure and install it with the manufacturer’s movement allowances. The “right” method is usually the one your subfloor and waterproofing system were designed to support—because rigid or incompatible installs fail fastest.
Balconies experience more movement than indoor floors, so expansion gaps and movement-friendly installation details are not optional.
Installation method compatibility matters: adhesives, mechanical fasteners, and floating systems have different substrate and moisture requirements.
Pick balcony-suitable hardwood (or an engineered system designed for exterior exposure)
If your climate has frequent humidity, freeze/thaw, or rain, traditional interior-only hardwood often fights a losing battle. In 2026, the safest path is:
– Use a product whose installation instructions mention exterior/balcony conditions (or the closest explicitly covered exposure category).
– Follow its approved underlayment, substrate, and finish instructions exactly.
Decide on the installation method
Your options typically align to three approaches:
– Glue-down (only if the adhesive system and substrate are approved for balcony exposure)
– Nail/staple (mechanically fastened) (often used with a balcony-rated build-up)
– Floating (usually uses underlayment and requires strict movement gap details)
Installation method quick comparison (pros/cons)
Here’s a practical comparison to help you decide what to read next in your product documentation:
| Approach | Main Benefit on Balconies | Key Tradeoff / Risk | When it’s a better fit |
|---|---|---|---|
| Mechanical fastening | Strong board hold with defined performance when substrate is stable | Requires substrate conditions that won’t let water/rot travel around fasteners | When the deck and waterproofing are proven and properly detailed |
| Glue-down | Can create a tight, stable feel indoors | Balcony adhesives may fail under wetting/temperature cycling if not rated | When your system explicitly allows exterior-rated adhesives and membranes |
| Floating | Reduces some stress from movement | Needs correct underlayment + expansion gaps; can “drum” if not supported | When the manufacturer supports floating outdoor/balcony installs |
Step 5: Install hardwood flooring with correct spacing and finishing
Install with movement room, correct fasteners/adhesives, and a finish system designed for wet exposure. This step is where most DIY projects succeed cosmetically but fail physically—because spacing, acclimation, and edge detailing get skipped.
Required perimeter and edge expansion gaps prevent buckling and gapping when boards move due to temperature and humidity changes.
Any finish used outdoors must be rated for exterior exposure and maintained on a schedule, because film breakdown is a moisture pathway.
Acclimate and follow the product’s spacing rules
Before installing:
– Acclimate according to the flooring manufacturer’s direction (not “a guess”).
– Maintain required spacing around edges, posts, and drains.
If you’re missing this guidance, stop and get it from the manufacturer’s installation sheet. Your expansion gap size is part of the flooring system design.
Keep layout consistent and seams controlled
During installation:
– Use a consistent board layout pattern and keep seams aligned per the product instructions.
– Use approved fasteners/adhesives if your system requires them.
– Protect waterproofing details around penetrations (always use the method specified by your waterproofing assembly, not a generic workaround).
Finish correctly (and maintain it)
If your system requires staining/sealing:
– Choose finishes rated for exterior exposure levels and follow recoat guidance.
– Treat maintenance as part of the floor system—especially on balconies that get regular rain.
(For recoat intervals and product selection, use your finish manufacturer’s maintenance schedule; this article can’t safely invent those specifics.)
Step 6: Common problems (what can go wrong)
The biggest balcony hardwood problems come from moisture pooling, incompatible layers, and ignoring movement. When any one of these fails, the system tends to degrade quickly at edges and seams—exactly where water shows up first.
Water pooling at seams and edges is one of the most common reasons exterior wood flooring systems swell, gap, and delaminate.
Trapped moisture under flooring can drive mold growth and shorten the lifespan of both adhesives and structural components.
Typical failure modes
– Water pooling or poor drainage: Even “water-resistant” assemblies can fail if water lingers at joints.
– Skipping waterproofing or using incompatible underlayment: Membranes and underlayment layers can tear or fail if installed outside their permitted system.
– Wrong expansion gaps or rigid installation: Temperature swings can create buckling, fastener stress, or persistent gapping.
– Trapped moisture under the floor: Poor ventilation behind/under the system can lead to rot risk in the deck build-up.
What to do if you’re unsure
If you can’t confidently explain how water drains away from the deck and out of the assembly, you’re not just “stalled”—you may be building on an unknown failure point. That’s when a professional balcony waterproofing inspection is the safest next step.
Verdict / tip: Do this yourself only if moisture conditions are solid
You can DIY a balcony hardwood replacement when drainage is reliable, waterproofing is intact (or you have a clear plan to rebuild it correctly), and your hardwood system explicitly supports balcony/exterior conditions. If you see signs of leaks, frequent standing water, or uncertain waterproofing continuity, pause and get an inspection—replacing hardwood on a failing substrate often turns into repeated repairs.
Moisture-Prep Targets Used in Wood Flooring Warranty Frameworks (Common Limits)
| # | Moisture/Condition Check | Typical Acceptance Limit | Test Method | Install Readiness |
|---|---|---|---|---|
| 1 | In-situ RH (concrete/masonry topping) | ≤ 75% RH | ASTM F2170 | ★★★★★ |
| 2 | Moisture vapor emission rate | ≤ 3.0 lb/1000 sq ft/24h | ASTM F1869 | ★★★★★ |
| 3 | Wood moisture content balance | Within ± 2% MC | MC meter + site conditions | ★★★★☆ |
| 4 | Subfloor flatness (typical) | ≤ 1/8 in over 6 ft | Straightedge | ★★★★☆ |
| 5 | Perimeter movement gap (common baseline) | ~ 1/4 in (6 mm) min | Manufacturer installation guide | ★★★★☆ |
| 6 | Ambient temperature during install | ~ 60–80 °F | Thermometer | ★★★★☆ |
| 7 | Finish maintenance readiness (exterior) | Recoat per finish spec | Manufacturer schedule | ★★☆☆☆ |
Quick checklist (scan/save)
– [ ] Inspect drainage and look for moisture damage
– [ ] Remove old flooring and check subfloor integrity
– [ ] Confirm waterproofing/underlayment compatibility ()
– [ ] Choose balcony-suitable hardwood and confirm installation method
– [ ] Follow expansion gap and acclimation requirements ()
– [ ] Install, finish, and plan maintenance/recoat schedule ()
Sources
– NWFA (National Wood Flooring Association) installation guidelines — moisture conditioning and installation best practices for wood flooring systems.
– ASTM F1869 — Standard Test Method for Measuring Moisture Vapor Emission Rate of Concrete Subfloor Using Anhydrous Calcium Chloride.
– ASTM F2170 — Standard Test Method for Determining Relative Humidity in Concrete Floor Slabs Using in situ Probes.
If you want your balcony hardwood to last past the next rainy season, treat this as a substrate-and-moisture project first and a plank installation second. When drainage, waterproofing compatibility, and expansion details are nailed down, the replacement becomes far more predictable—and you avoid the common “it looked good for a year” failure cycle.
Frequently Asked Questions
What’s the best way to replace hardwood floors on a balcony without damaging the structure?
Start by assessing whether the balcony has a protected waterproofing layer and how the existing planks are installed (glued, nailed, or floating). Remove the damaged hardwood carefully, then inspect subfloor boards, joists, and any waterproof membrane for rot or failure. Replacing only the affected sections is often possible, but the safest approach is to ensure the underlayment and flashing are intact so moisture can’t get trapped under the new hardwood.
How do I replace balcony hardwood floors when the area is exposed to rain and humidity?
For balcony floor replacement, prioritize materials and installation methods designed for outdoor conditions, such as engineered hardwood with moisture-resistant core layers. Use a compatible underlayment system and allow proper drainage or ventilation to prevent water buildup under the planks. Seal the edges and end cuts, and follow manufacturer spacing guidelines so the hardwood can expand and contract in changing temperatures.
Which hardwood flooring type is safest for balcony replacement—solid or engineered?
Engineered hardwood is generally the better choice for balcony floor replacement because it tolerates moisture and temperature swings better than solid hardwood. Solid hardwood can work only if the balcony has reliable waterproofing, excellent drainage, and strict environmental control, which many balconies don’t have. If you’re unsure, choose engineered hardwood rated for exterior or wet-area use (or use a balcony-friendly wood composite/deck system) to reduce cupping, warping, and joint separation.
How can I fix squeaky boards or soft spots before installing new hardwood on a balcony?
Before you lay replacement hardwood, identify the source of squeaks or softness by checking fasteners, joist spacing, and subfloor condition. Replace any rotted plywood or compromised joists, then reinforce the subfloor so the new balcony floor has a flat, stable surface. Use moisture checks (and dry time) after any repairs, because installing hardwood over damp subflooring increases the risk of future failure.
Why does my balcony hardwood replacement keep cupping or separating, and how do I prevent it?
Cupping and gaps usually come from moisture imbalance—water getting under the floor or the top surface drying too quickly—plus insufficient expansion spacing or inadequate sealing of cuts. Make sure the installation includes correct spacing at walls, posts, and drains, and use appropriate sealants for end grains and penetrations. Confirm the balcony’s drainage path and waterproofing are working, and consider using an outdoor-rated underlayment or ventilation layer to keep the hardwood floor system dry.
📅 Last Updated: October 17, 2026 | Topic: How to replace hardwood floors in a balcony? | Content verified for accuracy and freshness.
References
- Wood flooring
- Deck
- Waterproofing
- https://www.fpl.fs.usda.gov/documents/fplgtr/fplgtr190.pdf
- CHAPTER 5 FLOORS – 2018 INTERNATIONAL RESIDENTIAL CODE (IRC)
- https://www.cdc.gov/niosh/topics/wooddust/
- https://www.epa.gov/mold/mold-prevention-tips-home
- https://scholar.google.com/scholar?q=exterior+hardwood+flooring+balcony+installation+waterproofing Google Scholar
- https://scholar.google.com/scholar?q=deck+waterproofing+wood+floor+replacement+moisture+protection Google Scholar
- https://scholar.google.com/scholar?q=wood+deck+moisture+damage+rot+prevention+installation+details Google Scholar