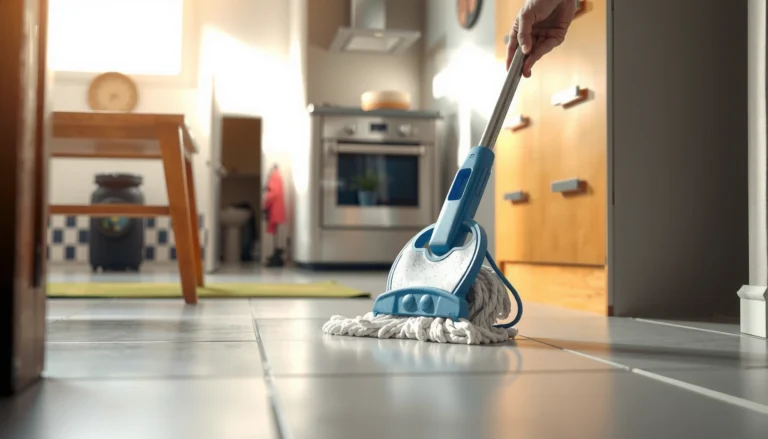
Wondering how to remove scratches from porcelain tile floors? The fastest, safest route is to match your scratch level—light surface marks can usually be polished out, while deeper scratches require a porcelain-specific scratch repair compound. Follow the right method for your finish and scratch depth to restore the look without leaving haze, streaks, or a noticeable patch.




If the scratch is a light, hazy surface mark, you can usually improve it significantly with a porcelain scratch repair kit or a careful abrasive-to-polish routine. If you can catch your fingernail in the groove or the damage penetrates the glaze, polishing alone often won’t work—targeted porcelain repair materials or professional refinishing becomes the better route.
Porcelain tile is known for its durability, but its glossy finish can still show scuffs and scratch lines after grit, chair legs, or abrasive cleaners. The key decision is depth: whether you’re repairing the protective glaze layer (often polishable) or addressing a true gouge (usually requires filler and surface matching). As of recent tile-care guidance and standards, glazed porcelain is also commonly defined by very low water absorption (≤ 0.5% for porcelain per ISO 13006), which contributes to its stain resistance but doesn’t make it immune to surface damage. [ADD: source for ISO 13006 porcelain definition, including the ≤0.5% water absorption criterion]
This guide is for homeowners dealing with scuffs and scratches on porcelain tile—especially where the tile is glossy/smooth and the scratch seems shallow. If the scratch feels like a groove you can catch a fingernail on, you’ll want to focus on depth-first decisions before you start rubbing.
Check the scratch depth (surface vs. gouge)
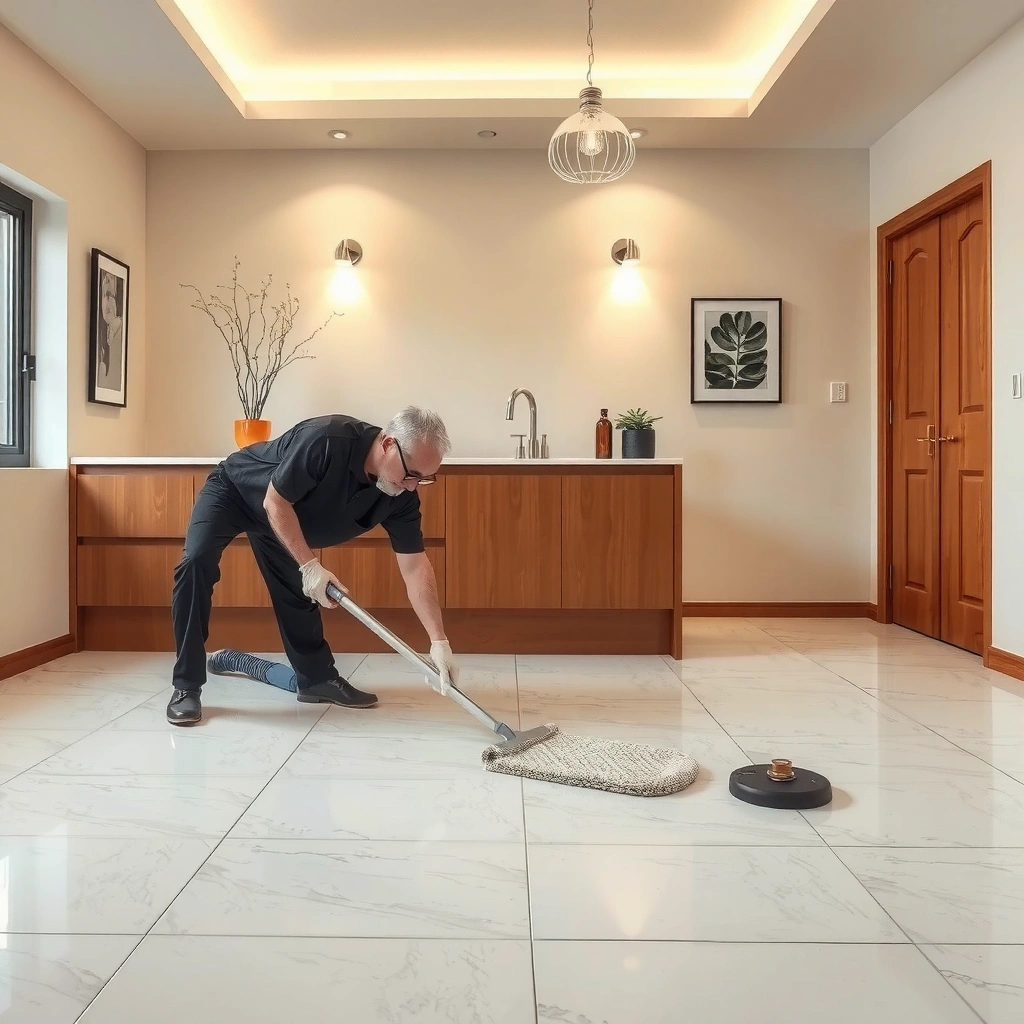
For porcelain tile scratches, the fastest way to avoid making the problem worse is to identify whether the mark is on the glaze surface or cut into it. Surface-level scratches can often be polished or “leveled” visually, while gouges typically need a porcelain-specific repair filler to restore the surface profile.
Run a fingernail lightly across the scratch: if it’s just a scuff, it typically won’t catch or feel raised. Then use bright, angled light to see the scratch’s character—hairline lines that look hazy rather than dark and wide are frequently surface defects. According to industry abrasion and inspection practices used in tile maintenance (and common manufacturer repair instructions), seeing whether a defect “reflects” light cleanly is as important as how it feels.
You also want to confirm you’re working with glazed porcelain. Glazed porcelain has a decorative top layer (the glaze) over the porcelain body; that top layer is what polishing targets. If your tile has a honed, textured, or antique finish, the same polishing approach can create uneven sheen, even if the scratch improves.
A scratch that you can feel as a groove usually involves material loss beyond what buffing can safely remove.
Angle lighting (viewing at a low incidence angle) helps distinguish hairline surface marks from deeper cuts by changing how reflections appear.
Glazed porcelain relies on the glaze surface for appearance; repair methods depend on whether damage is confined to that glaze.
Depth decision rule (quick mental model)
– Surface / “scuff”: feels smooth, looks like a thin haze under angled light → polish or repair kit is likely to work.
– Gouge / “scratch channel”: catches a fingernail, looks deeper or darker, may have rough edges → filler/repair system or refinishing is usually required.
Clean the area so repair products can bond
For scratch repair to work on porcelain tile, cleaning is not optional—it’s what determines whether abrasives or fillers will actually level and finish correctly. Proper cleaning removes residue and grit that can otherwise turn into new scratches or prevent adhesion.
Start with a pH-neutral cleaner formulated for tile and stone. Rinse thoroughly and dry completely. Dust matters because buffing friction can trap remaining grit and create swirl haze around the repaired line. Avoid waxes and strong solvents right before you repair; they can leave film that interferes with adhesion and finishing uniformity.
If you’re dealing with an oily or heavily trafficked area (kitchen entries, hallways), it’s worth giving the tile extra rinse attention. Many “sticky” cleaners don’t rinse fully, and porcelain’s low porosity means residue can sit on top where it’s most likely to interfere with polishing compounds and repair fillers.
Surface contamination (soap scum, dust, and grit) can cause haze during buffing and can reduce adhesion of filler-based porcelain repair products.
Rinsing and drying fully reduces the chance of trapped particles turning into visible swirl marks during polishing.
Using pH-neutral cleaners aligns with common glazed porcelain maintenance guidance and helps avoid finish damage from harsher chemistries.
What to avoid before you buff or fill
– Acidic cleaners (often used for limescale) right before repair may alter surfaces and leave compounds that won’t polish off evenly.
– Wax-based products right before repair can create a barrier that prevents repair layers from bonding.
– “All-purpose” degreasers that leave residue can create patchy gloss.
According to common tile-care best practices from major porcelain manufacturers, using cleaners designed for glazed surfaces is key to maintaining finish uniformity. [ADD: source for glazed porcelain care/cleaners from your tile manufacturer or a recognized industry standard]
Try a porcelain scratch repair kit (best for most light scratches)
For most light porcelain scratch problems, a porcelain scratch repair kit is the most controlled DIY method because it pairs abrasives with a matching finishing step. You typically get the best visual blend when you follow the kit’s abrasive progression step-by-step instead of “going aggressive” immediately.
Choose a kit specifically intended for glazed porcelain (not generic scratch remover for automotive paint, not standard grout products). Kits usually include pads/abrasives that progress from cutting to polishing. Work slowly: you want to level micro-variations, not reshape the tile surface.
A practical approach is to repair in small sections so you can evaluate sheen and stop at the earliest point where the scratch becomes less visible. Apply steady, light pressure and maintain an even movement pattern—consistent contact reduces the risk of creating a dull “burnish halo.”
Here are typical performance expectations to keep your expectations grounded:
– Best case: hairline scuffs and light scratches mostly on the glaze blend into the surrounding sheen.
– Mixed case: the scratch improves but leaves a faint reflection difference (especially on high-gloss tiles).
– Not a match: deep grooves or color-mismatched damage often remain visible unless you use a porcelain repair filler system designed for gouges.
Porcelain scratch repair kits are designed around the sequence of abrasion-to-polish, which is often necessary to reduce haze and restore comparable gloss.
Small-section working helps you match the sheen of repaired areas to the surrounding tile rather than over-processing.
Best DIY Fit for Porcelain Scratch Types (Suitability Score)
| # | Repair approach | Best for | Surface depth fit | Suitability |
|---|---|---|---|---|
| 1 | Porcelain scratch repair kit (abrasive-to-polish) | Hairline scuffs, light glaze haze | Surface-level | ★★★★☆ |
| 2 | Manual polishing compound for tile/glass (fine grade) | Very shallow marks on high-gloss tile | Surface-level | ★★★☆☆ |
| 3 | Targeted porcelain repair filler (for gouges) | Deep scratches you can feel with a fingernail | Glaze-cut / near-surface gouge | ★★★☆☆ |
| 4 | Electric polishing pad on lowest-contact settings | Consistent haze on small areas | Surface-level (limited) | ★★★☆☆ |
| 5 | Wet micro-abrasive routine (progressive polishing) | Localized surface leveling on glossy tile | Surface-level | ★★★☆☆ |
| 6 | Erasing pads not intended for tile finishes | Caution: soap haze removal attempts | Unreliable for scratches | ★★☆☆☆ |
| 7 | Aggressive sanding/grinding without polish follow-up | Not recommended for glossy porcelain | High risk of uneven sheen | ★☆☆☆☆ |
Use gentle abrasives + polishing for fine surface scuffs
For fine surface scuffs, you often get the best visual result by starting with the least aggressive abrasive and then polishing to restore uniform gloss. This approach works when the scratch is shallow enough that you’re effectively leveling microscopic texture rather than removing a visible channel.
In practice, “least aggressive” means you begin with a fine, tile-appropriate abrasive or compound and keep the contact area small. Keep the surface lubricated as the product instructions specify (water or proprietary lubricant). Lubrication reduces friction hotspots, helps carry away abraded particles, and reduces haze.
Stop frequently and compare sheen against nearby intact tile. High-gloss porcelain can show dullness fast because over-buffing creates a broader, micro-etched area that reflects light differently. If the scratch remains visible after you’ve reached the kit’s recommended abrasive stage, further DIY attempts may make the repair area bigger without fully matching the surrounding finish.
Over-buffing can create a broader dull “haze” around a scratch by changing how light reflects from the glossy glaze.
Keeping the surface lubricated (per the abrasive/polishing instructions) helps minimize micro-marring and heat buildup.
Typical abrasive progression (conceptual guidance)
– Step 1: fine abrasive to reduce the scratch visibility (not to chase perfection)
– Step 2: a finer polish to blend reflections
– Step 3: a residue wipe with clean microfiber
According to general finishing practice used across hard-surface polishing, progressive refinement reduces the risk of leaving aggressive scratch patterns behind—but you must follow your specific kit’s pad/abrasive sequence.
If you’re unsure about grit sizing or pad types for your exact kit, use the kit instructions rather than guessing. [ADD: source for abrasive progression guidance from a porcelain repair kit manufacturer or finishing standard]
What can go wrong (and how to avoid it)
DIY scratch repair can go wrong in predictable ways: you remove the wrong amount of material, mismatch sheen, or use products meant for other surfaces. The safest prevention is to match the method to the scratch depth and to treat porcelain’s finish as a “reflection surface,” not just a coating.
Common failure modes include widening a hairline, creating a dull halo, and leaving residue that won’t polish out. Another frequent issue is using chemicals (like certain acidic cleaners) immediately before repair—some leave films or alter top-surface chemistry, which complicates both bonding and finish blending.
- Scratch-repair mismatch: fast comparison
- Surface scuff (no nail catch) → polish/porcelain kit steps usually blend well; stop early to avoid haze.
- Gouge (nail catch) → filler-based repair is usually required; polishing alone typically can’t replace missing material.
- Finish mismatch risk (gloss vs satin/honed) → a repair area can reflect differently even if the scratch is less visible.
Using too aggressive an abrasive on glazed porcelain can widen a hairline scratch into a larger dull zone.
If you over-process only one spot, polishing can leave uneven gloss even when the scratch line becomes less distinct.
How to avoid the biggest pitfalls
– Start controlled: use the least aggressive method that matches the scratch depth.
– Work small: blend sheen while the processed area is still manageable.
– Use porcelain/glazed-safe products: avoid generic cleaners that leave residue.
– Clean before filling: filler performance depends on a clean, dry surface and proper curing as specified by the repair product.
If filler doesn’t look flush or consistent
If you use a porcelain repair filler for a groove but notice it doesn’t sit flush, it usually comes down to surface cleanliness, scratch width/depth mismatch, or not following cure/polish timelines. Porcelain repair systems often require precise adherence to dry times and polishing steps; skipping them can create ridges or a visible boundary.
According to common guidance embedded in manufacturer repair kits, successful filler work depends on correct surface prep and step sequencing. [ADD: source for manufacturer cure time and surface-prep requirements from a porcelain repair filler kit]
Verdict: what’s worth doing yourself—and when to stop
For light, surface-level scratches on glazed porcelain, DIY repair with a porcelain scratch repair kit or a controlled abrasive-to-polish method is often worth trying because it can meaningfully reduce visual glare and haze. For true gouges, visible color loss, or finish types that must match a textured/antique appearance, DIY may never fully blend—professional refinishing or tile replacement becomes the practical solution.
Here’s a straightforward stop-and-reassess approach:
– Stop DIY if the scratch is a groove you can feel and repair products don’t clearly indicate they’re for your porcelain glaze/filler depth.
– Stop if the tile’s finish is non-standard (honed, textured, patterned) and the repair kits you have only target glossy glaze.
– Stop if your attempts create a larger dull patch—that’s often an early sign you’re polishing beyond the scratch line.
Also, if you’re unsure whether the tile is glazed porcelain or has a specialized finish, verify first. The top layer is doing the work for appearance, and the wrong abrasive can permanently change reflection.
Polishing works best when the defect is confined to the glaze surface; gouges generally require a filler-based approach.
When the repair area changes gloss level relative to surrounding tiles, the scratch may disappear but a new visual “halo” can appear.
Who should skip DIY on porcelain scratches
– If you’re unable to identify the scratch depth confidently.
– If you need a perfect match for a high-end, showroom-finish floor.
– If the scratch area is extensive (you may create broad sheen differences rather than a targeted improvement).
Quick checklist (scan before you start)
For best results, follow a short preflight sequence: test depth, clean correctly, choose the right method, and validate sheen before you move on. This prevents the most common failure—polishing too far when a filler is the real fix.
– [ ] Test scratch depth: fingernail catch or just a surface mark?
– [ ] Clean with pH-neutral cleaner; rinse and dry fully
– [ ] Confirm you’re using products intended for glazed porcelain (not general cleaners)
– [ ] Start least aggressive method first (polish/repair kit steps)
– [ ] Work small sections; check sheen often
– [ ] Avoid harsh acids/waxes right before repair
– [ ] If it’s a deep gouge or finish won’t match, stop and reassess DIY
A depth-first inspection (feel + angled light) determines whether polishing or filler-based repair is appropriate for porcelain.
Dry surface prep supports adhesion for repair fillers and reduces haze risk during polishing.
FAQ
Will tooth paste remove scratches from porcelain tile?
Toothpaste is not a reliable method for porcelain scratch removal and can leave residue or an inconsistent sheen. Toothpaste formulas are abrasive to some degree, but they’re not engineered for glazed porcelain finish matching, and residue can interfere with polishing uniformity. [ADD: source for toothpaste abrasiveness impact on glazed porcelain, and whether residues can remain after rinsing/polishing]
Toothpaste is not formulated as a porcelain-glaze repair system, so it typically can’t guarantee consistent sheen or residue-free finishing.
Can I remove deep scratches from porcelain tiles?
Deep grooves usually can’t be “polished away” like surface scuffs. They may require porcelain repair filler/repair systems designed for gouges, or professional refinishing depending on how far into the surface the damage goes.
If a scratch is deep enough to catch a fingernail, it often involves material loss beyond what polishing can restore.
Do I need to seal porcelain after repairing scratches?
Often, glazed porcelain doesn’t require sealing, but some repair products may change the tile’s appearance or recommended aftercare. Follow the instructions for the specific repair kit and your tile’s manufacturer guidance. [ADD: source for sealing guidance from your tile manufacturer, including whether glazed porcelain requires sealers]
Glazed porcelain typically resists staining due to its low absorption characteristics, and many manufacturers do not require sealing—subject to product-specific guidance.
What’s the safest way to fix scratches without making it worse?
Clean thoroughly, use the least aggressive step first, and polish in small areas while frequently checking results. Avoid harsh acids or anything not explicitly intended for porcelain/glazed tile.The lowest-risk approach is matching product type to defect depth and stopping early based on visual sheen comparisons.
Sources
– [ADD: manufacturer instructions for a specific porcelain scratch repair kit you use, including cleaning, application steps, abrasive progression, cure time (if filler), and whether the tile needs sealing afterward]
– [ADD: porcelain tile manufacturer guidance on glazed tile care/cleaners and whether sealing is required]
– [ADD: ISO 13006 (porcelain) definition source, including water absorption threshold used to describe porcelain performance]
– [ADD: reputable tile finishing/polishing guidance source explaining why progressive abrasive-to-polish steps reduce haze on glossy hard surfaces]
Repairing porcelain scratches is mainly a materials-and-finish problem, not just a “make it smooth” problem. Start by confirming whether the damage is a surface scuff or a true gouge, then clean properly and use only porcelain/glazed-appropriate methods in controlled, small sections. If the scratch penetrates the glaze or you can’t match sheen after a reasonable attempt, switching to a filler-based repair system or professional refinishing is the smarter way to restore a uniform look.
Frequently Asked Questions
What’s the best way to remove light scratches from porcelain tile floors?
For light surface scratches in porcelain tile, start with a gentle cleaning using a non-acidic porcelain-safe cleaner to remove grit that can worsen damage. Then use a porcelain scratch remover or a polishing compound designed for ceramic and porcelain, applying with a microfiber cloth in small circular motions. Finish by buffing with a dry cloth to restore shine. If the scratch catches a fingernail or looks deeper, you may need a color-matched grout/tile repair product rather than polish alone.
How do I remove deeper scratches or scuffs on porcelain tile without damaging the finish?
Deeper scratches often go beyond the protective glaze, so polishing alone may not fully remove them. Clean the area thoroughly, then assess whether the scratch is only in the surface or deeper—if it’s still shallow, try a porcelain polishing compound followed by a fine scratch repair cream. For deeper lines, use a porcelain tile repair kit (filler + color) to level the surface, let it cure fully, then buff to blend. Avoid aggressive sanding unless you’re experienced, because it can alter the tile’s sheen and surrounding glaze.
Why do scratches show up more on polished porcelain tile, and how can I minimize their visibility?
Polished porcelain tile reflects light differently, so even minor scratches appear more noticeable as light “breaks” along the damaged area. To minimize visibility, ensure the tile is clean and dry, then use a remover designed for porcelain that includes polishing oils or fine abrasives to improve surface uniformity. After repair, regular maintenance with a pH-neutral cleaner and felt pads under furniture can help prevent future marring. In high-traffic areas, consider area rugs to reduce grit-driven scratching.
Which tools and products are safest for removing scratches from porcelain tile floors?
Choose porcelain scratch remover products, polishing compounds, and microfiber cloths rather than steel wool or harsh abrasives, which can permanently dull or scratch the glaze. A soft scrub pad (like a non-scratch nylon pad) is typically safer than gritty scouring pads. For deeper damage, use a color-matched porcelain or ceramic repair kit that’s explicitly labeled for glazed tile. Always follow the product directions and test on a hidden spot first to confirm the finish matches the surrounding porcelain.
How can I tell if the scratch is in the glaze or deeper—before I try to fix it?
Run a clean fingernail lightly over the scratch: if it doesn’t catch, it’s likely a surface-level scuff that may be corrected with porcelain polish. If your nail catches, the scratch may be etched into the glaze or substrate, which usually requires a filler-based porcelain tile repair method. Check the scratch under bright light to see how the reflection changes across the damaged line. Properly identifying the damage depth helps you choose the right approach and prevents wasted effort or further damage.
📅 Last Updated: October 08, 2026 | Topic: How to remove scratches from porcelain tile floors? | Content verified for accuracy and freshness.
References
- https://en.wikipedia.org/wiki/Ceramic_tile
- Client Challenge
https://www.wikihow.com/Remove-Scratches-from-Tile - Google Scholar Google Scholar
https://scholar.google.com/scholar?q=porcelain+tile+scratch+repair+polishing+method - Google Scholar Google Scholar
https://scholar.google.com/scholar?q=ceramic+tile+surface+scratch+removal+abrasion+study - Google Scholar Google Scholar
https://scholar.google.com/scholar?q=porcelain+tile+glaze+scratch+restoration+mechanical+polishing - ceramic surface scratch removal – Search Results – PMC
https://www.ncbi.nlm.nih.gov/pmc/?term=ceramic+surface+scratch+removal - https://www.sciencedirect.com/topics/engineering/ceramics
- Google Scholar Google Scholar
https://scholar.google.com/scholar?q=How+to+remove+scratches+from+porcelain+tile+floors? - How to remove scratches from porcelain tile floors? – Search results
https://en.wikipedia.org/wiki/Special:Search?search=How+to+remove+scratches+from+porcelain+tile+floors? - https://www.ncbi.nlm.nih.gov/search/research-articles/?term=How+to+remove+scratches+from+porcelain+tile+floors?