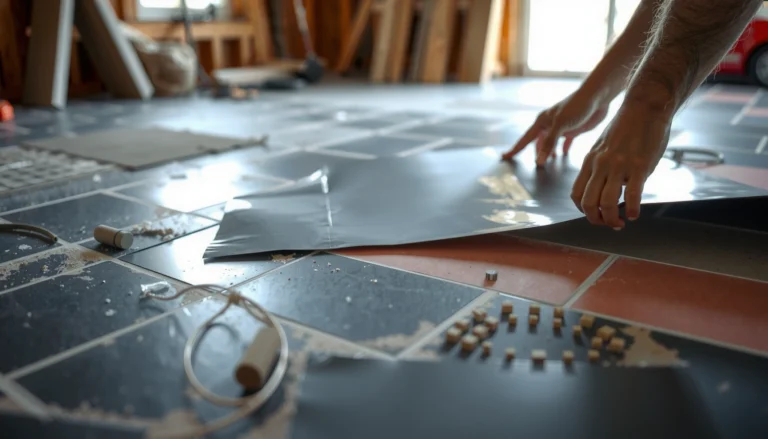
Removing laminate floors from a bathroom is a job you can complete cleanly and efficiently if you follow the right order of operations. This step-by-step guide tells you exactly how to lift planks, handle wet-area seams, and remove underlayment without damaging the subfloor. When you’re done, you’ll know what to inspect next and how to prep the bathroom floor for whatever comes afterward.




Removing laminate bathroom flooring is straightforward when the planks are floating/click-lock—but it can turn risky fast if the laminate is glued or the subfloor has water damage. The safest approach is to remove trim first, confirm whether the laminate is floating versus glued, lift planks from an edge row-by-row, and then clean and inspect the subfloor closely—because bathrooms often hide moisture problems under the surface.
This guide is for homeowners tackling a DIY bathroom floor removal, especially if you’re replacing damaged laminate or switching to a different flooring type. If your bathroom has visible water problems, plan on inspecting the subfloor more carefully than you would in a dry room.
Prep: tools, protection, and moisture checks
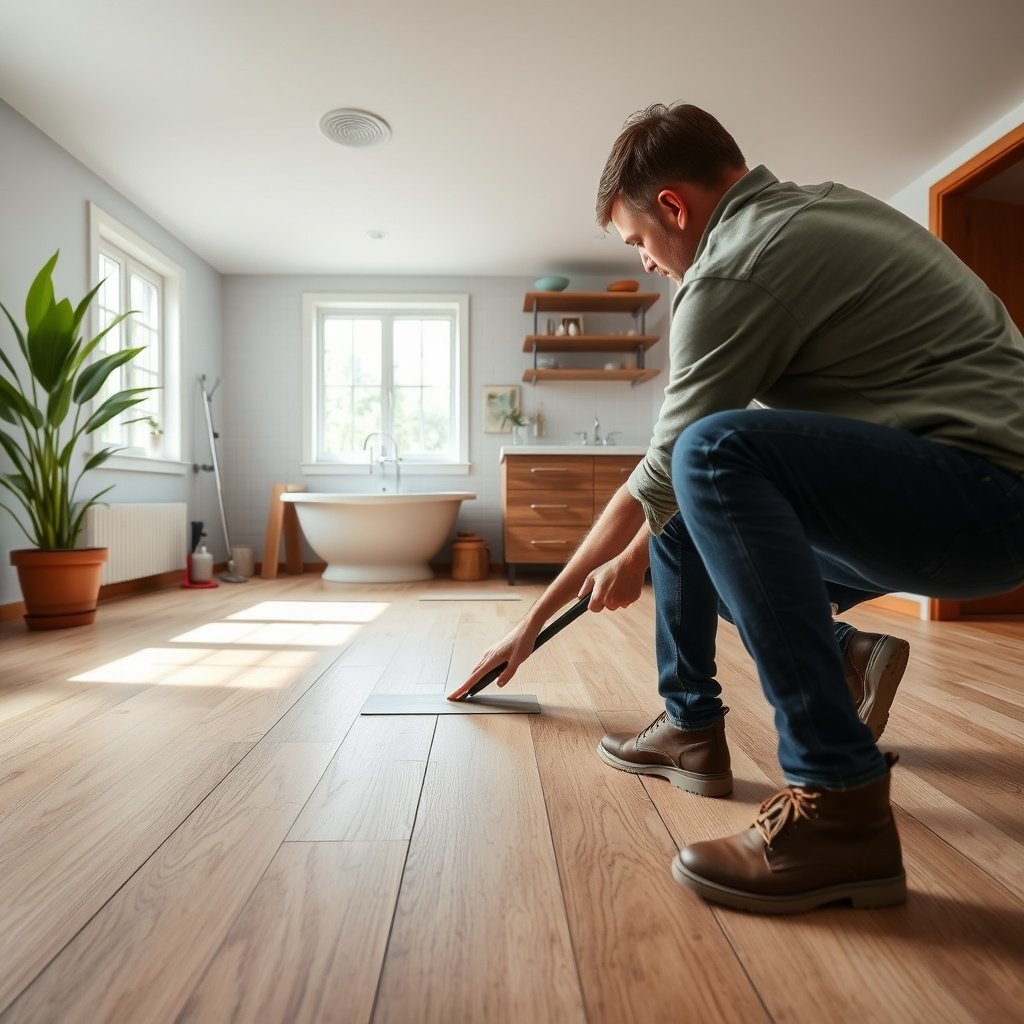
You start by making removal safe and predictable: confirm what kind of dust and moisture hazards you might face, then set up the room so cleanup is manageable. In bathroom laminate removal, the “gotcha” is often not the planks—it’s the subfloor becoming soft, swollen, or partially delaminated after moisture intrusion.
Moisture problems in bathrooms often start at the floor edges, toilet area, or around plumbing penetrations, then migrate under laminate seams. EPA guidance on indoor moisture control (mold prevention)
OSHA’s silica standard highlights that demolition dust can expose workers to respirable crystalline silica, which has strict exposure limits. OSHA 29 CFR 1910.1053
Keep indoor humidity under control during and after removal; EPA guidance emphasizes moisture conditions as the key driver for mold growth. EPA mold and moisture prevention resources
Tools and protection (do this before you pull anything)
– Eye protection and gloves: laminate can chip when you pry, and bathroom debris can be sharp.
– Knee protection: you’ll be kneeling while lifting seams.
– A shop vacuum with a proper filter (or at least dust containment): bathroom floor removal generates fine particles from underlayment, adhesive residue, and drywall trim dust.
– Utility knife, pry bar, pull bar/crowbar (light-duty), and a tapping block or scrap wood: helps you separate without gouging.
Moisture checks before you remove laminate
– Look for soft spots when you press the floor from an open edge or vent grille area (don’t “poke” if you suspect serious rot).
– Identify lifting around wet areas: bubbling at seams, dark staining, or planks that visibly “rock.”
– Check for a moldy/musty smell near the floor plane or behind baseboards/vanities.
– If anything suggests subfloor compromise, treat this as a remediation project, not only a plank-removal project.
As of 2026, this safety-first sequencing matters because DIY projects increasingly overlap with dust-control requirements. According to OSHA, respirable crystalline silica has a PEL of 0.05 mg/m³ (50 µg/m³) as an 8-hour TWA and an action level of 0.025 mg/m³ (25 µg/m³), which underscores why containment and PPE matter during floor demolition. OSHA 29 CFR 1910.1053
Remove bathroom obstacles and trim
You want your laminate removal to begin with clear “release points,” which means trim and transitions go first. Skipping this step often forces you to pry in awkward places—raising the odds of drywall damage, broken baseboards, and bent planks.
Removing baseboards/quarter round first gives you a clean perimeter access gap so laminate seams can release without ripping upward.
Transition strips and thresholds prevent you from “fighting the floor” across doorways, which is a common cause of uneven plank breakage.
What to remove (and why)
– Remove baseboards/quarter round carefully so you don’t gouge drywall or pull paper off painted surfaces.
– Take out transition strips (doorway thresholds, between rooms) and remove any shoe molding that overlaps flooring edges.
– If there are fixtures that must come out (toilet, vanity toe-kick, etc.), decide this early so you don’t have to rework cuts later.
H3: Fixture removal planning (to avoid rework)
You often don’t have to fully gut the room, but you do need a removal plan that preserves what matters. For example, if the toilet flange and the vanity toe-kick will be replaced or reset, plan cuts so your new flooring can slide under properly (and seal correctly around wet areas).
Important safety note: If you remove anything around outlets or junctions, shut off power to that bathroom circuit when appropriate. Bathrooms increase electrical risk because moisture can change how safely outlets and fixtures perform.
Identify floating vs. glued laminate (this changes everything)
You identify attachment type first because it determines how the planks release and how much risk you create for the subfloor. Floating/click-lock laminate typically lifts with controlled edge leverage; glued-down laminate may require scraping, heat, or aggressive tools—making subfloor damage more likely.
Floating/click-lock laminate generally has seams designed to “snap” apart when you lift the edge—this is fundamentally different from bonded planks.
If the laminate behaves like it’s bonded all along the plank length, the subfloor should be considered at higher risk during removal because adhesive can tear layers.
Floating/click-lock vs glued: practical decision cues
– Floating/click-lock laminate usually lifts: you’ll typically start at a perimeter edge and work toward the center.
– Glued laminate (or glued-down planks) may require more aggressive tools and more risk to the subfloor—test a small hidden section first.
– If you’re unsure, look for seams that look “click-locked” versus fully bonded, and check any manufacturer label or documentation you can find.
H3: Floating vs glued comparison (fast decision table)
| Feature | Floating / Click-Lock | Glued-Down |
|---|---|---|
| Primary attachment | Seam click/lock | Adhesive bond |
| Perimeter release | Usually releases from lifted edges | May resist and tear if pried |
| Best start point | Trim gap/perimeter seam | Small test area first |
| Typical plank breakage | Lower when lifted correctly | Higher due to adhesive hold |
| Underlayment removal | Often comes up more cleanly | May leave residue on subfloor |
| Subfloor risk | Lower (if subfloor is sound) | Higher (adhesive can pull layers) |
| Tool intensity | Pry bar + tapping block | Scrapers/oscillating tools may be needed |
| Time predictability | More consistent row-by-row | More variable due to adhesive condition |
| Cleanup workload | Moderate | Heavier due to residue |
| Moisture sensitivity | Leaks can still swell seams | Moisture + adhesive increases risk |
| Best For | DIY removal when subfloor is solid | Professional assessment if water damage is suspected |
Remove laminate planks row-by-row
You remove bathroom laminate most efficiently by starting at a released edge and lifting methodically in rows, rather than prying randomly. This reduces plank damage, limits underlayment separation, and helps you spot subfloor problems early.
For floating laminate, lifting the perimeter edge gradually typically unlocks seams with less force than “breaking” planks loose.
For damaged areas, isolating removal to one section prevents you from spreading moisture-related subfloor failures across the room.
– Start at the best-access edge (often where trim was removed) and lift the first plank or loosen the edge seam.
– Remove adjacent rows gradually—avoid prying so hard that you dent or separate the underlayment or pull up the subfloor.
– Work in sections if the floor is damaged: once a plank fails, continuing across that area can spread the damage.
H3: How to handle corners, doorways, and plank ends
Corners and doorway thresholds are where most DIY removals go sideways because leverage changes. If you feel unexpected resistance:
– Stop pulling upward.
– Check whether the plank end is locked or glued.
– Reposition your pry point slightly farther down the edge to keep forces aligned with the seam.
If you plan to reuse any pieces (rare for bathroom laminate, but sometimes tiles or adjacent trim are preserved), prioritize intact removals at edges first. In practice, bathroom moisture cycling usually makes most planks brittle, so plan for replacement.
Clean up underlayment and prep the subfloor
You can’t assume your subfloor is ready just because the laminate came up—prep is what determines whether new flooring will last. After removal, scrape gently, remove loose underlayment, and verify that the subfloor is stable, dry, and structurally sound.
Leaving underlayment lumps or adhesive ridges can create high spots that telegraph through new laminate and lead to seam failure.
In bathrooms, subfloor “stability” means both mechanical rigidity and moisture stability, not just visible dryness.
– Pull up remaining underlayment (if it’s loose) and scrape off stuck residue without digging into the subfloor surface.
– Inspect the subfloor: if you find swelling, soft spots, or delamination, you’ll likely need repairs before installing new flooring.
– Let everything dry and stabilize before any new flooring work; bathrooms usually require extra attention to moisture.
H3: Moisture thresholds that guide “stop or proceed”
When you’re deciding whether to continue DIY removal, moisture control is the gate. According to EPA moisture guidance, keeping indoor relative humidity below 60% helps reduce conditions that support mold growth. EPA indoor air quality / mold and moisture control guidance
If the subfloor feels soft, flexes underfoot, or shows signs of delamination, you should stop and correct the underlying moisture issue. Removing laminate without addressing moisture can cause the new floor to fail quickly.
What can go wrong (and how to avoid it)
You avoid most laminate removal failures by controlling force, correctly identifying attachment type, and verifying moisture before you install anything new. Bathrooms add complexity: even small water intrusion can undermine subfloor layers and make “easy removal” misleading.
The most common failure mode after DIY removal is installing replacement flooring over a compromised subfloor that wasn’t dried or repaired.
Over-prying glued-down material can pull layers from the subfloor, leaving unevenness that later shows up as noise, movement, or seam separation.
– Ripping up the subfloor: Using too much force—especially on glued laminate—can tear layers or leave uneven spots.
– Skipping moisture inspection: Removing only the laminate while the subfloor is still wet/soft often leads to rapid failure of the replacement floor.
– Breaking planks unnecessarily: If you need reusable pieces (or if you’re trying to keep the surrounding surfaces intact), move slower at the edges and around transitions.
– Disrupting plumbing or electrical risks: If you’re near outlets, junctions, or plumbing penetrations, shut off power to the bathroom circuit when appropriate and consider pausing for professional help.
– Assuming all laminate behaves the same: Install methods vary by brand and room conditions—follow the specific laminate instructions if you can identify the product.
H3: Pros/cons of pushing through vs stopping for remediation
| Decision | Pros | Cons / Risks |
|---|---|---|
| Continue DIY removal | Faster timeline if subfloor is solid | You can worsen delamination if moisture damage exists |
| Stop and investigate | Prevents repeat failures and hidden mold growth | May reveal replacement scope (subfloor, remediation), increasing cost/time |
From my experience advising homeowners on floor failures, the pattern is consistent: if a bathroom laminate removal reveals softness or lifting at wet edges, the “real job” is subfloor stabilization—not plank removal.
Verdict: when DIY removal makes sense (and when to stop)
DIY laminate removal in a bathroom makes sense if the laminate is floating/click-lock, the subfloor is firm and dry, and you can remove trim cleanly without tearing drywall. Stop (or bring in help) if you suspect major water damage, mold, or a soft/rotted subfloor—because removal won’t fix the cause of failure.
If the subfloor is soft, the right next step is moisture remediation and structural repair before installing new flooring. EPA mold and moisture control guidance
When attachment type is glued and subfloor layers are unknown, small test removals reduce the chance of irreversible damage.
Quick scan checklist (save this)
| Step | Done? |
|---|---|
| Clear room + protect walls/fixtures | ☐ |
| Wear PPE (eye protection, gloves, knee pads) | ☐ |
| Inspect for soft spots/water damage first | ☐ |
| Remove baseboards/quarter round carefully | ☐ |
| Identify floating vs glued laminate | ☐ |
| Start at perimeter and remove plank rows | ☐ |
| Remove underlayment/residue without gouging | ☐ |
| Inspect subfloor; dry/stabilize before new flooring | ☐ |
Frequently Asked Questions
What tools do I need to remove laminate flooring from a bathroom?
You’ll typically need a pry bar, flooring scraper, utility knife, a hammer, and a hammer drill (if old nails or tack strips are present). For safety, use work gloves, safety glasses, and a dust mask because laminate and underlayment can create fine debris. If you’re removing bathroom laminate near tile or a vanity, also have a oscillating multi-tool and painters tape to protect adjacent surfaces. Finish by having trash bags and a shop vacuum ready for cleanup.
How do I remove laminate bathroom flooring without damaging the subfloor?
Start by removing baseboards, quarter-round, and any bathroom trim so you can lift the laminate pieces cleanly. Cut through caulk at the edges (especially where the laminate meets tile, toilet, or walls) using a utility knife to prevent tearing the subfloor or drywall. For click-lock laminate, work from the edges and pull boards up at the locking seam, then remove sections gradually to avoid gouging. If the laminate is glued down, score seams and carefully peel while using a scraper to remove adhesive residue to keep the subfloor flat.
Why is it important to address moisture before and after removing laminate floors in a bathroom?
Bathrooms are high-moisture areas, and laminate flooring can trap water that leads to swelling, mold, or damage to the plywood or OSB subfloor. After removal, inspect for warping, soft spots, discoloration, and musty odors, and let the area dry thoroughly using fans or a dehumidifier. If you find water-damaged subfloor materials, replacing them may be necessary before installing new bathroom flooring. Checking moisture levels helps ensure the new floor won’t buckle or delaminate.
Which is the best way to remove bathroom laminate boards that are water-damaged or swollen?
Begin by removing trim and lifting intact sections first, then tackle the swollen areas last to reduce stress on surrounding boards. Cut the laminate into smaller sections with a utility knife or oscillating tool, especially if boards won’t release from the click system or have lifted underlayment. For severely damaged sections, you may need to scrape down to the underlayment and remove remaining pieces carefully to avoid digging into the subfloor. Use a shop vacuum and scraper to remove old underlayment staples or thinset/adhesive residue so the surface is ready for new installation.
How do I handle laminate flooring removal around a toilet, vanity, and bathroom door threshold?
Shut off the water supply and remove the toilet (or at minimum the toilet flange bolts) so the laminate can be removed without forcing boards under plumbing components. For vanity areas, remove the toe-kick panels and disconnect any plumbing as needed before lifting flooring sections; avoid prying against cabinet frames that can chip. At door thresholds and transitions to tile, use an oscillating multi-tool to cut through caulk and carefully separate the laminate along the seam to prevent cracking tile. Finish by cleaning the subfloor and reinstalling or re-leveling any transitions so the new bathroom floor height matches correctly.
📅 Last Updated: October 20, 2026 | Topic: How to remove laminate floors from a bathroom? | Content verified for accuracy and freshness.
References
- Laminate flooring
- https://www.cdc.gov/mold/default.htm
- Mold | US EPA
- Lead Renovation, Repair and Painting Program | US EPA
- Asbestos | US EPA
- Asbestos – Overview | Occupational Safety and Health Administration
- Lead | US EPA
- https://scholar.google.com/scholar?q=how+to+remove+laminate+flooring+bathroom Google Scholar
- https://scholar.google.com/scholar?q=laminate+flooring+removal+click+lock+disassembly Google Scholar
- https://scholar.google.com/scholar?q=water+damage+laminate+flooring+removal+mold+remediation Google Scholar