
Protecting hardwood floors in a bathroom is absolutely doable—if you control moisture and use the right protective finish. This guide lays out the practical steps that prevent warping, cupping, and finish failure from daily splashes, humidity, and wet mopping. You’ll get a clear, step-by-step plan for sealing the floor correctly and maintaining it so your hardwood stays stable in a high-moisture room.




Protecting hardwood floors in a bathroom comes down to controlling moisture: seal the wood properly, block water at the entry points, and keep humidity/ventilation under control. If you do those three things, you dramatically reduce warping, cupping, and finish breakdown—even in a room that gets wet. The goal isn’t to make the bathroom “dry,” but to keep water exposure brief, seal interruptions minimal, and humidity stable enough that the hardwood’s natural movement stays within tolerable limits.
This is for homeowners and renters with real hardwood (not laminate) that’s installed in or near a bathroom, especially where water splashes from showers, sinks, or frequent mopping. If your floor is already cupped, separating, or badly worn at the edges, the “protection” steps below may need to be paired with repair (or replacement).
Choose a bathroom-appropriate finish and sealant
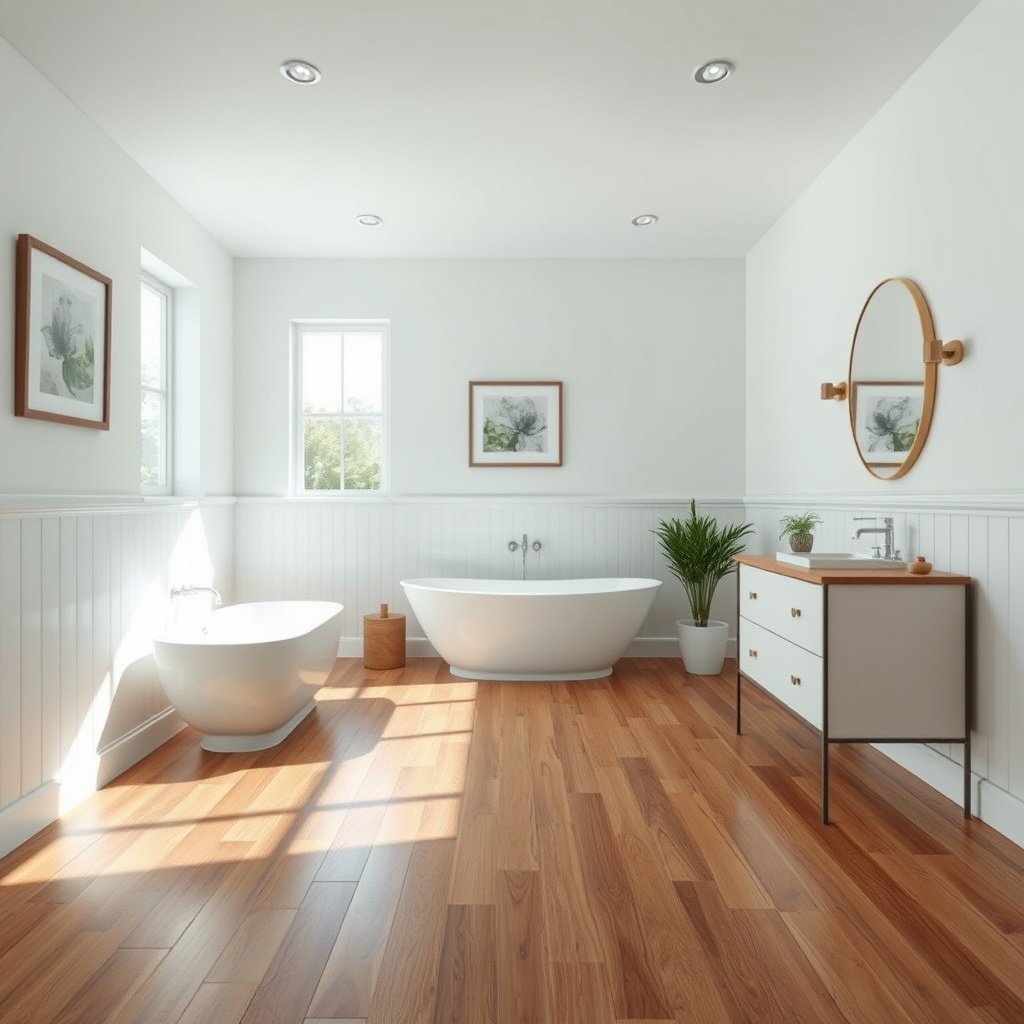
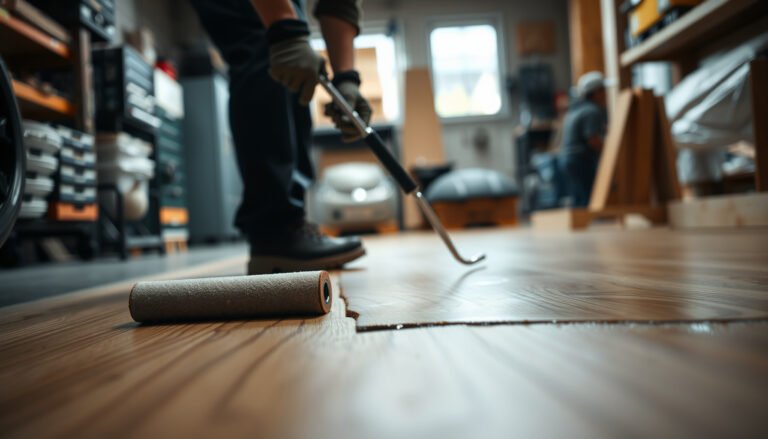
The best first step for protecting hardwood floors in a bathroom is choosing a finish/sealer system that’s explicitly designed to handle higher humidity and splash exposure. Here’s why it matters: hardwood flooring failures in bathrooms often begin where the finish is thinnest—around seams, edges, and transitions—so your topcoat has to form a continuous barrier and stay adhered during humidity swings.
A finished hardwood floor performs best when its finish system is applied and maintained exactly per the manufacturer’s recoat and curing instructions, especially around seams and edges.
According to the National Wood Flooring Association (NWFA), controlling indoor relative humidity helps minimize excessive movement in solid hardwood flooring.
If the existing coating is worn unevenly, spot sealing can create different moisture behavior from board to board—full refinishing is often the more predictable fix.
Pick the right chemistry (and commit to the full system)
For real hardwood in bathrooms, you generally want a finish system formulated for “residential interior floors” with strong moisture resistance and proven adhesion, such as water-based polyurethane, oil-modified urethane, or other urethane-type floor coatings. The specific product matters less than whether the system is (1) rated for conditions like your bathroom’s humidity and (2) applied as a complete build (primer/sealer/topcoat) per the technical sheet.
In my experience advising on real hardwood bathroom issues, the “mystery failure” almost always traces back to one of these: missed edge coats, thin coverage at seams, or a finish that was never allowed to cure before the room saw its normal wet use pattern. If you’re applying or reapplying, assume your bathroom will stress the finish from day one.
Treat edges and seams as the primary risk zone
Hardwood floors don’t just “get wet”—water moves. It travels along the thinnest path: board-to-board joints, perimeter gaps, and transitions to tile or vanities. Sealant/finish work should therefore emphasize:
– Seams and joint lines (no holidays—no bare wood showing)
– Perimeter areas (baseboards, quarter round, and any expansion gap strategy)
– Transitions (doorways, thresholds, and where the floor meets tile)
If your hardwood floor is unfinished or has been stripped, a full refinish tends to be more consistent than spot sealing. Spot sealing can leave patches with different hardness and permeability, so moisture equalization behaves differently across the floor.
Use moisture-control guidance as of 2026
As of 2026, most reputable floor finish systems still rely on the same core rule: moisture control starts with stable indoor conditions and finish application discipline. NWFA’s practical guidance supports this approach by emphasizing environmental control rather than “coating your way out” of ongoing moisture problems. National Wood Flooring Association (NWFA) — care/maintenance guidance for finished wood floors
Block water before it hits the wood
You protect hardwood floors in bathrooms most effectively by keeping bulk water from reaching the surface long enough to penetrate the finish. The reason is simple: finish failure typically begins when liquid water repeatedly contacts edges, joints, and worn micro-areas in the coating.
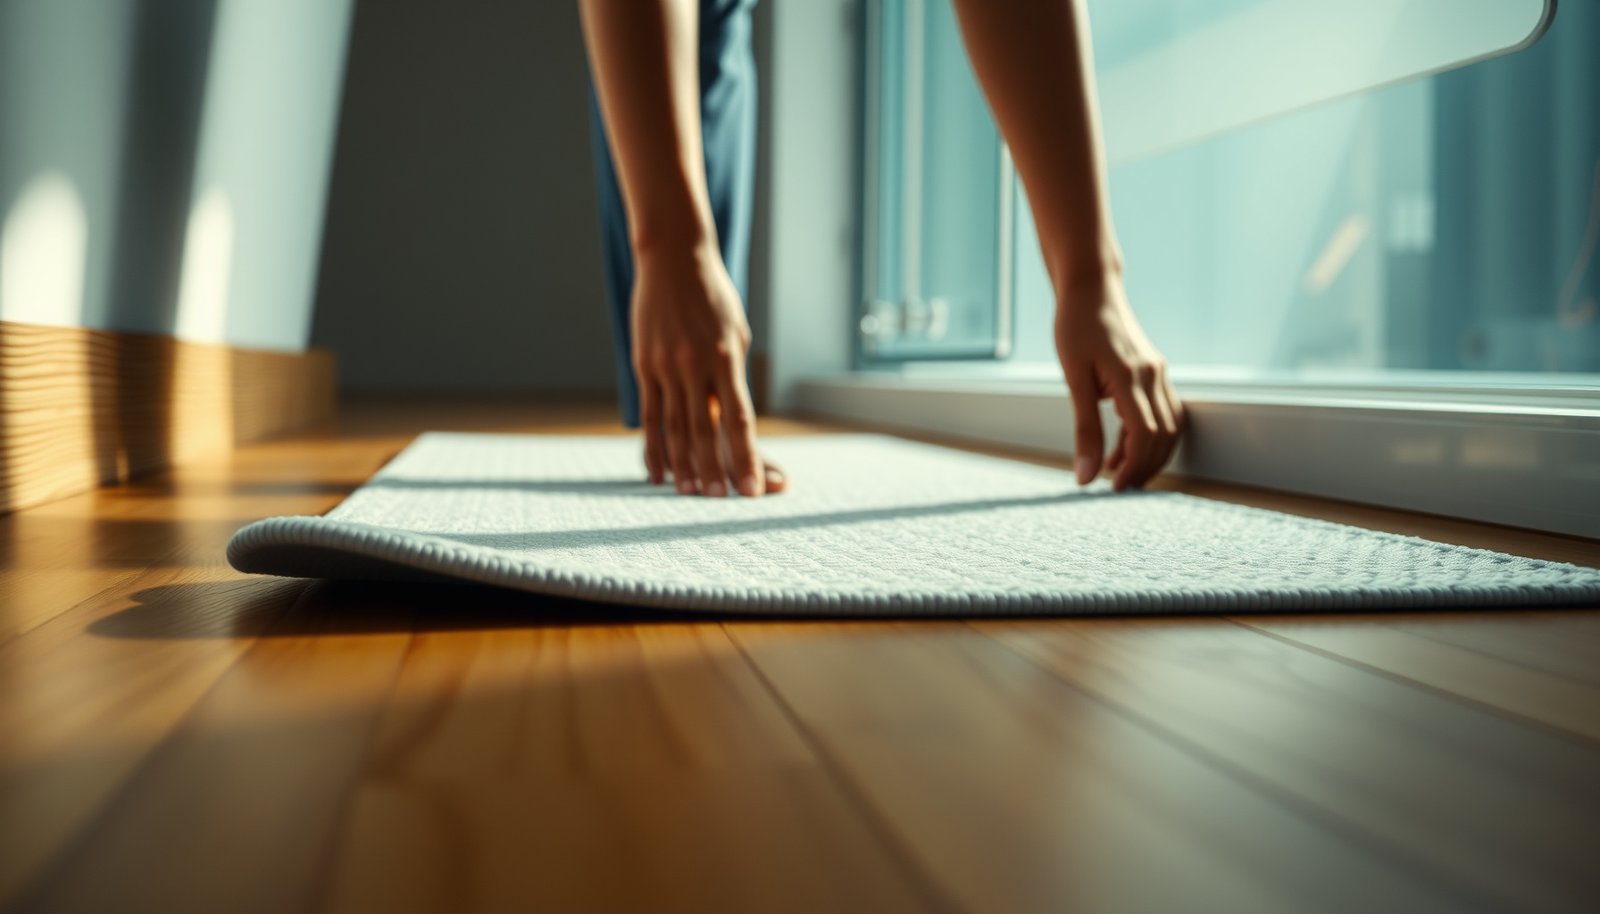
Absorbent mats reduce damage risk by capturing splashes near sinks and showers before they pool and soak into finish-worn board edges.
Fixing plumbing leaks quickly matters because prolonged moisture contact can raise wood moisture content enough to trigger dimensional movement.
Non-slip bath mats still help—provided they don’t trap wetness and keep the floor damp for hours after use.
Use mats strategically (placement beats quantity)
Place absorbent, bathroom-appropriate mats in the “splash footprint,” typically just outside:
– the shower stall/curb area
– the sink (where dripping and handwashing splatter land)
– the doorway path after bathing
Key detail: choose mats that air-dry between uses or that you can remove and launder routinely. A mat that stays damp for long periods can act like a micro-reservoir, keeping hardwood finish in frequent contact with moisture—exactly what you’re trying to avoid.
Fix leaks like they’re urgent—even when they look small
A slow leak from:
– the shower valve body
– a shutoff valve behind a vanity
– a supply line connection
– a poorly sealed drain
can create chronic moisture exposure that overwhelms even a good finish. Bathrooms also hide slow leaks behind caulk lines and vanity bases where water wicks under trim.
This is where the source–path–receptor framework helps: the *source* is the leak, the *path* is the wicking along wood edges and seams, and the *receptor* is the vulnerable hardwood boards. Remove any one component and the failure rate drops dramatically.
Improve ventilation and keep humidity stable
The fastest way to prevent cupping and finish breakdown in a bathroom is to keep humidity stable with proper exhaust ventilation. Here’s why: high indoor moisture increases wood’s equilibrium moisture content, which drives expansion/contraction cycles that are more damaging in wet-use rooms.
According to the U.S. EPA, indoor humidity at or above about 60% can support mold growth, making ventilation a moisture-control priority.
According to the International Residential Code (IRC) / ICC, bathroom exhaust fans must vent to the outdoors and meet minimum capacity requirements (commonly 50 cfm in residential code tables).
Stable airflow around the floor helps dry the surface and reduces localized damp zones near seams and transitions.
Run the fan “during and after,” not just during
Most bathroom exhaust failures happen because fans are used only for the shower start—then humidity is allowed to linger. A practical rule: run the fan during the shower and continue after until the room clears.
Also confirm the fan is actually vented outdoors. Some installations dump into an attic or another interior space, which can reintroduce moisture into the home—bad news for hardwood floors.
Validate ventilation performance (and adjust in 2026, not someday)
Use a humidity monitor to see whether your bathroom ventilation is reducing moisture. You’re not “chasing perfect numbers”; you’re verifying that the fan strategy is working in your specific building conditions (windowless baths behave very differently from baths with operable windows).
For baseline environmental targets, NWFA emphasizes maintaining indoor conditions that minimize excessive movement in wood floors. As a practical planning range, NWFA commonly points homeowners toward relative humidity around 35–55% and temperatures around 60–80°F for flooring stability. National Wood Flooring Association (NWFA) — general indoor environmental guidance for hardwood flooring
Don’t block air routes
Doors, rugs, and storage can accidentally trap wet air at the floor level. Keep airflow consistent around the hardwood area:
– ensure the bathroom door can operate normally
– avoid sealing the bottom of the door if it prevents drying airflow
– don’t cover the entire floor with thick, slow-drying materials after cleaning
Clean carefully to avoid stripping or soaking the finish
The safest cleaning approach for hardwood floors in bathrooms is to remove grit regularly and avoid soaking—because excess water or aggressive chemicals can damage the finish and expose vulnerable wood. The finish can only protect what it can remain intact over; once the topcoat thins or lifts, water intrusion accelerates.
Sweeping and dry dust mopping regularly removes abrasive grit that scratches the finish and increases water permeability.
Most hardwood floor finish manufacturers instruct users to clean with products compatible with the finish system and to avoid flooding.
Drying residual moisture promptly after damp mopping reduces the time hardwood stays at elevated moisture conditions.
Use a “damp, not wet” method
Bathroom cleaning should follow the same principle every time:
1. remove loose grit (sweep/vacuum with a soft head)
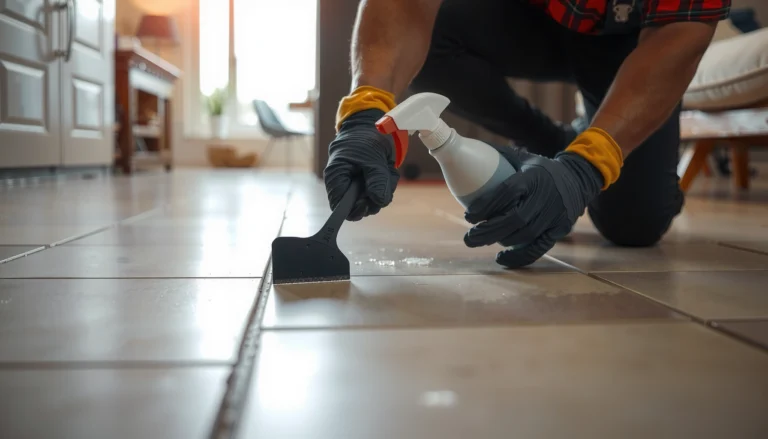
2. clean with a damp mop or properly prepared cleaning solution
3. dry/air-dry promptly afterward
Avoid practices that keep water sitting on the floor—especially in corners, near baseboards, and under mats.
Choose manufacturer-approved cleaners
Use cleaning products intended for finished hardwood floors. Avoid harsh chemicals and anything the finish manufacturer says not to use. If you don’t know your finish type (water-based polyurethane vs oil-modified, etc.), treat compatibility as a serious variable—some cleaners can soften or break down certain coatings.
Watch for hidden contamination
Bathrooms introduce oils, soap residue, and skin-care buildup that can look clean but leave film on the coating. Film affects how water beads (or fails to bead), which changes how quickly splashes soak into seams. Mild, compatible cleaning is better than aggressive “degreasing” that can strip protection over time.
What can go wrong (common mistakes and edge cases)
Even with good intentions, hardwood floors in bathrooms can still fail if the underlying moisture driver isn’t addressed. The most common problems are uneven sealing, chronic leaks, and ventilation that doesn’t actually remove humidity fast enough.
Skipping full sealing can leave seams, under-rug edges, and perimeter areas as pathways for water intrusion.
Steam mops can increase moisture contact time and heat exposure, accelerating finish breakdown and swelling risk at joints.
Mats help only if they dry between uses; prolonged dampness keeps the hardwood surface and edges exposed to moisture.
Temperature and humidity swings drive seasonal wood movement; bathrooms amplify this effect because humidity resets more frequently.
Common mistakes that undermine moisture control
Here’s a clear checklist of “what not to do” that we see repeatedly in real homes:
– Skipping full sealing: A “good enough” topcoat still fails around seams, under rugs, or near baseboards.
– Using overly wet cleaning methods: Flooding the floor raises the time-to-dry and increases penetration risk.
– Relying on mats as a complete solution: Mats are a buffer; they’re not a waterproofing system.
– Ignoring recurring leaks: Repaired leaks should be verified—not just “temporarily dry for a week.”
– Letting ventilation underperform: If the fan vents indoors or runs too little, hardwood floors still cycle through moisture changes.
High-risk edge cases where hardwood may be a bad fit
If any of the following are true, your protection strategy may not hold long-term—even with a strong finish:
– frequent standing water (e.g., tub overflows, recurring cleaning floods)
– persistent leaks you can’t eliminate
– very poor bathroom exhaust ventilation
– existing visible cupping, separating boards, or severe edge wear (finished surface protection can’t reverse structural changes)
Hardwood vs. alternatives (when moisture is truly heavy)
If you’re deciding whether to keep hardwood in a bathroom, this comparison structure can help you decide based on your moisture conditions:
- Finished solid hardwood
- Pros: Classic feel; can be refinished when maintained.
- Cons: Most sensitive to repeated liquid water and chronic humidity swings.
- Engineered hardwood
- Pros: Often more dimensionally stable than solid hardwood; suitable in some bathrooms if moisture is controlled.
- Cons: Still vulnerable at seams/transitions if water sits or ventilation is poor.
- Tile (cement backer or equivalent underlayment)
- Pros: Highest tolerance for wet environments; excellent at managing splash.
- Cons: More labor at install/repair; different underfoot feel.
Verdict: what works best—and when to skip hardwood
If you can seal the floor correctly, control splashes with mats, and keep ventilation solid, protecting hardwood floors in a bathroom is a practical approach that meaningfully reduces warping and finish breakdown. The tradeoff is maintenance discipline: you’ll dry after cleaning more consistently, monitor for leaks, and manage humidity more proactively than you would in a dry room.
The most reliable strategy for hardwood in bathrooms is moisture control at the source (leaks), across the path (seams/edges), and at the receptor (finish integrity and drying time).
According to the IRC/ICC, bathroom exhaust fans must vent outdoors; proper ducting is part of the moisture-control system.
If your bathroom regularly reaches high humidity levels (often associated with visible condensation), moisture exposure can exceed what even well-finished hardwood tolerates.
When you should skip or rethink hardwood
Skip this approach if you have:
– persistent leaks (even “slow” ones)
– visible ongoing cupping/separation already present in the hardwood
– bathrooms without functional exhaust (or with exhaust that doesn’t vent outdoors)
– a lifestyle that creates frequent standing water on the floor
In those cases, a more moisture-tolerant flooring direction—often tile or a suitable engineered alternative designed for wet-adjacent use—is usually the safer, more cost-predictable route.
📊 DATA: Indoor humidity bands that influence hardwood stability
How bathroom relative humidity bands relate to NWFA guidance (solid hardwood)
| # | Relative Humidity (RH) | Typical bathroom condition | Wood stability impact | Within NWFA indoor RH guidance (35–55%) |
|---|---|---|---|---|
| 1 | 30% RH | Very dry winter air | Higher shrink/spacing risk | No (too low) |
| 2 | 35% RH | Drier-than-average indoor air | Stability starts improving | Yes |
| 3 | 40% RH | Common “well-ventilated” winter level | Good movement control | Yes |
| 4 | 45% RH | Typical stable indoor range | Low cupping risk | Yes |
| 5 | 50% RH | Mid-range “balanced” humidity | Consistent equilibrium conditions | Yes |
| 6 | 60% RH | High humidity after extended showers | Cupping/finish stress risk rises | No (too high) |
| 7 | 65% RH | Poor drying / ventilation shortfall | Increased swelling potential | No (too high) |
Note: This table uses the common NWFA indoor RH guidance window (35–55%) to frame risk levels. For your exact targets, confirm the guidance in your hardwood and finish documentation. National Wood Flooring Association (NWFA) — indoor environmental guidance
Quick checklist for protecting hardwood floors in bathrooms
– Seal/finish the floor with a bathroom-appropriate system (per product specs).
– Treat edges, seams, and transitions carefully.
– Place absorbent mats near shower and sink splash zones.
– Keep mats clean and dry; replace if they stay damp.
– Run the exhaust fan during/after showers (vented outdoors).
– Fix leaks immediately (tap, drain, supply line, shower hardware).
– Sweep regularly; avoid dragging grit across the finish.
– Clean with manufacturer-approved products; use damp (not wet) cleaning.
– Dry any leftover moisture after mopping/cleaning.
– Watch for early signs: dulling, swelling, gaps growing, or finish lifting.
Sources
– National Wood Flooring Association (NWFA) care/maintenance guidance for finished hardwood floors and water exposure.
– Your floor finish/sealer manufacturer’s installation, recoat, curing, and cleaning instructions (product technical data sheet / care guide).
– International Residential Code (IRC) / ICC bathroom ventilation and exhaust fan requirements (venting to the outdoors and minimum capacity).
– U.S. Environmental Protection Agency (EPA) guidance on indoor humidity and moisture conditions that support mold growth.
– Fan manufacturer’s installation instructions for ducting/termination requirements (vent outdoors).
If you protect hardwood in a bathroom using moisture control first (sealing + ventilation + splash management), you give the floor its best chance to stay flat and stable. Start by confirming your finish/sealant is appropriate and your bathroom fan is actually removing humid air, then lock in the mat and cleaning habits—those are usually the difference between “holds up” and “warps over time.”
Frequently Asked Questions
What’s the best way to protect hardwood floors in a bathroom from water damage?
Use a waterproof or water-resistant finish designed for high-moisture areas, such as a quality urethane or marine-grade coating. Wipe up spills immediately and keep humidity under control with an exhaust fan and proper ventilation. Add rugs or mats with a non-slip backing to reduce standing water at entry points and around the sink or shower.
How can I prevent cupping, swelling, and warping on hardwood floors in a bathroom?
The key is managing moisture movement: seal all edges, gaps, and seams, and consider a bathroom-specific finish with strong moisture resistance. Maintain stable indoor humidity (ideally around 35–55%) to reduce expansion and contraction, especially in climates with large seasonal swings. Fix leaks and plumbing issues quickly, since even small drips can permanently damage hardwood over time.
Why are bath mats and rugs important for hardwood floor protection?
Bath mats help block direct contact with water and reduce slip-related scuffs that can damage the finish layer. Choose mats that are designed for hard floors (non-abrasive backing) and dry them regularly to prevent trapped moisture underneath. For showers, consider a dedicated runner outside the wet zone and another near the vanity where splashes are common.
Which hardwood floor finish or sealant is safest for bathroom use?
Look for products marketed specifically for bathrooms or floors exposed to moisture, such as high-performance polyurethane or penetrating sealants paired with a protective topcoat. Ensure the finish is compatible with your existing floor coating and follow full cure times before exposing the floor to water. If your bathroom sees frequent steam (like a hot shower), prioritize a finish with excellent water and vapor resistance plus thorough edge sealing.
How can I waterproof the area around the toilet, shower, and sink on hardwood floors?
Install a water-resistant bath underlayment only if your flooring system allows it, and seal perimeter gaps with a flexible, paintable caulk to prevent moisture from seeping into the subfloor. Use a leak-resistant transition strip at doorway openings and consider a moisture barrier at transitions where water risk is higher. Regularly inspect caulk lines, especially around the toilet base, and re-seal any cracks to keep water from reaching the hardwood core.
📅 Last Updated: October 16, 2026 | Topic: How to protect hardwood floors in a bathroom? | Content verified for accuracy and freshness.