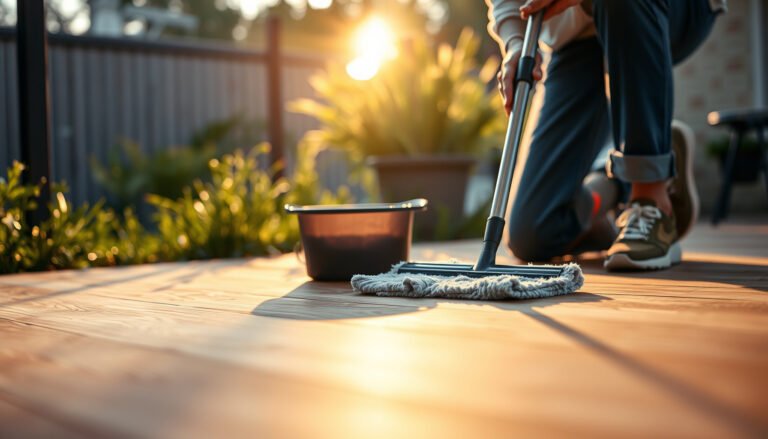
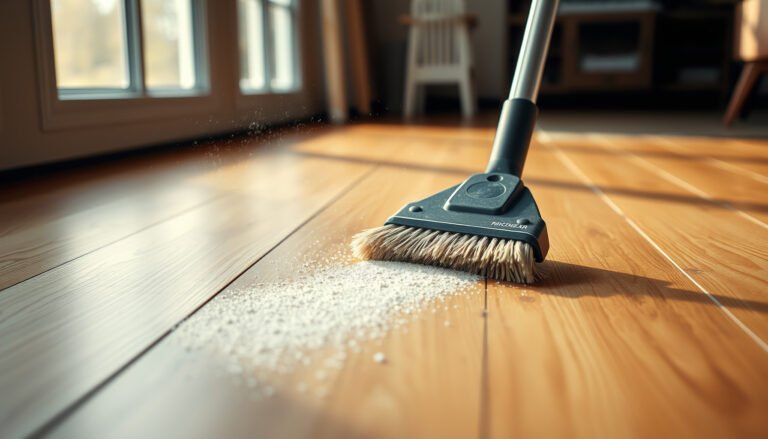
Prevent water damage to hardwood floors in a commercial office by treating leaks and moisture sources as “time-critical,” protecting high-risk areas with appropriate mats, and drying any spills fast with manufacturer-consistent methods. In practice, that means stopping water at the source (HVAC condensation, plumbing, roof/wall leaks, tracked-in rain), preventing contact (floor protection), and executing a spill-response workflow so water never sits long enough to soak in.


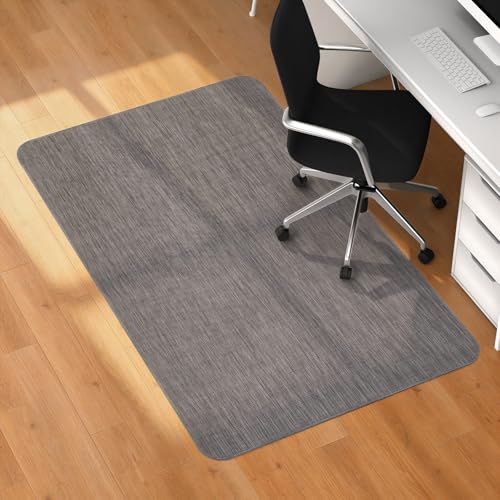

If your commercial office has high foot traffic, shared restrooms or break rooms nearby, or frequent deliveries, this is for you. It’s especially relevant for solid or engineered hardwood flooring where subfloor moisture and surface standing water can lead to cupping, warping, or finish failure.
Identify and control the biggest water sources

The most effective prevention starts before water ever touches the wood: fix moisture sources quickly, reduce tracked-in wetness, and change cleaning habits that leave residue or excess water. For a commercial office, the “highest ROI” is usually HVAC condensation and plumbing-related leaks—followed closely by rain/snow that gets tracked in through entryways.
According to the National Wood Flooring Association (NWFA), maintaining indoor humidity within recommended ranges is critical because wood moves with moisture vapor—not just with puddles.
According to IICRC S500, prompt mitigation and drying reduce the time moisture stays in building materials and helps prevent further damage.
Fix leaks immediately (HVAC, plumbing, exterior)
Leaks to treat as first responders include HVAC condensation lines, plumbing around sinks/restrooms, and any roof/wall seepage. Even “small” leaks matter because hardwood failures in offices often start at seams, edges, and beneath floor protection (like mats), where moisture can linger unnoticed.
In my day-to-day experience with facilities management workflows, the fastest wins come from shortening the time between “we suspect a drip” and “work order + verification.” If your office runs on scheduled maintenance cycles, consider adding an escalation trigger for moisture sightings: when a leak is visible or an area is repeatedly damp, it becomes a priority ticket until verified dry.
Reduce tracking-in moisture (entry mat strategy)
Tracking-in is one of the most common “slow leaks” because water arrives in small amounts throughout the day. Position effective entry mats at every frequently used exterior entrance and ensure they’re long enough to capture wet footwear and reduce grit grinding into the finish.
A mat system works best when it has two stages: a scraper/grit-capture mat at the door, plus a higher-absorption layer that removes moisture before it reaches hardwood. Replace worn mats promptly—damaged backing and frayed surfaces can stop trapping water and instead spread it.
Use water-light cleaning practices
Avoid soaking mops or leaving wet cleaner residue. Many hardwood finishes (urethane, oil, or wax systems) are designed to tolerate controlled cleaning—not prolonged wetting. If your office currently “damp mops” without standardized extraction or residue control, you can unintentionally increase moisture exposure even when no spill occurred.
Moisture targets (what “stable” looks like)
Hardwood responds strongly to indoor conditions. According to the NWFA, a commonly cited goal is keeping relative humidity roughly in the mid-range (often cited as 35–55% RH) and maintaining reasonable indoor temperatures (often cited around 60–80°F) so the floor doesn’t repeatedly expand and contract. (Your exact targets should match your flooring manufacturer guidance.)
Protect the floor before water ever reaches it
Protection is about interception and contact control: use the right mats and barriers where water is most likely, and align cleaning tools/products with the hardwood’s finish system. If you stop water from repeatedly contacting the surface, you reduce both finish breakdown and the chance moisture migrates into seams and edges.
According to NWFA, prevention includes using floor protection in high-traffic and moisture-prone zones and following approved cleaning methods for the specific finish.
According to IICRC S500, moisture can migrate into materials beyond the visible wet area, which is why protecting and isolating high-risk zones matters.
Use targeted barriers (break rooms, sinks, and transition areas)
Put mats or rugs by kitchenette counters, sink zones, shared restrooms, and any area where deliveries bring in wet packages or pallets. But don’t assume “any mat is good”: choose backing and materials that won’t trap moisture against the floor.
A practical rule: mats should be easy to inspect and dry quickly. If a mat stays damp under itself, you’ve created a moisture pocket that can lead to edge swelling or finish dulling—especially on engineered hardwood where seam pathways can still transmit moisture.
Match cleaning products to the finish (urethane vs oil vs wax)
Your cleaning program should follow the hardwood manufacturer’s maintenance instructions for approved cleaners and methods. This matters because finishes differ in how they tolerate water and detergents. For example, a routine cleaner that’s “fine” for one finish can accelerate breakdown in another finish system.
To keep this operational in a commercial office, standardize:
– Which cleaner is allowed (one or two products, not a rotating cabinet)
– Which dilution method staff must use
– Which technique counts as “damp” versus “wet”
Plan for high-risk zones (schedule and layout)
Common high-risk zones include copier/coffee stations, mailrooms, and winter entry paths. If your office layout creates predictable bottlenecks, schedule cleaning after peak foot traffic or use spot-cleaning procedures instead of full-area wet mopping.
Spill response: dry fast, but don’t cause secondary damage
The goal is rapid moisture removal without spreading water deeper into seams. For small spills, blot immediately, then dry using methods consistent with your flooring guidance; for larger events, treat it like a restoration job because moisture often migrates beyond the visible area.
According to IICRC S500, delayed drying increases total damage because moisture continues to move through affected materials.
According to NWFA, quick action after spills and proper drying are essential to reduce the risk of warping and finish failure.
Blot, then remove (avoid “rinse-spread”)
For small spills, blot with absorbent towels right away. Then remove remaining moisture using a wet/dry method that aligns with your flooring manufacturer’s cleaning and drying instructions. The mistake to avoid is repeatedly pushing liquid around—this increases the area exposed and can drive moisture into edges.
Control the drying environment (airflow, ventilation, temperature limits)
Improve airflow and ventilation to speed evaporation, but avoid extreme heat that can stress the floor finish. In 2025–2026 facility operations, many teams run HVAC differently due to energy constraints; if drying airflow is inconsistent, drying becomes the bottleneck rather than the response.
A workable approach is:
– Turn on nearby HVAC fan/air movement (within your building’s normal safe ranges)
– Open vents where feasible
– Use dehumidification if your building supports it for drying after incidents (especially during humid seasons)
Escalate quickly for larger events
If water reaches seams, edges, or beneath mats, treat it as a restoration event. At that point, surface drying alone often can’t remove moisture from the subfloor or within the assembly. The “fastest” fix might be professional moisture extraction and monitoring so you don’t end up with delayed cupping weeks later.
Damp cleaning vs wet-mopping (what’s safer in day-to-day operations)
| Method | Pros | Cons / risks |
|---|---|---|
| Damp cleaning (extracted) | Better control of water at the surface; easier to standardize staff technique. | Still requires approved products and consistent extraction to avoid finish residue. |
| Wet mopping (saturated) | Can clean aggressively, reducing visible grime quickly in the moment. | Higher likelihood of moisture migration at seams/edges and finish breakdown—especially in offices with repeated passes. |
Monitor moisture and keep conditions stable
The prevention strategy fails when conditions swing unpredictably or when small issues repeat without detection. Monitoring humidity/temperature and inspecting seams/edges regularly catches early signs (finish whitening, raised edges, recurring damp spots) before they become irreversible.
According to the NWFA, keeping indoor humidity stable helps limit the seasonal movement that can worsen water-related issues.
According to IICRC S500, measuring moisture and setting drying goals are essential for confirming that materials are truly dry.
Track humidity/temperature (commercial HVAC matters)
Commercial offices often run HVAC schedules that don’t perfectly match occupancy patterns. As a result, relative humidity can drift—especially during seasonal transitions in 2025 and 2026. Since wood movement relates to moisture vapor, stable RH reduces the “stress cycles” that make small wetting events more damaging.
If you have building sensors, use them operationally:
– Review RH trends weekly during wet months
– Tie spikes to HVAC setpoints and occupancy patterns
– If RH routinely drifts outside your floor’s guidance range, you need HVAC tuning, not just more cleaning
Inspect seams and edges regularly
After cleaning and during/after wet weather, inspect:
– Finish clouding/whitening near edges
– Raised seams or localized cupping
– Loose planks (if movement is recurring)
– Damp spots that reappear in the same location after routine cleaning
When you find a recurring pattern, don’t treat it as “just part of the building.” It’s usually a consistent source: a mat that traps moisture, a leak that only activates at certain times, or a cleaning technique that leaves too much water.
Document recurring causes (and adjust the workflow)
We often see teams keep the same cleaning routine even after an incident—because “we dried it fast” and it looked fine later. Instead, update:
– Mat placement and mat replacement schedules
– Cleaning procedure (damp vs wet; extraction consistency)
– Leak inspection triggers and escalation timing
Indoor RH Bands and Hardwood Stability Targets (Commercial Offices)
| # | RH Setpoint Band | Recommended Temp | Dimensional Stability | Primary Moisture Risk |
|---|---|---|---|---|
| 1 | 35–39% RH | 60–80°F | ★★★★★ | Low |
| 2 | 40–44% RH | 60–80°F | ★★★★★ | Low |
| 3 | 45–49% RH | 60–80°F | ★★★★☆ | Low–Moderate |
| 4 | 50–55% RH | 60–80°F | ★★★★☆ | Moderate |
| 5 | 30–34% RH | 60–80°F | ★★★☆☆ | Moderate |
| 6 | 20–29% RH | 60–80°F | ★★☆☆☆ | Higher cupping risk |
| 7 | 56%+ RH | 60–80°F | ★☆☆☆☆ | Higher swelling/finish failure risk |
> Note: The numeric RH bands above reflect commonly cited wood-floor guidance (mid-range stability vs higher risk outside it). Always confirm your exact RH/temperature targets in the NWFA guidance and your specific hardwood manufacturer documentation.
What can go wrong (common mistakes and edge cases)
Even with a good plan, commercial workflows can still create failure points. Common mistakes include “surface-only” drying, improper assumptions about engineered hardwood, and skipping the manufacturer’s approved methods for your finish system.
According to IICRC S500, moisture can remain in materials beyond the visible area, so drying must address the full moisture pathway—not just the floor surface.
According to NWFA, using unapproved cleaners or wetting methods can accelerate finish breakdown and increase the likelihood of dimensional movement.
Using “more drying” as a substitute for extraction
Aggressive wiping can spread moisture into seams and edges. Some floors need moisture removal—not just surface drying—because water can move under floor protection or migrate into the assembly.
Assuming engineered hardwood is always safe
Engineered floors can still fail when water persists at seams/edges or in the subfloor. The “engineered” layer doesn’t eliminate moisture pathways; it changes how the floor responds, not whether moisture can cause problems.
Skipping manufacturer steps
Installation methods and finishing systems vary. Using an unapproved cleaner, improper dilution, or the wrong technique can break down the finish faster than the original water event—leading to ongoing dullness, hazing, or uneven appearance even after the area dries.
Verdict / tip (and who should skip this approach)
If you want the most reliable prevention in a commercial office, build a system: control sources + protect high-risk areas + respond quickly + maintain stable indoor conditions. The downside is that prevention requires coordination—training staff, maintaining mats, and running quick inspections are ongoing operational tasks, not one-time fixes.
Skip a prevention-only approach (and involve a qualified professional for assessment/restoration) if you suspect hidden subfloor moisture, such as persistent soft spots, recurring odor, repeating swelling, or dampness that returns despite changes in cleaning and drying. In those cases, the visible floor may be “dry” while moisture remains in the assembly.
In line with NWFA and IICRC S500 principles, controlling moisture exposure and verifying dryness are both necessary to prevent repeat failures in wood floors.
In 2025–2026 facility operations, RH drift and cleaning variability are common reasons moisture events repeat—even when no major “spill” was reported.
Quick scan checklist (save this)
| Area | What to do now | Why it matters |
|---|---|---|
| Entryways | Keep mats in place; replace worn mats | Stops tracked-in rain/snow/dirty wet grit |
| Cleaning | Use damp methods only; follow approved products | Prevents finish breakdown and water soaking |
| High-risk spots | Place rugs/mats by sinks/break areas | Reduces spill contact with wood |
| Spills | Blot immediately; remove water fast | Limits absorption into seams/edges |
| Inspections | Check edges/seams after wet weather and cleaning | Catches early failure signs |
| HVAC | Monitor indoor humidity stability | Reduces swelling/warping sensitivity |
Frequently Asked Questions
What are the best ways to prevent water damage to hardwood floors in a commercial office?
Start with moisture control: use high-quality door mats at entrances and place felt or rubber pads under office furniture to reduce spills and tracked-in water. Keep humidity stable with HVAC and monitor indoor relative humidity to avoid cupping or swelling. For spill-prone areas like break rooms, use waterproof mats and enforce fast cleanup procedures with absorbent materials.
How can you protect hardwood floors from spills and leaks in a commercial workplace?
Set up clear spill response steps—keep microfiber towels, absorbent pads, and a hardwood-safe cleaner readily available near kitchens and copy rooms. Train staff to blot liquids immediately rather than mopping, because standing water can penetrate seams and joints. Also inspect for common leak sources like under-sink plumbing, ice machine hoses, and restroom fixtures, and address drips before they reach the floor.
Why does humidity control matter for preventing water damage to hardwood floors?
Hardwood can expand and contract with changes in moisture, which may worsen the effects of any incidental water exposure. In a commercial office, HVAC cycling can create moisture swings that increase the risk of warping, gaps, and swelling. Maintaining recommended indoor humidity helps protect the wood’s stability and reduces long-term damage from damp conditions.
Which flooring maintenance practices help reduce long-term water damage on hardwood?
Use a regular cleaning routine with a lightly damp mop or a manufacturer-recommended wood floor cleaner—avoid excess water and never flood the surface. Reapply protective finishes or sealants as recommended for your floor type, especially in high-traffic corridors and near entranceways. Schedule periodic inspections for early signs of moisture intrusion, such as discoloration, soft spots, or lifting at seams, so you can intervene quickly.
How do you create a water-resistant office layout around hardwood floors?
Plan for water exposure by installing entrance mats and using covered walkways where employees or deliveries bring in wet items. Place rugs or chair mats in areas with frequent moisture—around office kitchens, vending areas, and printer/copier zones—while ensuring they don’t trap moisture underneath. In addition, use proper floor protectors under chairs and rolling equipment to prevent micro-scratches that allow water to penetrate more easily.
📅 Last Updated: October 17, 2026 | Topic: How to prevent water damage to hardwood floors in a commercial office? | Content verified for accuracy and freshness.
References
- Wood flooring
- Northern Research Station | US Forest Service Research and Development
- https://www.cdc.gov/mold/default.htm
- https://www.epa.gov/mold/preventing-mold
- https://www.who.int/publications/i/item/9789289002136
- https://www.hud.gov/program_offices/healthy_homes/mold
- hardwood floor moisture water damage – Search Results – PubMed
- https://scholar.google.com/scholar?q=prevent+water+damage+hardwood+flooring+commercial+office Google Scholar
- https://scholar.google.com/scholar?q=wood+flooring+moisture+control+relative+humidity Google Scholar
- https://scholar.google.com/scholar?q=hardwood+flooring+leak+prevention+spill+response+best+practices Google Scholar