
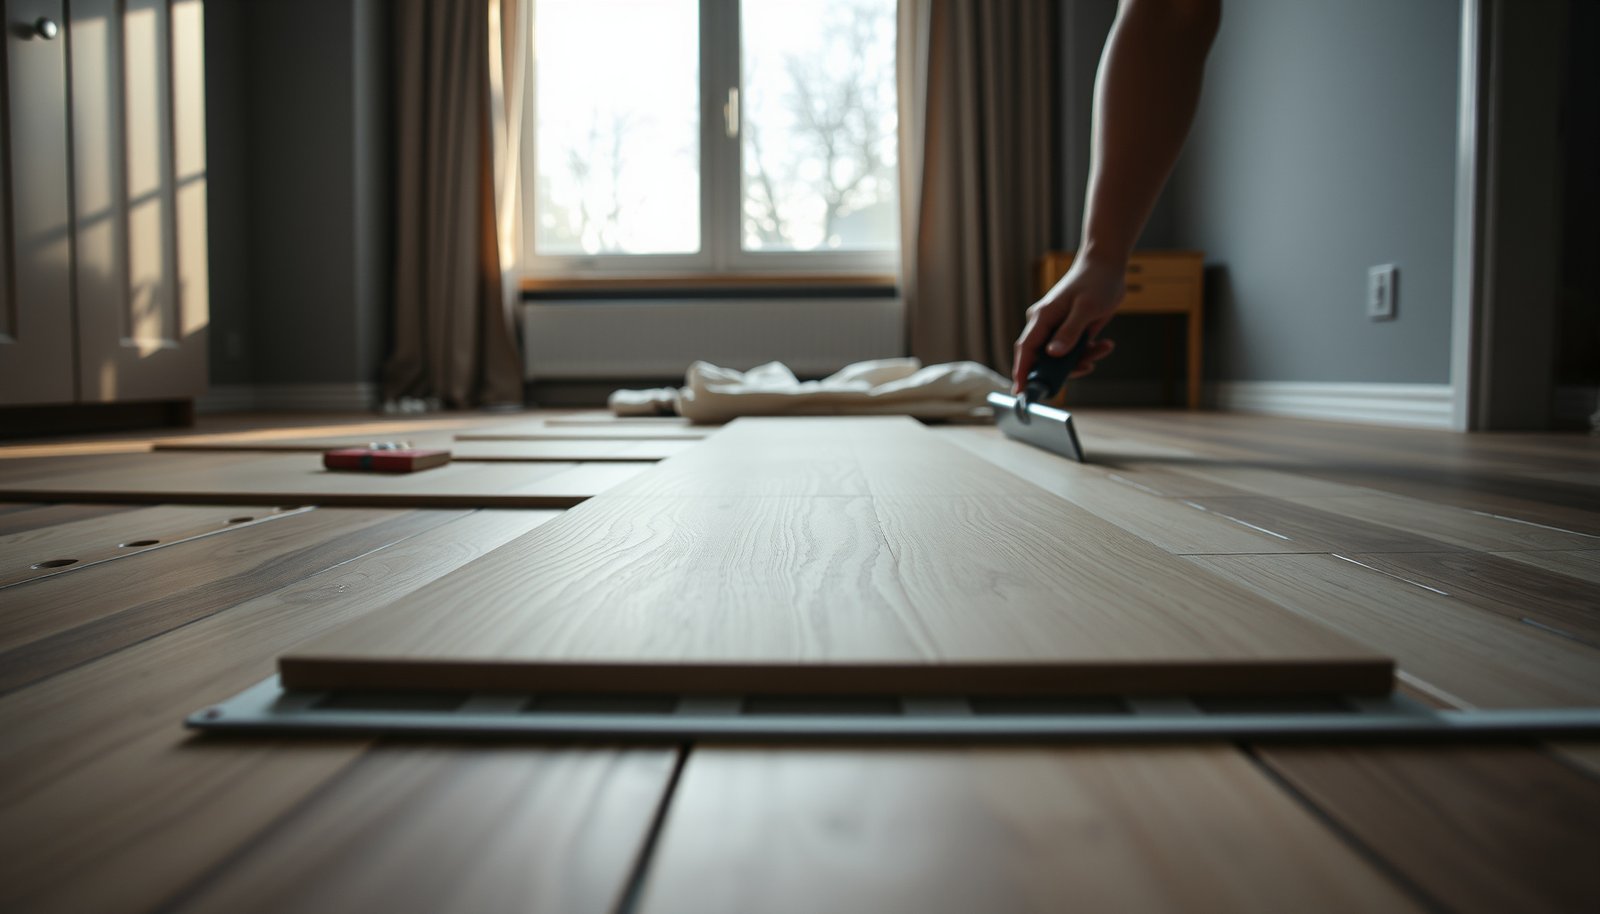

Wood-look tile floors install better than traditional flooring options in a bedroom when you want the look of real wood with the durability and water resistance of tile. You’ll learn the exact steps to prep the subfloor, choose the right underlayment and layout, set tiles cleanly, and finish with grout and trim that stand up to daily wear. If you’re aiming for a long-lasting, professional-looking wood finish, this guide shows the quickest reliable way to get it right.




You can install wood-look tile floors in a bedroom successfully by treating it like a precision flooring project: start with a flat, clean subfloor; plan your layout; set tiles with the correct thinset and consistent spacing; then grout and seal only if your system requires it. Here’s a step-by-step walkthrough that focuses on the parts that most often determine whether a wood-look tile floor stays flat, looks straight, and lasts for years.
If you’re replacing carpet or upgrading from older flooring to a durable “wood” look, this guide is built for real-world bedroom constraints—closets, doorways, transitions, and the “invisible” work of getting the substrate and layout right.
Planning & choosing the right wood-look tile

Choose wood-look tile based on how it’s manufactured (ceramic vs. porcelain), how it’s going to be installed (thinset, mortar system, and any required underlayment), and what pattern you’ll use so cuts look intentional. This planning stage is where most uneven edges and mismatched grout lines are prevented.
According to ASTM C373, porcelain tile must meet a water-absorption requirement of ≤ 0.5%, which is one reason porcelain is often favored for durability and lower water uptake in tile systems.
According to Tile Council of North America (TCNA) Handbook, ceramic and porcelain tile installations depend on meeting substrate “flatness” and movement-joint requirements to prevent lippage and cracked grout over time.
Pick the tile type and confirm the installation method
Most wood-look “planks” are ceramic or porcelain, and both are installed with a tile-setting mortar (commonly thinset) and tile spacers. Before you buy supplies, read the installation instructions that come with your specific wood-look tile—some are rated for specific subfloors and some require particular mortar types or coverage methods.
Key checks before you commit:
– Tile material & absorption: Porcelain generally performs better in moisture-prone environments, while ceramic can still work well depending on your bathroom-adjacent conditions and local code.
– Installation instructions: The packaging or product sheet will specify allowable subfloors (plywood, concrete, etc.), mortar requirements, and whether an underlayment/membrane is required.
– Size and joint needs: Wood-look tile often comes in longer formats (e.g., plank-like rectangles). Confirm the recommended grout-joint width so you can choose the right spacers.
Match setting materials to the tile and subfloor
Wood-look tile only performs like “tile” when the entire system works together: tile + mortar + grout + any membrane/underlayment (if required). If your tile calls for a specific performance mortar, follow it—even when the flooring “sounds close enough.”
A few examples of what to verify on your packaging/spec sheets:
– Thinset type: Some products require polymer-modified thinset mortar for better bond and crack resistance; others specify unmodified.
– Grout type: Unsanded grouts are usually for very narrow joints; sanded grouts are typically for wider joints. Your tile’s recommended joint width matters.
– Moisture / underlayment requirements: A plywood subfloor often calls for an approved tile backer system, membrane, or cement board, while concrete slab work may require specific moisture mitigation.
Decide the visual pattern up front (and plan the “best cuts”)
The layout decision you make early determines whether the floor looks like a deliberate design or a patchwork of accidental slivers.
Common wood-look patterns:
– Straight rows: The simplest to install and easiest to keep aligned, especially in bedrooms with long wall runs.
– Running bond (staggered): Often looks more natural for a wood look, but it increases the number of cuts that repeat at off-angles or near doorways.
From my experience troubleshooting installation issues, the biggest “design failures” aren’t really design—they’re layout math. When you plan cuts so the most visible areas (in the bedroom’s main sightline) get full pieces or well-proportioned cuts, the floor reads as intentional.
Prep the subfloor for a flat, stable base
Get the subfloor flat and stable first—wood-look tile will follow the substrate, and bedrooms are unforgiving because you tend to notice subtle irregularities along the length of walls. If you skip prep, you often end up fighting lippage (tile edges that sit higher) and cracked grout later.
According to TCNA Handbook, tile substrates must be within acceptable flatness tolerances before setting tile; otherwise, lippage and grout cracking become far more likely.
According to TCNA Handbook, joists supporting ceramic/porcelain tile should meet deflection limits (commonly L/360 for ceramic/porcelain) to reduce flexing that can stress grout and tile bonds.
Remove old flooring and check flatness
Start by removing carpet and any old flooring materials down to the subfloor. Then check flatness using a straightedge (commonly a long level/straight bar). Pay attention to:
– Dips: Tile will bridge, which can lead to stress.
– High spots: They force you to thinset inconsistently, creating height changes between tiles.
– Loose patches: Any loose board, lifted underlayment, or failing patch compound must be corrected.
Practical rule: If you can “feel” a hump underfoot, you can almost certainly see it after tile is installed.
Repair damaged subfloor areas and patch uneven spots
If you’re on plywood, check for:
– Soft spots
– Screw pops / raised fasteners
– Delamination or cracked panels
Then repair using a tile-appropriate patching system (as recommended by the patcher and tile/membrane system). If you’re on concrete, you’ll focus on smoothing and addressing moisture mitigation requirements specified by your mortar and tile system.
Verify moisture conditions for concrete slabs
If your bedroom sits on a concrete slab—or you have a basement-level room—the moisture question isn’t optional. Follow the approach required by your tile system. This may mean a primer plus a moisture-mitigation layer, or it may require specific membranes designed for slab moisture management.
Layout and dry fit before you spread any thinset
Lock in a straight, furniture-aware layout before you mix thinset. Dry fitting is where you ensure your grout joints stay consistent, your cut pieces land where they look best, and your floor transitions make sense at closets and doorways.
Consistent reference lines and a dry layout reduce the chance of “thin slivers” at room edges, which is a common cause of crooked-looking grout lines in wood-look tile floors.
According to ANSI A108 installation guidance, proper tile placement, joint spacing, and adherence to manufacturer instructions are essential for consistent installation results.
Measure, draw reference lines, and dry-fit
Measure the room length and width and identify a “true” starting line (not a wavy wall line). Then:
1. Mark your reference lines that define straight rows.
2. Dry-fit a few tile courses (rows) to see where small cuts will fall.
3. Adjust your starting point so the most visible areas get the best pieces.
Why this matters with wood-look tile: Even when rows are “square,” the visible pattern can look off if you end up with too many tiny cuts near the sightline.
Plan transitions around closets and doorways
Closets and doorways are where many installations go wrong because the floor may need:
– consistent edge spacing at the door jamb
– coordinated height transitions to adjacent flooring
– special casing or shoe-mold details
Follow the tile and transition guidance in your system instructions, and don’t assume that “whatever fits” will look good after grout cures.
Use spacers consistently (and confirm grout-joint width)
Your tile’s recommended grout-joint width determines spacer selection. Use spacers consistently—both during straight-row alignment and when you’re staggering planks (running bond). Consistent spacing prevents wavy seams and makes your floor read as even and professional.
Install wood-look tile flooring step by step
Install wood-look tile by using the correct thinset mortar, correct trowel notch size, and correct bedding/coverage practices—then keep alignment controlled with your layout lines and spacers. The fastest way to lose a good floor is to rush setting while misreading coverage or rushing thinset work time.
According to ANSI A108 installation practices, mortar bed preparation and appropriate trowel selection are required to achieve the bonding and coverage the tile system is designed around.
When tile installation instructions call for full mortar coverage (or specific bedding methods), using the wrong trowel notch size can reduce bond performance even if tiles “seem stuck.”
Use the correct trowel notch size for your thinset and tile
Thinset performance depends heavily on correct tooling. Your tile size and your thinset specifications determine which trowel notch you should use. Avoid the common shortcut of using “whatever trowel you have.”
What to do:
– Read the thinset mortar bag for required trowel notch and coverage expectations.
– Cross-check your tile’s instructions for any “minimum bed thickness” or coverage requirements.
– For larger-format wood-look planks, some systems require back-buttering (applying a thin layer of mortar to the back of the tile) to achieve consistent coverage. Follow the manufacturer’s direction.
Spread thinset in workable sections and set firmly
Only spread as much thinset as you can set before the mortar skins over (when surface tack prevents proper bonding). Set each tile firmly:
– Align to your reference lines.
– Maintain spacer consistency.
– Keep pressure even to avoid lippage between neighboring planks.
In my experience reviewing installation issues, the “micro” causes of uneven edges almost always trace back to two things: (1) inconsistent mortar bed thickness and (2) tiles being seated with uneven pressure. The floor then cures that way—grout can’t fix it.
Keep alignment on straight rows (and control staggered patterns)
For straight-row installs:
– Adjust your starting point so the cut profile looks intentional.
For running bond:
– Confirm that your stagger pattern doesn’t accidentally “stack” repeating seams in a way that becomes visually obvious in the bedroom’s main walkway view.
Grout, finish, and seal (only if your tile system requires it)
Grout and finish after the thinset cures to the specific time the mortar manufacturer requires, and only seal if your tile/grout system recommends it. This is where many wood-look floors get stained or look blotchy because people either rush cleanup or seal at the wrong time.
According to ANSI A108 installation requirements and manufacturer instructions, grout and mortar must be allowed to cure for the specified time before returning the floor to heavy use.
Grout manufacturers typically require prompt removal of grout haze; failing to clean properly can leave permanent discoloration on textured wood-look tile surfaces.
Apply grout after thinset cures
Thinset needs a curing window before grouting. Over-grouting too early can weaken joints. Follow:
– mortar cure/return-to-service instructions
– grout mixing ratio and consistency guidance
– pot life (how long mixed grout remains usable)
Clean haze and follow curing directions
Wood-look tile surfaces often have texture or micro-embossing. That means haze can cling and become harder to remove once it sets. Plan for:
– careful initial wipe-down
– gentle, controlled cleanup in corners and around cuts
Seal only if your grout/tile system calls for it
Many people assume “seal wood-look grout” is always required. In reality:
– some grout types are designed to resist staining without sealer
– other grout types benefit from sealing
Confirm whether your specific grout product specifies sealing and whether it has reapplication intervals.
What can go wrong (and how to avoid it)
Most problems with wood-look tile floors come from subfloor flatness, mismatched materials, or inconsistent spacing during setting—not from the tile itself. If you catch these failure points early, you prevent long-term headaches like cracked grout lines, hollow-sounding tiles, and visible lippage.
Uneven subfloors are a primary driver of lippage because tile edges settle at different heights even when grout is uniform.
Using mortar and grout products outside the system instructions can lead to reduced bond performance or unexpected staining, even when the floor appears correct on day one.
Comparison: ceramic vs. porcelain for wood-look bedrooms
Here’s a practical comparison that helps you choose a safer path for your bedroom install.
| Feature | Porcelain (common wood-look) | Ceramic (common wood-look) |
|---|---|---|
| Water absorption (standard) | ≤ 0.5% (ASTM C373) | Typically higher than porcelain (ASTM C373 classification) |
| Stain resistance | Often better due to lower absorption | Still dependent on glaze and grout system |
| Typical DIY friendliness | Often more forgiving for everyday spills | Works well, but follow moisture guidance carefully |
| Best use cases | Bedrooms needing long-term durability and cleanability | Bedrooms with straightforward conditions and correct system specs |
Common failure causes (and how to prevent each one)
– Uneven subfloor = lippage: Re-level before setting tile. If the base is wavy, wood-look tile will mirror it.
– Wrong thinset/grout combo: Don’t mix and match generically. Use the thinset and grout system guidance included with your tile.
– Inadequate spacing / missed movement joints: Leave the required perimeter gap and follow movement-joint guidance for large rooms.
– Grout color surprises: Wood-look tile grout lines can visually “change” the floor pattern. Dry fit and confirm grout color in an inconspicuous area if possible (especially with darker stains or textured tiles).
– Tile doesn’t match expectations: Many wood-look tiles vary slightly in tone and texture across batches. Mix tiles from multiple boxes so the finished floor looks intentional.
Verdict / tip + scan checklist
Wood-look tile in a bedroom is very doable, and it looks best when you treat it like a system: flat subfloor, accurate layout, correct mortar tooling, and grout done after proper cure time. Skip DIY or plan on hiring help if the subfloor is badly uneven, you can’t control moisture, or the transitions are unusually complex.
As of 2026, the most reliable tile results still come from following ANSI A108/TTCNA methods and the specific manufacturer installation instructions for mortar, grout, spacing, and cure times.
If your subfloor can’t be made flat within tile-system tolerances, re-leveling is almost always cheaper than redoing an installed wood-look tile floor later.
Numeric Requirements That Affect Wood-Look Tile Success (Key Standards)
| # | Standard / Requirement | Numeric threshold | Unit | Strictness index* |
|---|---|---|---|---|
| 1 | Porcelain water absorption (ASTM C373) | ≤ 0.5 | % | 2.0 |
| 2 | Ceramic/porcelain joist deflection limit (TCNA) | L/360 | ratio | 360 |
| 3 | Natural stone joist deflection limit (TCNA; for contrast) | L/720 | ratio | 720 |
| 4 | Substrate flatness tolerance (ceramic/porcelain; TCNA guidance) | 1/8 | in / 6 ft | 8.0 |
| 5 | Substrate flatness tolerance (natural stone; TCNA guidance; for contrast) | 1/16 | in / 6 ft | 16.0 |
| 6 | Movement-joint concept (TCNA: include at changes & perimeters) | Per system | location | 1 |
| 7 | Grout return-to-service timing (manufacturer-specific) | As specified | hours | 1 |
Strictness index is a quick interpretive number used only for comparing “how tight” the requirement is where a single numeric value exists.
Quick checklist (save this)
| Step | What to check |
|---|---|
| Subfloor | Flat/level repairs done, clean surface, no loose spots |
| Tile choice | Porcelain/ceramic confirmed + correct grout/setting system |
| Layout | Straight reference lines, dry fit to avoid tiny cut slivers |
| Setting | Correct thinset mortar + correct trowel notch size |
| Spacing | Manufacturer grout-joint width + spacers used consistently |
| Cuts & edges | Tile cuts planned around doors/closets and transition points |
| Grout | Cure time followed, haze cleaned properly |
| Sealing | Only if tile/grout instructions require it |
Frequently Asked Questions
What subfloor preparation is needed before installing wood-look tile floors in a bedroom?
Start by ensuring your subfloor is clean, dry, and structurally sound—wood-look tile requires a flat surface to prevent lippage and cracked grout. Check for levelness and fix high spots or low areas (often with thin-set leveling products or patching compound). If you have wood subflooring, confirm it’s properly fastened and consider a tile underlayment system designed for porcelain or ceramic tile to reduce movement.
How do you install wood-look tile floors in a bedroom step-by-step?
Begin by planning the layout—dry-lay a row or two to find the best starting point and avoid narrow cuts near the room’s edges. Next, apply the correct mortar (typically thin-set for porcelain/ceramic tile) using the proper notched trowel, then set planks with spacers or a plank system to maintain consistent joints. Allow proper curing time, then grout, clean haze, and finish with matching trim and transitions at doorways or adjacent flooring.
Which tile type is best for bedroom wood-look floors: porcelain or ceramic?
For most bedrooms, both porcelain and ceramic wood-look tile work, but porcelain is often preferred due to better water resistance, durability, and resistance to staining from everyday spills. If you’re installing over a slab or want long-term performance with minimal maintenance, porcelain wood-look tile is a strong choice. Always match the tile to your installation method and check the manufacturer’s guidelines for the intended use area.
What underlayment and moisture considerations should you use for wood-look tile in bedrooms?
For concrete slabs, verify moisture conditions and use a vapor barrier if recommended by your tile/adhesive system. For wood subfloors, minimize movement by using a proper backer system or uncoupling membrane designed for tile floors, especially if you have joists with bounce. In any case, keep the room climate-controlled during installation (temperature and humidity) so mortar and grouts cure correctly.
Why should you use the right grout, and how do you choose it for wood-look tile floors in a bedroom?
The right grout helps protect your wood-look tile floor from discoloration and cracking, especially around high-traffic areas like hallways and bedroom entrances. For many homeowners, a stain-resistant grout seat (often polymer-modified) or a urethane-enhanced grout can make maintenance easier and keep the woodgrain appearance looking consistent. Choose a grout color that complements the tile planks, and follow the manufacturer’s mixing and curing times for a clean, durable finish.
📅 Last Updated: October 16, 2026 | Topic: How to install in a bedroom wood-look tile floors? | Content verified for accuracy and freshness.



[…] – Start lines: confirm square and straight reference lines […]