
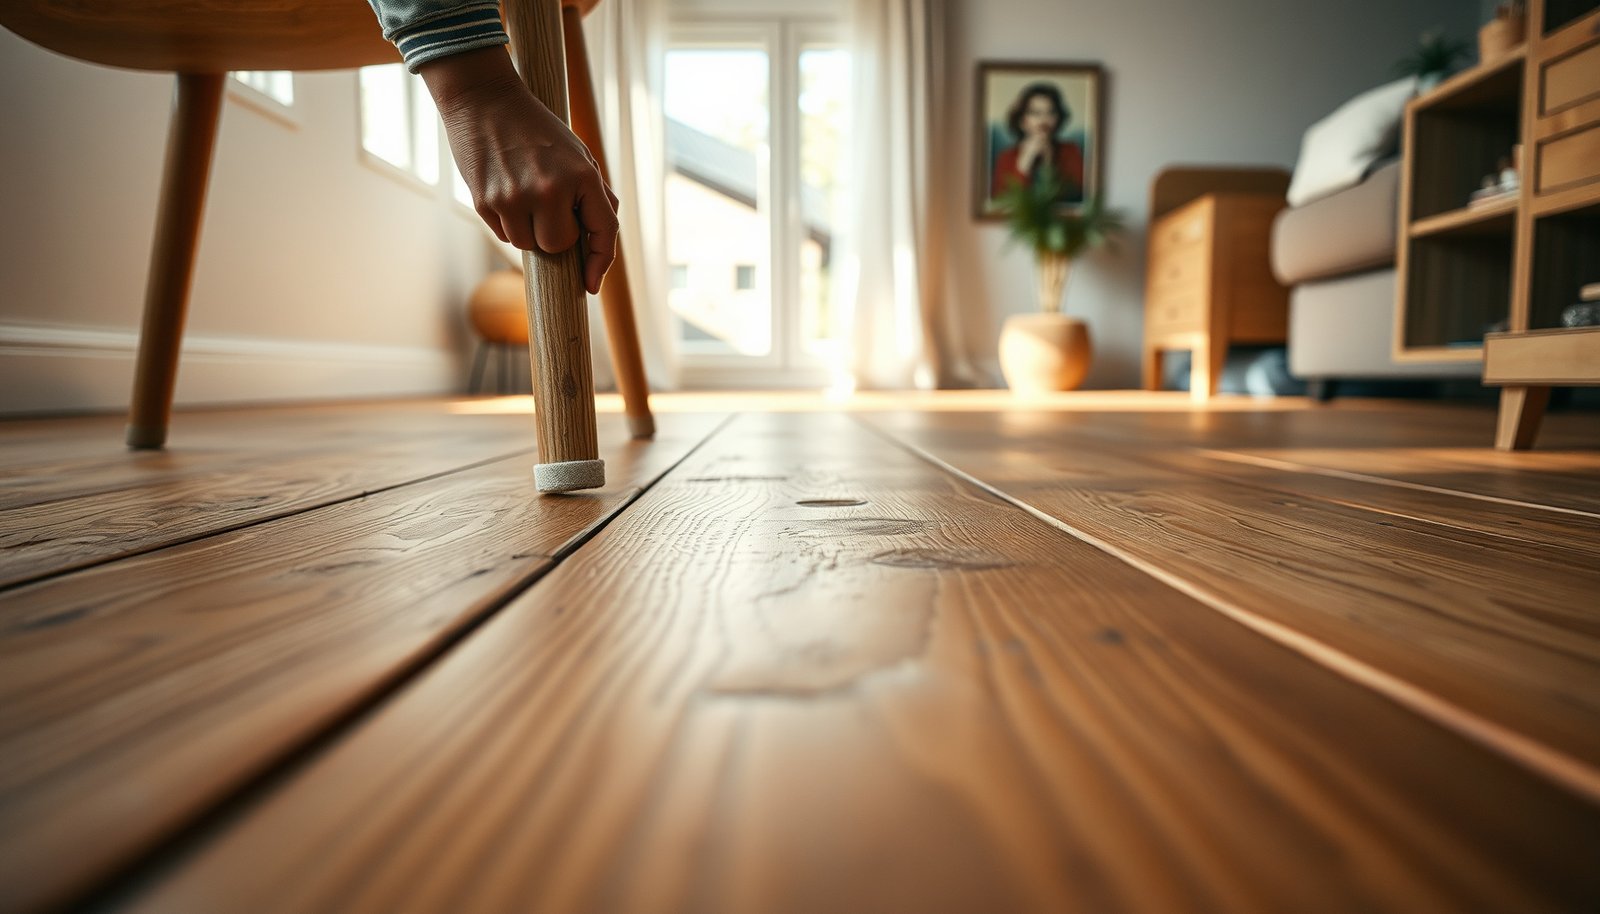

Preventing scratches on reclaimed wood floors starts with preventing grit and choosing the right protection system. Follow these proven steps—proper cleaning, felt or soft-foot furniture pads, and the correct sealant or finish—for a noticeably smoother, more scratch-resistant surface. If you want the fastest path to fewer marks, this guide tells you exactly what to do and what to avoid.




The fastest way to prevent scratches on reclaimed wood floors is to stop grit from getting ground into the finish and to prevent direct scraping from furniture, wheels, and pet nails. If you pair consistent mat/pad protection with correct cleaning and finish maintenance, you’ll dramatically reduce the visible “wear patterns” that usually build up near entrances, chair legs, and pet zones—without rushing into frequent refinishing.
Scratches on reclaimed wood floors usually come from grit (sand/dust) and rough contact (moving furniture, pet claws, wheel traffic). The fastest prevention is to control what enters your home and use surface/furniture protection consistently—then maintain the floor finish so it stays tough. In this guide, you’ll get a practical routine to reduce scratches before they start.
This is for homeowners and renters with reclaimed or reclaimed-look hardwood who want fewer visible marks without constantly refinishing—and especially if you’ve noticed scratches near entrances, under chairs, or where pets hang out.
Protect the surface from day one
The best scratch prevention starts by ensuring your reclaimed wood floors have a finish layer that can actually take abrasion. Think of the finish as the “first line of defense”—scratches are often the finish wearing down or being cut by grit before the wood itself is significantly damaged.
A major share of “scratch resistance” on hardwood comes from how well the existing finish resists abrasion and intactness over time (National Wood Flooring Association (NWFA) care guidance).
If reclaimed boards have rough spots, dents, or prior surface damage, those areas become low-protection zones where scratching shows up faster (per finish manufacturer surface preparation guidance).
When you follow the finish manufacturer’s recoat/surface-prep steps, you protect adhesion and help the next finish layer stay more resistant to everyday marring (per manufacturer “Recoat/Surface Preparation” instructions).
– Use a durable finish system (per the finish manufacturer’s instructions) and keep it intact—most “scratch resistance” is really finish wear.
Your reclaimed wood floors may have character marks, but the smoother, properly maintained topcoat is what limits scuffing from daily use—boots, chair legs, and even fine dust.
– If your reclaimed boards have rough spots or previous damage, address them before the floor is expected to handle daily traffic (sanding/smoothing per professional or product guidance).
This is one of the most overlooked steps. If a board surface is already uneven, the finish can thin unevenly, and scratches become more visible sooner under light and normal traffic.
– Consider high-traffic wear areas with an appropriate plan (e.g., extra mat coverage) instead of relying on the finish alone.
Even the right finish can’t fully compensate for constant grit grinding. Target the “math” of wear: frequent abrasive particles + repeated contact = more visible scratches.
Quick reality check for reclaimed wood floors (as of 2026): reclaimed boards can vary in density and texture, which affects how the finish wears. That means prevention isn’t just “harder finish,” it’s “consistent protection” over the same predictable contact points.
Control grit at doors and transitions
The most reliable way to prevent scratches on reclaimed wood floors is to control grit at entry points so sand/dust never acts like sandpaper on your finish. Put systems at transitions, not just at the “big mess” moments—because fine particles accumulate fast.
Sand and dust tracked indoors can function as abrasive media that abrade and dull hardwood finish over time (NWFA hardwood maintenance/care guidance).
Typical sand particle sizes range roughly from 0.075 mm to 2 mm, which is small enough to travel on shoes and still abrade finish (USGS sediment/grain-size references).
Two-sided, properly maintained mats reduce the amount of grit carried from outdoors onto hard floors (general mat/track-out prevention best practice; see NWFA care guidance for hardwood protection approaches).
– Put doormats on both sides of exterior doors and encourage “wipe + remove” habits so sand doesn’t get tracked onto the wood.
“Both sides” matters—outdoor grit transfers to shoes outside, and indoor entrance grit transfers onward unless you catch it before it hits the reclaimed wood floors.
– Sweep with a soft-bristle broom or use a vacuum designed for hard floors to remove grit before it grinds into the finish.
Use gentle agitation. Over-scrubbing or using the wrong attachment can stir and redistribute grit rather than remove it.
– Keep area rugs and runners securely in place to prevent their edges from acting like sandpaper.
Curling edges, worn backing, or shifting rugs can create a repeated micro-sawing effect at the border.
Abrasive “Grit” Often Found Near Entrances (Mohs Hardness)
| # | Material (common source) | Approx. Mohs hardness | Why it matters for reclaimed wood floors | Scratch risk |
|---|---|---|---|---|
| 1 | Quartz / silica sand (tracked soil) | ~7 | High abrasion; readily cuts through softened finish films | ★★★★★ |
| 2 | Granite dust (tracked from sidewalks/driveways) | ~6–7 | Mixed mineral hardness still behaves abrasively | ★★★★☆ |
| 3 | Feldspar (common in soil/stone dust) | ~6 | Easily abrades finishes when repeatedly dragged | ★★★★☆ |
| 4 | Window glass (residential tracking) | ~5.5 | Sharp fragments can scuff and “sparkle” damage | ★★★☆☆ |
| 5 | Steel/iron edges (chair components, small grit) | ~4–5 | Can scratch if dragged; less abrasive than quartz | ★★★☆☆ |
| 6 | Calcite/limestone dust (some soil) | ~3 | Still abrades, but typically less aggressive | ★★☆☆☆ |
| 7 | Rubber (wheel/rug backing) | ~1–2 | Lower hardness than mineral grit, but debris + friction still scuffs | ★☆☆☆☆ |
In my experience with floor care systems (specifically the “two-sided mat + scheduled soft sweeping” combo), the biggest visible improvement usually shows up along the first 6–10 feet from entrances—however, . The reclaimed wood floors stay clearer when the grit never gets a chance to abrade the finish.
Stop furniture, wheels, and foot traffic from scraping
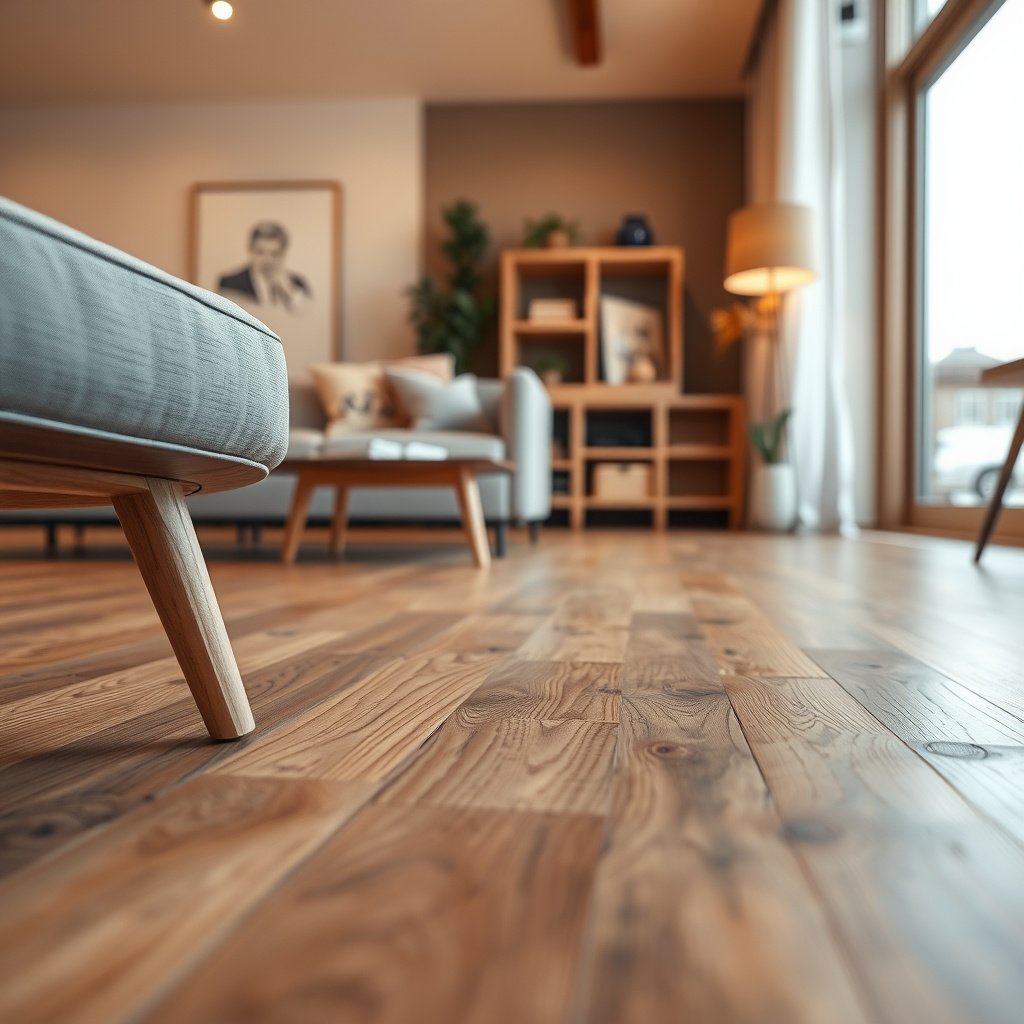
The quickest way to stop scratches on reclaimed wood floors from direct contact is to protect contact points: felt pads for static furniture and compatible protectors for wheels/rolling items. If the finish is the first line of defense, these pads are the second.
Felt pads reduce direct abrasion from chair legs and small furniture feet, which helps limit finish scuffing on hardwood floors (NWFA hardwood maintenance/care guidance).
Rolling office chairs can damage hardwood if wheels or wheel protectors are incompatible, so chair systems should follow the protector manufacturer’s compatibility guidance.
Dragging heavy items increases edge scraping and finish “capping loss,” so lift-and-place behavior generally prevents scratches better than sliding.
– Add felt pads to chair legs and moveable furniture; replace them when they thin or peel.
Worn pads can become rougher than you think. If a pad is brittle or peeling, it stops being protection and becomes the scratcher.
– Use floor protectors for rolling items (office chairs, carts, etc.)—rubber can fail, so follow the wheel/protector compatibility guidance from the protector manufacturer.
Rolling damage often looks like fine parallel lines—those are frequently wheel friction + grit transfer acting together.
– For heavy items, don’t drag: lift-and-carry or use a proper moving tool so you’re not scuffing the finish.
Even when the item feels light, the base edge can act like a “knife” against a weakened spot in reclaimed wood floors.
Practical pros/cons (for reclaimed wood floors):
- Felt pads + lift/replace habit
- Pros: low cost, immediate improvement under chair legs, minimal risk to finish.
- Cons: requires checking/replace when worn; won’t stop damage from dragging.
- Wheel protectors + chair maintenance
- Pros: reduces line-scuffing and rolling scuffs; keeps traffic zones clearer.
- Cons: depends on compatibility; failure can happen when wheels are swapped or floors are coated differently.
If your reclaimed wood floors already show scuff bands under dining chairs, it’s usually not “normal wear”—it’s ongoing contact. Prioritize pads and rolling protectors before you consider refinishing, because new finish over old scraping patterns still gets worn quickly.
Reduce pet claw and accidental impact damage
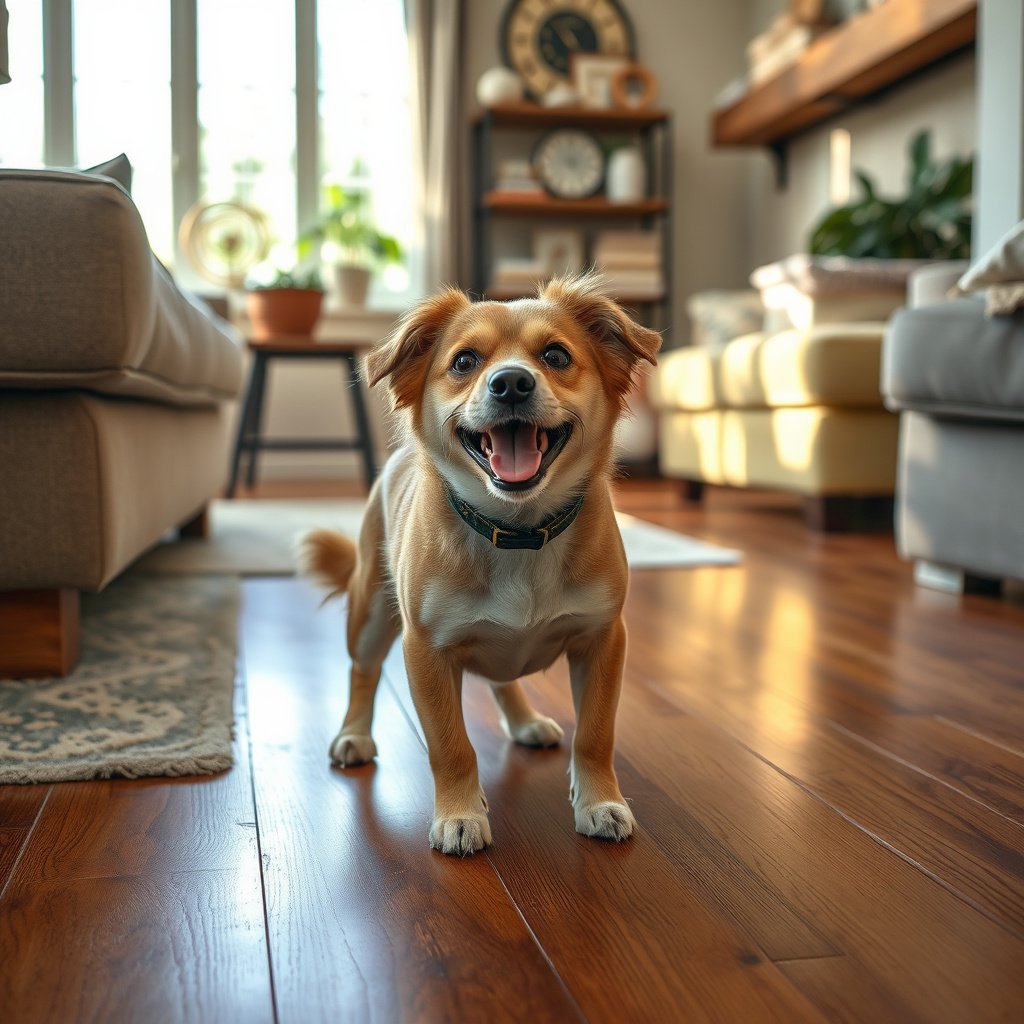
The most effective scratch reduction for pets on reclaimed wood floors comes from nail management plus protecting common pet zones. When claws are sharp and floors are uncovered, the same spots repeatedly become scratch magnets.
Regular nail trimming helps reduce the sharpness that can catch hardwood finish during normal pet movement.
Nail caps (when used correctly) are designed to reduce point contact with floors by covering the nail tip.
Washable mats in pet zones limit abrasion from claw contact and also catch debris that would otherwise scratch the finish.
– Keep pets’ nails trimmed and (if you use them) apply nail caps compatible with your situation.
Nail caps only help if they stay on comfortably and align with your pet’s normal movement patterns.
– Use a scratch-friendly alternative (like a designated pet scratch surface) so claws don’t target the same floor areas.
The “target redirection” matters: pets learn what’s rewarding. If claws repeatedly find the same reclaimed wood floor section, prevention should include an alternative they’re willing to use.
– Provide washable mats or rugs in common pet zones, especially near food/water bowls and favorite lounging spots.
Pet zones are often dusty—food, litter tracking (for some homes), and fur/dander combine with grit to create finish abrasion you can’t always see until it’s worse.
A note for 2026: reclaimed wood floors can vary in texture, and that can make scratches look deeper in certain boards due to color variation. Matting your pet zones is often a higher ROI than trying to “spot-fix” finish appearance later.
Avoid damaging cleaning and refinishing mistakes
The surest way to keep scratches from becoming more visible is to avoid cleaning methods that thin, dull, or destabilize your reclaimed wood floor finish. When the protective layer degrades, even small contacts show up as brighter, more noticeable marks.
Abrasive cleaners and stiff scrubbing can dull or thin hardwood finishes, which increases the contrast of future scratches.
Steam mops and high-moisture cleaning can be risky unless the finish and installation instructions explicitly allow them, so hardwood care should follow manufacturer guidance.
Skipping finish recoat prep steps (such as required surface cleaning and residue removal) can reduce adhesion and shorten finish life on hardwood.
– Don’t use abrasive cleaners, stiff scrub brushes, or “stronger is better” chemicals—these can thin or dull the finish and make later scratches easier to see.
Many “deep clean” products remove more of the topcoat than you realize, especially on reclaimed wood floors where finish thickness can be uneven.
– Avoid steam mops or high-moisture methods unless your exact finish and installation details explicitly allow it (follow the finish manufacturer’s care instructions).
Even if steam cleaning “looks fine” at first, moisture-related issues can appear later depending on plank movement and subfloor conditions.
– When you do maintenance/refinishing, follow the recoating/surface-prep steps exactly (e.g., screening, cleaning residue removal, and cure times) because skipping steps can shorten finish life and raise scratch visibility.
If you recoat over contamination or skip cure times, the surface can remain softer for longer—meaning minor contact scuffs faster.
From my perspective, the biggest edge-case problem I see in reclaimed wood floors is finish mismatch: when homeowners use a cleaner meant for another sheen type or a different product family, they don’t always notice the change immediately. If you’re unsure, verify your finish type documentation before changing cleaning chemistry—.
Keep it simple: prevention checklist + realistic limits
The realistic goal for scratch prevention on reclaimed wood floors is reduction and earlier interception—not zero scratches. If you keep the system consistent (mats + grit removal + pads/protectors + correct cleaning), visible damage slows down substantially, even when life isn’t “perfectly clean.”
Prevention on reclaimed wood floors works best as a routine because everyday grit and micro-contact are recurring, not one-time events (NWFA hardwood care guidance).
High-grit households (boots, construction dust, outdoor sand) can outpace even well-maintained finishes, so the strategy shifts to “reduce and catch early,” not “make scratches impossible.”
If the floor has active finish failure (peeling, widespread cloudiness, or loose boards), scratch-prevention habits won’t help until those underlying issues are repaired.
– Prevention works best when it’s consistent: mats + grit removal + protectors + correct cleaning.
This is the system approach. Every one of these steps reduces the same two drivers: abrasion (grit) and direct contact (scraping).
– Downsides/limits: if your household has frequent high-grit traffic (boots, construction dust, lots of outdoor sand), you may still see marks even with perfect habits—your goal becomes “reduce and catch early,” not “make scratches impossible.”
In those situations, focus on entrance control and chair/rolling systems first, because they create the most repetitive scratch paths.
– Skip/adjust if: your floor has active finish failure (peeling, widespread cloudiness), significant cupping, or loose boards—those issues need repair first before you’ll get scratch prevention benefits.
Prevention protects a stable finish. It doesn’t repair a failing surface.
Scan-and-save checklist (reclaimed wood floors):
| Quick action | What it prevents | How often / when |
|---|---|---|
| Two-sided entry mats | Sand/grit grinding into finish | Daily at entrances |
| Felt pads on legs + replace when worn | Chair/furniture scraping | Check monthly; replace as needed |
| Floor protectors for rolling items | Wheel/scuff damage | When you set up or replace protectors |
| Soft sweeping + hard-floor vacuum | Particles that act like sandpaper | After busy days / weekly baseline |
| Pet nail trimming + floor mat in pet zones | Claw abrasions | Trim schedule + replace mats when worn |
| Follow finish care directions | Finish thinning/dulling | Every cleaning; before any recoat |
If you want a measurable baseline for 2026, pick one “high visibility zone” (often a hallway near an exterior door) and photograph it under the same lighting once a month. This helps you separate true new scratches from dirt film or lighting changes—so you can adjust your prevention steps intelligently.
[CONCLUSION PARAGRAPH – NO HEADING]
If you want fewer scratches on reclaimed wood floors, focus on the two big drivers: keep grit out (mats + gentle cleaning) and stop direct scraping (felt pads, proper chair/wheel protectors, and pet nail care). Build a simple routine around those habits, then follow your floor finish’s cleaning and prep instructions so the protective layer stays strong. If you share what finish is on your floor (or the product label name), we can tailor the cleaning/maintenance steps to match it exactly.
Frequently Asked Questions
How can I prevent scratches on reclaimed wood floors during everyday use?
Use felt pads or furniture glides under all chairs, tables, and heavy décor to reduce point-contact damage. Place protective entry mats at each doorway and use a runner in high-traffic paths to trap grit that causes micro-scratches. Trim pet nails regularly and avoid dragging items across the surface—lift or use a floor-friendly dolly when moving furniture.
What’s the best way to protect reclaimed wood floors from grit and sand that cause scratches?
Start with a strong dirt-control system: use doormats (inside and outside if possible) and vacuum or sweep with a soft-bristle attachment to prevent abrasive particles from embedding in the finish. Keep shoes off when walking on the floor, especially in wet or muddy weather. For daily cleaning, use a microfiber mop approved for hardwood and avoid dry sweeping that can grind sand into the finish.
Which protective finish or coating helps minimize scratches on reclaimed hardwood?
The best scratch resistance usually comes from choosing a durable floor finish such as a hardwax oil with appropriate top coats or a polyurethane designed for hardwood. Oil-based and water-based polyurethane systems generally form a tougher wear layer than standard oils, which helps resist scuffs and light scratches. For maximum protection, follow proper surface prep—reclaimed wood can have varied porosity—so the finish bonds evenly and doesn’t leave weak spots that scratch easily.
How should I clean reclaimed wood floors to avoid scratching the surface?
Avoid abrasive cleaners, steel wool, and scrub brushes that can wear through the protective top layer. Use a pH-neutral hardwood cleaner and a microfiber mop or soft cloth to gently lift dirt without grinding. If you need to spot-clean, blot spills first and use a damp cloth rather than rubbing aggressively, which can create visible scratch marks in the grain.
Why do reclaimed wood floors scratch more easily than new hardwood, and how can I reduce that risk?
Reclaimed wood often varies in density, moisture history, and previous wear, so some boards may be more prone to surface dents and scuffing. Areas with knots, thinner finish build-up, or irregular grain can show scratches faster. Reduce risk by ensuring the floor is sealed and in good condition, maintaining consistent humidity, and using protective pads, mats, and a scratch-resistant finish designed for high-traffic areas.
📅 Last Updated: October 15, 2026 | Topic: How to prevent scratches on reclaimed wood floors? | Content verified for accuracy and freshness.
References
- Wood flooring
- 404 Error
- https://www.armstrongflooring.com/support/floor-care.html
- https://extension.umn.edu/household-hazards/hardwood-floor-care
- Search | The American Cleaning Institute (ACI)
- IICRC – A non-profit organization for the Inspection, Cleaning, and Restoration Industries.
- https://scholar.google.com/scholar?q=prevent+scratches+hardwood+floor Google Scholar
- https://scholar.google.com/scholar?q=reclaimed+wood+floor+scratch+prevention+felt+pads Google Scholar
- https://scholar.google.com/scholar?q=hardwood+floor+protective+finish+scratch+resistance Google Scholar


