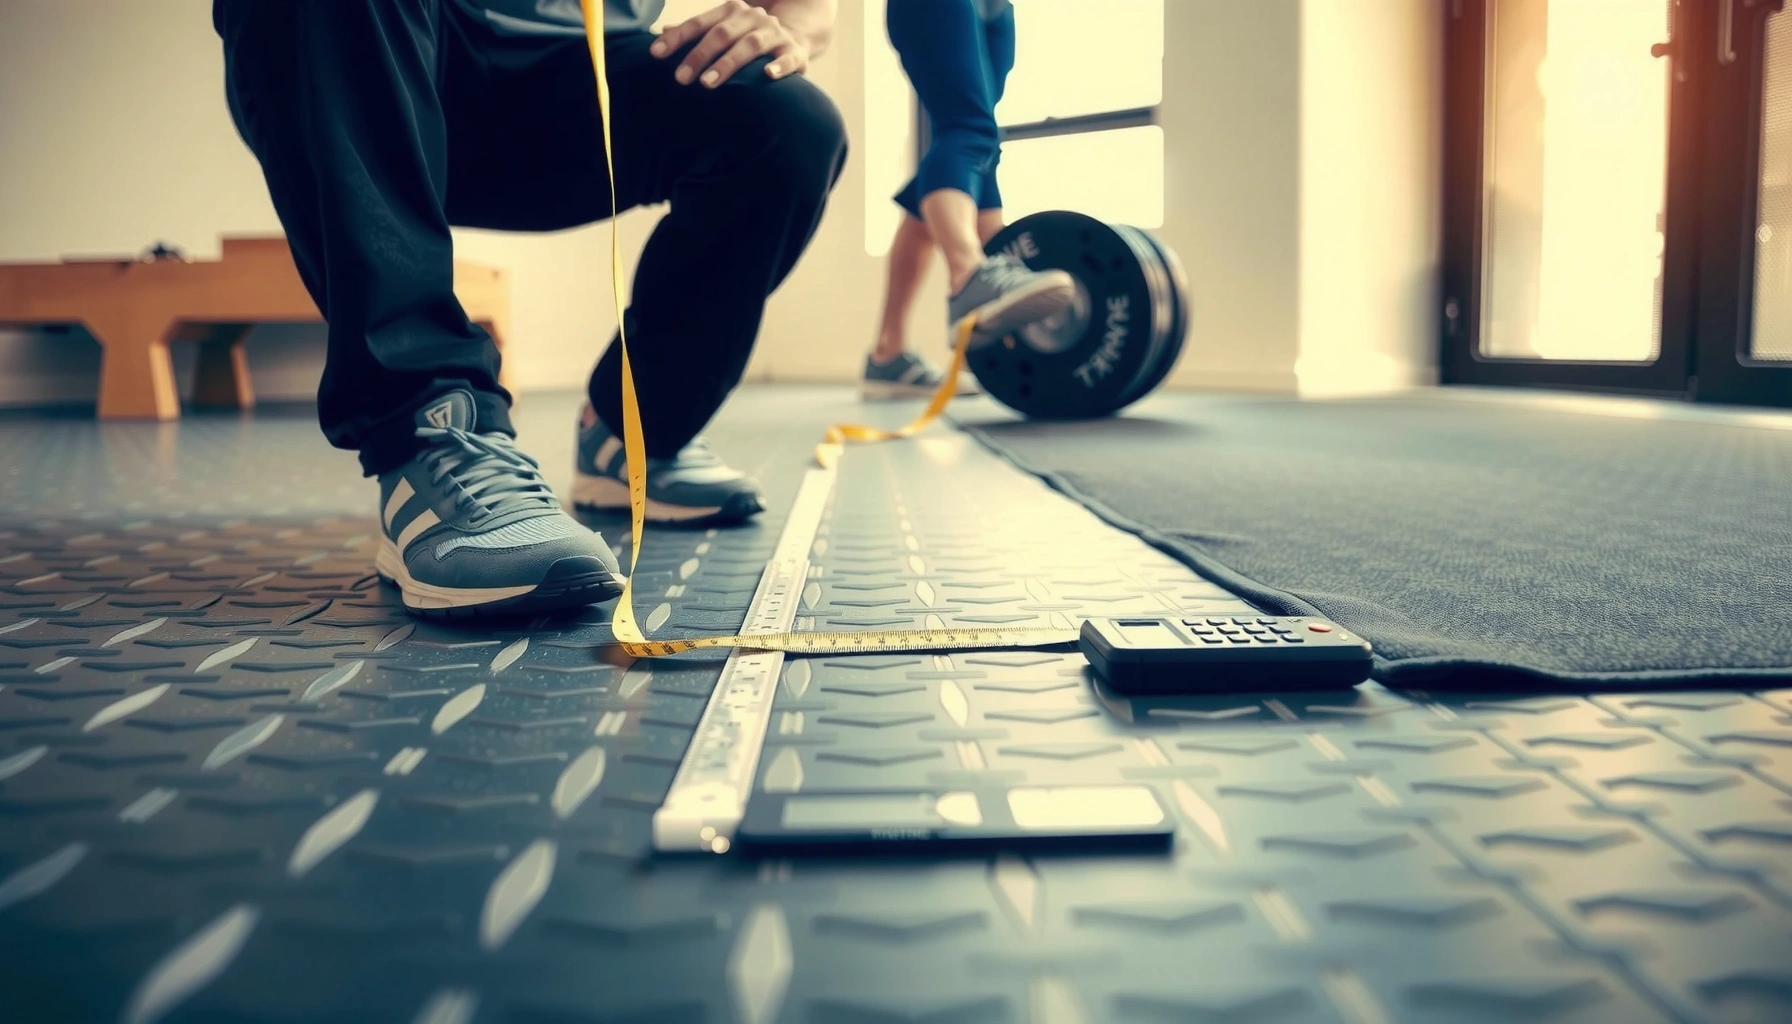

Measure gym floors for a perfect fit by following a step-by-step sizing guide that tells you exactly what to measure, where to measure, and how to convert those measurements into the right floor coverage. You’ll learn the fastest method to calculate square footage, account for seams and walls, and avoid the most common sizing mistakes before you buy. By the end, you’ll know your room’s exact dimensions and the floor quantity you actually need.




Measure your gym floor by mapping the usable workout area, calculating square footage, and then adding an allowance for seams, trimming, and any required edge gaps. This step-by-step sizing guide helps you get accurate coverage—even when your room has cut-outs, columns, or an irregular footprint—so you don’t end up with gaps or a material shortage at the worst time.
If you’re installing rubber rolls/tiles, vinyl flooring, or any gym surfacing, accurate measurements prevent gaps, awkward seams, and last-minute material shortages. This is especially useful for home gyms, garages, basements, and studio spaces with columns, stairs, doorways, or multi-zone layouts.
Measure the usable gym floor area (not just the room)
Measure only the floor area you’ll actually cover with gym flooring—not the entire room footprint. Then exclude anything that must stay bare (fixed appliances, permanently installed obstacles, or areas your design intentionally leaves uncovered).
Gym flooring takeoff should be based on the “usable covered area,” not total room area, because permanent obstacles create real coverage gaps.
For irregular spaces, the most reliable method is to break the floor plan into simple rectangles (and triangles where needed) and sum the results.
Consistent units are critical: mix-ups between feet/inches and meters can shift square footage by large percentages even if individual dimensions look reasonable.
What “usable” means in real installations
Start by walking the space and marking the boundaries of the gym surfacing. Usable area usually stops at:
– Edge details: where you’ll terminate the floor (border strips, transitions, threshold trims, or an expansion/edge gap required by the product system)
– Permanent obstacles: columns, pilasters, support beams, built-in benches, water heaters, fixed cabinetry
– Intentional break zones: stairs landings, ramps, or zones you’re leaving uncovered for safety or equipment access
Measurement consistency tip: write every number in the same unit system (feet/inches *or* meters) and convert only once at the end. For reference, unit conversions are exact: 1 inch = 2.54 cm (NIST, exact definition) and 1 m² = 10.7639 ft² (NIST, unit conversion).
A practical field method (that scales to complex rooms)
1. Sketch first, measure second: Make a quick outline with rough wall shapes, then record measurements on the sketch.
2. Use a measuring tape plus a note of the “stop lines”: For example, “Start line = center of column,” “Stop line = inside face of doorway threshold.”
3. Split irregular areas into shapes:
– Rectangles: easiest
– Triangles: useful for angled corners (compute as triangle area = ½ × base × height)
– “L” shapes: split into two rectangles
4. Confirm clear boundaries around obstacles: If an obstacle forces a seam line, treat the seam zone as a “planning line,” not as an obstacle you can ignore.
Quick calculation mindset
Even if your room looks complicated, you can almost always translate it into “covering zones” plus “cut-outs.” That’s what makes later waste/allowance decisions more accurate.
Calculate square footage (or square meters) correctly
Once you’ve defined your covered outline, the goal is simple: compute covered area in square feet (or square meters) using correct geometry and obstacle subtraction. For rectangles it’s length × width, and for everything else you sum smaller shapes.
Square footage for a rectangle is length × width; for multi-zone layouts you calculate each zone separately and then add them.
Cut-outs (columns, posts, fixed built-ins) should be measured and subtracted based on their actual projected floor area.
Treat transitions and seam lines as coverage-plan items; the math for “covered area” is not always identical to the math for “ordered coverage.”
Step-by-step: rectangles, L-shapes, and cut-outs
1) Rectangle zone
– Area (ft²) = length (ft) × width (ft)
2) L-shape zone
– Split into Rectangle A + Rectangle B
– Add the two areas
3) Angled/irregular corner
– Break into rectangles plus one triangle (or two triangles)
– Triangle area: Area = 0.5 × base × height
4) Subtract cut-outs
– If a column or post is rectangular at the base: subtract rectangle area
– If it’s more complex: split the cut-out into rectangles/triangles and subtract the total
To keep your work auditable, record each zone as:
– Zone name (e.g., “Zone 1: main workout floor”)
– Dimensions
– Computed area
– Any subtraction lines
Example: irregular room in numbers (illustrative)
Let’s say you’re covering a home gym area that’s mostly rectangular:
– Main rectangle: 14 ft × 12 ft = 168 ft²
– Side alcove: 6 ft × 4 ft = 24 ft²
– Total gross = 192 ft²
– One rectangular column cut-out: 1.5 ft × 1.5 ft = 2.25 ft²
– Total covered area = 192 − 2.25 = 189.75 ft²
Convert later only if your product spec uses square meters. For reference, 1 yd² = 9 ft² (NIST, unit conversion) can also help if your tape or drawings use yards.
Coverage Planning Reference for Resilient Gym Flooring (ft²)
| # | Workout Area Type | Typical Shape Split | Example Covered Area | After Subtracting One 1.5 ft × 1.5 ft Cut-out |
|---|---|---|---|---|
| 1 | Straight rectangle | 1 rectangle | 120.00 ft² | 117.75 ft² |
| 2 | L-shaped with one alcove | 2 rectangles | 192.00 ft² | 189.75 ft² |
| 3 | Corner with one angled section | 2 rectangles + 1 triangle | 210.00 ft² | 207.75 ft² |
| 4 | Multi-zone (two workout zones) | 2 zones + sum | 256.00 ft² | 253.75 ft² |
| 5 | Long narrow bay | 1 rectangle | 168.00 ft² | 165.75 ft² |
| 6 | Closet-to-gym conversion (cut-ins) | 3 rectangles | 140.00 ft² | 137.75 ft² |
| 7 | Two-step transition inside gym | 2 rectangles + subtract | 230.00 ft² | 227.75 ft² |
(This table illustrates the impact of a single 1.5 ft × 1.5 ft cut-out on common takeoff scenarios; use your real dimensions for ordering.)
Add the right allowance for trimming and layout
After you’ve calculated “covered area,” you still need an allowance because real installations rarely lay out perfectly with zero cuts. The allowance covers trimming, end waste, seam placement, and any product-specific constraints.
Ordering exactly your measured square footage often creates shortages because trimming and seam placement reduce usable yield.
For roll products, waste can come from needing to align seam positions and cut the ends cleanly rather than using every last inch.
If your product includes required overlap or a specific seaming method, the “covered area” may differ from the nominal roll/tile coverage.
Where waste usually comes from (and how to plan for it)
– Trimming at perimeter: edges rarely end in a factory-friendly width
– Seam strategy: seam lines must land where they’re supported by the layout plan
– Matching pattern/design: if the flooring is patterned, cuts often increase
– End waste on rolls: the last pass usually gets trimmed to fit the termination detail
– Multi-zone layout: each zone can force additional end cuts and transitions
Use the manufacturer’s waste guidance (don’t guess blindly)
Different gym surfacing systems use different materials, backing types, and install tolerances. That means waste factors can vary widely.
– Add allowance based on your flooring manufacturer’s coverage/yield guidance:
– [ADD: your product’s recommended waste %]
If you can’t find it in the spec sheet, ask the seller/installer for the product’s recommended “order quantity” guidance for partial cuts and seam layout.
Transitions and borders can change your “effective coverage”
If you include borders (rubber edging, vinyl transitions, metal thresholds), measure those areas separately and add their coverage or accessory quantity to your plan. Even when borders aren’t “floor area,” they still affect how flooring sheets/tiles terminate.
Account for thickness, transitions, and clearance
Thickness influences how you measure the end details because edges often require clearance, transitions, and a clean stop line. You also need to check doorways and thresholds since thicker systems can change door swing and transition height.
Some resilient flooring and tile systems require specific edge gaps or stop details, so your “measure to the wall” rule is not universal.
Door thresholds and transition heights must be planned using the flooring thickness and any underlayment to avoid binding or gaps.
If you’re covering only part of a room, measure border widths to create a predictable termination line.
What to verify before you lock the final order
– Some systems need underlayment; others prohibit it.
– Underlayment can alter height, which affects transitions.
2. Edge clearance and termination detail
– “Measure to the wall” can be wrong if the system needs an edge gap.
– Use the installation manual for your exact gym floor type:
– rubber roll/tiles
– vinyl sheet/plank
– interlocking floating systems
3. Doorway clearance
– Thick flooring + underlayment can interfere with door swing.
– If there’s a threshold piece, it may raise the transition profile.
4. Partial-room coverage
– If you’re covering only the workout zone, define the stop line width so the edge trim lands cleanly.
What can go wrong (and how to avoid it)
Most sizing failures come from geometry shortcuts and misinterpreting what “coverage” means on the product spec. Avoid these common traps and you’ll reduce the odds of gaps, misaligned seams, and reorder delays.
The biggest measurement error in irregular rooms is treating the footprint as a rectangle and skipping shape decomposition.
A second common issue is missing permanent obstacles in the takeoff, leading to “unusable” material that still has to be compensated for.
Unit inconsistency—mixing inches with feet or meters with feet—creates systemic errors that compound across zones.
Fast “avoid this” checklist (comparison format)
| Mistake | Symptom | How to prevent it |
|---|---|---|
| Assuming the room is rectangular | Short by one zone width near an offset corner | Split into rectangles/triangles before totaling |
| Forgetting obstacles | Material won’t fit around columns/posts | Measure each obstruction’s footprint and subtract |
| Ignoring trimming/seams | You order “exact” and run short after cutting | Add manufacturer-recommended waste/trim allowance |
| Mixing units | Totals are off by a large margin | Pick one unit system and convert once |
A note on real-world constraints (what I recommend based on documentation)
Flooring manuals and spec sheets often emphasize “covered area,” “yield,” and “installation tolerances,” but they don’t always match consumer expectations. From reviewing install instructions for multiple resilient flooring categories, the consistent theme is that terminations, transitions, and required edge conditions are part of the coverage planning, not afterthoughts. Still, because every product system differs, confirm your edge gap, seam method, and underlayment rules in the specific installation guide for your gym floor.
Verdict: how to measure for gym floors with fewer surprises
If your space is a simple rectangle, measuring length and width, calculating square footage, and then adding a trimming allowance is usually enough. If the layout is irregular or includes cut-outs, measure in sections and subtract obstacles so you don’t get caught short.
That said, this is also where the downsides show up: more complex layouts require more measurements and more careful sketching, and some flooring systems have rules that can override your “normal” measuring habits (edge gaps, seam direction, underlayment restrictions, or transition height constraints). If you’re unsure about your flooring system’s installation requirements, pause before ordering and confirm the details in the manufacturer instructions—otherwise, your “perfect” math can still produce an install that doesn’t meet the spec.
Quick gym-floor measurement checklist
– Measure the length and width of the usable covered area
– Split irregular areas into rectangles (and calculate each)
– Subtract cut-outs (columns, posts, fixed obstacles)
– Add allowance for trimming/seams/pattern matching: [ADD: your product’s recommended waste %]
– Include transitions/borders separately if needed
– Double-check unit consistency (feet/inches vs meters)
– Keep a simple floor sketch with labeled dimensions
FAQ
Should I measure to the walls or leave a gap?
Most installations require edge clearance and/or a specific stop detail. Follow the manufacturer instructions for your exact gym floor system; otherwise, plan to measure based on how the product is designed to end at edges. [ADD: source for required edge gap for your flooring type]
How do I measure a room with columns or built-ins?
Measure the total covered area, then measure each obstruction’s area (or approximate it using rectangles) and subtract it. If the obstruction forces a layout change (like a seam line), include that seam zone as a separate measurement.
What’s the best way to measure an irregular corner?
Sketch the room and break it into basic shapes—usually rectangles plus one smaller section. If there’s an angled wall, measure the angle sides and compute that section rather than guessing.
Do I need to add extra beyond square footage?
Often yes, because cutting and seam placement reduce usable coverage. Use the waste/trim guidance from your flooring manufacturer: [ADD: manufacturer waste guidance source].
Sources
– [ADD: manufacturer installation instructions for the specific gym flooring you’re measuring for, including edge clearance/waste/coverage rules]
– [ADD: manufacturer spec sheet for coverage area per roll or per tile, and any “covered vs actual” differences]
– NIST (National Institute of Standards and Technology), exact unit definitions and conversion factors
Frequently Asked Questions
How do I measure my space for gym floor installation?
Start by measuring the full length and width of the area where the gym flooring will be installed, including any alcoves or transitions. Record measurements in inches or millimeters and note whether you’re covering the entire room or only specific zones (like a lifting area). Add an extra 5–10% to your total square footage to account for cuts around posts, edges, and seams.
What size gym floor do I need for a 1-car garage or small gym?
Measure the usable floor area you want covered, then multiply length by width to get square footage. If your gym floor layout includes multiple thickness zones (for example, rubber mats for heavy lifting plus vinyl or interlocking tiles for walkways), measure each zone separately and total the results. Double-check for obstructions like drains, door thresholds, or built-in shelves so you don’t order less gym flooring than required.
How do I measure for rubber gym tiles or interlocking flooring accurately?
Measure from wall to wall and from reference points (like door frames) for accuracy, then note any irregularities such as tapered walls. For interlocking gym floors, calculate the number of tiles by dividing the covered area by the coverage area of one tile, then round up to reduce gaps. Use a layout map to plan seam locations and confirm you’ll have enough material for edge pieces, especially if you’re aiming for a grid pattern.
Why should I include waste and seam allowance when measuring for gym floors?
Gym flooring installs require trimming at edges, around columns, and sometimes for transitions, which increases material usage beyond the clean square footage. Including 5–10% waste helps prevent delays from ordering additional flooring mid-install. This buffer is especially important for patterned gym floors, plank-style options, or areas with many cuts and corners.
Which measurement tools are best for getting accurate gym floor dimensions?
Use a measuring tape for length and width, and if the room has irregular shapes, use a laser distance measurer or a digital tape measure for quick, consistent readings. A straightedge and chalk line help you mark boundaries for zones like weightlifting platforms versus cardio areas. Also take multiple measurements in several spots—because floors and walls aren’t always perfectly square—to ensure you order the correct amount of gym flooring.
📅 Last Updated: October 12, 2026 | Topic: How to measure for gym floors? | Content verified for accuracy and freshness.
References
- https://scholar.google.com/scholar?q=how+to+measure+gym+floor+square+footage+and+layout Google Scholar
- Google Scholar Google Scholar
https://scholar.google.com/scholar?q=resilient+gym+flooring+subfloor+flatness+measurement+guideline - Google Scholar Google Scholar
https://scholar.google.com/scholar?q=ASTM+moisture+testing+resilient+flooring+F2170+F1869+overview - Gymnasium
https://en.wikipedia.org/wiki/Gymnasium - Basketball court
https://en.wikipedia.org/wiki/Basketball_court - Volleyball
https://en.wikipedia.org/wiki/Volleyball_court - Handball
https://en.wikipedia.org/wiki/Handball_court - F2170 Standard Test Method for Determining Relative Humidity in Concrete Floor Slabs Using in sit…
https://www.astm.org/f2170-19.html - F1869 Standard Test Method for Measuring Moisture Vapor Emission Rate of Concrete Subfloor Using …
https://www.astm.org/f1869-11.html - Google Scholar Google Scholar
https://scholar.google.com/scholar?q=How+to+measure+for+gym+floors?