
Get exact steps for how to measure for bathroom floors so you can order the right amount of tile or flooring on the first try. This guide delivers a clear, sequence-based method for measuring length, width, and irregular spaces like corners and vanities. Follow it and you’ll produce accurate dimensions with a reliable cut plan—no guesswork, no reordering.



If you’re planning a bathroom remodel—whether you’re tiling the entire floor, installing luxury vinyl planks, or laying sheet goods—accurate measurements determine whether you’ll have enough material and the right cut strategy that actually fits. This matters in bathrooms because doors, toilet flanges, and built-ins create irregular edges. The goal is simple: produce a takeoff (your quantified plan) that matches how the installer will cover the floor, not just what’s on the walls.
Break the space into simple shapes
Break the bathroom into shapes you can measure and add without guessing, then keep each shape’s boundaries consistent with your install plan. This approach works for rectangular rooms and dramatically reduces mistakes when you’re dealing with L-shapes, alcoves, or partial-width entries.
“You get a usable takeoff by measuring the floor as sub-areas, not as one blended ‘overall’ rectangle.”
“If you can’t describe your floor as rectangles (or rectangles plus triangles), you don’t yet have a measurable plan.”
– Start with a main rectangle. Most bathrooms start life as a “rough rectangle,” even if the final shape becomes irregular once you account for closets, bump-outs, or offsets.
– Split non-rectangular areas into rectangles and/or right triangles. For an L-shaped bathroom, a common method is to divide it into two rectangles. If there’s a small jog, a small rectangle subtraction or a right-triangle add-on can be cleaner than forcing one big shape.
– Decide what the flooring will not cover. Some remodels intentionally stop at a built-in cabinet, a step, or a permanently retained base. Write those exclusions down early so your “planned coverage” matches the product and installation scope.
– Pick and stick to units. Measure in inches or centimeters (just be consistent). If your tile plan is based on inches but your tape measure is in centimeters, you’ll introduce rounding errors that show up as “mystery shortages.”
Recordkeeping tip (practical)
Create a measurement sheet with three columns: Sub-area name, L × W (or triangle dimensions), and Calculated area. When you later convert to boxes/sheets, you’ll only have to update one row at a time.
Measure length and width (not just “overall” size)
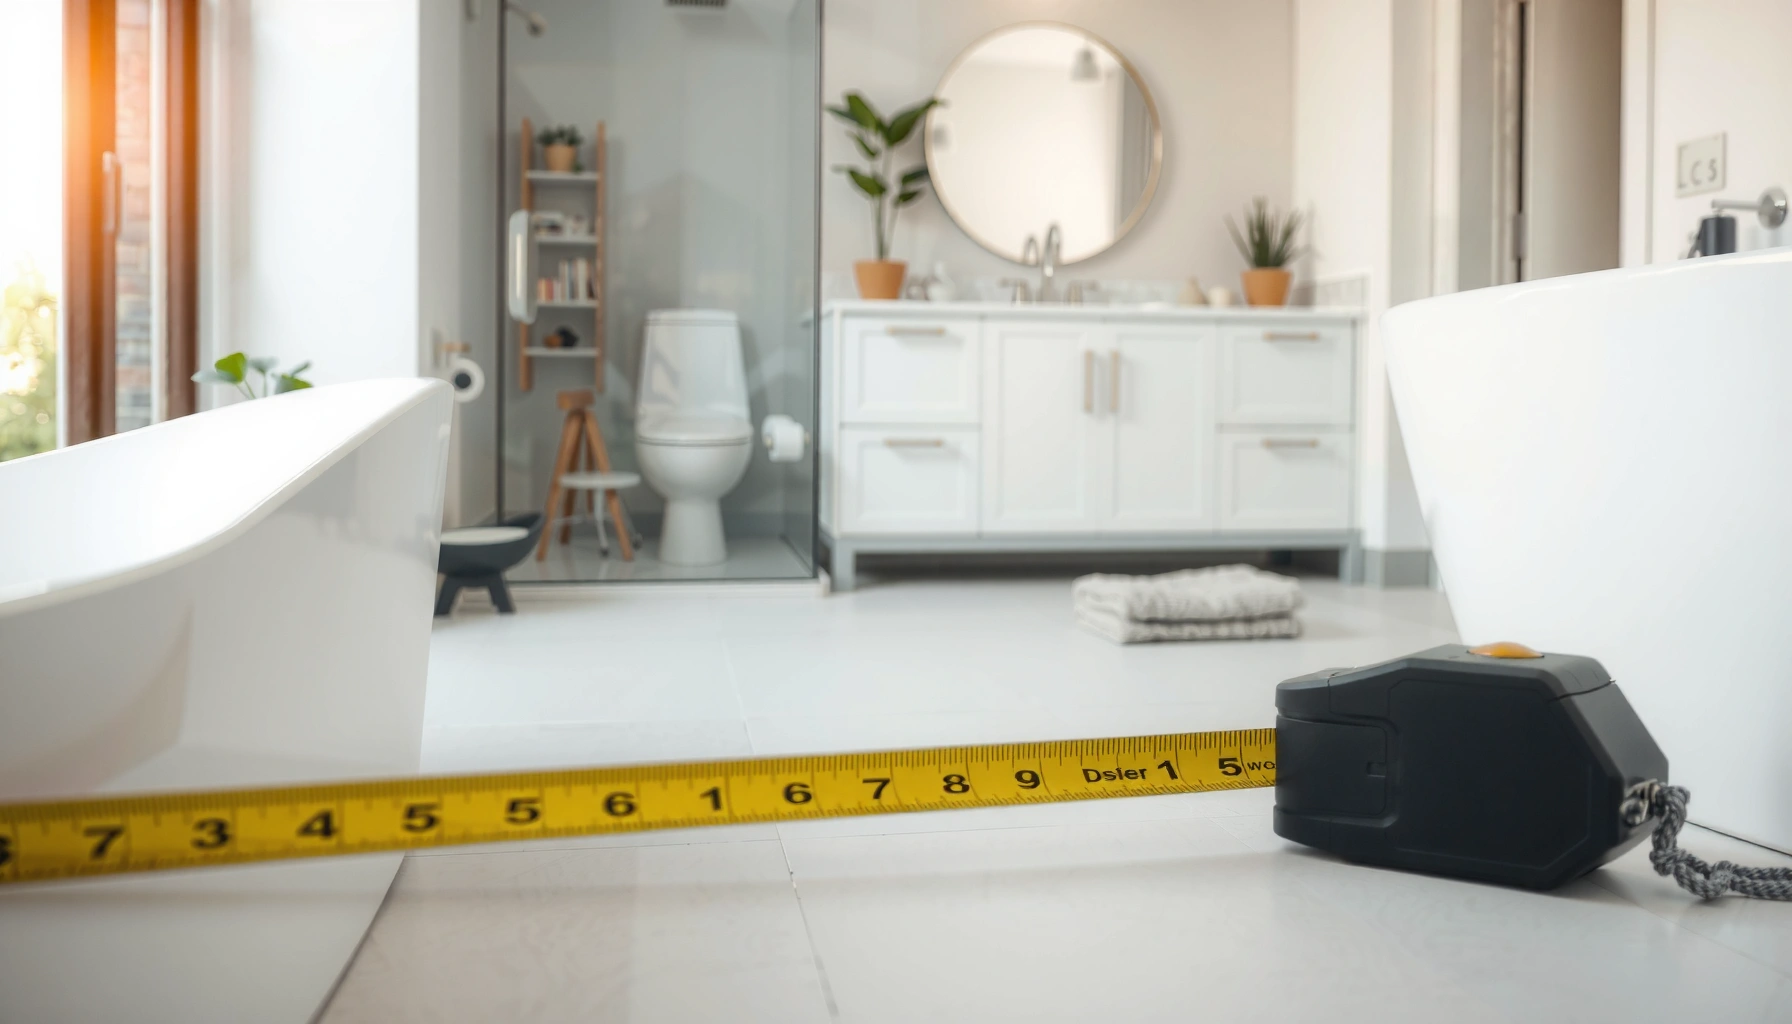
Measure at the floor plane, not at wall height, and take multiple readings so you can correct for out-of-square walls. Floors are often the one surface that’s slightly off—especially in older homes—so your layout math should reflect the actual floor perimeter.
“Measure at the floor level because walls are frequently out of square, bowed, or uneven.”
“Take at least two readings per dimension to detect uneven walls and avoid compounding error.”
“Recording to a consistent precision (e.g., nearest 1/8 inch) reduces rounding drift across sub-areas.”
– Use wall-to-wall dimensions at the floor edge you’re covering. If your stop line is a doorway threshold, measure to the stop line—not to the far side of the doorway.
– Take measurements in pairs. For each dimension:
– Length: measure near the front and near the back
– Width: measure near the left and near the right
– Check for mismatch. If the two “length” readings differ, don’t ignore it—write both. You’ll either:
– split into sub-areas that match reality, or
– use the smaller dimension as a conservative boundary (depending on your layout method).
– Account for out-of-square. If the room is truly rectangular, opposite diagonals match. If diagonals don’t match, treat the space as split sub-areas rather than forcing a single rectangle.
Real-world math anchoring (data points to guide your recording)
– Expansion gaps for floating floors are commonly required around the perimeter—often ~1/4 in (6 mm) depending on the manufacturer (verify your product’s installation guide).
– Typical tile layout includes grout joints that often fall in the ~1/16 in to 1/8 in range (verify your tile system).
– For diagonal checks, a “perfect” rectangle has equal diagonals; if yours don’t match within a small tolerance, you’re almost certainly dealing with out-of-square conditions that require sub-area splitting.
“For floating installations, expansion gaps are not optional—follow the specific gap size stated by the manufacturer’s instructions.”
Account for obstacles and cutouts
Don’t subtract obstacles blindly—measure them, define whether they’re staying, and then calculate the flooring area that will actually receive the new surface. Obstacles like toilet bases, vanity toe-kicks, and raised thresholds often define both your cut patterns and your “usable tile area.”
“Obstacles should be handled as measurable boundaries: plan the cutout shape or the stop line.”
“Define no-go zones (areas you won’t cover) so your takeoff matches what installers can actually install.”
– Toilet area: You typically measure the clear area around the toilet base where the flooring will extend (or stop), then plan the cutout around the flange/footprint based on your flooring type.
– Vanity toe-kicks: If the vanity stays, many installers cut around the toe-kick and leave the floor tucked neatly up to it rather than trying to place flooring under it.
– Raised thresholds and transitions: Decide where your flooring stops. If you’re transitioning to tile, another room, or a different height flooring system, your stop line is what keeps the finished edges looking intentional.
– Mark no-go zones explicitly. On your sheet, label them:
– “Do not cover” (built-in, fixed cabinet)
– “Cut around” (toilet, toe-kicks)
– “Transition stop” (thresholds, doorways)
Quick comparison: subtract vs. stop vs. cut
Use this rule-of-thumb to decide how each obstruction should be treated in your takeoff:
| Obstacle type | What you do in your takeoff | Why it matters |
|---|---|---|
| Toilet flange area | Plan a cutout/clearance and define the stop boundary for flooring format | Prevents flange conflicts and improves edge fit |
| Vanity toe-kick | Measure the toe-kick line and cut/stop accordingly | Avoids awkward seams at fixed trim |
| Fixed cabinet/build-in you’re keeping | Subtract a “do not cover” rectangle | Prevents ordering extra material that can’t be installed |
| Threshold/doorway stop | Measure to the stop line (not through it) and note transition strip width | Keeps finish edges aligned and reduces visible gaps |
Mandatory styled data table (waste planning by bathroom complexity)
Waste expectations vary mainly with layout complexity and cut frequency. Use this as a planning baseline (then follow your product installer guidance for final numbers).
Bathroom Flooring Waste Planning (Typical Planning Ranges)
| # | Bathroom layout scenario | Typical cut complexity | Planning waste | Fit for takeoff? |
|---|---|---|---|---|
| 1 | Single rectangle, no obstacles | Low | 5%–8% | ★★★★☆ |
| 2 | Rectangle with toilet cutout | Medium | 8%–12% | ★★★★☆ |
| 3 | L-shape with toe-kicks | High | 12%–18% | ★★★☆☆ |
| 4 | Multiple thresholds/transitions | High | 12%–20% | ★★★☆☆ |
| 5 | Patterned tile with diagonal layout | Very high | 15%–25% | ★★☆☆☆ |
| 6 | Sheet goods with limited seams planned | Medium | 6%–10% | ★★★★☆ |
| 7 | Floating floor with door transitions + vents | High | 10%–18% | ★★★★☆ |
Choose what your “coverage area” includes
Your “coverage area” isn’t always the raw floor surface—it’s the part you can actually install under your specific stop lines and transitions. Decide this before you do purchase-unit math.
“Define the stop line first; otherwise, you’ll calculate area you can’t legally/physically install.”
“For floating floors, the installable area excludes required expansion gaps.”
– Tile: Coverage often means the floor surface area plus the edge strategy needed for transitions (depending on how your system is installed). If your plan includes grout joints for layout, you may need to account for spacing in layout decisions—but area takeoff usually starts with the surface footprint.
– Floating vinyl plank/laminate: Coverage must respect perimeter expansion gaps (commonly around the perimeter and sometimes at transitions). For takeoff, measure the usable area after subtracting gap allowances.
– Threshold stops: If the flooring stops at a threshold or doorway, measure up to the stop line (not through). Note the width of any transition strip so you can include it where it belongs in the finish plan.
– Seams at transitions: For planks and laminates, transitions can require offset seams and specific alignment. Even if the area is the same, the cut strategy isn’t.
Practical record format
Write one sentence at the top of your sheet:
“Coverage area = all floor surface up to [door threshold stop line / transition strip centerline], excluding [toe-kick zones / built-ins].”
Plan for waste and verify your takeoff math
Add waste for cuts and breakage, then re-check your math by summing sub-areas—not by trusting one big number. This is the final barrier between “looks right on paper” and “fits on install day.”
“Waste allowance should reflect cut frequency and layout complexity, not just tile thickness or brand.”
“Re-calculate by sub-area to catch double-counting and missing corners.”
– Start with a waste allowance that matches your scenario. If you don’t have a manufacturer requirement, use a conservative range based on your layout complexity (the table above gives planning bands).
– Convert takeoff to purchase units correctly. Tile is sold by coverage area per box; planks are sold by square footage per carton; sheet goods may be sold by roll width and length. Always:
– compute total square footage needed,
– divide by the coverage per unit,
– round up to whole units.
– Sum sub-areas separately. For each rectangle/triangle, compute area, then sum. This catches:
– missing a small alcove,
– subtracting an obstacle twice,
– forgetting that an L-shape becomes two rectangles.
A note on rounding
If you recorded dimensions to the nearest 1/8 inch, do your arithmetic in those units consistently. Then round your final purchase quantities up. Don’t mix precision rules midstream.
What can go wrong (and how to spot it early)
Most sizing failures come from “one wrong assumption” that snowballs into insufficient material or an ugly transition. The best defense is to validate your takeoff against the room’s geometry and your flooring system’s installation rules.
“If the room is out of square, forcing one rectangle creates incorrect edge lengths and tile/plank starvation.”
“Stop lines (thresholds/doorways) are where measuring errors become visible gaps.”
– Assuming the room is perfectly rectangular.
If diagonals don’t match (within a small practical tolerance), split into sub-areas. You can also use a diagonal check to confirm your L-shape split lines.
– Measuring only one corner pair.
If you only measure one “length” and one “width,” you can’t detect bowing walls or uneven floor perimeter lines.
– Forgetting thresholds and door undercuts.
Measuring through the threshold is a common error; it can lead to a material shortage at the transition edge or an incorrect seam position.
– Ignoring expansion gaps for floating floors.
Floating floors can buckle without required clearance around perimeter and transitions. Verify the exact gap requirement in your flooring’s installation instructions.
[ADD: source for required expansion gap for your specific flooring]
A downside check (when your measurement plan may be insufficient)
| Scenario | Likely issue | Best fix |
|---|---|---|
| Old bathrooms with warped subfloors | Tile lippage risk or inconsistent plank fit | Confirm flatness and follow substrate requirements |
| Multiple transition heights | Misaligned edge finishing | Measure stop line locations and transition strip width intentionally |
| Patterned tile with a precise layout | Waste spikes and mismatch at edges | Plan pattern start line and increase waste tolerance |
Quick measurement checklist (scan before you buy)
You’ll save money by catching measurement gaps before purchasing. Use this checklist as a final pre-order audit of your takeoff.
“A fast final check prevents the most expensive mistake: buying the wrong quantity of flooring.”
– Measure length and width at floor level (take 2 readings per dimension if possible)
– Split irregular shapes (L-shapes, alcoves) into rectangles you can sum
– Measure obstacles: toilet clearance area, vanity toe-kicks, built-ins you’re working around
– Decide stop lines: thresholds, doorways, or transition strips
– Add waste allowance based on complexity: use your best-fit planning band from the waste table above
– Convert area to purchase units (tile boxes, vinyl cartons, sheet roll coverage) and round up
If you’re using tile and have a grout-spacing/layout plan, confirm whether your spacing strategy changes how you define the start line and how you allocate the edge cuts.
[CONCLUSION PARAGRAPH – NO HEADING]
If you measure your bathroom floor by breaking the space into simple shapes, recording multiple readings, and accounting for obstacles and transitions, you’ll get a takeoff that’s far more likely to match what you actually install. Before you purchase, do one last pass: sum sub-areas, apply a realistic waste allowance for your room’s complexity, and round up to full packages. If you want, share your bathroom’s basic shape (rectangular vs. L-shaped) and what flooring type you’re installing (tile, luxury vinyl plank, laminate, or sheet), and we can help you set up a clean measurement sheet to calculate total coverage.
FAQ
What’s the best way to measure an L-shaped bathroom floor?
Split it into two rectangles (or rectangles plus a small section), measure each part’s length and width, then add the areas together. Confirm the cut corner lines with a diagonal or “measure-to-a-corner” approach so you don’t double-count or miss a section.
Should I measure tile area including grout lines?
If your tile plan includes grout spacing for layout, you may want to base your layout on spacing. If you’re unsure, measure the floor surface area first, then let your layout decide how many tiles fit once spacing rules are known—[ADD: your preferred approach or installer standard].
How do I measure around a toilet for flooring?
Measure the clear space where the floor will be installed around the toilet base, then plan for the cutout shape needed for your flooring type. If your installation method involves replacing the toilet flange or using specific toilet-install spacers, follow the manufacturer/installer guidance—[ADD: source for your toilet-flange or flooring cutout method].
How much waste should I add to bathroom flooring?
Waste depends on the flooring format and layout complexity (lots of cuts vs. mostly straight runs). Use your site’s recommended allowance or manufacturer guidance; if you don’t have one, start with [ADD: recommended waste %] and adjust based on how irregular the room is.
Do I need to leave expansion gaps when measuring?
For many floating floors, yes—expansion gaps are required around the perimeter and sometimes at transitions. Measure the installable area that accounts for those gaps, and verify the exact gap size from the manufacturer’s instructions—[ADD: source for required expansion gap for your flooring].
Sources
– [ADD: manufacturer installation instructions for your specific flooring type, including expansion-gap requirements and waste/coverage guidance, if stated]
– [ADD: any official measurement/takeoff guidance from the flooring manufacturer you’re using]
– [ADD: TCNA/ANSI guidance for tile installation tolerances and grout/spacer conventions, if you use it for your layout logic]
Frequently Asked Questions
What’s the best way to measure a bathroom floor for tile?
Start by measuring the length and width of the bathroom floor at the widest points, then calculate the square footage for the main area. If the space has a vanity, toilet, or shower alcove cutout, measure each section separately and add totals for each measurable area. Use a tape measure, record measurements in inches (or feet with conversions), and re-check corners since walls are often not perfectly square. Finally, add 10–15% extra for tile waste, cuts, and bathroom floor layout variations.
How do you measure for bathroom floor tile if the room isn’t perfectly square?
Measure the diagonals of the floor (corner to corner) and compare them—this helps you understand how out-of-square the layout is. Then, measure along the longest wall and shortest wall, recording any steps, offsets, or curved edges separately. For complex bathroom floor tile plans, sketch the layout and break the floor into rectangles or triangles so you can calculate area accurately. This prevents underbuying materials when you have irregular shapes around a toilet flange or shower threshold.
Why is measuring for bathroom flooring underlayment and waterproofing different than measuring tile?
Underlayment and waterproofing often need to extend beyond the finished floor area into wet zones, seams, and transitions. Measure the total covered footprint for products like cement board, foam underlayment, or membrane systems, accounting for overlap and edging details around tub surrounds, shower pans, and bathroom floor drains. Check manufacturer installation instructions for coverage requirements so you don’t end up with gaps in waterproofing. Correct measurements also help ensure you buy the right amount of sealing tape and seam supplies.
Which measurements should you take around a toilet, vanity, or shower to avoid layout mistakes?
Measure the bathroom floor in relation to fixed fixtures: measure from the wall to the toilet centerline (or flange) and from the wall edges to any cabinet or vanity legs. Note the clearance needed for trim and grout lines, then plan how tile will align with these obstacles. Measure the shower or tub curb and any transitions to determine how tile will meet waterproof surfaces at edges. Taking these measurements early reduces rework and helps you maintain a balanced bathroom floor tile layout.
How do you calculate square footage for bathroom floors including hallways or adjoining rooms?
Measure each contiguous area separately—bathroom proper, hallway entry, or any open threshold—then add the square footage totals together only if the same flooring material will be installed continuously. Convert measurements consistently (feet to square feet, inches to feet) and multiply length by width for each section. If you have doorways, steps, or height changes, treat them as separate areas unless the flooring fully spans across. Add your waste factor (commonly 10–15% for tile, depending on cut complexity) to the final total for bathroom flooring ordering.
📅 Last Updated: October 11, 2026 | Topic: How to measure for bathroom floors? | Content verified for accuracy and freshness.
References
- Google Scholar Google Scholar
https://scholar.google.com/scholar?q=measure+bathroom+floor+tile+square+footage+calculations+layout - Google Scholar Google Scholar
https://scholar.google.com/scholar?q=floor+plan+room+measurement+area+calculation+methods - Google Scholar Google Scholar
https://scholar.google.com/scholar?q=bathroom+tile+layout+measurement+pattern+cutting+calculation - https://en.wikipedia.org/wiki/Floor_plan
- Square foot
https://en.wikipedia.org/wiki/Square_foot - Area
https://en.wikipedia.org/wiki/Area - Rectangle
https://en.wikipedia.org/wiki/Rectangle - https://en.wikipedia.org/wiki/Floor
- Tile
https://en.wikipedia.org/wiki/Tile - https://www.britannica.com/technology/floor