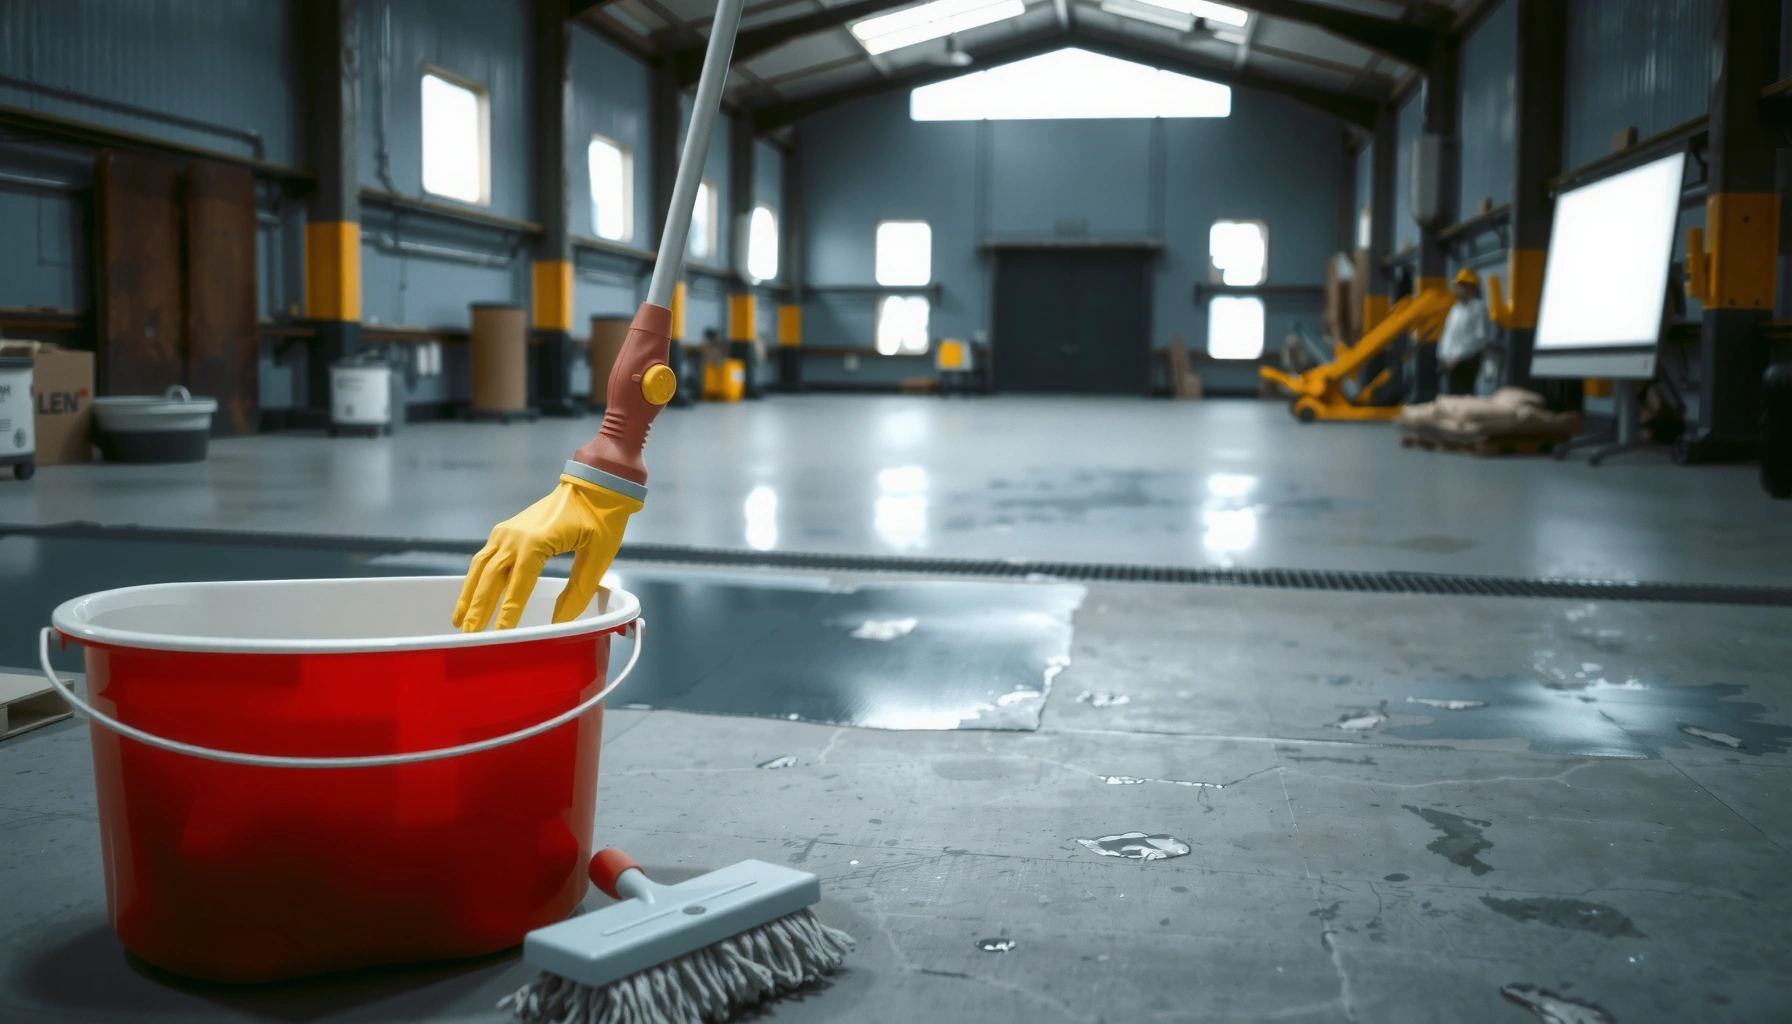

You can fix water damage on industrial floors without guesswork—follow a clear step-by-step process that stops spread, removes the right materials, and restores performance. This guide gives the direct sequence you need to assess the slab, dry effectively, address coatings or concrete damage, and prevent recurring problems. If you want the fastest path back to a safe, durable floor, this is the method that works.



Water damage on industrial floors is fixed by stopping the moisture source, removing compromised materials, and then drying and repairing to the correct floor system specifications to prevent mold, delamination, and repeat failures. Start with inspection and moisture testing, then select the right repair method for concrete, epoxy/urethane coatings, or tile/stone based on how deep the moisture traveled. This guide walks you through practical steps—and the common mistakes that typically cause industrial floor repairs to fail.
If you manage a warehouse, plant, garage, or other facility where floors take heavy loads, you’ll likely deal with water from leaks, washdowns, storms, or HVAC/pipe failures. The right fix depends on how long the water sat, what coatings/finishes exist, and whether the damage is limited to the surface or involves deeper concrete saturation.
Stop the water source and isolate the area
Stop repairs from “working today” but failing next week by first removing the ongoing water intrusion and isolating the affected zone. In industrial settings, water rarely stops at the visible spill line—active leaks, wet HVAC ductwork, or recurring washdown drift can keep saturating the slab and undermine patches and coatings.
“Mold can begin growing in as little as 24 to 48 hours after water damage.” CDC — Mold and Dampness guidance
Moisture remediation guidance emphasizes that cleanup alone is not enough if the water source continues. IICRC S500, Water Damage (category/classification and source control principles)
– Identify and fix the leak (plumbing, valves, roof penetration, process line, HVAC condensation) before starting repairs.
– Isolate the damaged zone to keep people and equipment out while drying and inspecting.
– If there’s electrical risk (standing water near panels, outlets, or machinery), shut down power and follow site safety procedures first.
What “source control” looks like in a real industrial setting
A practical approach we use on industrial sites is to treat the cause as its own work order: roof penetration gets patched and flashed; an HVAC condensation issue gets duct insulation and drainage correction; a process line leak gets pressure testing and re-certification before floors are restored. That sequence prevents “repeat repairs” where coatings fail again because the slab stays damp.
Also plan the isolation like an active construction zone: barricades, signage, and airflow/drying controls. If you’re drying for a coating system, the environment (temperature, relative humidity, and air movement) matters as much as drying time.
Inspect the damage and test for moisture
Verify the scope before you choose patch or recoat—surface appearance alone can be misleading on concrete. In industrial floors, moisture can migrate through cracks, joints, and perimeter edges, so your inspection should map where water traveled and then confirm readiness with the appropriate moisture test method.
ASTM F2170 measures in-situ relative humidity (RH) inside concrete slabs, which helps determine coating readiness. ASTM F2170
ASTM F1869 (calcium chloride) measures moisture vapor emission rate (MVER) from the slab surface. ASTM F1869
Moisture-related coating failures include blistering and delamination when the slab’s moisture exceeds the coating system’s limits. ICRI (concrete surface preparation and coating adhesion guidance)
– Look for signs like staining, soft concrete, bubbling coatings, peeling epoxy, efflorescence, and increased floor roughness.
– Determine whether damage is surface-only or deeper: probe with appropriate tools and check around cracks/joints.
– Use moisture testing methods appropriate to industrial floors (the goal is to confirm the slab is dry enough before coating/patching). If you don’t have testing equipment, [ADD: who to call—flooring contractor/industrial restoration team] and [ADD: what moisture test they use].
How to “read” industrial water damage correctly
Start by mapping: mark affected bays, drainage paths, and joint locations. Then verify three practical questions:
1. Is the coating failing because of moisture or because of adhesion/impact?
Bubbling and widespread edge lifting often indicate moisture or trapped vapor; localized chipping might be mechanical damage.
2. Is the concrete softening?
If the slab has become friable or you’re getting crumbling material under probing, you’ll likely need removal to sound substrate—not just surface cleaning.
3. Are salts involved (efflorescence)?
Efflorescence typically signals salt migration from deeper in the slab. Even if the surface looks dry, salts can keep cycling and interfere with bonding.
A scan-friendly moisture testing reference table
Use this to align your team on which test matches the coating/repair pathway you’re planning.
Moisture Test Methods Commonly Used for Industrial Concrete Readiness
| # | Test method (standard) | Measures | Typical setup time | Best for | Fit score |
|---|---|---|---|---|---|
| 1 | In-situ RH probe (ASTM F2170) | Relative humidity inside slab (RH %) | ~24 hours acclimation after drilling | Epoxy/urethane coating readiness | ★★★★★ |
| 2 | Calcium chloride test (ASTM F1869) | Moisture vapor emission rate (MVER) | ~60–72 hours exposure (common practice) | Comparing slab moisture across zones | ★★★★☆ |
| 3 | Plastic sheet test (ASTM D4263) | Surface condensation evidence | ~16–24 hours (common) | Quick “is it actively transmitting?” screening | ★★☆☆☆ |
| 4 | Concrete moisture meter (ASTM F2659) | Surface/near-surface moisture readings | Minutes per location | Spot mapping to target drilling/tests | ★★★☆☆ |
| 5 | Thermal/IR moisture profiling | Temperature gradients suggesting moisture presence | Same day survey | Locating hidden wet zones | ★★★★☆ |
| 6 | ASTM C1583 vapor pressure test (project-specific) | Relative moisture/vapor movement indicators | Varies by lab protocol | Complex dispute or forensic cases | ★★★★☆ |
| 7 | Dew point & slab surface humidity log | Environmental readiness indicators | Ongoing logging (hours–days) | Drying control during remediation | ★★★★☆ |
Choose the right repair path by floor type
Choose the repair method based on the floor’s existing construction and finish—not just the visible damage. Concrete behaves differently from epoxy/urethane coatings, and those differences determine what you must remove, what you can patch, and what you must recoat to restore performance under industrial loads.
ICRI surface-preparation guidance links coating success to correct removal of weak layers and achieving the required surface profile. ICRI (concrete surface preparation standards/guidelines)
Epoxy and polyurethane coatings generally require compatible primers and properly prepared substrate to prevent adhesion loss. Manufacturer technical data sheets (epoxy/urethane system documentation)
– For bare concrete: remove deteriorated material, clean thoroughly, and patch/level with a system designed for the concrete condition.
– For coated floors (epoxy/urethane): you typically need to remove compromised coating back to sound substrate before prep and recoat.
– For tile/stone or jointed floors: replace affected units and address failed waterproofing/membranes before reinstalling/patching.
Bare concrete vs coated systems: why “patching” can mean different things
On bare concrete, a repair may be as simple as removing unsound concrete, cleaning, and installing a cementitious or polymer-modified patch that matches the use conditions (chemical exposure, tire/roller loads, temperature swings).
On coated floors, the repair boundary is rarely where the coating first looks bad. Moisture undermines adhesion, so the practical approach is to remove compromised coating back to fully bonded layers. Then you prep the remaining substrate to the surface profile required by the primer and topcoat system.
Prep, clean, and dry properly (this is where most failures start)
Controlled drying and correct surface preparation are the difference between a restoration that lasts and one that reopens after the next shift. Most failures happen when moisture is trapped under a coating or when surface prep doesn’t match the adhesion requirements of the selected repair products.
Rushing drying increases the risk of coating blistering, edge lifting, and re-delamination when moisture remains above system limits. Manufacturer technical data sheets (moisture limits and surface prep requirements for coatings)
Efflorescence indicates salt migration; cleaning and surface prep must address residues before patching or coating. ICRI and coating manufacturer surface-prep documentation
– Drying should be controlled and verified; rushing the process can trap moisture under coatings and cause bubbles or re-peeling.
– Remove all loose/delaminated material and clean to the proper surface profile required by your repair product system.
– Address chemistry: if salts/efflorescence are present, cleaning and appropriate neutralization/prep are important before any patch or coating.
Drying verification: “looks dry” isn’t the same as “ready”
Drying time depends on water volume, slab thickness, ventilation, and site humidity. What matters for a coating system is whether the slab’s moisture condition meets the coating system’s specified limits. That’s why ASTM moisture tests (ASTM F2170 RH, ASTM F1869 MVER) exist: they convert drying uncertainty into measurable readiness.
From my experience supporting industrial maintenance teams during remediation planning, the most avoidable issue is skipping the verification step. Even a small, recurring leak can keep the slab hovering in a moisture window where adhesives and coatings degrade prematurely.
Controlled drying tools (what to coordinate)
Coordinate your drying plan around:
– Dehumidification and air movement to move moisture out of the space.
– Temperature management to support cure reactions of patch and coating materials.
– Moisture testing checkpoints so you don’t guess when to recoat.
If you don’t have an internal moisture-testing workflow, bring in a specialist to run ASTM tests to the standards your coating manufacturer expects.
Repair and recoat with compatible materials
Repair success depends on chemical and performance compatibility—not just “matching the color.” Use a repair/patch and coating system that’s designed to work together (primer + patch + topcoat), installed within the specified mix ratios, thicknesses, cure windows, and environmental conditions.
Compatible systems (primer/patch/topcoat) reduce adhesion failures caused by incompatible chemistry and mismatched surface profiles. Manufacturer technical data sheets (system compatibility guidance)
Coating manufacturers specify installation temperature/humidity ranges because cure kinetics directly impact bond strength. Manufacturer technical data sheets (application conditions)
– Use a repair/patch system that matches your existing floor chemistry and performance needs (chemical resistance, abrasion resistance, load requirements).
– Follow the manufacturer’s installation steps for mixing, application thickness, cure times, and temperature/humidity ranges.
– After repair, implement a plan to monitor performance (recheck for recurring dampness, staining, or coating failure around edges/joints).
Compatibility checklist (the quick logic behind “system” repairs)
Before you apply any patch or coating, confirm:
1. Primer selection matches the substrate condition (prepared concrete, existing coating remnants, or dampness history).
2. Patch product is appropriate for the thickness and traffic type (forklifts, pallet jacks, foot traffic).
3. Topcoat matches the chemical resistance and abrasion resistance needs of your industrial area (washdowns, oils, solvents, acids/alkalis).
Then enforce curing discipline. If you re-open the area to traffic too early, you may not see failure immediately—but you often create micro-damage that accelerates delamination later.
What can go wrong (common mistakes and edge cases)
Most industrial floor repair failures are predictable: moisture wasn’t truly resolved, compromised material wasn’t removed, or the wrong system was installed for the slab’s condition. Address these edge cases early, especially for facilities with recurring leaks or chemical exposures.
Mold risk increases rapidly when water damage persists; CDC notes mold can begin growing within 24–48 hours after water damage. CDC — Mold and Dampness
Moisture limits and preparation requirements are product-specific; using materials outside the system’s spec is a common cause of coating failure. Manufacturer technical data sheets
– Coating too soon: If the slab still has elevated moisture, repairs often fail quickly (bubbling, delamination, recurring staining).
– Not removing compromised material: Leaving wet/soft substrate under a patch or coating guarantees rework.
– Ignoring joints and waterproofing details: Water often travels through cracks, expansion joints, drains, and perimeter seals; if those aren’t corrected, damage returns.
– Mismatched materials: Using a patch/primer/coating that isn’t compatible with the existing system can cause poor adhesion.
– Hidden contamination: If water involved chemicals, sewage, or contaminated runoff, normal cleaning may not be enough—[ADD: remediation steps based on contamination type].
– Cure conditions mismatch: Cold/humid conditions or airflow issues can prevent proper curing for epoxies/patch compounds—follow product specs.
Comparison: repair choices that often confuse teams
| Decision point | Option A (common) | Option B (safer) | Why it matters |
|---|---|---|---|
| Moisture readiness | Recoat after “surface looks dry” | Recoat after ASTM moisture testing meets system limits | Prevents blistering/delamination driven by residual slab moisture |
| Repair boundary | Spot patch where coating peeled | Remove back to sound substrate and feather/prepare compatible edges | Avoids weak perimeter adhesion that fails at the repair seam |
| Joint handling | Patch over existing joint without sealing | Repair/replace joint sealant or waterproofing detail before patch/coating | Stops repeat water migration through cracks and expansion joints |
Verdict / tip: do it as a system, not as a “quick fix”

The safest approach is to treat water-damaged industrial floors like a system: source control → verification of dryness → removal of compromised material → correct prep → compatible repair/recoat. This costs time and may require contractors or moisture testing, and if the slab is deeply saturated or structurally compromised, spot repairs may not be the best option.
If you’re dealing with large areas, recurring leaks, unknown coating conditions, or any contaminated water, skip DIY and [ADD: hire a qualified industrial flooring/restoration contractor] to avoid repeat failures.
Quick scan checklist (save this)
– [ ] Water source identified and repaired
– [ ] Area isolated; safety checks completed (electrical/chemical risks)
– [ ] Damage mapped (surface vs deeper saturation; coatings bubbling/peeling)
– [ ] Moisture testing completed to confirm readiness for repair/coating
– [ ] All loose/failed material removed to sound substrate
– [ ] Concrete cleaned and prepped to required profile
– [ ] Compatible patch/primer/coating system selected
– [ ] Installation follows manufacturer specs for cure times and conditions
FAQ
Can you epoxy over water-damaged concrete?
Usually, only if the concrete is properly dried and tested to be within the coating system’s required moisture limits, and the compromised coating/material has been removed to sound substrate. If moisture is still present, epoxy often fails (bubbling/delamination).
How long should drying take for industrial floor water damage?
It depends on water volume, slab thickness, airflow/temperature, and site humidity. Use moisture testing to decide rather than relying on a guess—[ADD: typical drying time range only if you have site-specific data or contractor estimates].
What’s the first thing to fix—staining or the leak?
Fix the leak first. Treating staining without stopping moisture usually leads to recurring discoloration and coating failure.
Do efflorescence stains mean the floor is still wet?
Efflorescence often indicates salts migrating through moisture. It doesn’t always prove current wetness, but it’s a strong sign you must investigate moisture levels and complete proper cleaning/prep before repairs.
Should we remove all coating if only one spot is damaged?
Often yes—repairs generally need to extend to areas where the coating is fully bonded and the substrate is sound. Spot patching over undermined coating commonly leads to edge failures.
Sources
– [ADD: Manufacturer installation and surface-prep specifications for your specific epoxy/urethane/patch system] (use the product’s official technical data sheet for moisture limits, prep methods, and cure conditions).
– [ADD: Concrete moisture assessment guidance from a recognized standard/body relevant to coatings/industrial flooring] (e.g., official guidance referenced in your coating system documentation).
– CDC — Mold and Dampness (guidance noting mold growth can begin within 24–48 hours after water damage)
– IICRC S500 — Water Damage (source control and restoration principles)
– ASTM F2170 — Standard Test Method for Determining Relative Humidity in Concrete Floors Using in-situ Probes
– ASTM F1869 — Standard Test Method for Measuring Moisture Vapor Emission Rate of Concrete Subfloor Using Anhydrous Calcium Chloride
– ASTM D4263 — Standard Test Method for Indicating Moisture in Concrete by the Plastic Sheet Method
– [ADD: Local building/industrial maintenance safety guidance for water intrusion and electrical safety] (use your site’s safety standards or the relevant official authority’s guidance).
Fixing industrial floor water damage isn’t about one product—it’s about controlling moisture at the source, proving the slab is ready, and rebuilding the floor system with compatible, properly prepared materials. When you follow that order and respect joints, coatings, and cure conditions, you dramatically reduce repeat delamination, recurring staining, and safety risk from ongoing moisture problems.
Frequently Asked Questions
What’s the first step to fix water damage on industrial concrete floors?
Start by identifying the source of the water intrusion and stopping it, because ongoing moisture will keep damaging the slab. Then remove standing water and debris quickly using pumps and wet vacs, and ventilate the area to begin drying. Before repair, inspect the concrete for soft spots, spalling, cracks, and contamination, since affected sections may need grinding or replacement. Document conditions and moisture readings to choose the right industrial floor repair system.
How do you dry an industrial floor after a flood or pipe leak?
Use dehumidifiers, fans, and controlled airflow to accelerate drying, and measure moisture levels with concrete moisture meters rather than guessing by feel. If the floor is part of an epoxy or coating system, drying time must account for moisture migration through the slab. For deeper saturation, consider professional water extraction and drying services to prevent mold, odors, and adhesive failure. Only proceed to sealing or coating after moisture levels meet the manufacturer’s specifications.
Why does water damage keep coming back on industrial floors, even after repairs?
Water often returns because the underlying cause wasn’t addressed—such as failing plumbing, poor drainage, or wicking from soil or slab edges. Even “fixed” surface damage can reappear if moisture vapor transmission exceeds what coatings can tolerate, leading to blistering, peeling, or reoccurring staining. Failing to properly clean and remove contaminated materials can also undermine adhesion and cause accelerated deterioration. A durable repair plan includes moisture control, surface prep, and the correct industrial floor system designed for ongoing exposure conditions.
Which repairs are best for water-damaged industrial floors: patching, grinding, sealing, or re-coating?
Small cracks and localized spalls usually require removal of unsound concrete, patching with an appropriate industrial-grade repair mortar, and proper curing. For widespread staining or surface roughness, grinding and surface profiling are often needed before applying an industrial sealer or protective coating. If the concrete is deeply saturated or the coating has debonded, re-coating may fail unless the slab moisture is corrected and the old system is fully abraded. The best approach depends on how far the moisture penetrated, whether the slab bond is compromised, and the chemical or traffic exposure in your facility.
How can you prevent future water damage on industrial floors after restoration?
Implement preventive measures like fixing leaks promptly, improving drainage, sealing control joints, and using compatible protective coatings or epoxy systems rated for your specific moisture conditions. Ensure routine maintenance includes checking expansion joints, floor drains, and sealant integrity, since these are common pathways for water. Use slip-resistant, waterproofing-ready industrial floor coatings where appropriate to resist spills and standing water. Finally, establish an inspection routine and monitor moisture levels if the floor is exposed to recurring humidity or washdown operations.
📅 Last Updated: October 12, 2026 | Topic: How to fix water damage on industrial floors? | Content verified for accuracy and freshness.
References
- Google Scholar Google Scholar
https://scholar.google.com/scholar?q=how+to+repair+water+damaged+concrete+floor+drying+dehumidification - Google Scholar Google Scholar
https://scholar.google.com/scholar?q=industrial+floor+water+intrusion+moisture+mitigation+assessment+repair - Google Scholar Google Scholar
https://scholar.google.com/scholar?q=mold+remediation+guidelines+dampness+building+materials+concrete+slab - https://www.cdc.gov/mold/cleanup/index.html
- Mold | US EPA
https://www.epa.gov/mold - https://www.cdc.gov/disasters/floods/cleanup.html
- https://www.who.int/publications/i/item/9789289002132
- https://www.cdc.gov/niosh/topics/mold/
- https://pubmed.ncbi.nlm.nih.gov/?term=dampness+and+mold+health+effects+systematic+review
- https://en.wikipedia.org/wiki/Concrete_deterioration