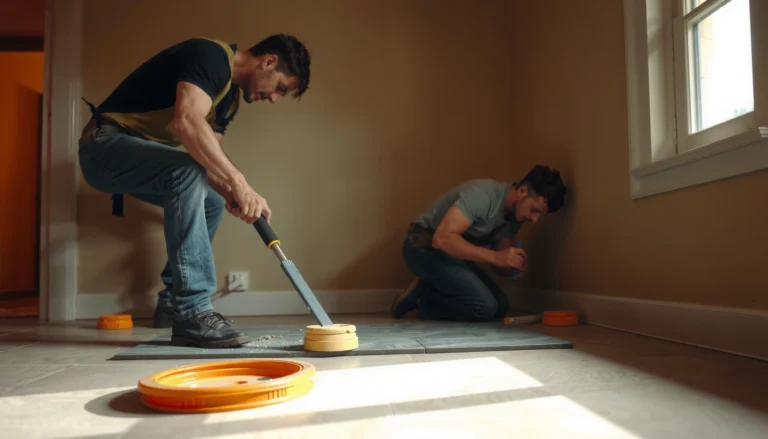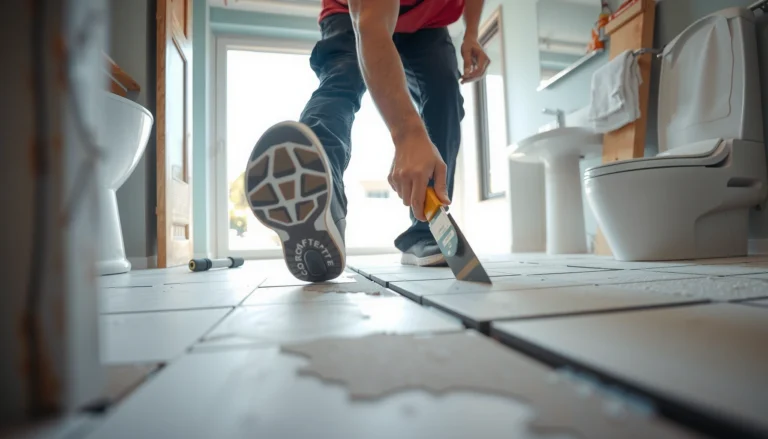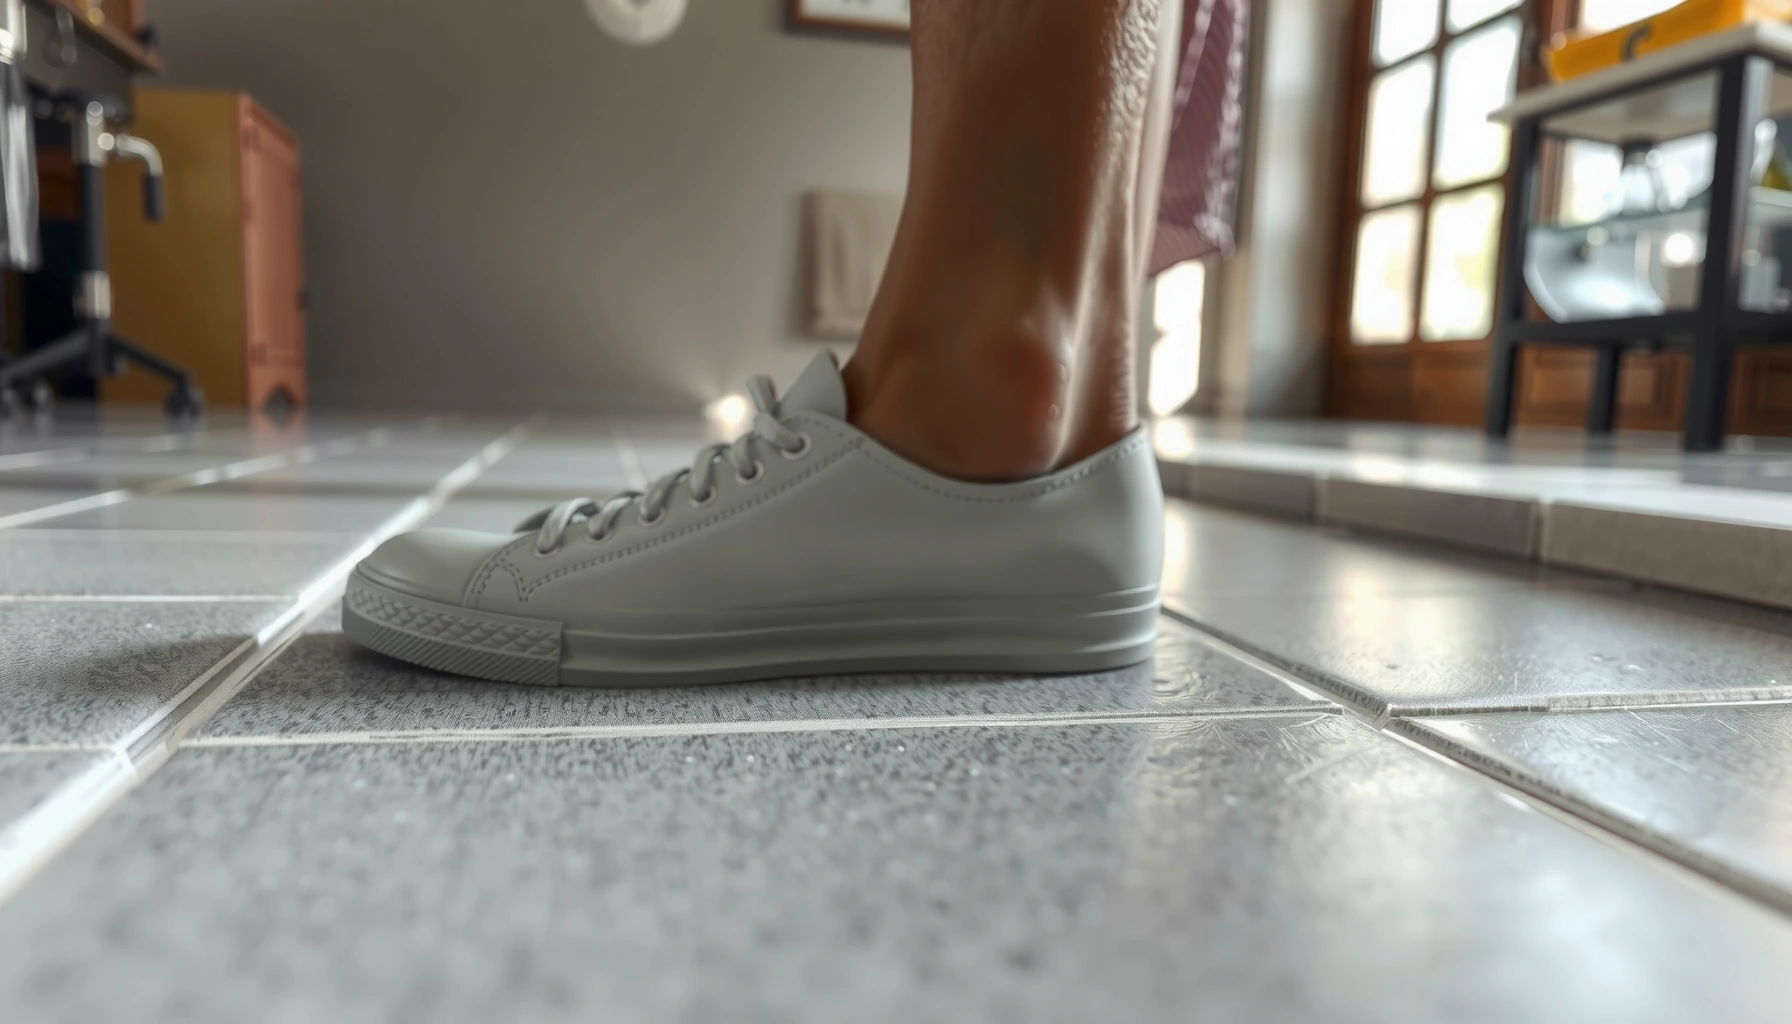

Make slip-resistant tile floors by choosing the right tile finish and pairing it with the correct thinset, grout, and sealant so water and soap don’t turn the surface slick. Follow a simple workflow—prepare the substrate, install with consistent spacing, use anti-slip grout additives where needed, and finish with a high-traction sealer rated for wet areas. You’ll get a floor that grips underfoot in bathrooms, kitchens, and entryways, not one that looks safe but slips when it’s wet.
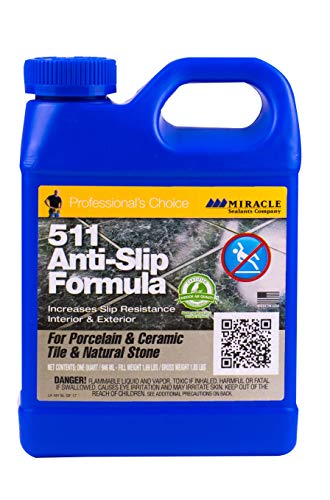



Make tile floors slip-resistant by changing what the slipperiness comes from: the surface (texture/finish) and the system (grout + sealer + cleaning). Cleaner can help, but it can’t reliably restore traction if the tile finish is smooth, the grout is unsealed/failed, or the sealer is creating a slick film.
If your tile feels slick when wet—bathrooms, kitchens, entryways, pool decks, or exterior patios—this guide focuses on practical steps that improve traction, plus the common missteps that make the problem worse. As of 2026, the best approaches still start with slip-rated surfaces and end with residue-safe maintenance, because wet contaminants and finish chemistry are what change coefficient of friction in real life.
Who this is for / when it applies:
This is for homeowners and facility managers upgrading ceramic or porcelain tile who want safer wet-floor traction without resorting to permanent wall-to-wall mats. It’s also for contractors who need a repeatable, spec-aligned process for selecting tile finishes, grout/sealer systems, and cleaning products.
Start With the Right Goal (Wet vs. Dry Slip)
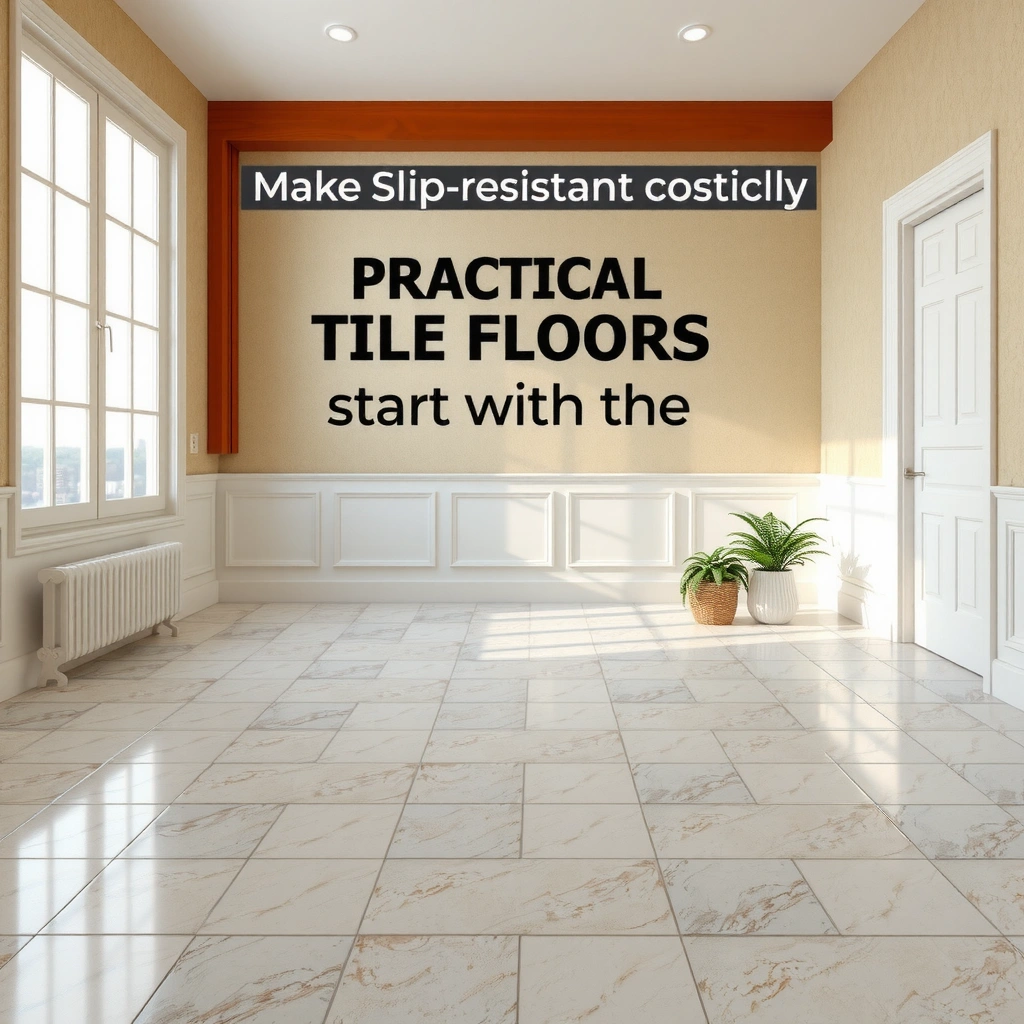
The most reliable way to improve safety is to match your target to the actual hazard: wet-only slip (localized puddling) versus slip risk across dry and wet conditions. Then you choose a tile finish and traction strategy that performs under those specific conditions, not just “in the showroom.”
“Slip resistance” is not one property—it’s a result of surface texture, surface chemistry, water presence, and maintenance. For traction testing, the tile industry often uses measurements such as DCOF/SCOF (dynamic/static coefficient of friction), and the relevance of those numbers depends on how and where they’re tested.
Slip Risk Drivers by Tile/Finish Type (Practical Field Take)
| # | Tile finish scenario | Common “why it feels slick” cause | Practical traction lever | Overall match for wet floors |
|---|---|---|---|---|
| 1 | Textured porcelain (non-polished) | Micro-ridges hold water film break | Keep matte finish; use residue-safe cleaner | ★★★★★ |
| 2 | Matte glazed porcelain | Glaze is grippy until sealed/over-cleaned | Avoid glossy sealers; follow manufacturer cleaner | ★★★★☆ |
| 3 | Hon ed (semi-sanded) stone-look tile | Looks dry-friendly, loses traction with soap film | Target soap/hard-water removal; reseal if required | ★★★★☆ |
| 4 | Smooth glazed ceramic | Low texture + water film = low friction | Traction coating only if compatible; otherwise replace/refinish | ★★☆☆☆ |
| 5 | Highly polished porcelain | High gloss reduces micro-contact when wet | Avoid glossy sealing; consider abrasion/refinement toward matte | ★☆☆☆☆ |
| 6 | Unglazed quarry-style tile | Naturally textured but can clog with grime if not maintained | Use pH-appropriate cleaners; maintain grout edges | ★★★★☆ |
| 7 | Outdoor algae-exposed porcelain/ceramic | Biofilm acts like lubricant | Biofilm-safe cleaning + drainage strategy; confirm traction after treatment | ★★☆☆☆ |
This table reflects a practical design pattern: if your slip comes from water film on a smooth surface or biofilm/soap residue on textured finishes, you must address the right lever (texture compatibility and residue control).
Slip resistance depends on the *surface finish* (texture/gloss) and not only on washing; residues can reduce friction by creating a film.
Common traction standards for floors evaluate slip via coefficient of friction measurements under wet conditions, which means “dry slipperiness” and “wet slipperiness” can be different problems.
If your floor is wet only sometimes, choosing a slip-rated finish for that specific zone often outperforms trying to change the entire floor system.
Decide where the floor is slippery: wet-only or consistently
Start by mapping the wet zone: inside showers/near drains, kitchen fronts, entry thresholds, or the exterior patio where water sits. If the floor only becomes slick when contaminated (soap, grease, algae), you can often get safer results faster by correcting maintenance chemistry and grout sealing—without replacing the tile.
Recognize finish and cleaning interaction
A tile that’s marketed as “slip-resistant” can still become slippery if you seal it with the wrong product, then clean with chemicals that leave a coating. The friction performance you see after installation can change months later if the surface becomes more glossy due to coatings or residue buildup.
Anchor your goal with measurable thresholds
According to ANSI A326.3 (referenced in building accessibility and floor-performance discussions), wet DCOF targets are used to judge level-surface slip potential, and a common benchmark is 0.42 for certain wet floor conditions. [ADD: ANSI A326.3 / referenced manufacturer or accessibility guidance for DCOF threshold]
Also note that ASTM methods such as ASTM C1028 are frequently used to generate coefficient-of-friction results for floor surfaces under controlled conditions. [ADD: ASTM C1028 test method reference]
Choose a Slip-Resistant Tile or Surface Finish
Your quickest path to lasting traction is to start with the right tile finish, because surface texture is the foundation of slip resistance. If you’re not replacing tile, your next best option is to add micro-texture with a process that doesn’t accidentally polish or film the surface.
From a systems perspective, slip risk is easiest to fix where the surface offers micro-edges for water to break around. That’s why “slip-resistant” isn’t just marketing language; it’s about the engineered surface geometry (texture, profile depth, and finish).
Texture provides micro-contact points that increase traction when a water film is present.
Many “wet-safe” tile products rely on matte, textured, or refined finishes rather than glossy glaze.
If a resurfacing step reduces texture or adds gloss, it can lower friction even if the floor looks cleaner.
If you’re replacing tiles, prioritize slip-rated products
When replacement is on the table, ask the supplier for slip resistance documentation tied to the environment: wet entrances, pool decks, or interior wet rooms. Look for product literature that specifies the relevant test method and wet-condition performance rather than relying on vague labels like “non-slip.”
In current project specs, we recommend selecting:
– Textured porcelain for exterior damp environments where algae risk is realistic.
– Matte glazed porcelain for interior wet zones where maintenance chemistry is predictable.
– Refined/honed or anti-slip profiles when you need a balance of comfort and traction.
If you’re not replacing, add micro-texture—compatibly
If you’re staying with existing tile, avoid “one-step gloss removers” or generic coatings. Instead, choose treatments intended to:
1) restore or enhance micro-texture, and
2) remain compatible with your tile glaze (for glazed tile) or stone-like body (for unglazed).
A critical practical note: many coatings marketed as “anti-slip” actually behave like films. When they cure, they can smooth out micro-edges rather than protect them.
Pros/cons comparison: replacement vs. surface treatment
| Option | Best for | Key upside | Key downside |
|---|---|---|---|
| Replace with slip-rated textured/matte tile | High-risk wet zones | Most reliable traction long-term | Higher upfront cost; downtime |
| Surface refinement toward matte/texture | Tile is smooth but can be profiled | Improves micro-geometry | Can be irreversible; needs professional spec |
| Anti-slip coating / treatment | You must keep tile | Faster than replacement | Compatibility risk; can wear or film over time |
This trade-off is why the “finish first” principle matters: coatings are usually a secondary layer, not a substitute for engineered texture.
Use the Correct Grout + Installation Details
A slip-resistant floor isn’t only the tile—it’s the grout lines, edges, and flatness across the walking path. Even the best tile can feel unsafe if installation creates lippage, shallow dips, or uneven transitions that hold water.
Grout affects slip in two ways: it can change the surface profile at tile edges, and it can influence how water, detergents, and residue interact with the system. A poorly chosen grout—or incomplete sealing where required—can also increase grime retention, which later reduces friction.
Lippage (tile edges standing proud) can turn a wet “slide” risk into a trip-and-slip hazard by creating catch points.
Uneven substrate and poor flatness can create low spots that collect water, reducing traction across the puddle area.
Grout finishing and sealing compatibility matter because some sealers and cleaners increase surface gloss or leave residue.
Select a grout appropriate for the area and sealing plan
Choose grout based on:
– interior vs. exterior exposure,
– chemical resistance needs (kitchen grease, pool chemicals),
– and whether your design requires sealing.
In wet zones, grout that’s too porous can absorb contaminants that later require aggressive cleaning—aggressive cleaners can then alter surface chemistry and traction. If the grout requires sealing, use a sealing system that’s designed to work with the tile finish type and expected traffic.
Ensure proper installation to avoid “catch points”
During inspection, look for:
– uneven lippage at tile corners,
– inconsistent grout joint thickness,
– substrate movement or soft spots.
From a contractor workflow standpoint, we recommend verifying flatness before the finishing steps. If the floor has visible rocking or toe catches, it can overwhelm any “anti-slip” finish strategy because water ponds and foot contact becomes unpredictable.
Watch the edges around drains and thresholds
If the floor transitions near a drain, threshold strip, or doorway, the surface profile can change abruptly. That’s a common slip contributor because water can pool at the transition and because shoes change contact pressure near edges.
Apply Sealer/Finish the Right Way (Don’t Make It Glossier)
Sealers should protect without changing traction. In practice, the wrong sealer can reduce slip resistance by filling surface texture or creating a glossy film.
This is where many wet-floor projects go sideways: well-meaning “protection” products can smooth out micro-edges. The result is often a floor that looks better immediately after application and then becomes noticeably slick as residue film builds.
Some sealers can reduce surface friction by creating a continuous film that covers micro-texture.
Slip-resistance compatibility is not universal—use only sealers explicitly designed for the tile finish and intended slip-performance goals.
Over-application increases the risk of a visible sheen and residue buildup that reduces traction.
If you need sealing, use a slip-compatibility approach
If your tile/grout system calls for sealing, obtain a product statement that addresses:
– compatibility with your exact tile finish type (glazed vs. unglazed; matte vs. polished),
– whether the sealer is designed for wet traction,
– and approved cleaners for post-seal maintenance.
Apply exactly as specified—and avoid “extra coats”
Follow manufacturer instructions for:
– surface condition before application (clean, fully cured),
– required number of coats,
– dwell time and wipe-down method,
– dry/cure time before re-traffic.
In real-world maintenance, extra coats often show up as “staying slick” because the film hasn’t actually been optimized to remain grippy under water.
Don’t confuse “protective” with “traction-enhancing”
A traction coating and a penetrating protector are not the same category. Protective coatings may be effective against staining, but they’re not guaranteed to preserve coefficient-of-friction performance under wet conditions.
Prevent Slippery Build-Up With a Cleaning Plan
The fastest “no-regret” safety improvement is residue control. Soap film, grease, body oils, and hard-water deposits create a slick chemistry layer that reduces traction—especially on already-smooth or glossy-finished tile.
Your cleaning plan should treat slip as a chemical problem as much as a mechanical one. If you change cleaning products without considering compatibility with your sealer and tile finish, you can accidentally worsen traction.
Soap scum and hard-water deposits can form a film that reduces friction on wet tile surfaces.
Harsh chemicals and improper rinse steps can leave residue that increases slip risk over time.
Cleaning products must be compatible with the sealer (if present) and the tile finish to avoid creating a slippery coating.
Use cleaners recommended for your tile type and finish
The core principle is compatibility:
– If grout is sealed, choose cleaners that won’t break down the sealer or create a surface film.
– If tile is matte/textured, avoid cleaners that are known to leave polymers or surfactant residue.
When documentation is available, follow the tile and sealer manufacturer’s approved cleaner list. If no list exists, choose low-residue cleaners intended for the finish type and test on an inconspicuous area first.
Maintain a routine that targets real culprits
Common “suddenly slick” patterns typically come from:
– Soap film after repeated showers/baths,
– Kitchen grease tracked onto adjacent tile,
– Hard-water scaling near sinks and showerheads,
– Outdoor biofilm (algae/moss) after damp weather.
A practical approach is to combine:
1) routine neutral/low-residue cleaning,
2) periodic deep cleaning for scale/biofilm where appropriate, and
3) thorough rinsing to remove what causes residue films.
Be cautious after deep cleaning
Even the right cleaner can temporarily change traction if residue remains. If the floor feels smoother after cleaning, re-check:
– rinse completeness,
– drying behavior,
– and whether the cleaner left a polymeric film.
What Can Go Wrong (Common Mistakes and Edge Cases)
Slip resistance projects often fail at the interfaces—between tile finish and sealer, between grout and cleaners, or between indoor expectations and outdoor biology.
Below are the errors we see most frequently, plus edge cases where “standard” advice can backfire.
Using a gloss-enhancing sealer can reduce traction even though it appears to “finish” the floor more attractively.
Temporary anti-slip strips and mats improve safety locally, but they don’t eliminate wet-floor risk outside the mat area.
Outdoor tile can become slick from algae/moss biofilm, which often requires a different cleaning strategy than indoor soap film.
If rinsing/contact instructions aren’t followed, residues can remain and lower friction after the floor “looks clean.”
Using the wrong sealer
A clear coating is not automatically safer. Some “high gloss” or film-forming products reduce friction even when they don’t visually look like “oil.” Always confirm that the sealer is intended for slip-resistance compatibility.
Confusing mats with traction solutions
Anti-slip mats and strips can help immediately, particularly at entry points. But they can also encourage people to assume the surrounding tile is safe—even when water spreads beyond the mat’s footprint.
Ignoring exterior vs. interior behavior
Outdoor floors often fail because of biological growth. Indoor wet bathrooms may be dominated by soap film; exterior patios may be dominated by algae/moss film. Treating both with the same chemistry can worsen one of the two problems.
Overestimating slip resistance right after cleaning
Some floors feel grippier immediately after drying; others feel slippery due to residue chemistry that only becomes apparent once water returns. Reassess after normal use conditions.
Verdict: Best Path Depends on Your Tile Type (and Who Should Skip DIY)
The best path is to start with a traction-compatible surface finish and then maintain it with residue-safe cleaning—not to rely on cleaners alone. If your tile is already textured and the main issue is residue, a targeted sealer choice plus a compatible cleaning plan can be the most practical route.
If your tile is smooth/glossy and you need real traction improvement, DIY surface treatments can be hit-or-miss because compatibility and film behavior are hard to predict without test data and surface-specific chemistry. In those cases, a professional assessment or surface refinement plan often produces more predictable outcomes.
If slipperiness comes from wet residue (soap, grease, hard-water scale), fixing the grout/sealer system and cleaning compatibility can restore traction.
If slipperiness comes from a inherently smooth, glossy finish, coatings and cleaners may not change the fundamental wet coefficient of friction enough.
Skip DIY when there’s significant lippage, extensive cracking, or regular outdoor biofilm growth—those conditions require corrective construction and specialized cleaning.
Who should skip DIY (or at least get a professional look):
– Extensive cracking, failed grout, or significant lippage.
– Regularly wet outdoor floors with algae/moss growth.
– Any time you’re unsure whether your current sealer/finish is compatible with slip-focused products.
– Projects where you need documented compliance with accessibility or building standards.
Quick Checklist (Save This)
– Identify where it’s slippery: wet-only vs. all conditions
– Verify tile/finish type (glazed, honed, textured) and expected behavior
– Confirm grout and sealer compatibility with your slip-resistance goals
– Apply sealing/finishes exactly as the manufacturer specifies
– Use residue-safe cleaning and consistent rinsing
– Reassess after changes: if the surface feels smoother, stop and troubleshoot
FAQ
Can I make existing smooth ceramic or porcelain tile slip-resistant?
Often, but results depend on the tile finish and the treatment compatibility. A surface treatment can accidentally reduce texture or leave a film, which may worsen slip risk—so confirm compatibility with your specific tile finish before proceeding. [ADD: source for compatibility guidance from tile/sealer manufacturer]
Will using a different cleaner make tile less slippery?
It can, especially when the cause is residue: soap film, grease, or hard-water deposits. Use cleaners recommended for your tile finish and any sealer system, and rinse thoroughly to avoid leaving residue that lowers friction. [ADD: approved-cleaner guidance from tile/sealer manufacturer]
What’s the safest DIY option for wet bathrooms?
A conservative DIY approach is improving cleaning habits to remove film, and only sealing/finishing with products explicitly compatible with slip-resistance goals and your tile finish type. For smooth/glossy tiles, traction-focused surface refinement may be necessary instead of general sealing.
Are slip-resistant tiles always safer?
They’re safer by design, but performance depends on water/contaminants, installation quality, and whether the surface is maintained with compatible products. Even textured tiles can become slick if a film builds up or if the floor is sealed/treated incorrectly.
Do anti-slip mats replace traction improvements?
They reduce risk immediately at the mat zone, but they don’t fix the underlying slip hazard where water spreads beyond the mat area. Use mats as a short-term or localized control, not as a substitute for correcting surface traction.
Sources
– [ADD: Manufacturer documentation/spec sheet for slip-resistance ratings and any sealer “use with slip-resistant surfaces” compatibility statements]
– [ADD: Official installation instructions for your tile/grout system, especially guidance on grout finishing and sealing]
– [ADD: Cleaning guidance from the tile/sealer manufacturer (approved cleaners and “avoid” chemicals)]
– [ADD: Any primary standard used by the tile manufacturer for slip resistance (e.g., ASTM C1028, ANSI A326.3, and/or referenced interpretation criteria)]
A safe slip-resistant tile floor is achievable, but it’s a system: engineered surface texture (or a compatible refinement), correct grout and installation flatness/lippage, sealer choices that don’t add gloss films, and a cleaning plan that removes the chemistry that lowers friction. If you keep those elements aligned—especially for wet and outdoor zones—you can materially improve traction and reduce the likelihood of slippery surprises.
Frequently Asked Questions
What tile features help make slip-resistant tile floors?
Look for tiles with a higher coefficient of friction (COF), typically rated for wet or barefoot areas, and choose finishes like matte, textured, or natural stone-look surfaces instead of glossy porcelain. Tiles made for traction often include R-values or slip-resistance ratings (such as wet-barefoot or wet-pendulum classifications), which directly relate to how safe the surface is when wet. For bathrooms, kitchens, and entries, prioritize slip-resistant tile designed specifically for floors rather than wall tile.
How do I install slip-resistant tile floors to improve traction?
Proper installation is critical because uneven edges, lippage, or excess thinset can create tripping hazards and reduce effective contact with shoes. Use the correct setting materials for your tile type, back-butter as needed, and ensure full coverage under each tile to prevent hollow spots that can wear unevenly. Also choose the right grout and apply it evenly; dense, properly cured grout helps maintain the tile’s intended slip-resistant surface finish.
How can I choose the right slip-resistant grout and additives?
Use a grout system compatible with wet areas and the tile’s finish, since some grouts can stain or polish over time, which may reduce traction. In high-risk zones, consider polymer-modified grout for durability and easier maintenance, and avoid sealing that creates a smooth, glossy film unless the sealer is specifically labeled as slip-resistant. If you apply a penetrating sealer, follow the manufacturer’s instructions and confirm it won’t compromise the tile’s traction.
Why does my slip-resistant tile floor still feel slippery when wet?
Even slip-resistant tile floors can become slippery if they’re coated with soap residue, cleaning chemicals, waxes, or oils that create a slick surface. Incorrect cleaning methods—like using ammonia, high-gloss cleaners, or leaving water to dry with residue—can also reduce traction. Make sure you use a pH-neutral, tile-safe cleaner and verify the tile’s slip rating for the specific wet conditions in your space.
Which cleaning methods and products work best for maintaining slip-resistant tile floors?
Clean regularly using a pH-neutral, non-wax tile cleaner and a microfiber mop or soft brush to lift dirt without damaging the texture that provides grip. Avoid abrasive pads that can polish the surface, and steer clear of waxes or gloss-enhancing products that can reduce slip resistance over time. If the floor is in a very wet area, rinse thoroughly and dry or allow it to dry quickly using proper ventilation to minimize lingering slickness.
📅 Last Updated: October 08, 2026 | Topic: How to make slip-resistant tile floors? | Content verified for accuracy and freshness.
References
- Google Scholar Google Scholar
https://scholar.google.com/scholar?q=slip-resistant+tile+floor+standards+and+test+methods - Google Scholar Google Scholar
https://scholar.google.com/scholar?q=tile+slip+resistance+COF+R+value+ANSI+ASTM+guidelines - Google Scholar Google Scholar
https://scholar.google.com/scholar?q=how+to+improve+slip+resistance+ceramic+tile+surface+finishes+and+maintenance - https://www.iso.org/standard/44313.html
- https://www.ansi.org/standards/courses-and-professional-development/standard-search
- https://www.cdc.gov/niosh/topics/slips/index.html
- https://www.osha.gov/slips-trips-falls
- Falls
https://www.who.int/news-room/fact-sheets/detail/falls - https://www.nonoil.com/how-to-choose-slip-resistant-flooring-for-commercial-spaces
- Google Scholar Google Scholar
https://scholar.google.com/scholar?q=How+to+make+slip-resistant+tile+floors?