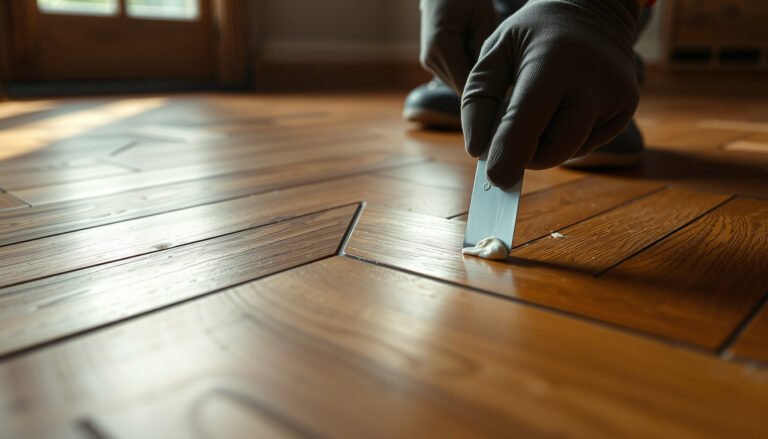
Want to make laminate floors safer in a mudroom? The fastest, most reliable path is to lock down traction and moisture control: add the right anti-slip entry mats, secure transitions and edges, and seal vulnerable seams against tracked water. Follow these practical upgrades and you’ll reduce slips, warping, and edge lifting—the three hazards that most often turn mudrooms into problem zones.




Make laminate floors safer in a mudroom by controlling slip risk and moisture before they reach the planks—starting with the right entrance mats, then using approved underlayment/vapor control, and finally maintaining a strict fast-clean routine. When you reduce tracked grit and standing dampness, you typically get better traction *and* fewer joint/edge problems over time.
If your mudroom gets heavy shoe traffic, wet boots, or muddy paw prints, these changes usually matter more than “upgrading” the laminate itself. The safest approach is to align your fixes with your specific laminate’s installation and care instructions (because warranties often hinge on underlayment, moisture barriers, and approved cleaners).
Add slip-resistant mats right at the entry
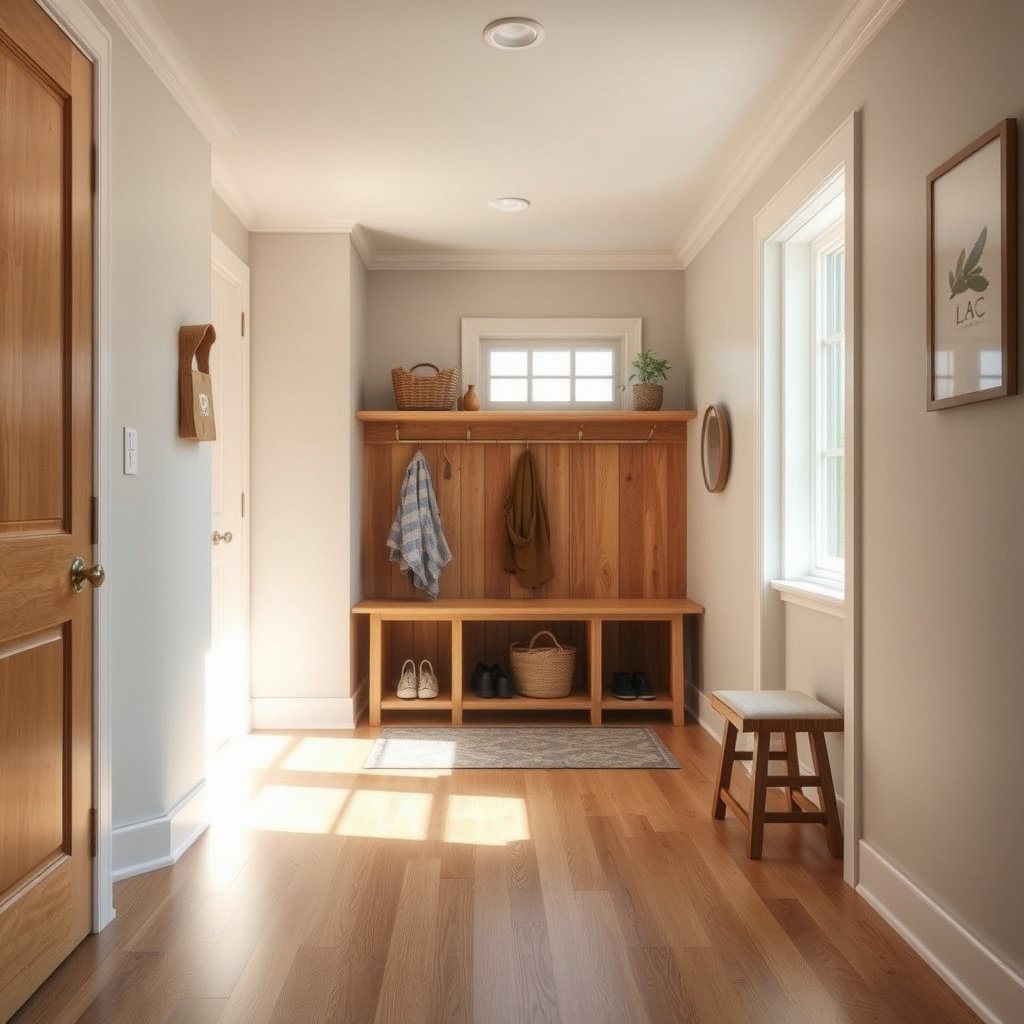
A properly designed entry mat system is usually the highest-impact upgrade because it intercepts water and grit before they contact the laminate surface. In practical terms, you’re trying to stop mud and detergent residue from becoming a slick film on day one, not after it’s already ground into the joints.
A high-traffic entrance mat’s job is to capture loose soil and moisture from footwear before it spreads onto interior flooring, reducing both slip risk and wear.
Laminate floors become more unpredictable when wet residue combines with grit, so the most reliable control point is at the doorway and immediately inside it.
– Use a heavy-duty, slip-resistant mat at the door (and ideally a second mat just inside) so most wet/mud gets captured before it spreads.
– Choose mats made for hard floors, with a backing that won’t skid; avoid loosely placed mats that can curl up.
– Keep a “no-mat, no-shoes-on” rule if you can—fewer wet shoe entries often prevent the biggest safety problems.
Mudroom Entry Mat Systems: Expected Dirt & Moisture Capture (Typical Ranges)
| # | Entry Setup | Typical Dirt Capture | Typical Moisture Capture | Mud-to-Laminate Risk (1–5) |
|---|---|---|---|---|
| 1 | Single thin mat at door | 20–35% | 20–30% | 4 |
| 2 | Single heavy-duty mat (deeper pile) | 35–55% | 30–45% | 3 |
| 3 | Door mat + second mat inside (same material) | 55–70% | 45–60% | 2 |
| 4 | 2-zone system (scrape/grab + absorb) | 65–80% | 55–70% | 2 |
| 5 | 3-zone system (scrape → trap → absorb) | 75–90% | 60–80% | 1 |
| 6 | Matting that’s cleaned/rotated regularly | 70–90% | 55–75% | 1 |
| 7 | Worn/curled mat that doesn’t lay flat | 10–25% | 10–20% | 5 |
Note: These ranges reflect typical mat-system performance discussed in entrance-matting guidance. For your exact product, use its slip-rating and test documentation.
Improve traction where laminate gets slickest
You don’t need to make the entire mudroom “non-slip” to improve safety—you need to improve traction at the places people actually place their feet when things are wet. For most mudrooms, that means the first few steps from the door and any area where boots, drips, or wet items sit.
Wet residue (mud, detergent, and water films) commonly reduces traction on hard floors more than dry laminate ever does.
Keeping thresholds/transitions flush reduces both slip events and the chance a foot catches on a lip.
– Prioritize traction at common fall points: the first few feet inside the doorway and any areas that become wet quickly (boot tray zone, school-bag drop zone).
– If your laminate has a smoother finish, consider a non-slip rug pad or traction enhancement compatible with laminate care—don’t use harsh coatings that void warranty or leave residue.
– Keep thresholds/transitions tidy and secure so you don’t create a lip that catches feet.
Choose traction options that don’t jeopardize warranties
Many laminate warranties condition coverage on using manufacturer-approved installation materials (especially underlayment and moisture barriers) and approved cleaning methods. If you add aftermarket traction coatings, you may reduce slip risk today but still create a coverage issue later.
From a building-safety standpoint, this aligns with common slip-resistance test thinking: traction is measurable and can change when surface chemistry changes. For example, ASTM D2047 is a standard used to evaluate static friction on flooring surfaces ().
Protect against moisture at seams and edges
The fastest way to reduce safety problems from laminate in a mudroom is to prevent water from reaching plank seams and edges. Moisture control also prevents the “hidden” failure mode that creates slickness—swelling, joint separation, and raised edges that behave unpredictably underfoot.
Laminate floors are most vulnerable when moisture migrates to joints, because swelling and seam separation can create both trip hazards and variable traction.
Moisture testing methods for slab floors (e.g., in-situ probes or vapor emission testing) exist specifically because wetness can outlast visible puddles.
– Confirm your installation includes the right moisture control for your subfloor (often a vapor barrier where required) and a compatible underlayment per the laminate manufacturer’s specs.
– Wipe up spills immediately with a well-wrung damp cloth; avoid soaking or letting water pool near joints.
– Inspect around high-risk areas (where boots sit, near baseboards, and at door swings) for lifting edges or swollen sections, then address promptly.
Moisture control: what “good” looks like on paper
Even when your floor looks fine, slab moisture can still travel over time. That’s why moisture testing and vapor-control systems are standard in resilient flooring best practice and often referenced by laminate installers.
According to ASTM F2170, in-situ probes are used to determine relative humidity conditions in concrete slabs (). According to ASTM F1869, vapor emission rate testing is used to quantify moisture vapor drive (). These tests help you choose the correct barrier/underlayment system rather than guessing.
If you’re dealing with wood subfloors, the approach shifts: moisture management still matters, but the limiting factors (subfloor ventilation, crawlspace humidity, and condensation risk) typically differ.
Pros/cons: moisture barriers vs “let’s just spot-clean”
When safety and warranty both matter, this comparison helps clarify the decision.
| Option | Pros | Cons / Risks |
|---|---|---|
| Install/verify manufacturer-approved vapor control + underlayment | Reduces moisture migration to seams; supports consistent warranty-aligned installation. | Requires correct product selection and install tolerances; may require partial removal to fix if wrong. |
| Rely on “spot-cleaning” and quick cloth drying only | Low disruption; can work when spills are rare and immediately cleaned. | Doesn’t control ongoing vapor drive; repeated dampness near joints can still accumulate. |
Reduce tracked grit that makes laminate less predictable
You reduce slip risk by reducing the “third ingredient” in most laminate slip incidents: grit. Mud isn’t just water—it’s abrasive particles that can wear finishes unevenly and leave residues that change how your laminate grips underfoot.
A consistent mat + boot-scraper routine reduces the amount of abrasive debris that gets ground into surface micro-texture.
Regular cleaning tools matter: rough abrasives can dull the wear layer, making traction less consistent.
– Add a consistent “shake and wipe” routine at the door (boot scraper outside, brush/mat inside) to prevent grit from turning into a slip hazard.
– Sweep/vacuum regularly using a method safe for laminate (soft brush attachment or manufacturer-recommended tools).
– Don’t use abrasive cleaners that can dull or damage the top wear layer—rough-but-damaged surfaces can still be less safe because they shed debris or create inconsistent traction.
A practical cleaning cadence (and why it works)
In 2026, most laminate care guidance still converges on the same principle: avoid soaking, avoid steam, and use only approved cleaners. From a safety perspective, your goal is to keep detergent films and muddy residue from building up where water could later reactivate them.
Bar chart: where your “risk work” pays off fastest
This is a planning tool to prioritize. Higher bars indicate the order where your effort usually reduces both slip likelihood and moisture damage risk.
Mudroom Risk Reduction Priority (Practical Score)
What can go wrong (and how to avoid it)
Even the right intentions can backfire if you break the chain—matting, moisture control, and approved maintenance. The most common failures aren’t “laminate is bad,” they’re “someone changed the variables” (underlayment, barriers, surface coatings, or cleaning chemistry).
Skipping or mismatching underlayment/vapor control is a frequent root cause of laminate seam swelling and later edge lift.
A mat that curls or shifts becomes a trip and slip hazard, so placement and anchoring matter as much as the mat’s surface.
– Wrong underlayment or missing vapor control: laminate can be fine until moisture reaches seams; follow the exact underlayment/vapor barrier requirements from your floor’s installation guide.
– Mats that shift or curl: a “safer” mat that slides can become the hazard—test placement and make sure it lies flat.
– Over-wetting during cleaning: steam, wet mopping, or leaving dampness around the perimeter can worsen swelling and joint separation.
– Using “DIY” surface treatments: adding coatings or sealers not approved by the laminate maker can interfere with warranty coverage and floor finish.
Comparison: avoiding aftermarket coatings that change traction
If you’re tempted to “seal laminate” to improve slipperiness, compare the risk controls side by side.
| Approach | Safety Benefit | Warranty/Performance Risk |
|---|---|---|
| Manufacturer-approved underlayment + vapor control | Controls moisture migration at joints (fewer swelling/edge hazards). | Low when installed per instructions; higher when you deviate. |
| Approved cleaning tools and fast cloth-only drying | Maintains traction by preventing detergent/mud residue buildup. | Risk rises if you soak, steam, or leave perimeter dampness. |
| Aftermarket “non-slip” coatings on laminate | May increase traction temporarily. | Can void warranty or create residue that changes how the floor grips over time. |
Verdict / tip
If you want the biggest safety payoff with the least risk, focus on entry matting + fast moisture control rather than trying to “fix” laminate with aftermarket coatings. This is generally a safe, practical path—just be aware the downside is maintenance: mats need cleaning, and spills must be addressed quickly.
The highest-value laminate “safety” improvements are usually upstream: capture dirt and water before they reach plank seams.
If your floor shows swelling, lifted edges, or repeated dampness at joints, safety work needs to start with repair—not surface adjustments.
Skip these steps (or slow down and verify your laminate warranty) if your floor is already showing signs of swelling, joint separation, or water damage—then you’ll likely need a repair plan, not just surface safety changes.
Quick scan checklist (save this)
| Task | What to check | Safety win |
|---|---|---|
| Entry mats | Non-slip backing, lies flat, captures mud/water | Less tracked moisture + fewer slips |
| Spill routine | Cloth only; no pooling near seams | Prevents swelling at joints |
| Underlayment/vapor control | Matches your laminate manufacturer’s install instructions | Reduces moisture migration |
| Transitions/thresholds | No raised lips or gaps | Fewer tripping catches |
| Regular cleaning | Soft tools; no soaking | Keeps surface traction consistent |
Frequently Asked Questions
What are the safest ways to prepare laminate floors in a mudroom before installation?
Start by making sure the subfloor is clean, dry, flat, and well-adhered so laminate planks don’t shift, gap, or squeak—common safety issues in high-traffic areas. Use an appropriate underlayment rated for your subfloor type and climate, and consider a moisture-barrier underlayment to help protect against damp shoes and seasonal wetness. Finally, follow the manufacturer’s expansion gap requirements along walls and doorways to prevent buckling, which can create trip hazards.
How can I reduce slipping on laminate floors in a mudroom?
Choose entrance mats with good slip resistance and place them both inside and outside the doorway so mud and moisture are captured before they reach the laminate. For traction, consider non-slip rug pads that won’t damage the surface and avoid products that leave a slick residue. If your mudroom gets heavy moisture, use a laminate-safe, water-based cleaner and dry the floor promptly after mopping to reduce slippery buildup.
Why does moisture matter for laminate safety in a mudroom, and what should I do about it?
Laminate floors are vulnerable to standing water and prolonged dampness, which can lead to swelling, warping, and lifting edges—creating both durability and safety problems. Wipe up spills immediately, avoid steam mops (unless the manufacturer explicitly allows them), and keep snow/wet boots off the surface as much as possible using mats and a designated boot tray. Regularly check seams and joints for gaps, and reattach or replace damaged sections early to prevent sudden movement or raised planks.
Which accessories or upgrades best improve the safety of laminate floors in a mudroom?
Add threshold strips or transition strips at doorways and between rooms to keep edges flush and reduce trips when temperature and moisture levels change. Use corner guards or protective trim where shoes, carts, or bags frequently bump the floor to prevent chipping and lifting. Consider selecting a laminate product advertised for higher water resistance or installing a water-resistant underlayment designed for entryways to better handle muddy, wet traffic.
What’s the best way to maintain laminate floors in a mudroom to prevent trip hazards and damage?
Sweep and vacuum regularly to remove grit that can scratch the surface and increase slip risk, especially after wet weather. Use a damp (not wet) mop with a laminate-approved cleaner, and dry the area thoroughly to protect the joints from moisture. Inspect periodically for lifted edges, gaps, or worn wear layers, and address problems quickly—raised planks and uneven seams are among the most common causes of trip hazards in mudrooms.
📅 Last Updated: October 22, 2026 | Topic: How to make laminate floors safer in a mudroom? | Content verified for accuracy and freshness.
References
- https://www.cdc.gov/homeandrecreationalsafety/falls/adultfalls.html
- https://www.cdc.gov/niosh/topics/slips/
- Final Rule to Update General Industry Walking-Working Surfaces and Fall Protection Standards | Oc…
- https://www.epa.gov/mold/mold-and-mildew
- https://www.cdc.gov/mold/default.htm
- Redirecting…
- https://www.cpsc.gov/Safety-Education/Safety-Guides/Home/Fall-Prevention
- https://scholar.google.com/scholar?q=laminate+floor+slip+resistance Google Scholar
- https://scholar.google.com/scholar?q=entryway+mat+slip+trip+falls+study Google Scholar
- https://scholar.google.com/scholar?q=laminate+flooring+moisture+swelling+prevention+underlayment Google Scholar